
How To Dry Out Paint Cans
In the realm of responsible household management, understanding the intricacies of paint can disposal is paramount. Paint cans, often tucked away in garages or storage spaces, require a precise approach to ensure they are properly dealt with. This comprehensive guide will provide you with a definitive definition of how to dry out paint cans, bridging the gap between environmental consciousness and safety.
Paint can drying, a process that combines environmental responsibility with safety measures, is the art of preparing paint cans for proper disposal or future use. In this guide, we will navigate the nuances of this procedure, breaking it down into a series of meticulously crafted steps. This isn’t just about evaporation; it’s about minimizing environmental impact, preventing hazards, and maintaining the integrity of your paint cans. By the end, you’ll have the expertise needed to safely and responsibly manage your paint cans, whether you’re an avid DIY enthusiast or simply looking to declutter your space. Let’s embark on this journey toward eco-friendly and secure paint can management.
Get the Fail-Safe Paint Color Playbook (Free PDF)
36 proven colors • 8 ready palettes • trim & sheen guide • printable testing cards.
Why Should You Dry Out Paint Cans?
Environmental Impact of Neglecting Paint Can Drying
Paint cans, if not properly dried before disposal, can be a silent contributor to environmental pollution. The solvents and chemicals present in wet paint can leach into the soil and water, causing harm to ecosystems.
Safety Concerns and Spillage Prevention
Apart from the environmental aspect, wet paint cans can be hazardous. Mishandling or accidental spills can lead to slips, contamination, and, in some cases, fires. Ensuring the cans are dry mitigates these risks.
What You’ll Need for Drying Paint Cans
| Materials & Tools | Purpose |
|---|---|
| Empty containers or trays | For spreading and drying paint |
| Paint can opener | Safely open sealed paint cans |
| Disposable materials | To minimize cleanup effort and waste |
| Protective gear | Ensure your safety while handling paint cans |
Step 1: Checking the Paint Can’s Contents
Determining Usability
Before anything else, check if the paint is still usable. If it’s in good condition and you anticipate future use, consider storing it properly rather than drying it out unnecessarily.
Identifying Hazardous Materials
Certain paints contain hazardous materials. Look for labels indicating this and follow appropriate disposal regulations if needed.
Removing Remaining Paint
Pour out any remaining paint into a disposable container. You can use this paint for touch-ups or small projects.
Step 2: Choosing the Right Location
Ideal Locations
Select a suitable location for drying your paint cans. An outdoor area with good ventilation, like a backyard or garage, is ideal. This ensures fumes disperse safely.
Proper Ventilation
Ventilation is crucial to prevent the buildup of harmful fumes. Open windows or doors, or use fans to facilitate airflow.
Protecting the Environment
Be mindful of where you place your cans. Avoid placing them on grass or soil, as this can lead to contamination. A designated workspace or surface is best.
Step 3: Opening the Paint Can
Safely Opening Sealed Cans
Use a paint can opener designed for this purpose. Gently pry the lid open to avoid bending it, which could hinder resealing.
Use the Right Tools
In a pinch, a flathead screwdriver can suffice. However, a proper can opener makes the process easier and safer.
Avoiding Spills and Accidents
Slowly and carefully open the can to minimize the risk of spills. Place a disposable cloth or paper towel beneath it to catch any drips.
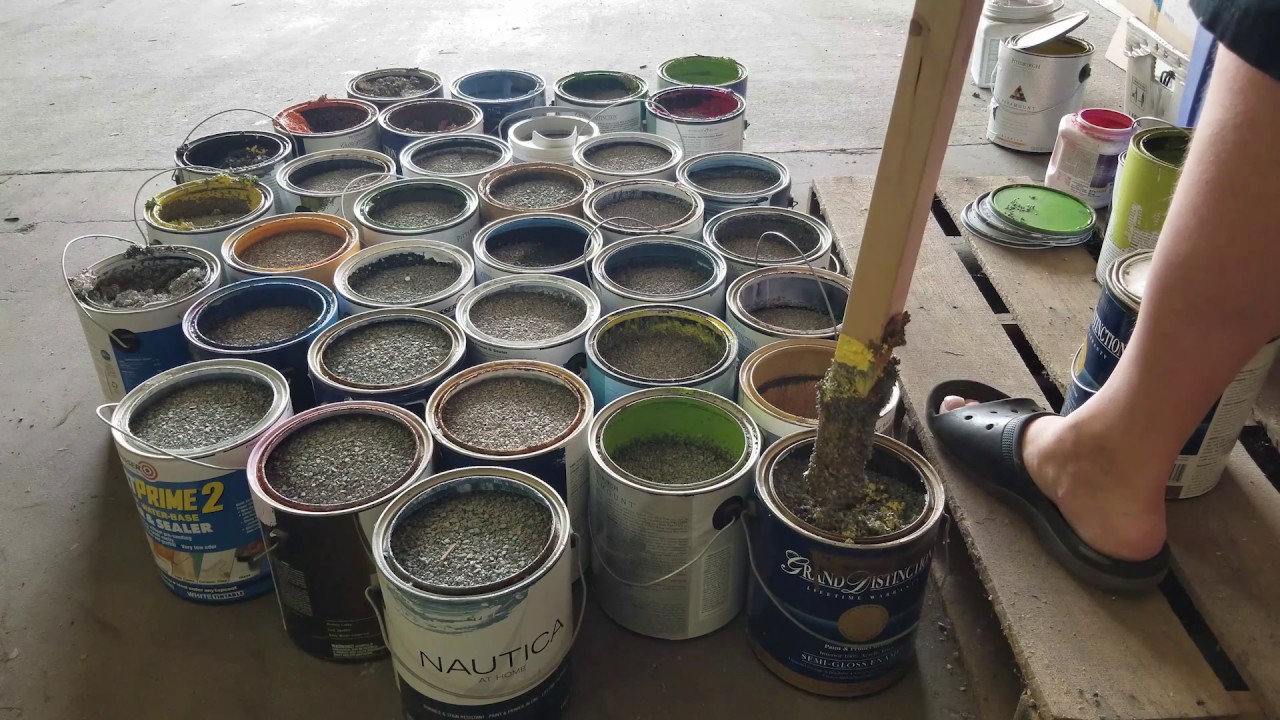
Step 4: Spreading Paint for Drying
Spreading Paint Evenly
To expedite drying, pour the paint onto a flat surface like a disposable tray or cardboard. Spread it evenly to maximize surface area exposed to air.
Disposable Materials
Opt for disposable trays and tools to minimize cleanup effort. Once the paint is dry, you can toss them out responsibly.
Promoting Quick Evaporation
If you’re in a hurry, using a fan can help speed up the drying process. Ensure the fan is positioned to direct air over the paint evenly.
Step 5: Allowing Paint to Dry Naturally
Factors Affecting Drying Time
Drying time varies depending on factors like paint type, thickness, and environmental conditions. On average, it can take a few hours to a few days.
Monitoring Drying Progress
Check the paint regularly to gauge its dryness. It should no longer feel tacky to the touch when completely dry.
Ensuring Complete Evaporation
For oil-based paints or thick layers, allow extra drying time to ensure all layers evaporate.
Step 6: Checking for Residual Paint
Inspecting the Dried Surface
Once the paint is dry, inspect the surface for any residual paint. Look for spots that might need further attention.
Scraping Off Remaining Paint
Use a putty knife or scraper to remove any lingering paint. Be gentle to avoid damaging the surface.
Double-Checking for Thorough Drying
Run your hand over the surface to ensure it’s smooth and paint-free. This step is crucial for recycling or disposal.
Step 7: Disposing of Dried Paint Residue
Safe Disposal Methods
Dried paint can be disposed of with your regular household waste, but check your local regulations for specifics. Seal it in a bag to prevent any mess.
Recycling Options
Some recycling centers accept dried latex paint. Check with your local recycling facility for guidelines on recycling dried paint.
Compliance with Local Regulations
Always adhere to your area’s disposal regulations to avoid fines or penalties. Compliance ensures responsible paint disposal.
Step 8: Cleaning and Storing Your Paint Can
Proper Cleaning
Clean the dried paint can thoroughly to remove any remnants. This prevents potential contamination for future use.
Storing for Future Use
If you intend to store the can for future projects, ensure the lid is properly sealed to prevent air from entering and drying out the paint.
Maintaining Can Integrity
Properly storing your paint can extends its shelf life, allowing you to use it for multiple projects.
Get the Fail-Safe Paint Color Playbook (Free PDF)
36 proven colors • 8 ready palettes • trim & sheen guide • printable testing cards.
Frequently Asked Questions (FAQs)
Q: Can I dry out all types of paint?
Yes, you can dry out both water-based (latex) and oil-based paints. However, some latex paints may not dry completely.
Q: Can I reuse dried paint?
Dried latex paint is challenging to reuse, but you can use it for touch-ups or small projects. Properly stored oil-based paint can have a longer shelf life.
Q: What do I do with hazardous paints?
Dispose of hazardous paints according to your local regulations. They may require special handling or disposal.
Q: Can I speed up the drying process?
Using fans or heaters in a well-ventilated area can expedite drying. Just be cautious with flammable materials.
Conclusion
In summary, learning how to dry out paint cans is not only an environmentally responsible choice but also a safety measure. By following these steps and tips, you can ensure safe disposal, minimize environmental impact, and keep your space hazard-free. So, go ahead and tackle those old paint cans with confidence, knowing you’re doing your part for a cleaner, safer world.