
How to Paint Over Gloss Paint
Painting over glossy surfaces, such as painted cabinets, trim, or bathroom vanities, is one of the most challenging tasks in home improvement. The smooth, non-porous nature of glossy paint creates a surface that resists paint adhesion, meaning standard paint and primer combinations often fail, leading to peeling or flaking. However, understanding the science behind paint bonding and dedicating time to meticulous preparation transforms this daunting task into a manageable, rewarding DIY project.
This comprehensive guide provides a detailed, step-by-step roadmap designed to minimize the risk of adhesion failure. We will cover everything from initial surface assessment and deep chemical cleaning to selecting the specialized bonding primers and executing the final topcoat. By following these professional techniques, you can achieve a durable, flawless, and long-lasting finish that genuinely revitalizes your space.
Get the Fail-Safe Paint Color Playbook (Free PDF)
36 proven colors • 8 ready palettes • trim & sheen guide • printable testing cards.
Quick guide: For most projects, the better choice depends on the surface, durability needs, finish, cleanup, drying time, and indoor or outdoor exposure. Compare the options by use case rather than assuming one is always better.
Phase 1: Planning and Assessing Your Project Feasibility
Before you even gather a drop of cleaner or pick up sandpaper, proper planning is essential. Assessing the existing paint, the substrate material, and the scope of the work will prevent costly mistakes and delays. This initial assessment determines which specialized materials you will need.
Consider these factors during your planning phase:
- Surface Material Identification: Is the glossy surface painted wood, painted drywall, or metal? Different materials require different cleaning agents and primers. For example, painted metal may require a specific rust-inhibiting primer, while painted wood might need a shellac-based adhesion primer.
- Condition Assessment: Walk around the area and document all imperfections. Note any chips, peeling areas, hairline cracks, or areas where the paint is flaking. The more extensive the damage, the more time and filler material you will need.
- Paint Sheen and Color Pairing: Glossy surfaces often have high reflective properties. When choosing a new finish, consider how the desired sheen (e.g., matte, satin, semi-gloss) will interact with the existing gloss. A matte finish is often recommended for the topcoat, as it hides imperfections and minimizes the visual contrast with the existing high shine.
- Time and Budgeting: Be realistic about the time commitment. Painting over glossy paint is *not* a quick job; the preparation phase alone can take a full day. Budget for multiple coats of primer and topcoat, as well as specialized tools like chemical degreasers.
The Step-by-Step Guide to Adhesion Mastery
The success of this project relies entirely on adhering to a strict sequence of preparation steps. These steps are mandatory, not optional. Think of this sequence as building a chemical and mechanical foundation for the paint to bond to.
1. Chemical Deep Cleaning and Degreasing
This is arguably the most overlooked and critical step. Grease, soap residue, household oils, and general dirt act as barriers, preventing the new paint from making direct contact with the substrate. You must degrease the surface first.
- Process: Use a specialized cleaner formulated for non-porous surfaces (e.g., TSP substitute or a strong degreaser). Apply the cleaner to a cloth (never directly to the surface) and scrub the entire area thoroughly.
- Rinsing: Rinse the surface completely with clean, warm water.
- Drying: Allow the surface to dry fully. Any remaining moisture will compromise the bonding process.
2. Mechanical Abrasion (Sanding)
Sanding is necessary to create a mechanical “tooth” or profile on the surface. Since glossy paint is too slick for paint to grip chemically, sanding provides the physical anchor points needed for adhesion. This process is also called ‘keying’ the surface.
- Initial Grit: Start with medium-grit sandpaper (around 100 to 120 grit) to remove loose paint, chips, and to rough up the entire glossy area.
- Progression: Once the surface is rough, switch to a finer grit (180 to 220 grit) to smooth out the harsh scratches left by the initial sanding. Do not skip this progression, as sanding too rough will leave noticeable scratches, and sanding too lightly will fail to create enough profile.
- Dust Removal: Vacuum the entire area thoroughly. Follow up by wiping down all surfaces with a tack cloth or a damp cloth to remove all sanding dust.
3. Repairing and Patching Imperfections
After sanding, use a paintable caulk or spackling compound to fill all cracks, deep chips, and any areas where the paint was compromised. Use a putty knife to apply the filler, ensuring it is level with the surrounding surface. Allow the filler to dry completely according to the manufacturer’s time specifications. Once dry, sand the patched areas until they are flush and smooth.
4. The Bonding Primer Application
The specialized bonding primer is the adhesive glue of the entire process. It is formulated to chemically grip both the slick, non-porous glossy surface and the porous topcoat paint. This step is non-negotiable.
- Selection: Choose a primer explicitly labeled as an “adhesion primer” or “bonding primer” for glossy surfaces. Shellac-based primers are often highly effective on many substrates, but always confirm compatibility with your chosen topcoat.
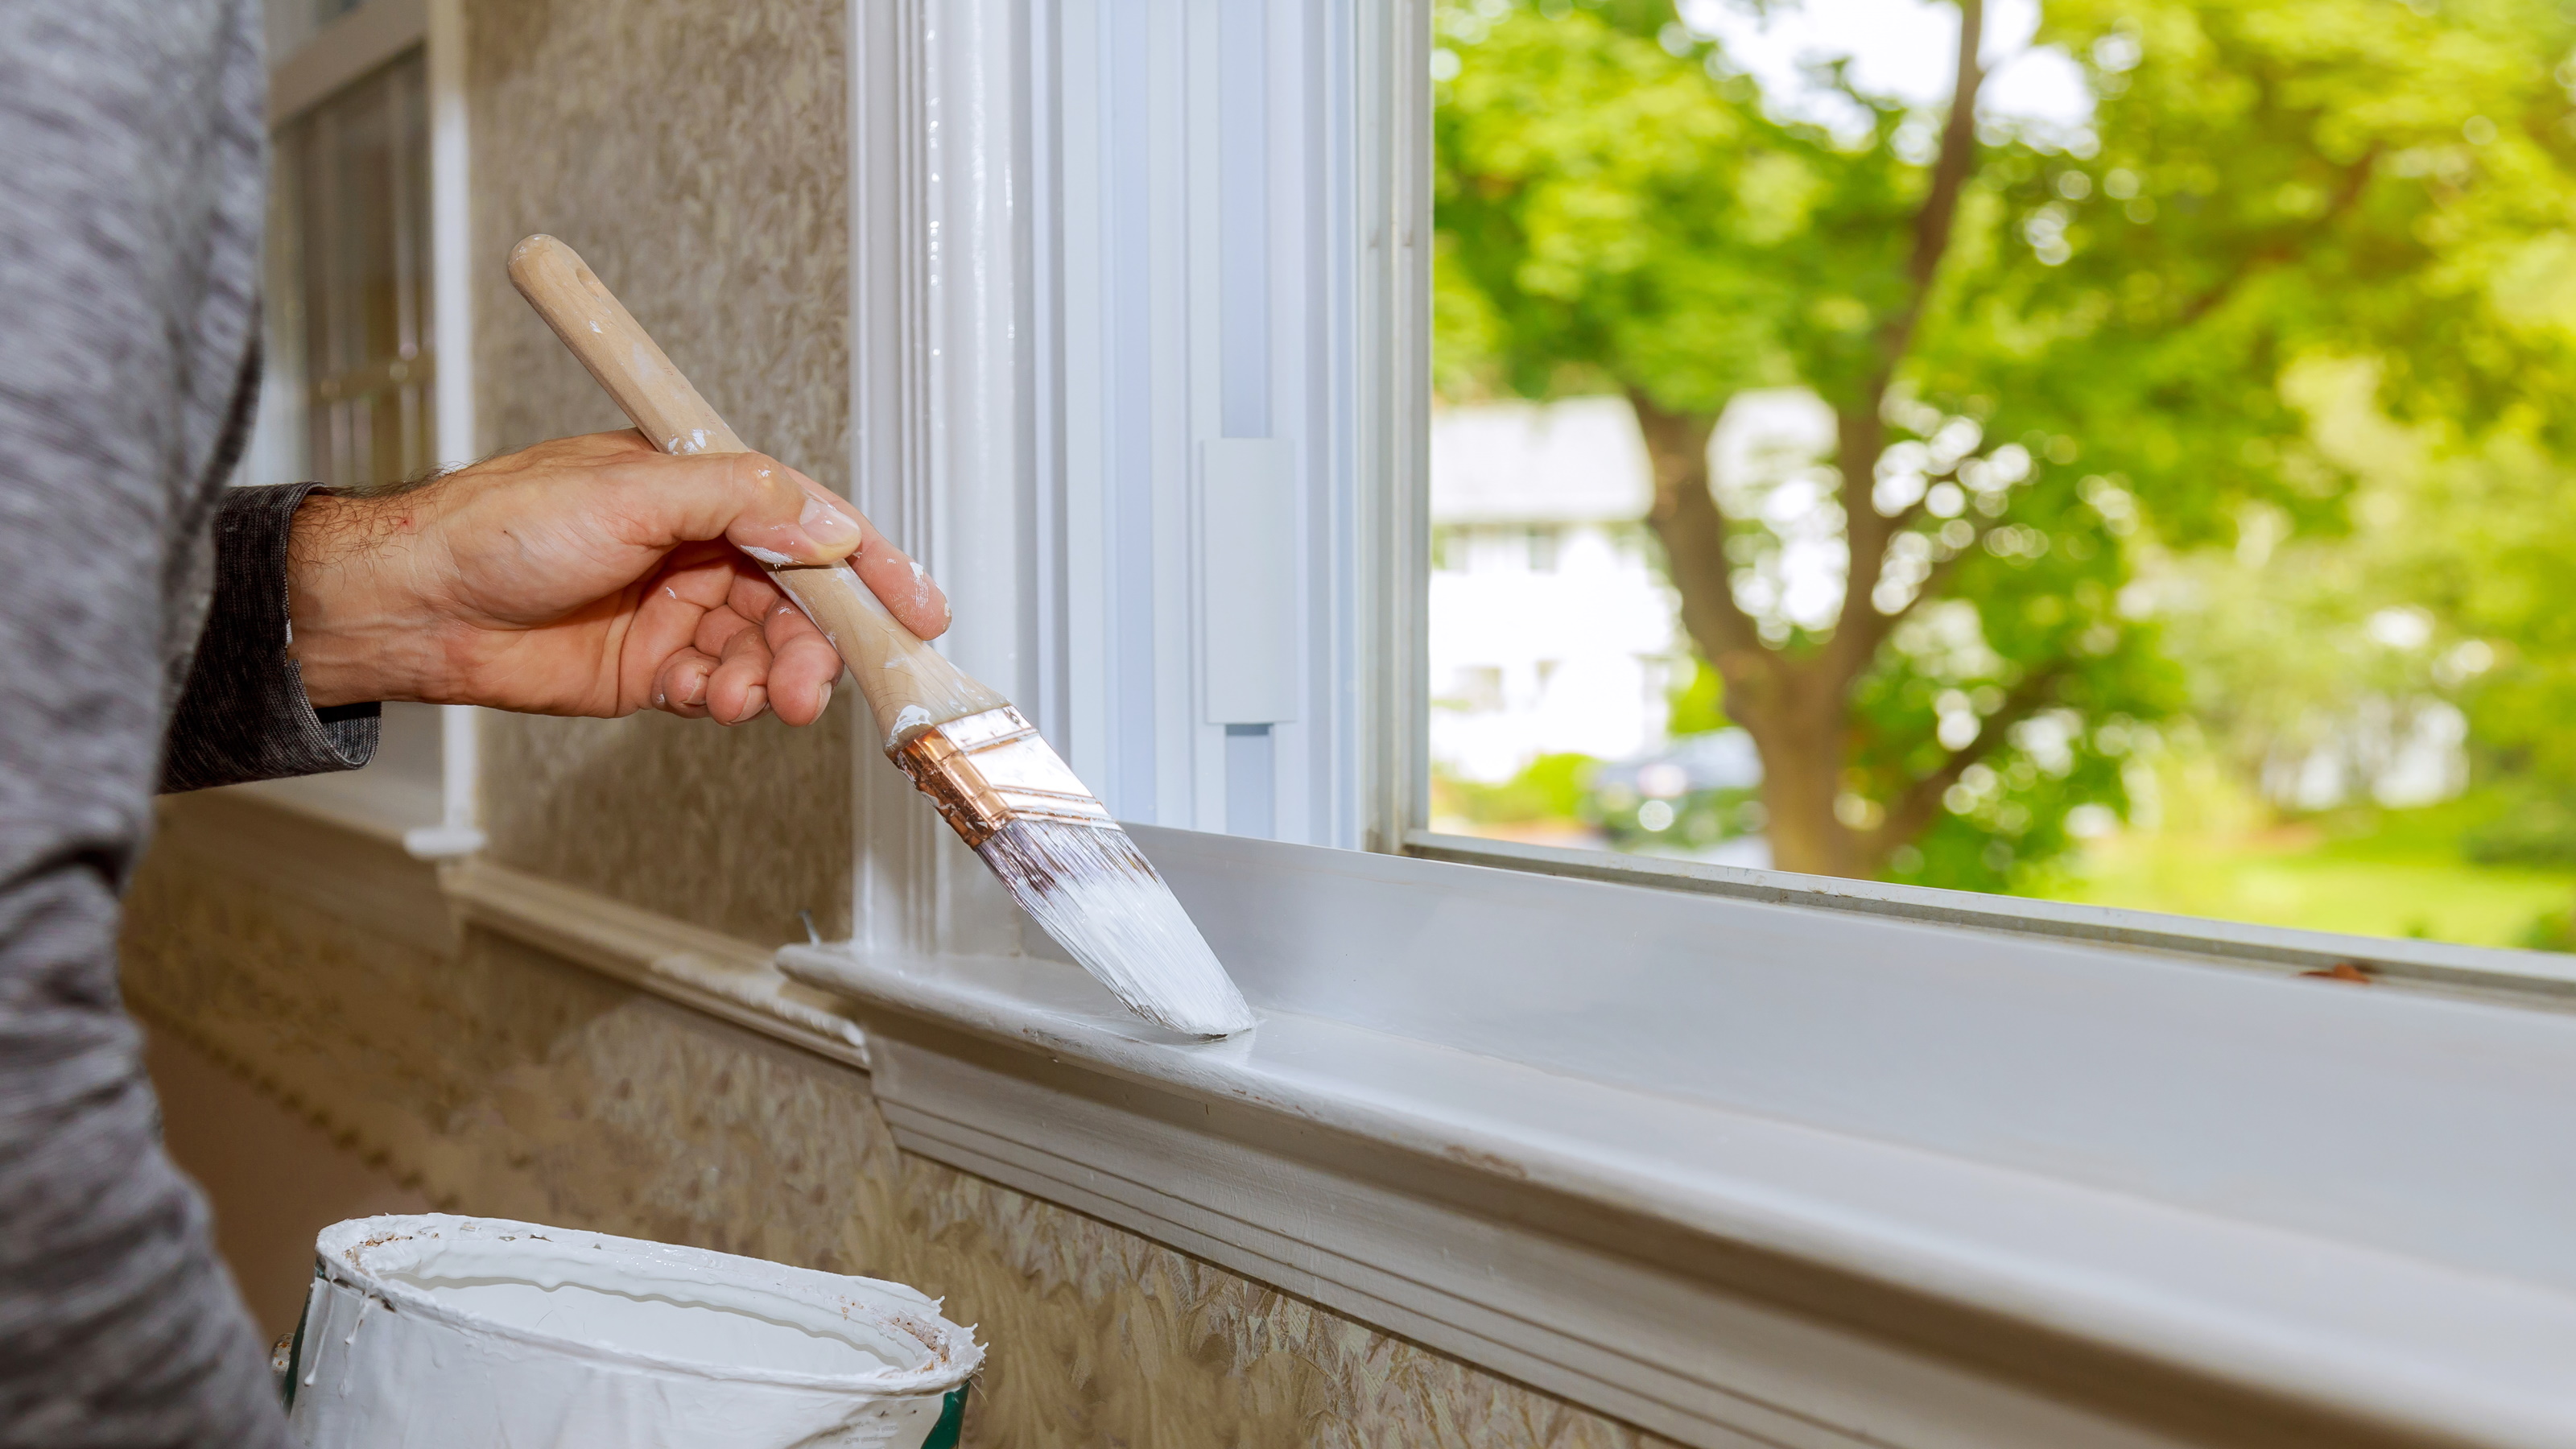
- Application: Apply the primer evenly across the entire area—the original glossy surface, the sanded areas, and the patched sections. Use a high-quality brush or roller.
- Drying Time: Allow the primer to dry completely. Do not rush this step, as incomplete curing will lead to poor adhesion.
5. Applying the Topcoat
Once the primer is dry, you can apply your final paint coat. It is highly recommended to apply a minimum of two coats of the final paint color.
- Technique: Use the application method best suited for the surface (brush for trim details, roller for large flat areas, sprayer for cabinets). Always follow the manufacturer’s guidelines regarding paint application speed and overlap to ensure uniform coverage.
- Coats: Apply the first coat, allowing it to dry fully. Then, apply the second coat, which will provide the depth of color and the durable, finished look.
Materials and Tools Checklist
Having the right supplies is half the battle. Below is a comprehensive list of materials required for a successful transformation:
- Specialized Primers: An adhesion/bonding primer (e.g., shellac-based or specialized bonding formula) compatible with your topcoat.
- Cleaning Agents: Mild soap/detergent, and a strong degreaser (TSP substitute or commercial cleaner).
- Abrasives: A variety of sandpaper grits (80/100, 120, 180, 220 grit).
- Repair Materials: Paintable caulk or spackling compound, and a putty knife.
- Application Tools: High-quality synthetic brushes (angled sash brush for trim), appropriate roller covers (short nap for smooth surfaces), and paint trays.
- Safety Gear: Disposable gloves, safety glasses, and a NIOSH-approved respirator (especially when sanding or using solvents).
- Protection: Drop cloths, painter’s tape, and plastic sheeting.
Color, Sheen, and Design Considerations
The relationship between sheen, color, and the underlying substrate is critical when dealing with glossy paint. Your choices here can either enhance the look or highlight every imperfection.
Understanding Sheen: Sheen refers to how much light a painted surface reflects. Glossy paint reflects a lot of light; matte paint absorbs most light. When painting over glossy paint, the goal is often to minimize the visible difference in reflectivity. A semi-gloss or satin finish is often the most practical choice for cabinets and trim, as it offers durability (easy to clean) while being less dramatically reflective than the original high-gloss finish.
Undertones and Color: Always test your chosen paint color on multiple surfaces in the actual room, not just on a swatch. Undertones—the subtle color cast (yellow, blue, green) inherent in the paint pigment—are heavily affected by the room’s lighting. Use swatches that are mounted to the actual wall material to observe how the color changes in morning light, afternoon light, and artificial evening light.
The complexity of painting over glossy paint means that minor mistakes can lead to major failures. Knowing these pitfalls will save you time, money, and frustration.
- Mistake: Skipping Degreasing. If you fail to remove grease and oils, the paint will simply sit on top of the contaminant and peel away from the underlying surface when the contaminant degrades. Prevention: Always use a strong degreaser and wipe down thoroughly.
- Mistake: Insufficient Sanding. If you only lightly scuff the surface, you fail to create a deep enough profile for the primer to grip. Prevention: Sand thoroughly, ensuring the entire area is uniform and rough.
- Mistake: Skipping the Bonding Primer. The primer is the glue. Without it, the topcoat has nothing to chemically bond to, leading to premature failure. Prevention: Treat the bonding primer application as seriously as applying the topcoat.
- Mistake: Rushing the Cure Time. Assuming the paint is dry to the touch means it is ready to use. In reality, it must *cure*—a process that takes weeks. Prevention: Plan your next activity (like moving furniture back) only after the paint manufacturer’s stated curing time has elapsed.
Safety Protocol and Professional Tips
Because this project involves strong solvents, abrasives, and chemical compounds, safety must be the absolute priority.
Ventilation and PPE: Always work in a well-ventilated area. Open multiple windows, use fans, and ensure proper airflow to dissipate fumes. When sanding, handling solvents, or applying strong primers, always wear NIOSH-approved respirators, chemical-resistant gloves, and safety goggles. Never mix chemicals without explicit instructions from the manufacturer.
When to Call a Professional: While this is a manageable DIY project, do not attempt the work if the surface is massive (e.g., an entire kitchen) or if the existing paint is severely damaged, showing signs of mold, or if the substrate is difficult to identify (e.g., old, unknown plaster). In these cases, consulting a professional painter ensures safety and structural integrity.
Painting over glossy paint is a methodical process that demands patience, precision, and adherence to scientific preparation steps. By respecting the surface’s need for chemical degreasing, mechanical keying, and specialized priming, you are not just applying paint—you are building a durable, resilient bond. With careful planning and following these detailed guidelines, the transformation of your glossy surfaces will be successful, revealing a beautiful and lasting finish that significantly elevates the entire space.
Mistakes to Avoid
Do not skip assessment just because the project looks simple. Most paint, cleaning, repair, and tool-care problems come from poor prep, incompatible products, rushed drying time, or using a method that does not match the material.
Avoid working without ventilation, gloves, eye protection, or a cleanup plan when coatings, solvents, sanding dust, or business/studio supplies are involved. Test first, read manufacturer directions, and pause if the surface, tool, or client setting creates safety questions you cannot answer confidently.
| Tools and Equipment | Materials and Products |
|---|---|
| Sandpaper | Primer |
| Tack cloth | Paint (compatible with gloss) |
| Paint scraper | Paintbrushes |
| Painter’s tape | Roller and tray |
| Drop cloths | Paint thinner (if necessary) |
| Cleaning solution | Safety goggles |
| Gloves |
Frequently Asked Questions
Do I absolutely have to use a specialized bonding primer?
Yes, this is the single most critical step. Standard primers are designed for porous materials (like bare drywall) and lack the chemical properties needed to bond to the slick, non-porous surface of existing glossy paint. The bonding primer acts as a chemical adhesive glue, creating a durable grip between the old paint and the new topcoat. Skipping this step is the primary cause of peeling and failure.
Get the Fail-Safe Paint Color Playbook (Free PDF)
36 proven colors • 8 ready palettes • trim & sheen guide • printable testing cards.
What is the most crucial preparation step I cannot skip?
The most crucial step is the chemical deep cleaning and degreasing. Glossy surfaces accumulate household oils, soap scum, and grease that act as physical barriers. If these contaminants are not thoroughly removed using a strong degreaser (like a TSP substitute), the new paint will simply sit on top of the grease and peel away, regardless of how well you sand or prime.
It is important to set realistic expectations: painting over glossy paint is not a quick job. The preparation phase (degreasing, sanding, patching, and priming) alone can take a full day, depending on the square footage. The drying and curing times for primers and paints must be strictly observed, meaning you will likely need multiple days spread out to allow for proper adhesion.
What if I am unsure about the substrate material?
If you cannot definitively identify the substrate (e.g., old, unknown plaster or layered paint), it is highly recommended that you consult a professional painter. Different materials require different solvents and primers. Attempting to guess can lead to material incompatibility and adhesion failure. If the damage is severe or the area is massive, calling a professional is the safest choice.
Conclusion
How to Paint Over Gloss Paint works best when the plan, materials, safety steps, and finish goals all line up before work begins. Review the surface or tool condition, choose compatible products, and leave enough time for drying, cleanup, and final checks.
Use the guidance above as a practical checklist, then adjust it to the specific surface, workspace, product directions, and risk level. When the project involves fumes, damaged materials, business liability, or uncertain conditions, slow down and get qualified help before moving forward.