
How To Paint With A Roller Without Streaks: Expert Techniques & Tips
Nothing kills the excitement of a freshly painted room like spotting streaks and roller marks on your walls. It’s a headache lots of us run into, but here’s the thing: streaky walls aren’t some unavoidable fate.
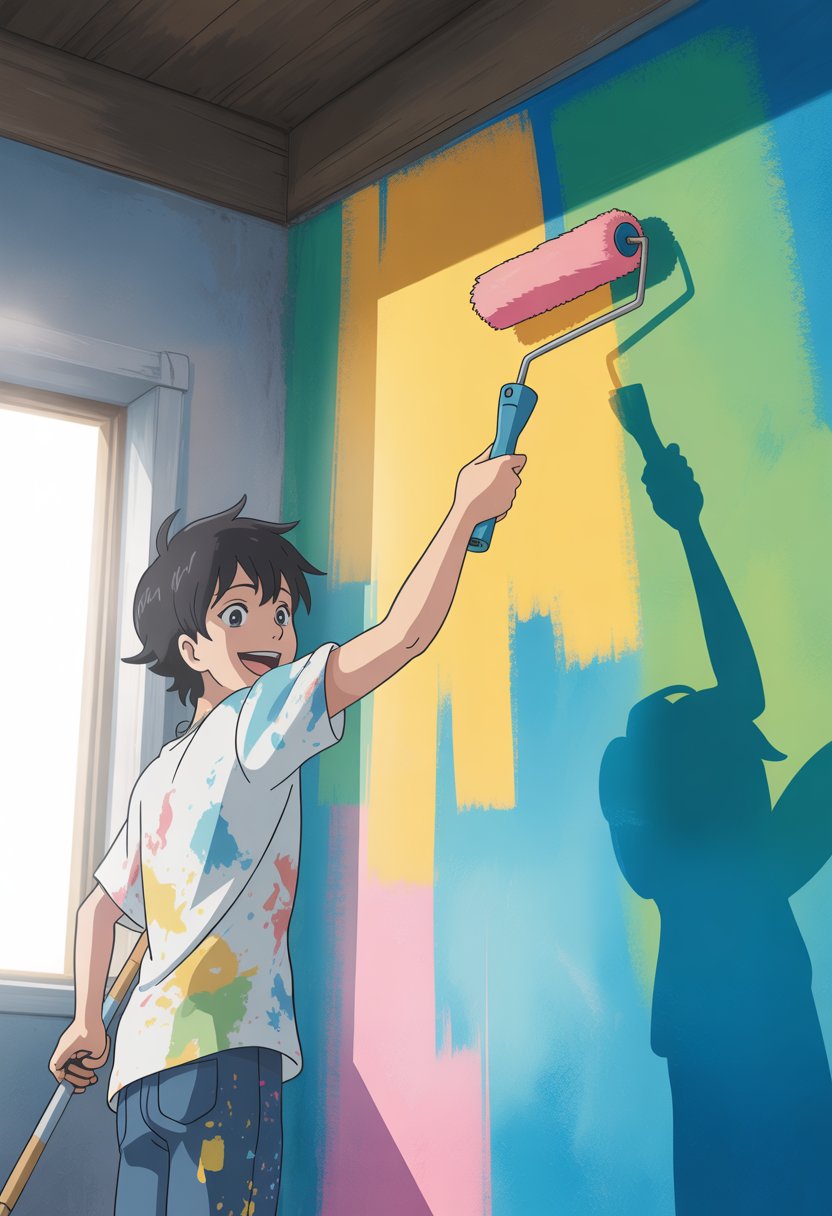
If you want streak-free walls, you’ve got to use the right roller technique, pick the proper tools, and keep steady pressure while working in small sections. Once you know why streaks show up and follow a few tried-and-true tricks, you can get that smooth, pro-level finish. No magic required, just a bit of know-how.
Get the Fail-Safe Paint Color Playbook (Free PDF)
36 proven colors • 8 ready palettes • trim & sheen guide • printable testing cards.
This guide covers everything from picking the right roller and paint to nailing application techniques that keep those annoying marks away. You’ll get tips on prepping your walls and handling any hiccups that pop up along the way.
Understanding Streaks and Roller Marks
Roller marks crop up when paint doesn’t spread evenly, leaving behind lines and streaks. Usually, it’s a mix of using the wrong tools, bad habits, or just trying to rush through the job.
Common Causes of Roller Marks
Wrong roller type is a major culprit. If the nap length isn’t right for your wall, paint goes on patchy. Short naps are for smooth walls; medium naps handle a bit of texture.
Poor loading technique can mean your roller is too wet or too dry. Failing to roll off extra paint leads to drips and heavy blotches.
Inconsistent pressure while rolling leaves lines. Push too hard and you flatten the roller nap, spreading paint unevenly. Not enough pressure? You get thin, spotty patches.
Overworking the paint happens when you keep rolling over the same spot. Instead of smoothing things out, you just move wet paint around and mess up the finish.
Wrong paint type doesn’t help either. Some paints, especially high-gloss, make marks stand out even more.
Types of Streaks and Their Effects
Roller lines show up as parallel streaks where you rolled. They often mean your roller nap is too long or your pressure is off.
Lap marks are those lighter or darker bands where wet paint meets dry. If you let one section dry before rolling the next, you’ll see these.
Stipple marks look like tiny bumps or dots. Usually, that’s from a roller with too much texture or paint that’s just too thick.
Edge marks appear where roller work meets brush work, like around trim. The textures don’t match, and it shows.
Honestly, any of these make your walls look unfinished—nobody wants that.
How Uneven Coverage Happens
Skipping primer means your topcoat soaks in unevenly. Some spots drink up paint, others don’t, so things look blotchy.
Get the Fail-Safe Paint Color Playbook (Free PDF)
36 proven colors • 8 ready palettes • trim & sheen guide • printable testing cards.
Poor surface prep (like leaving dirt or grease) keeps paint from sticking. Clean walls help paint go on evenly.
Working too fast makes it tough to blend sections. If paint dries between areas, you get seams and patchiness.
Inadequate paint mixing causes color changes across your wall. Paint settles, so stir it well before and during use.
Environmental factors—like heat or humidity—change how paint flows and dries, which can mess with coverage.
Essential Tools and Materials

The right tools and materials really do matter. A quality roller, decent paint, and the right supplies help you get that smooth, even look instead of streaks.
Choosing the Right Paint Roller
A good roller is your best friend for streak-free painting. The cover material and nap length determine how well paint goes on.
Roller Cover Materials:
- Synthetic covers are great for water-based paints
- Natural lamb’s wool handles oil-based paints
- Foam rollers give smooth finishes but sometimes leave bubbles
Nap Length Guide:
| Surface Type | Nap Length | Best For |
|---|---|---|
| Smooth walls | 1/4 to 3/8 inch | Flat surfaces, doors |
| Textured walls | 1/2 to 3/4 inch | Light texture, drywall |
| Rough surfaces | 3/4 to 1 inch | Stucco, brick |
Skip the bargain-bin roller covers that shed fuzz everywhere. They leave lint in your paint and wreck the finish.
Most wall projects go fine with a 9-inch roller. Grab a smaller one if you’re working in tight corners.
Selecting High-Quality Paint
Good paint flows and levels out, hiding roller marks. Cheap paint? It just looks streaky, no matter how careful you are.
Get the Fail-Safe Paint Color Playbook (Free PDF)
36 proven colors • 8 ready palettes • trim & sheen guide • printable testing cards.
Paint Types: Water-based (latex) paint is easy to use, dries fast, and cleans up with water. Flat or eggshell finishes are usually best for walls.
Quality Indicators:
- Higher price often means better ingredients
- Premium paints have more pigment and stronger binders
- Look for “self-leveling” on the label
Coverage Features: Non-drip formulas stay on the roller and help you avoid runs.
Always test your paint color on a small patch first—some shades cover flaws better than others.
Preparing Necessary Supplies
Having everything ready before you start keeps things moving and helps you avoid mistakes that cause streaks.
Essential Items:
- Paint tray with ribbed liner
- Extension pole for hard-to-reach spots
- Drop cloths to protect floors
- Brush for edges and corners
- Clean rags for accidents
Preparation Tools:
- Mild soap for cleaning walls
- Spackle for filling holes
- 120-grit sandpaper for smoothing repairs
- Primer for better paint adhesion
Pro Tips: Use a paint tray liner to make cleanup easier. Grab a couple extra roller covers so you can swap them out between coats.
Keep your gear close by. If you’re running back and forth, you’ll end up rushing and making mistakes.
Get the Fail-Safe Paint Color Playbook (Free PDF)
36 proven colors • 8 ready palettes • trim & sheen guide • printable testing cards.
Preparing Walls and Surfaces for Painting
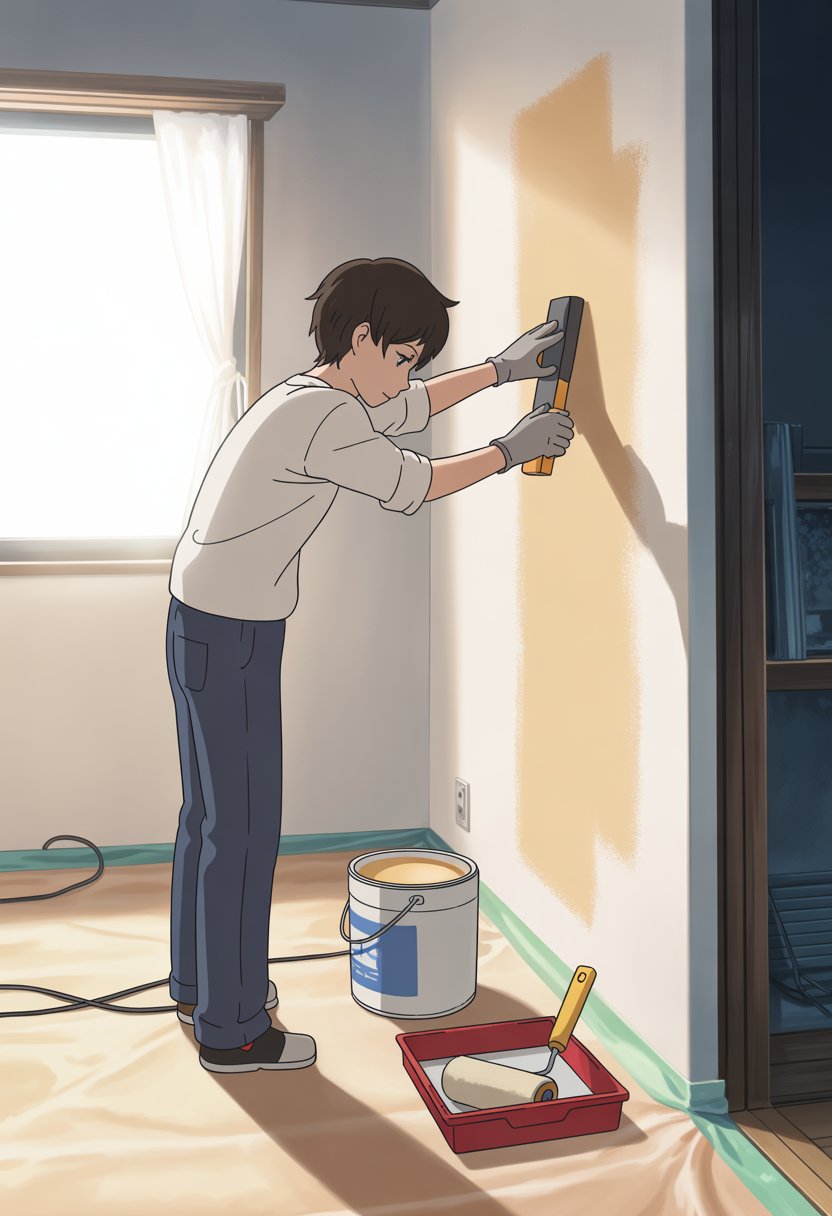
Getting the surface right is half the battle. Clean walls and the right primer set you up for a streak-free paint job.
Cleaning and Repairing Surfaces
Start by wiping down your walls with a damp cloth and mild soap. Get rid of all the dirt and grease—especially around light switches and door frames, where gunk really builds up.
Let everything dry out before you do anything else. If the walls are damp, paint will streak and look splotchy.
Look out for:
- Small nail holes
- Cracks in the wall
- Dents or scratches
- Peeling paint
Fill holes with spackle and a putty knife. Press it in, then smooth it out so it’s flush with the wall.
For bigger cracks, use mesh tape and joint compound. That way, repairs won’t crack again later.
After repairs dry, sand everything until it feels smooth to the touch. Wipe away all dust with a clean cloth—leftover dust shows up as bumps in your paint.
Priming for a Smooth Finish
Primer helps paint stick and keeps streaks away. It gives you an even surface so paint goes on the same everywhere.
Always use primer when painting over dark colors with something lighter. Skipping primer means you’ll need extra coats, and sometimes the old color still peeks through.
Prime these surfaces:
- Bare drywall or wood
- Stained areas
- Unpainted spots
- Glossy or semi-gloss paint
Pick a primer that fits your job. Latex primer works for most interior walls and dries pretty fast.
Roll on the primer the same way you’ll roll on your paint—it’s good practice for the main event.
Let the primer dry as long as the can says. Usually, that’s 2–4 hours. Check for missed spots before you start painting—those areas will soak up paint differently and cause streaks.
Loading the Roller Correctly
If you want smooth paint, it starts with loading your roller the right way. When you get this step down, you avoid drips, streaks, and patchy coverage—and honestly, painting just feels easier.
Using a Paint Tray or Screen
Pour paint into your tray until it fills about a third of the roller’s depth. That’s usually enough to work with—any more, and you’ll end up with a sloppy mess.
Dip your roller into the paint. Let it soak for a few seconds so it can really pick up enough paint.
Roll along the ribbed section of the tray a few times. This helps knock off extra paint and spreads it out across the roller sleeve.
You can swap the tray for a paint screen if you’re using a big bucket. Just drop the screen inside a 5-gallon bucket of paint.
Dip your roller right into the bucket, then roll it up and down the screen. Honestly, the screen does a better job than tray ribs at knocking off excess paint.
Check your roller before you start painting. It should feel heavy with paint but not so much that it’s dripping everywhere.
Achieving Consistent Paint Application
Reload your roller often so you keep things even. Don’t let it run dry between trips to the tray.
A well-loaded roller usually covers about 25-30 square feet before you need more paint, but that depends on your wall’s texture and what paint you’re using.
Test your load on a small spot. The paint should go on smooth—no globs, no bare patches.
Don’t overload the roller or you’ll get drips and splotches. Too little paint? You’ll see streaks and need extra coats.
Try to keep a little extra paint on the roller’s edges. That helps blend sections as you move across the wall. It’s a small thing, but it makes a difference.
Techniques for Smooth Roller Painting
If you want pro-level results, you need the right roller technique. Three things matter most: keeping the paint wet as you go, using smart patterns, and keeping steady pressure with every stroke.
Maintaining a Wet Edge
A wet edge keeps lines from showing up between sections. You always want to blend new paint into paint that’s still wet.
Work in small chunks—about three feet wide. Finish each section before starting the next. Don’t let the edge dry before you roll on more paint beside it.
When you finish one section, jump right into the next while the first is still wet. Overlap your strokes a bit into the wet paint so it all blends together.
If you need a break, stop at corners or natural edges—not in the middle of the wall. Try to plan things so you can finish a whole wall at once, if you can.
Using the ‘W’ Pattern
The W pattern helps you spread paint evenly and keeps streaks at bay. It’s honestly way better than just rolling up and down in straight lines.
Start by making a big W on the wall, about three feet wide and tall. Use light pressure here—don’t smash the roller.
Get the Fail-Safe Paint Color Playbook (Free PDF)
36 proven colors • 8 ready palettes • trim & sheen guide • printable testing cards.
Fill in the W with parallel up-and-down strokes, covering all the empty spots. Keep your strokes close together to avoid gaps.
Grab more paint before each new W. Don’t try to stretch it too far—running dry is how you get streaks.
Controlling Pressure and Even Strokes
Steady pressure gives you smooth, even coverage. Too much pressure? You’ll squeeze out paint and make lines.
Stick to consistent, moderate pressure on each stroke. Just enough to transfer paint—don’t flatten the roller.
Keep your speed steady. Go too fast, and you’ll fling paint. Too slow, and you might get drips or waste time.
At the end of each stroke, lift the roller straight off the wall. Don’t drag it or let it tail off, or you’ll get weird marks at the edges.
If your roller cover starts shedding or loses its shape, swap it out. A worn cover just makes things harder than they need to be.
Finishing Touches and Troubleshooting
Even if you’re careful, roller lines or uneven spots can sneak in. A few quick fixes and some basic tool care help you get that pro finish—and your gear will be ready for next time.
Fixing Roller Lines and Streaks
Jump on roller marks or streaks fast—they’re much easier to fix while the paint’s still wet.
Take a clean, dry roller and gently roll over the streaky spots. Use long, smooth strokes and don’t add more paint. This usually blends things out.
For stubborn lines, try these:
- Light sanding with fine 220-grit sandpaper once the paint’s dry
- Thin paint coat—just a light layer over the trouble spots
- Cross-rolling—roll perpendicular to your first strokes
If the streaks are really bad, you might have to sand and repaint. Don’t try to fix wet paint by pressing harder—it almost always makes it worse.
Move quickly, since paint dries in 15-20 minutes. Keep a damp cloth handy to wipe your roller between fixes.
Applying a Second Coat
Let the first coat dry all the way before you add a second. Most paints need 2-4 hours, but check your paint can for specific drying times. Rushing it just mixes wet layers and causes streaks.
Before you start the second coat:
- Check for thin spots or missed areas
- Sand down any drips or bumps with fine sandpaper
- Wipe the surface with a tack cloth
Roll on the second coat just like the first—light, even pressure and keep that wet edge going. The second coat usually feels easier and helps hide streaks.
Most walls need two coats for solid coverage. If you’re painting with dark colors or making a big color change, you might need three. It’s a bit of extra work, but it’s worth it for a smooth finish.
Caring for Your Tools After Painting
Go ahead and clean your roller and tray right after you finish painting. If paint dries on them, those rollers are basically toast for next time.
For water-based paints:
Get the Fail-Safe Paint Color Playbook (Free PDF)
36 proven colors • 8 ready palettes • trim & sheen guide • printable testing cards.
- Roll off extra paint onto some newspaper
- Rinse the roller sleeve under warm water
- Add a bit of dish soap if paint’s being stubborn
- Keep rinsing until the water looks clear
For oil-based paints:
- Grab some paint thinner or mineral spirits
- Make sure there’s plenty of fresh air around
- Get rid of solvents the right way—don’t just pour them out
Give the roller sleeve a quick spin to shake off water, then let it air dry all the way before putting it away.
Paint trays? Warm, soapy water does the trick. If there’s a layer of thick paint, scrape it off first with a putty knife.
If you want to keep rollers soft, store them in plastic bags. Honestly, after three or four uses, it’s probably time to swap out the roller sleeve for a fresh one.