
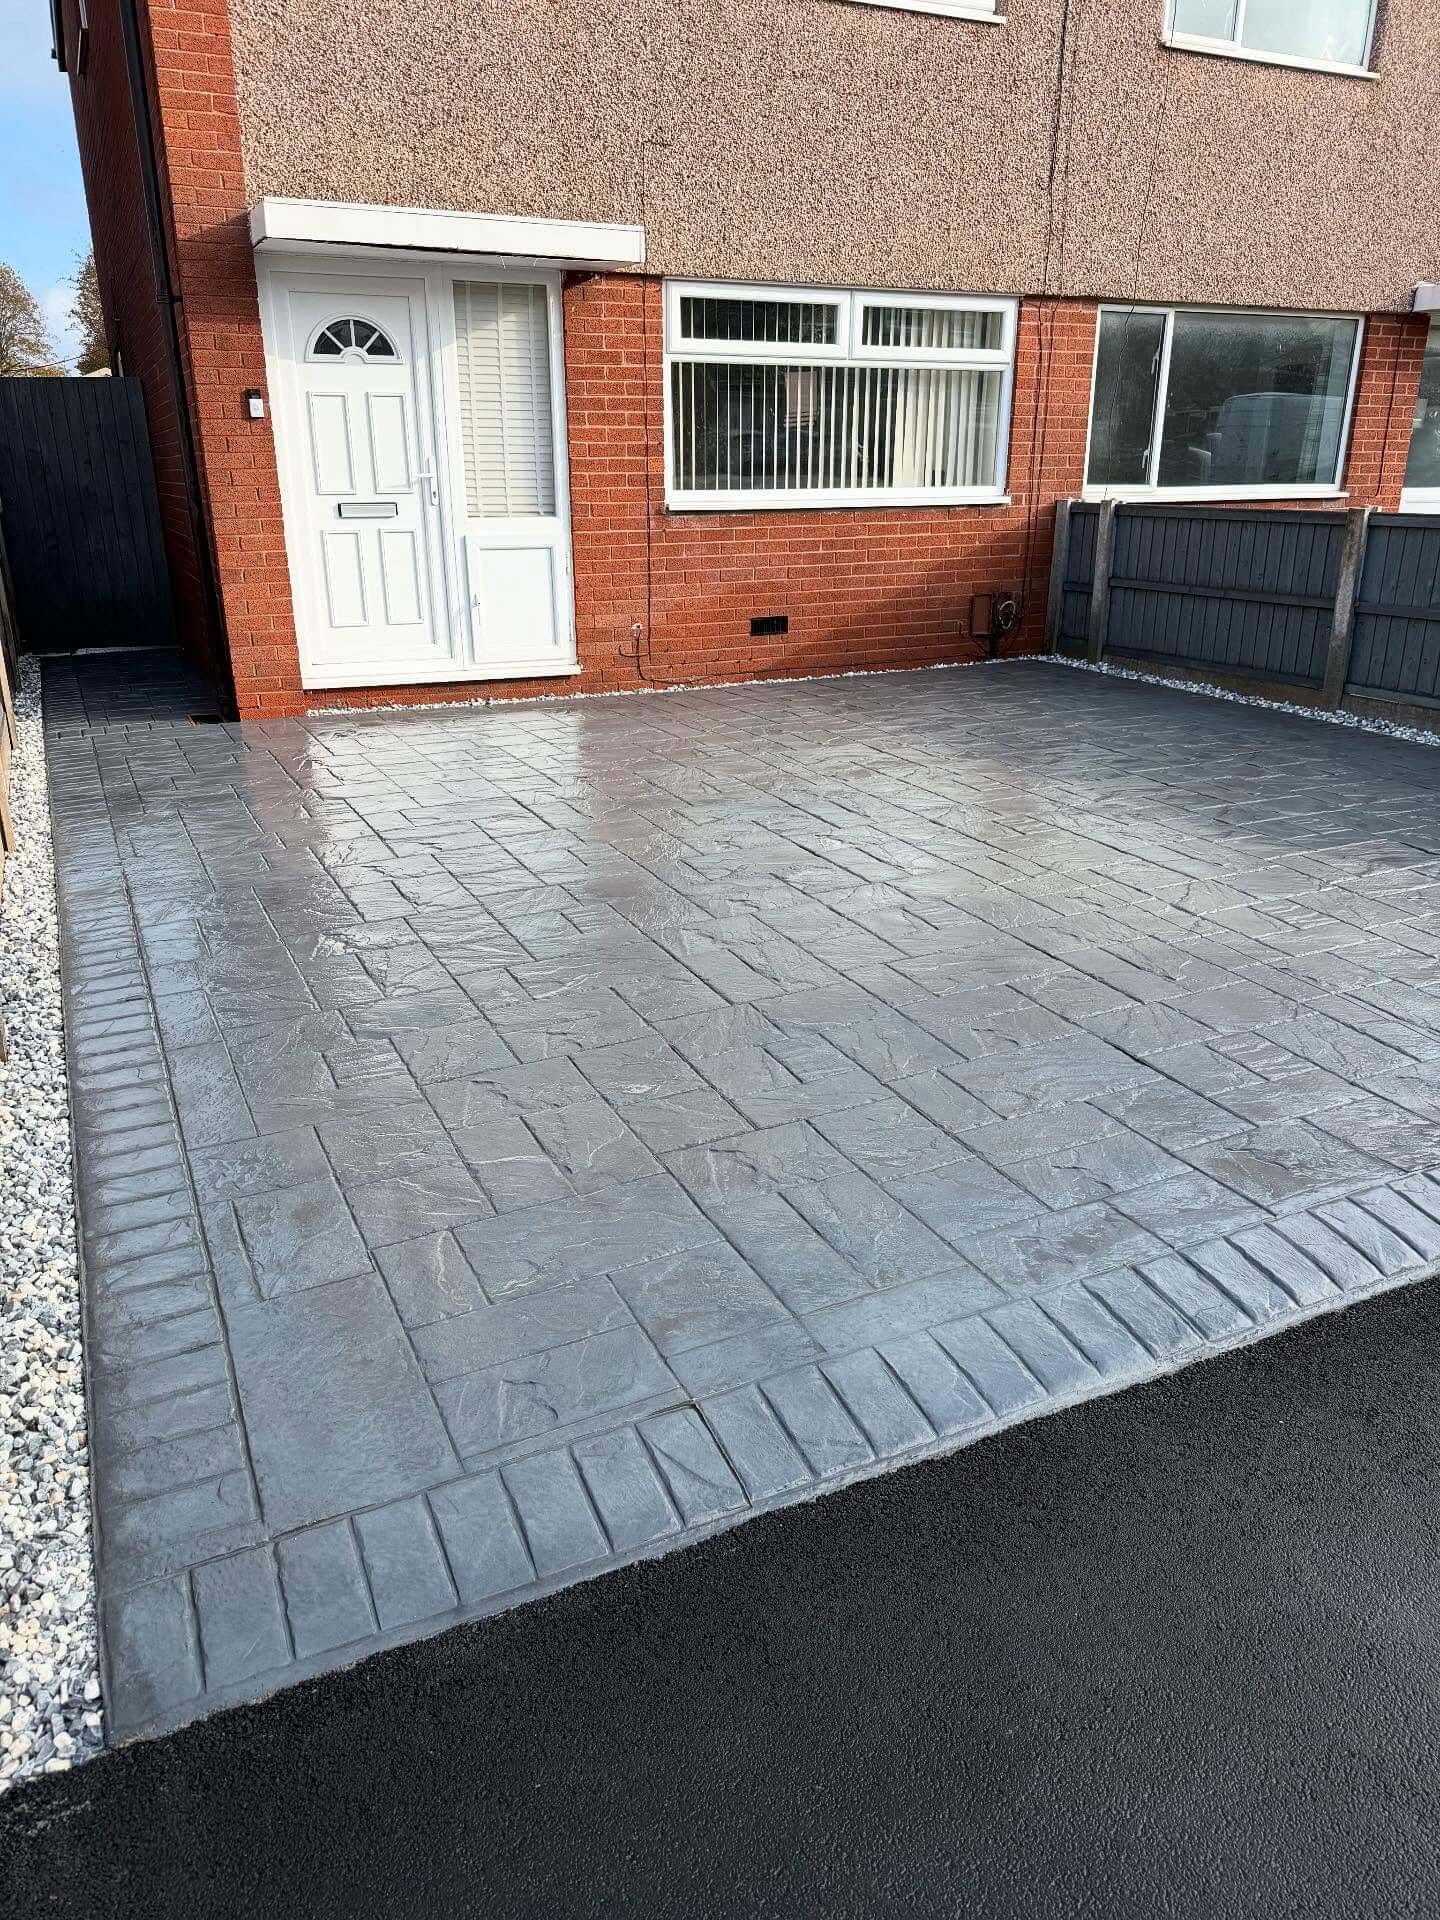
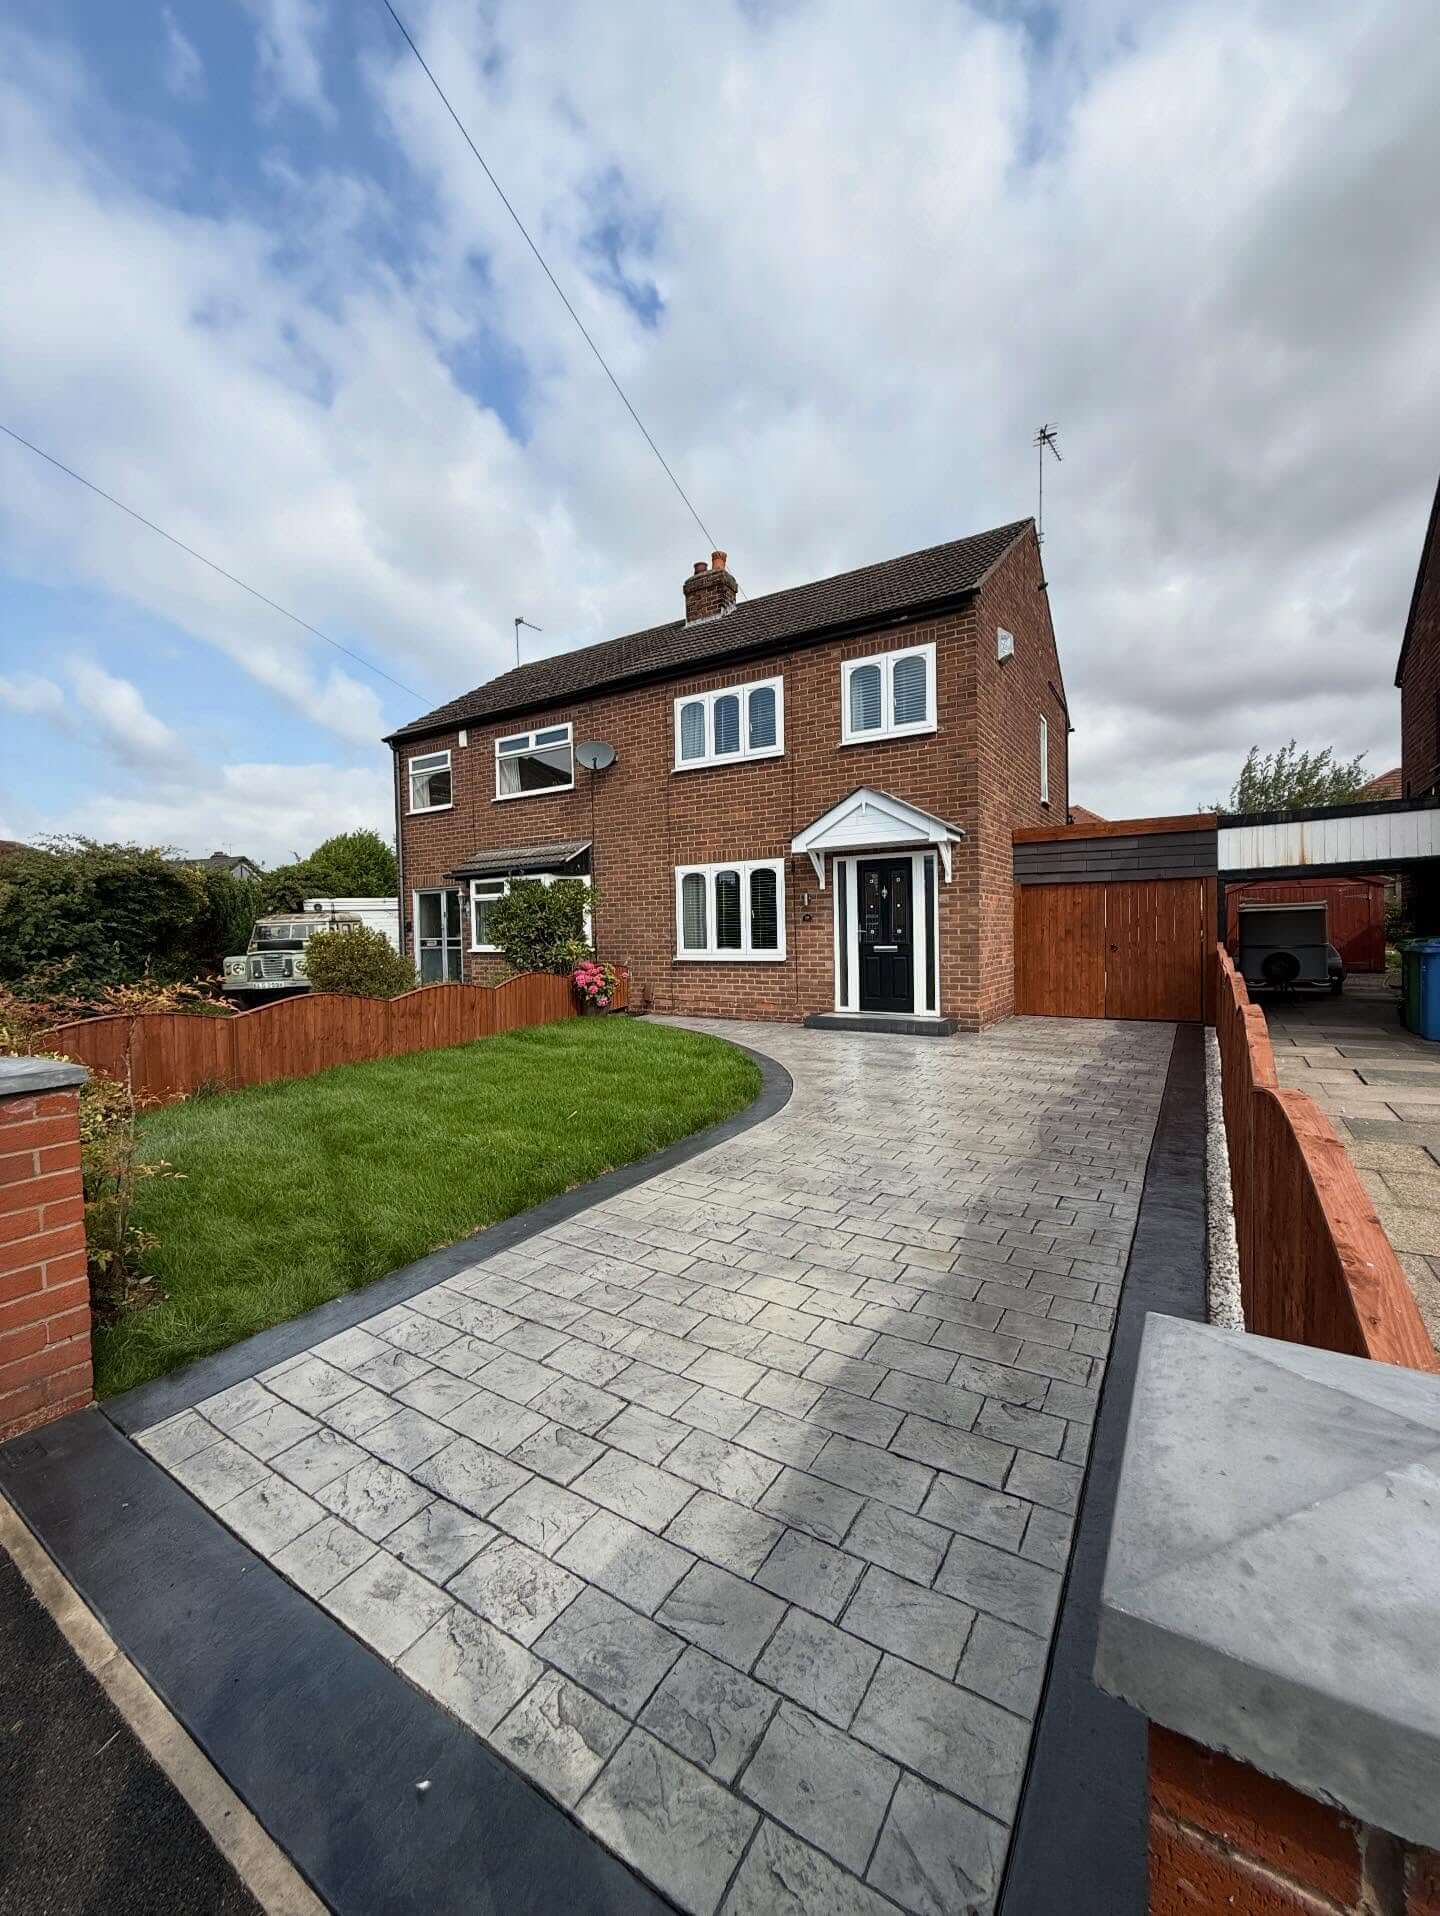
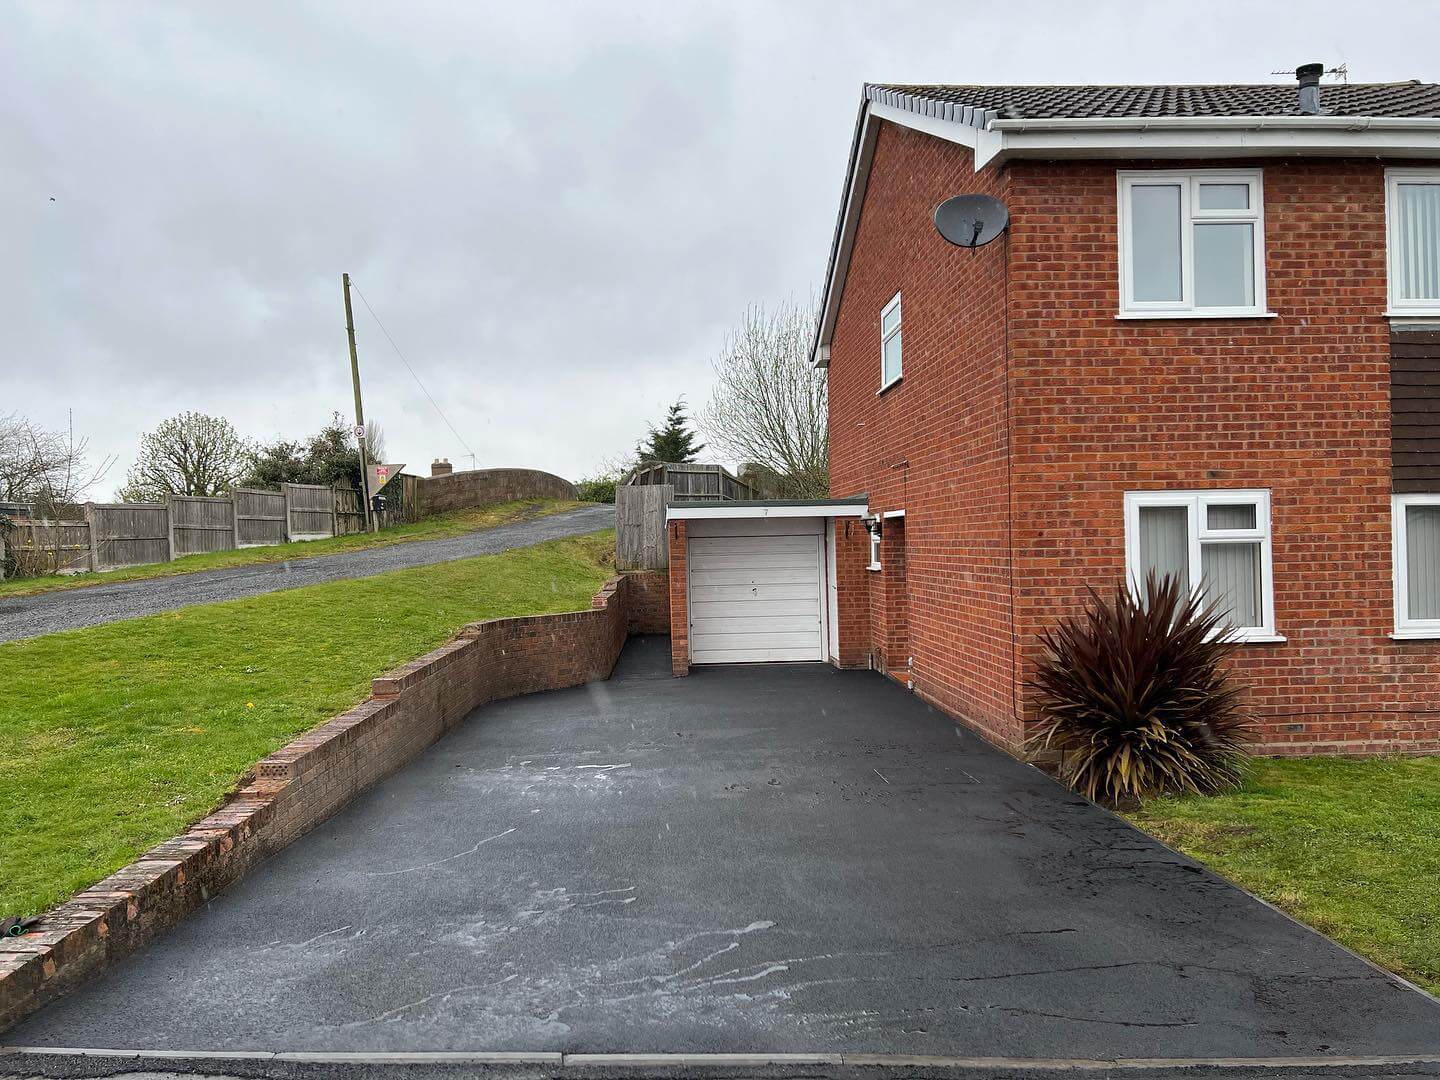
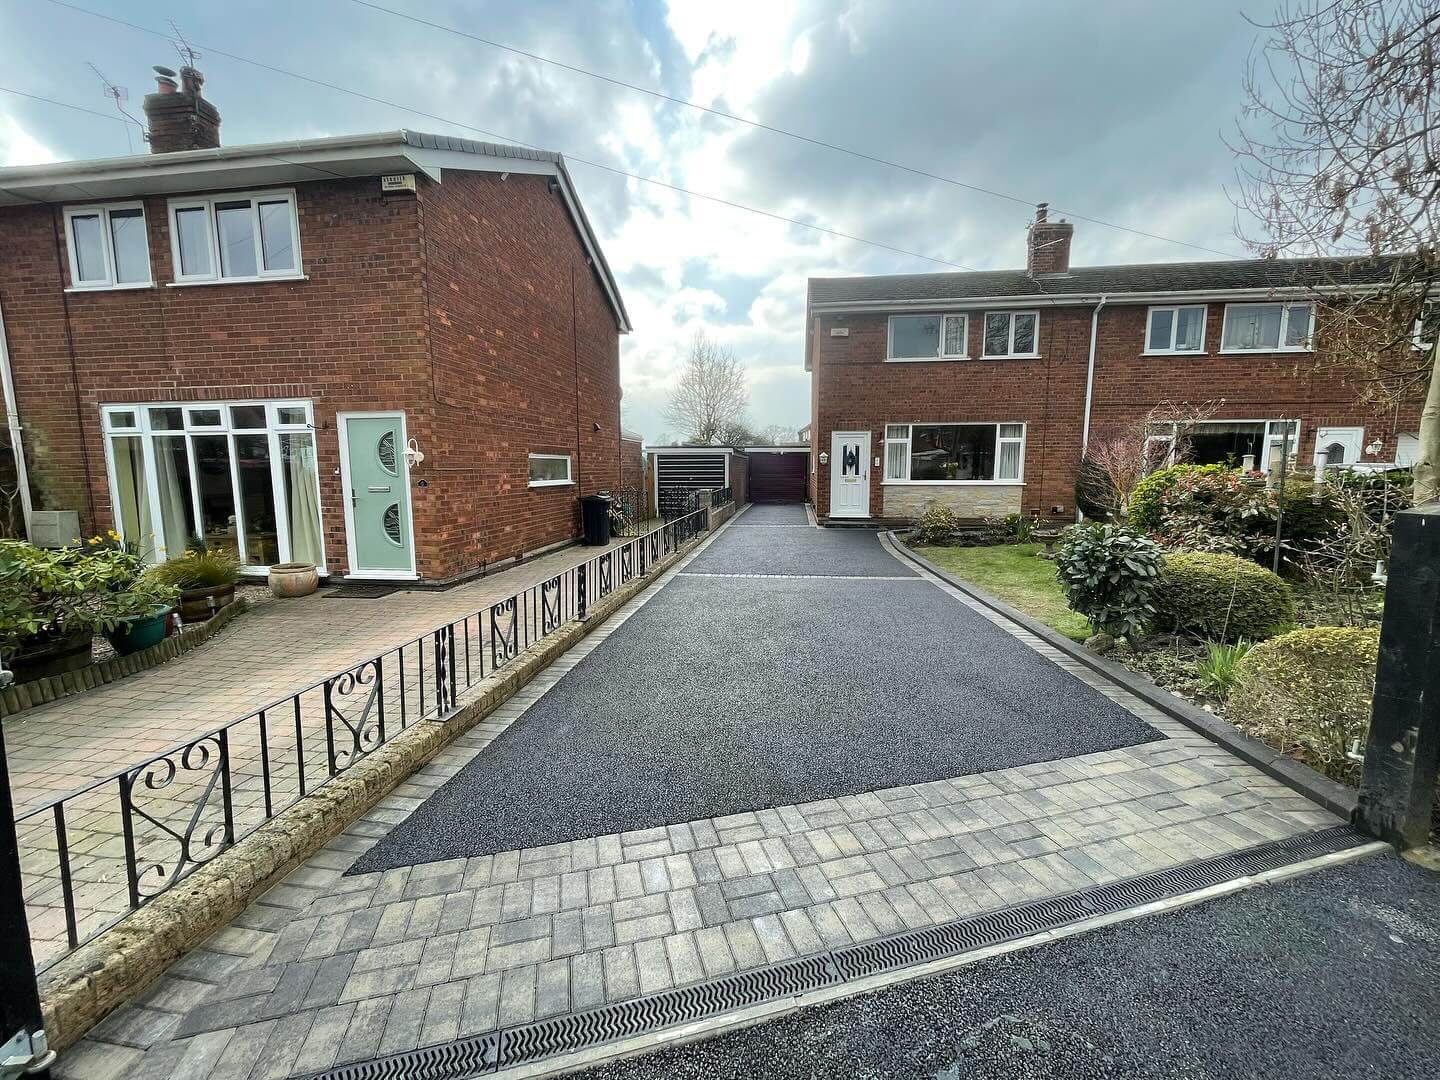
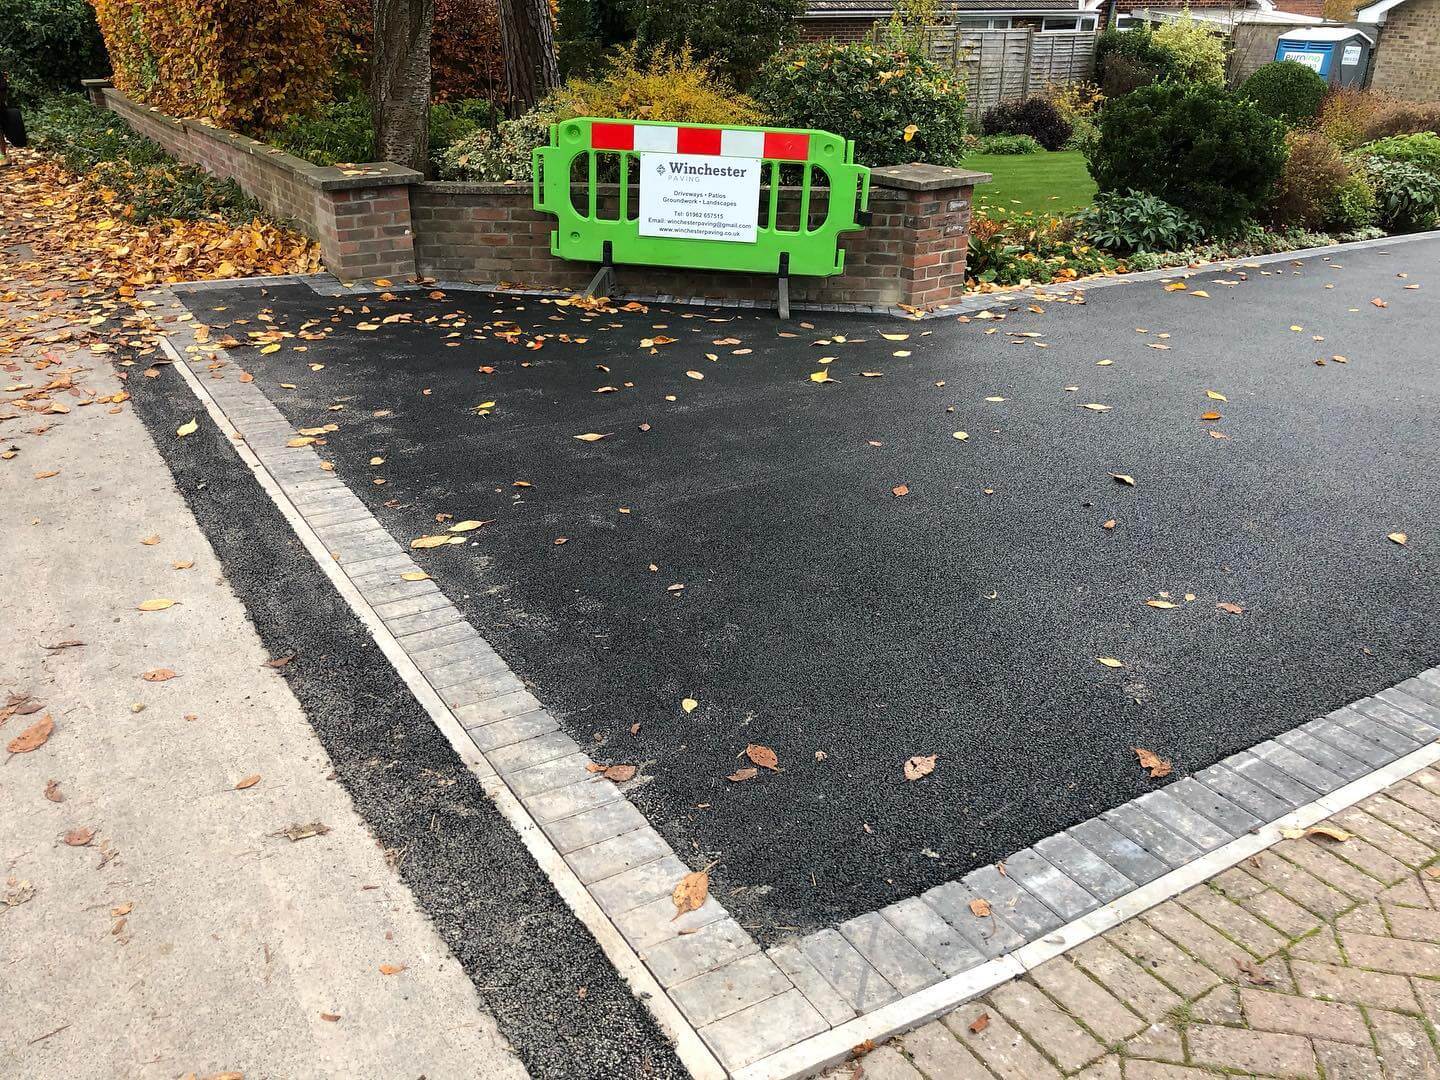
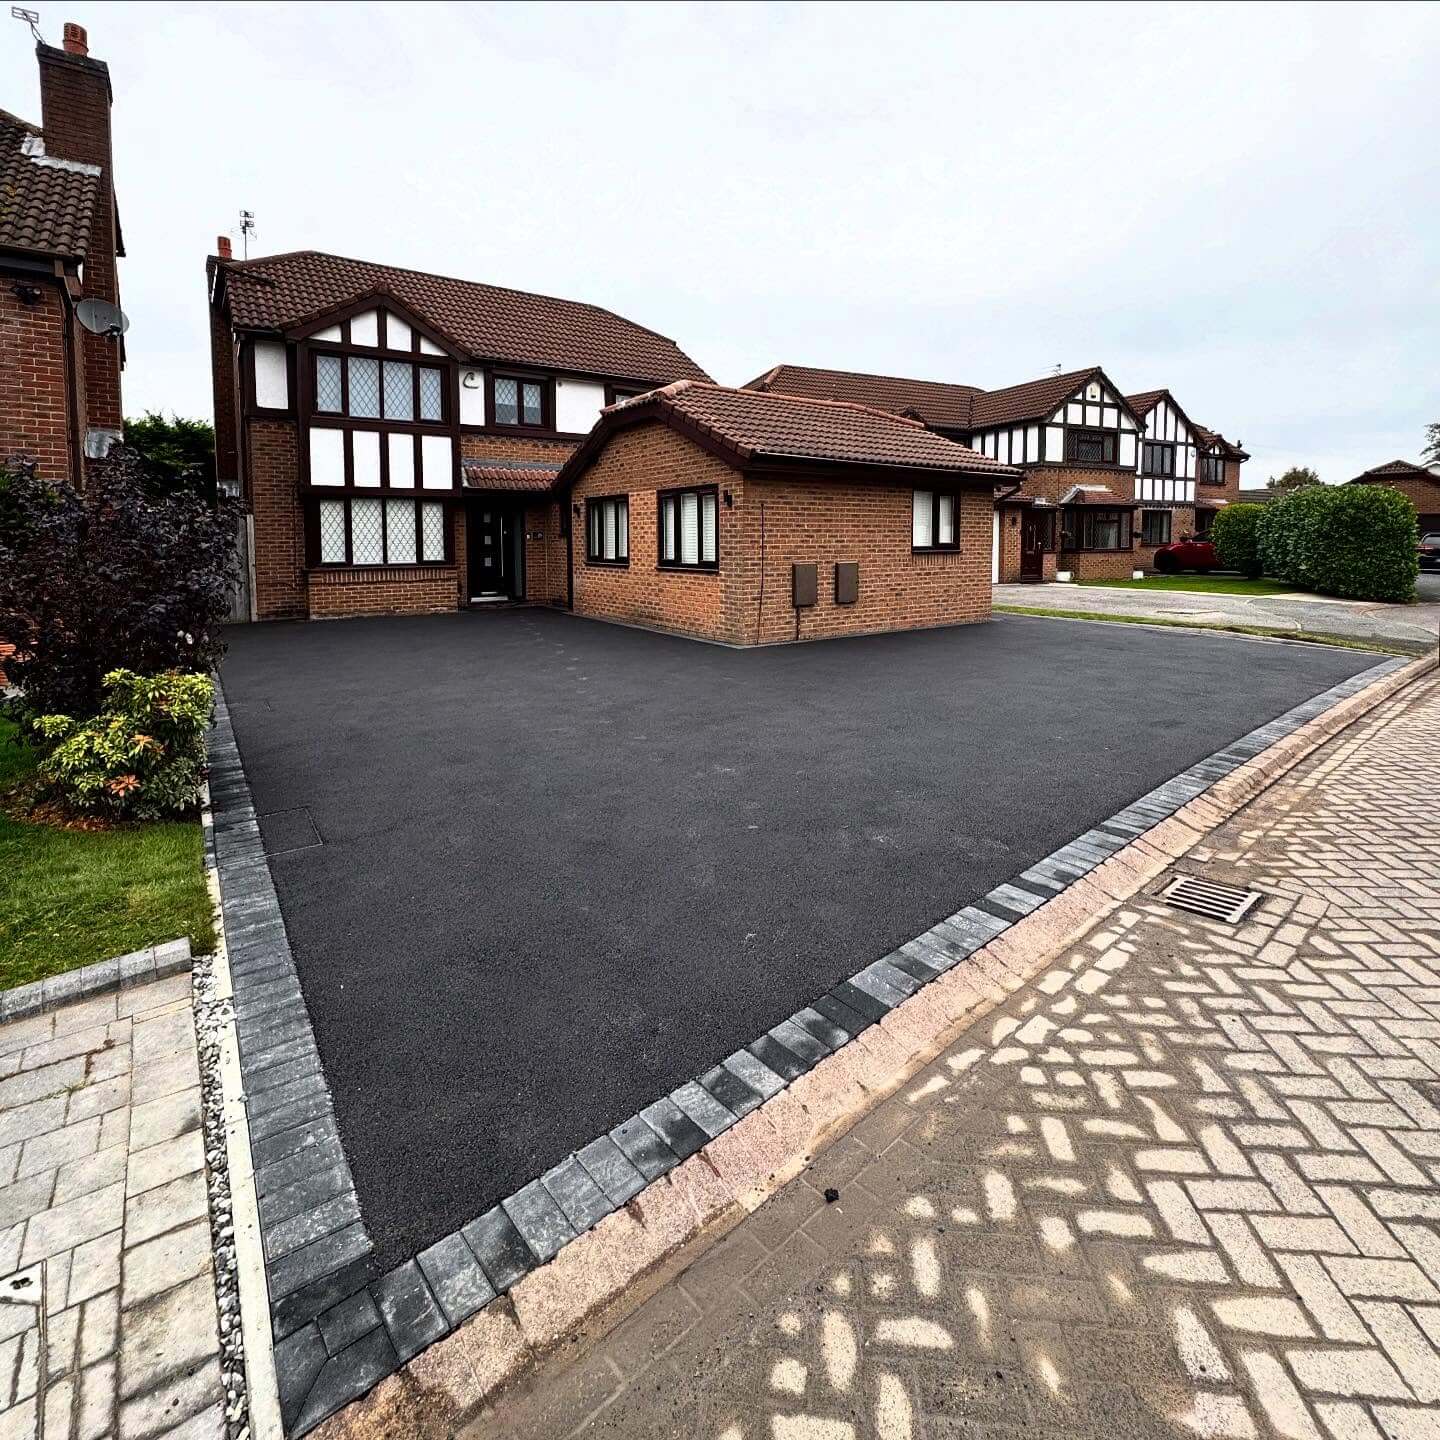
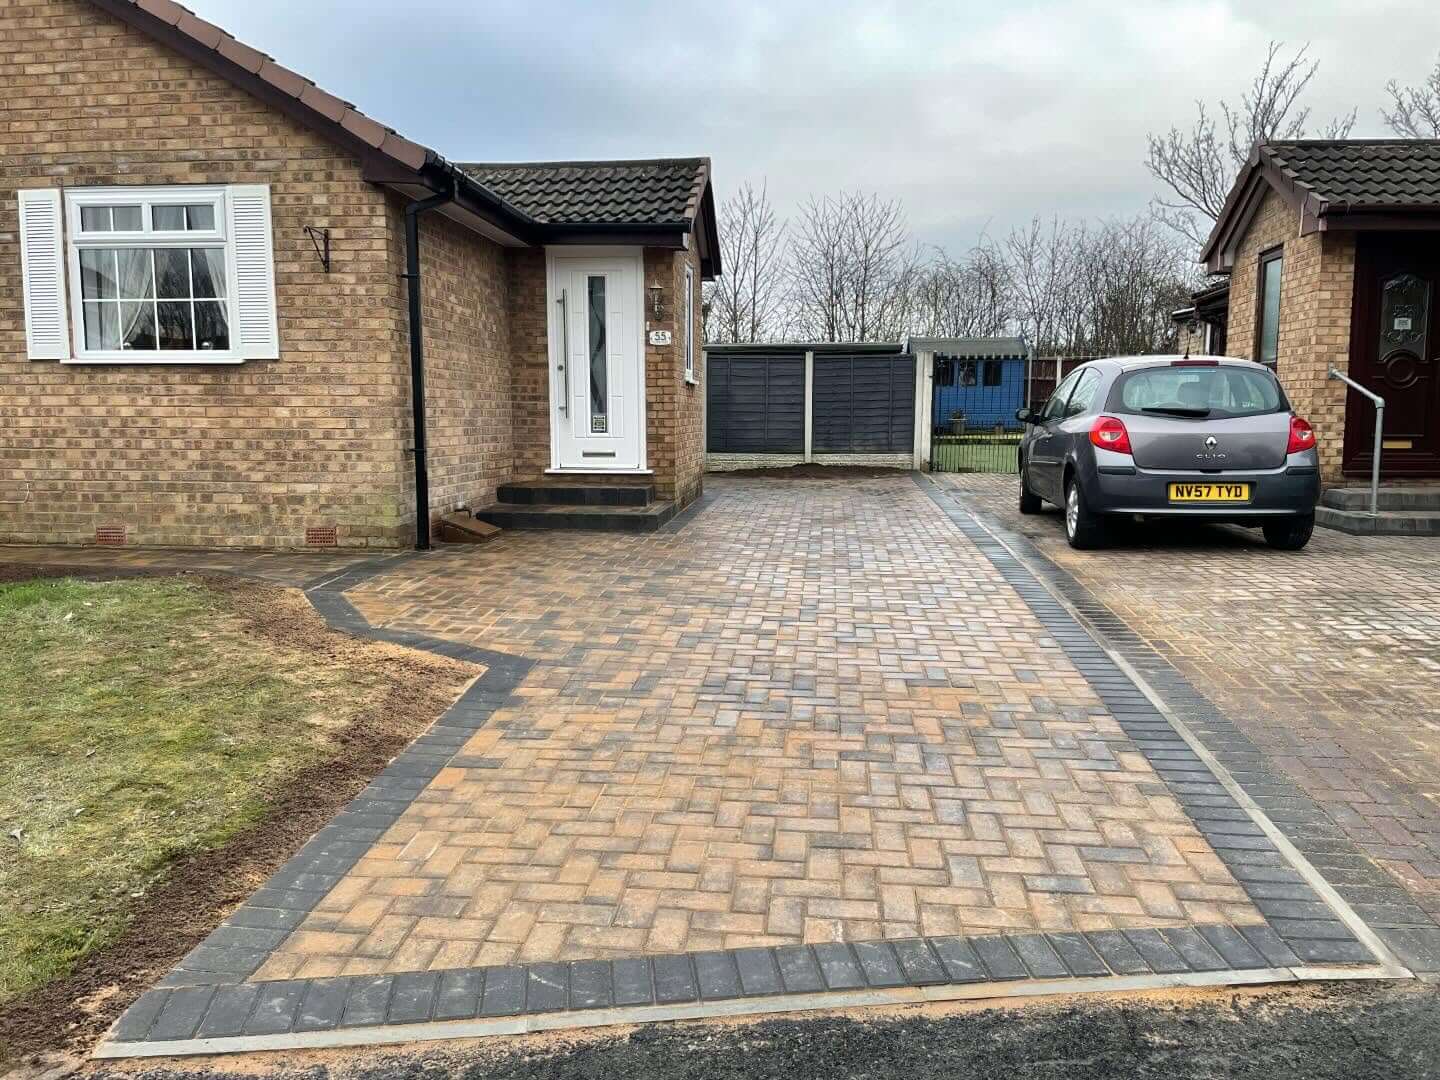
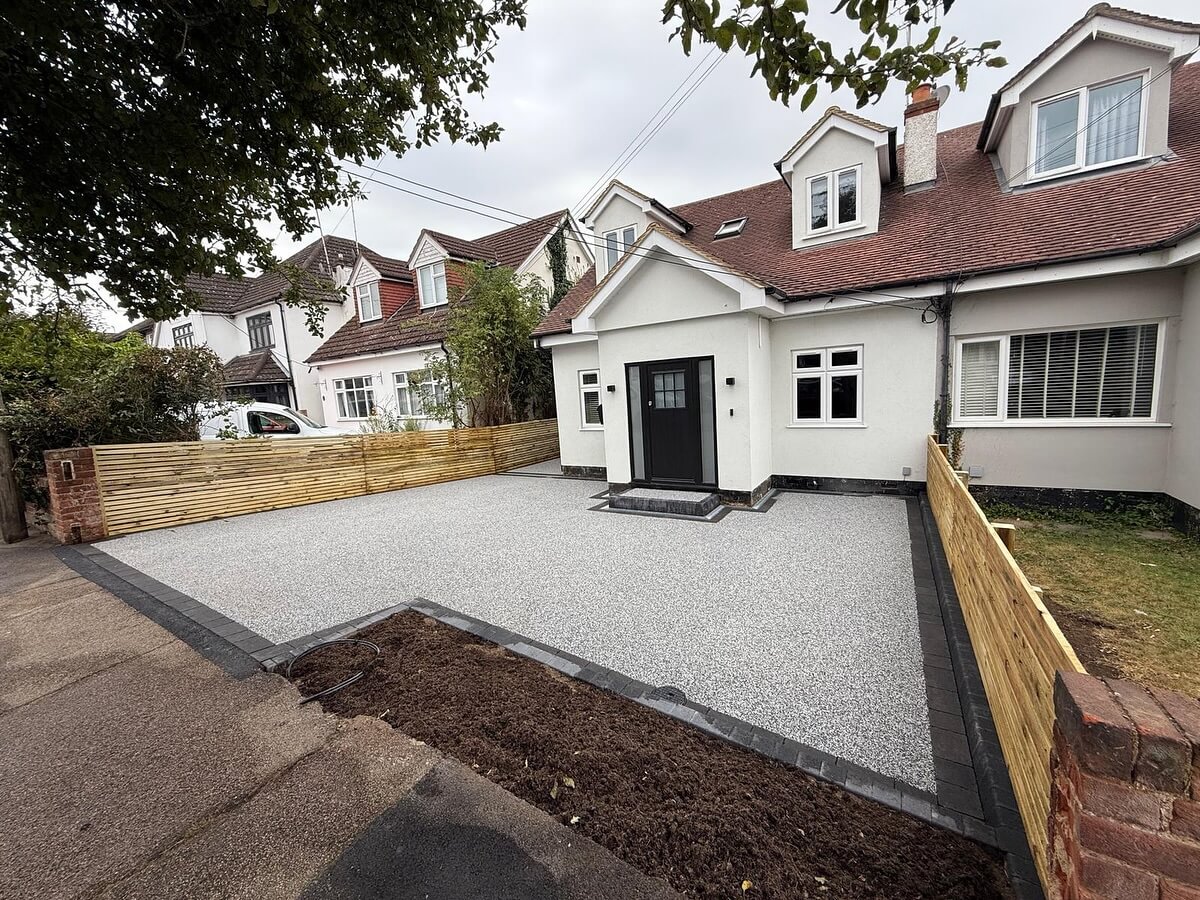
Inexpensive Driveway Edging Ideas That Instantly Boost Curb Appeal (Without Looking Cheap)
You don’t need a contractor to give your driveway a crisp, finished look. With budget-friendly edging, you can define borders, corral gravel, and elevate your front yard for a fraction of the cost. These inexpensive driveway edging ideas deliver high-end style on a DIY budget.
From repurposed brick and pressure-treated timber to steel landscape strips, pea gravel bands, and living plant borders, the right edge keeps surfaces tidy, improves drainage, and protects your lawn from tire creep. We’ll focus on low-cost, durable materials you can source locally and install in a weekend.
Get the Fail-Safe Paint Color Playbook (Free PDF)
36 proven colors • 8 ready palettes • trim & sheen guide • printable testing cards.
Whether your drive is asphalt, concrete, or gravel, you’ll find practical, stylish solutions—straight runs, gentle curves, modern lines, or cottage charm—that pair function with curb appeal. Use the following ideas to plan, price, and build a border that lasts, with easy maintenance and maximum impact.
Budget Driveway Edging with Recycled and Natural Materials
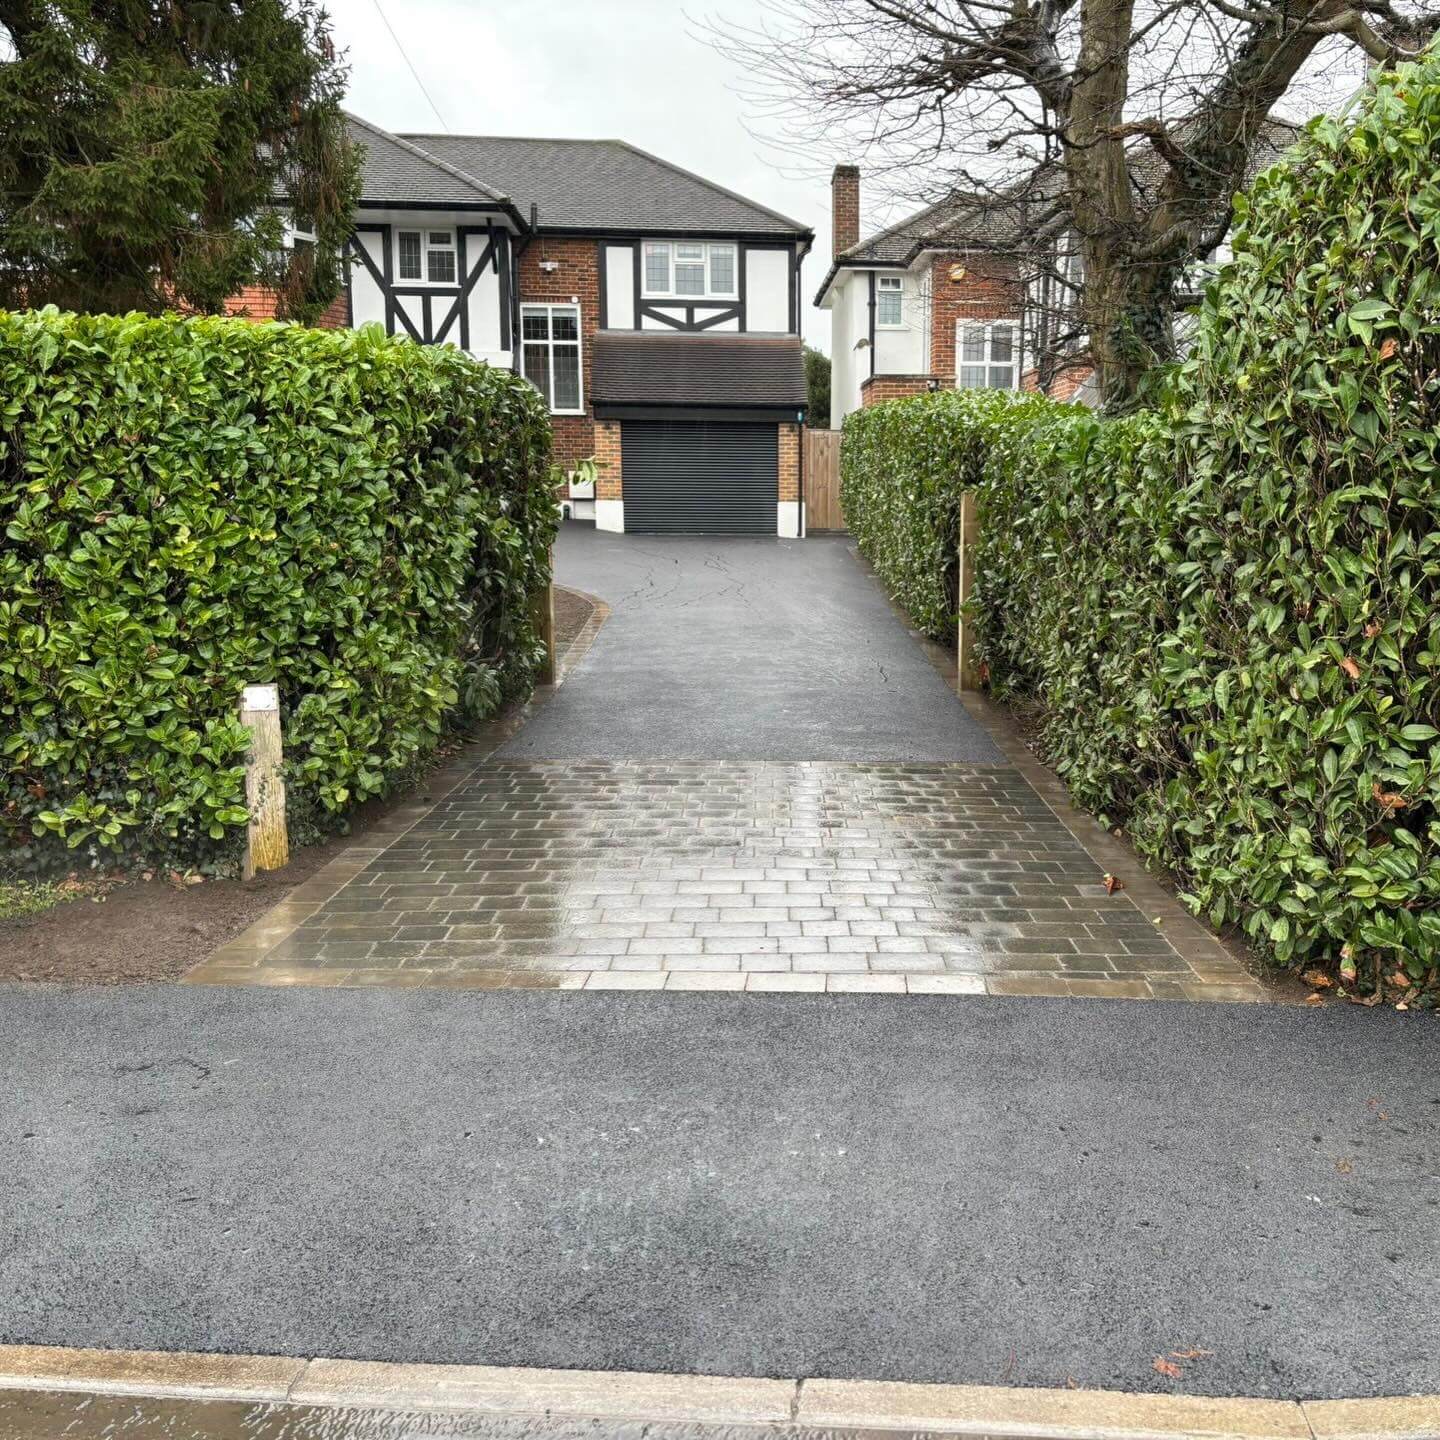
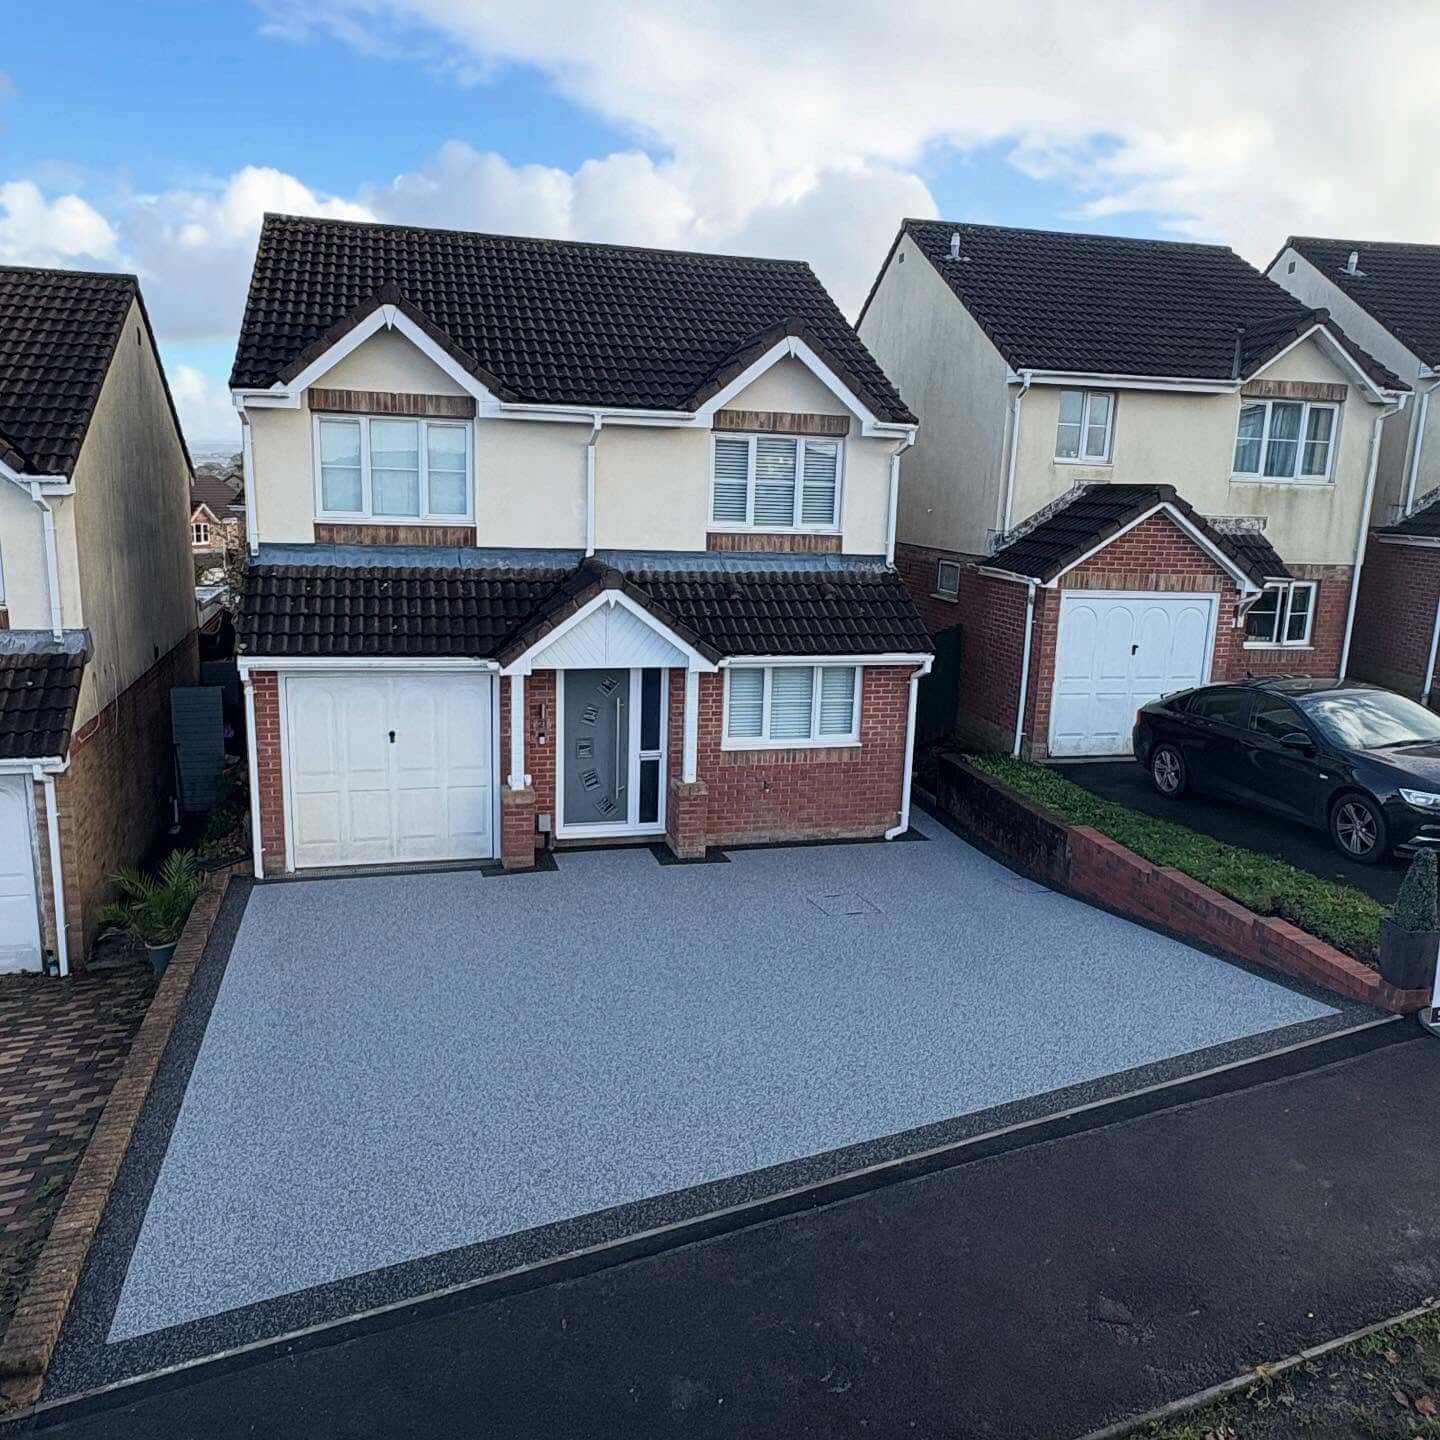
Stretch your budget by choosing materials that look intentional, install quickly, and stand up to wheels and weather. Reclaimed brick, salvaged concrete, and leftover pavers often cost little or nothing. Natural options like pea gravel, river rock, and pressure-treated timbers deliver classic lines that complement asphalt or concrete. Prioritize elements you can source locally to avoid delivery fees and mismatched colors. Aim for edges that sit flush with the driveway to prevent tripping and mower snags. With smart sourcing and simple prep, these Inexpensive Driveway Edging Ideas deliver curb appeal without complicated tools.
Recycled and Repurposed Edging Options
- Reclaimed Brick Soldier Course: Source mismatched bricks cheaply, lay them vertically in a compacted sand bed, and lock joints with polymeric sand for a classic, durable edge that resists tire scuffing.
- Salvaged Concrete (“Urbanite”) Blocks: Break old slabs into uniform chunks, set pieces on a compacted gravel base, stagger joints, and backfill with soil or mulch for a rugged, zero-cost border.
- Reused Paver Offcuts: Pick up discounted paver remnants from marketplace listings, align flush with driveway grade, and tap into a sand setting bed for a neat, modular edge that looks intentional.
Natural, Low-Cost Borders
- Pea Gravel Trench with Bender Board: Dig a narrow trench, stake flexible bender board, add landscape fabric, then pour pea gravel for a tidy, permeable line that drains runoff and softens hard edges.
- Pressure-Treated Timber Rails: Lay 4×4 or 6×6 timbers on compacted gravel, spike with rebar, and stagger seams; wood warms the look and keeps gravel or mulch from migrating.
- River Rock Cobble Row: Set rounded stones edge-to-edge over fabric, nesting sizes to minimize gaps; this naturalistic border contrasts beautifully with asphalt while improving drainage and discouraging lawn encroachment.
For the cleanest results, excavate a consistent trench, compact a granular base, and check alignment with a straightedge or string line. Keep edges slightly sloped outward to shed water away from paving. Where vehicles turn, upgrade the base depth and interlock pieces tightly to resist lateral forces. Use landscape fabric under loose rock to block weeds without trapping water. Seal cut timber ends and maintain a small gravel shoulder to prevent soil creep. With careful prep, even reclaimed materials look tailored and last far longer.
Reclaimed Brick Soldier Course on a Compact Sand Bed
For classic curb appeal on a budget, edge your driveway with reclaimed brick laid as a soldier course. Salvaged brick is often inexpensive or even free on local marketplaces, and its color variation adds instant character. Dig a trench the depth of your brick plus a 2–3 inch compacted base of crushed stone and sand. Set a straight guide, then tap bricks tight on a level sand bed so the top sits flush with your drive for easy snow shoveling and mowing. Sweep polymeric sand into joints to lock everything in and discourage weeds. For gentle curves, fan the bricks with small gaps; for sharp bends, cut ends with a masonry blade. This border works for asphalt, concrete, and gravel—just be sure to contain loose gravel with a hidden plastic or steel restraint behind the brick. Expect low maintenance beyond an annual sweep and top-up of joint sand. Pro tip: mix a few darker pavers at the apron near the street to hide tire scuffs and oil drips while creating a subtle accent band that reads custom, not costly.
Budget Timber Border Staked with Rebar
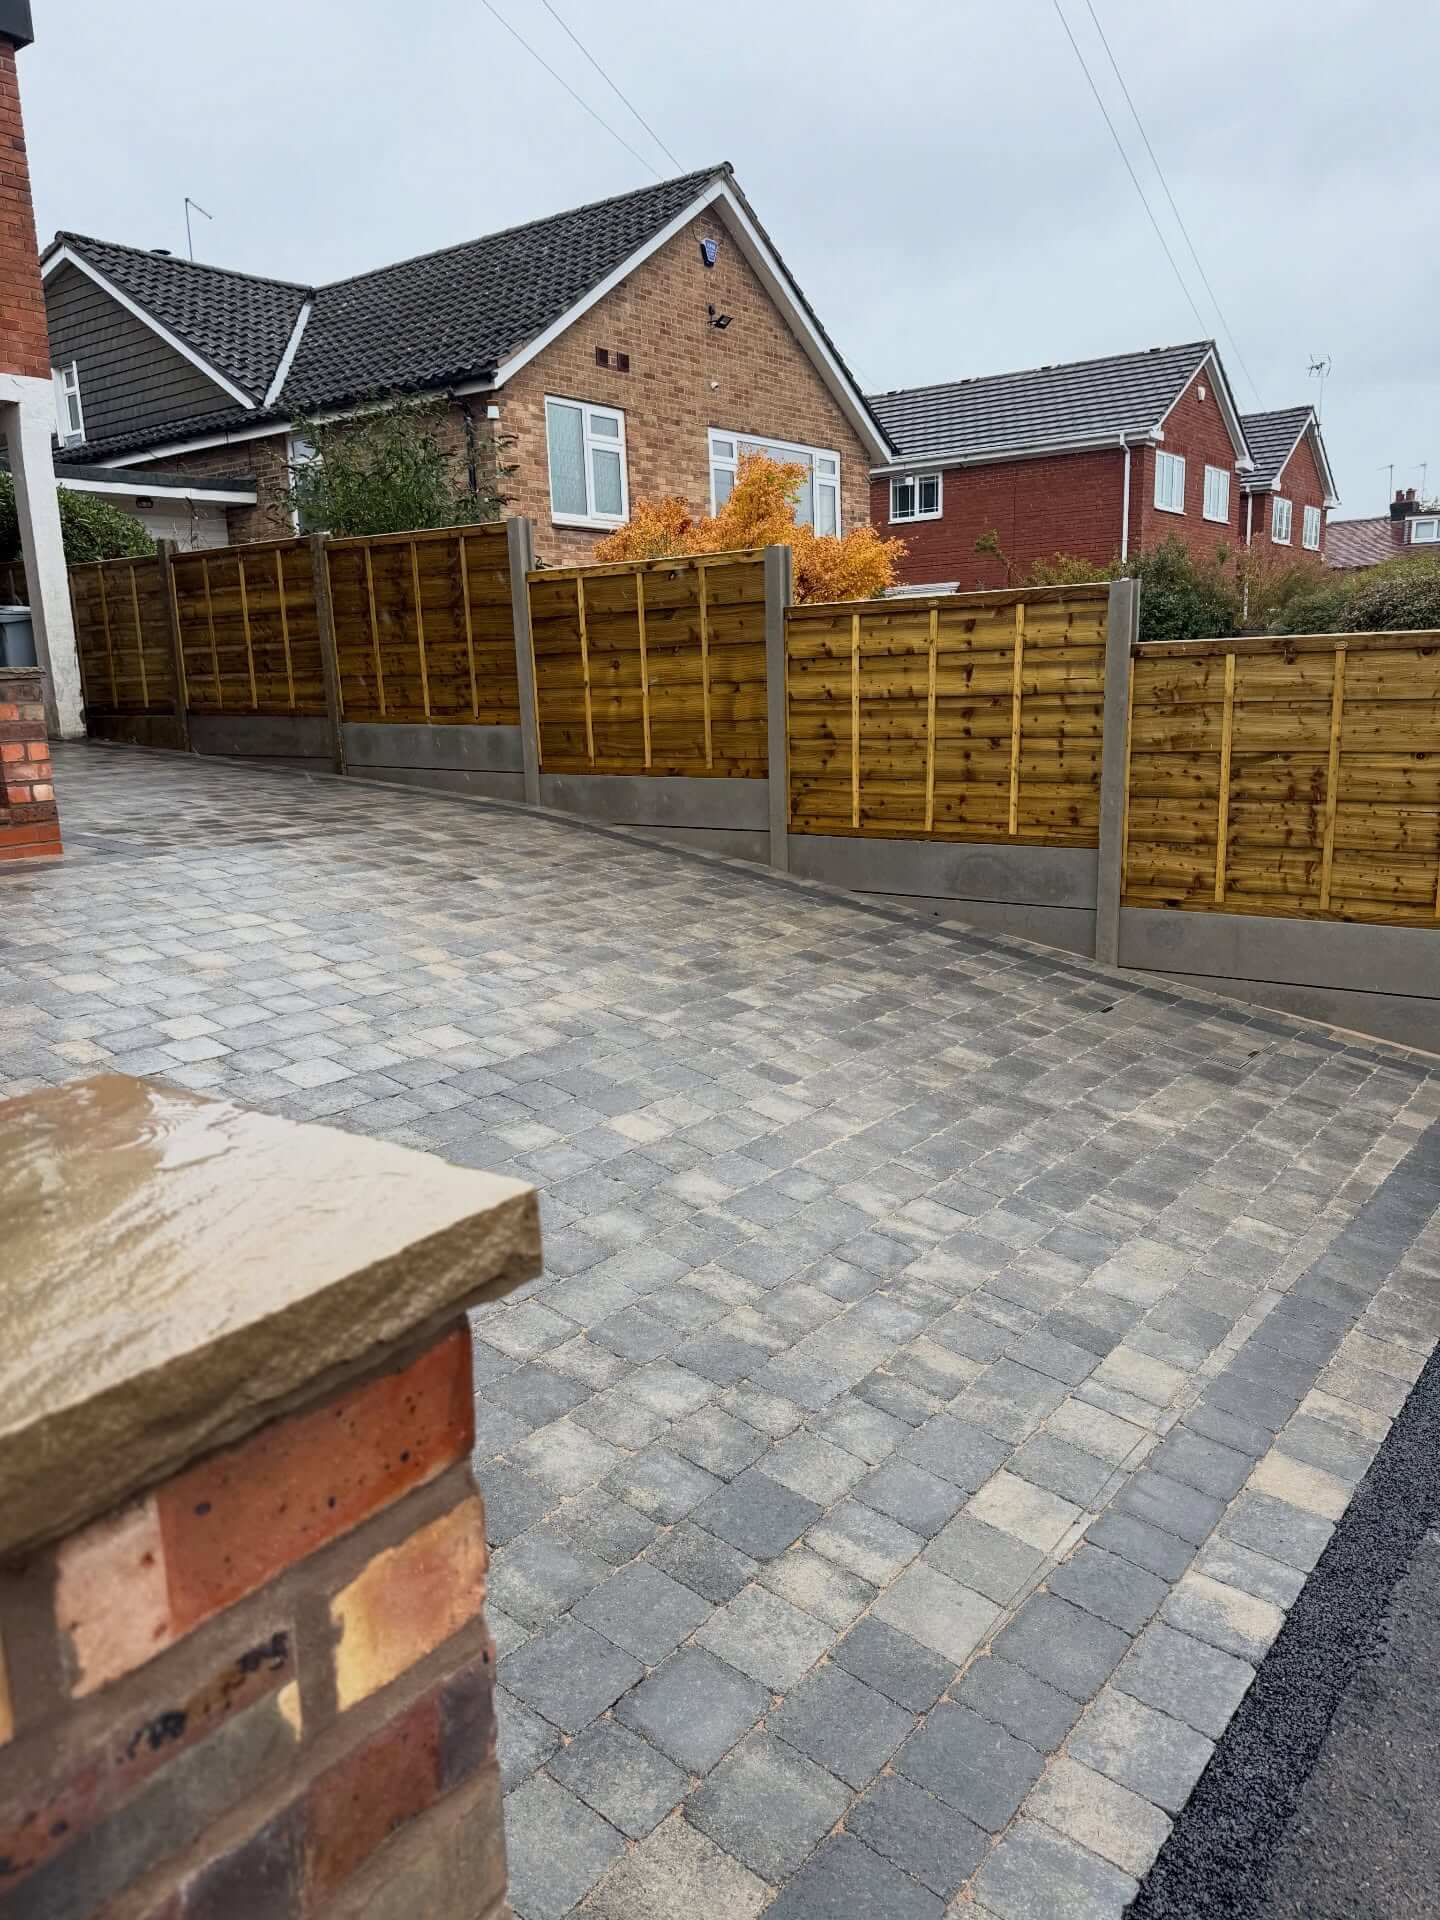
Pressure-treated 4x4s (or affordable landscape timbers) make a sturdy, straight-edged border that installs fast and looks intentional. Rip a shallow trench along the driveway, set the timber on a compacted gravel base for drainage, then pin it in place with 12–24 inch lengths of rebar driven through pre-drilled holes every 3–4 feet. For slopes, step the boards down in short segments; for gentle curves, kerf-cut the underside to help it bend smoothly. Where the tire edge meets lawn, the timber acts as a wheel stop and protects turf from creep. Stain or seal for a richer tone, or leave to weather into a soft gray that pairs well with cottage or rustic homes. To keep the look tidy, run a 6–8 inch mow strip of crushed gravel or pavers just inside the timber—this reduces string trimming and mud splash. Materials are easy to source at any home center, and the project fits a weekend with basic tools. If termites are a concern, use ground-contact-rated lumber or swap to composite landscape boards for similar cost and longer life.
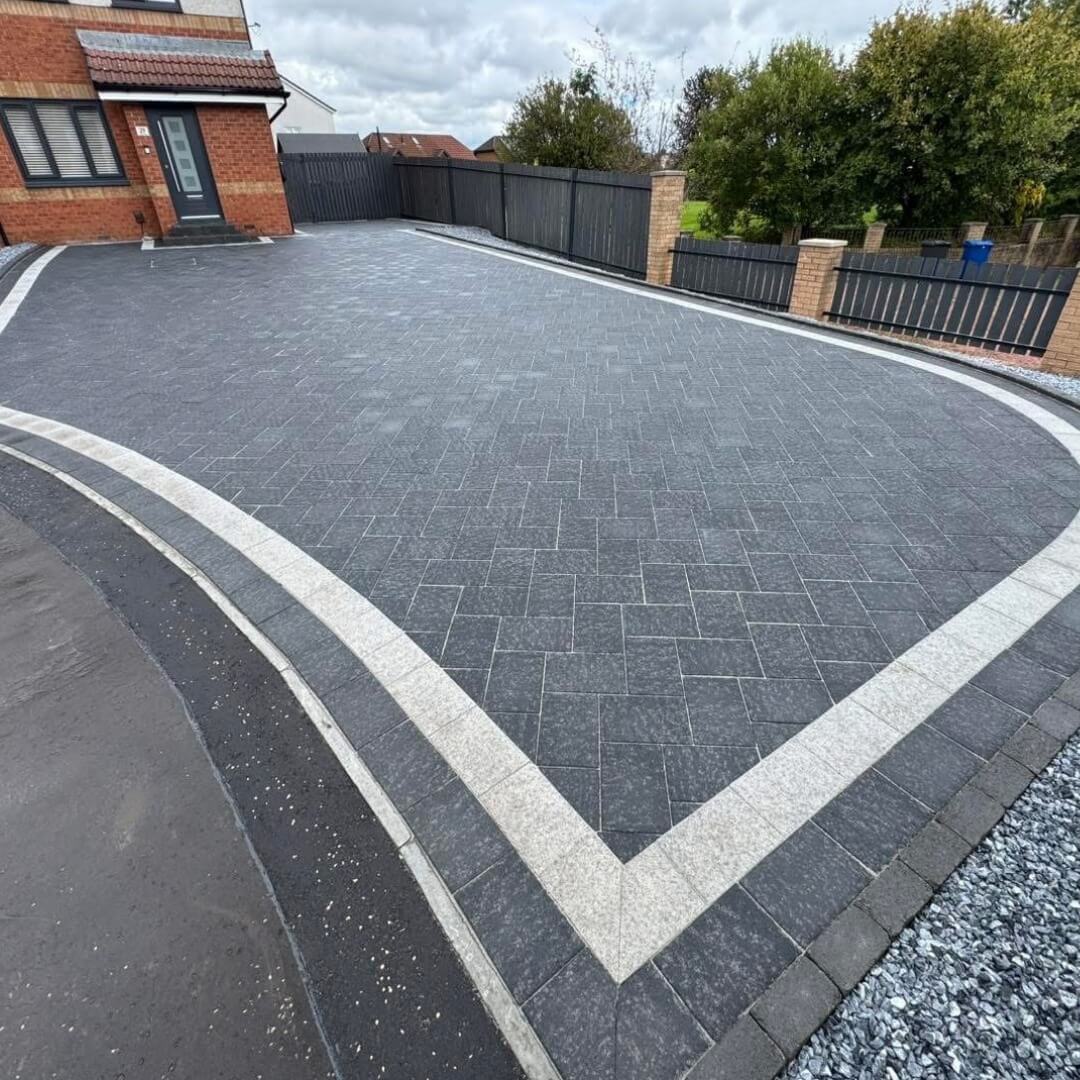
Flexible Steel Edging for Clean, Modern Lines
If you love a minimal, architecturally crisp look, thin-gauge steel or aluminum landscape edging delivers a laser-straight border without breaking the budget. These 4–6 inch tall strips stake into the soil and flex gracefully around curves, keeping gravel contained and lawn out. Lay the edging flush with your asphalt or concrete, then spike every 2–3 feet and at each joint; on long runs in cold climates, leave a small expansion gap at connections to accommodate frost heave. Black or weathered steel reads high-end, while powder-coated aluminum resists rust in coastal areas. Finish with a narrow band of decorative stone or dark mulch along the edge to heighten contrast and visually widen the drive. This system is DIY-friendly, repeatable, and low maintenance—occasional re-staking is usually all that’s needed. Costs are predictable per linear foot and often less than masonry, especially when you buy longer contractor-length pieces. Pair it with simple foundation planting and a clean mailbox upgrade to elevate your curb appeal with modern restraint.
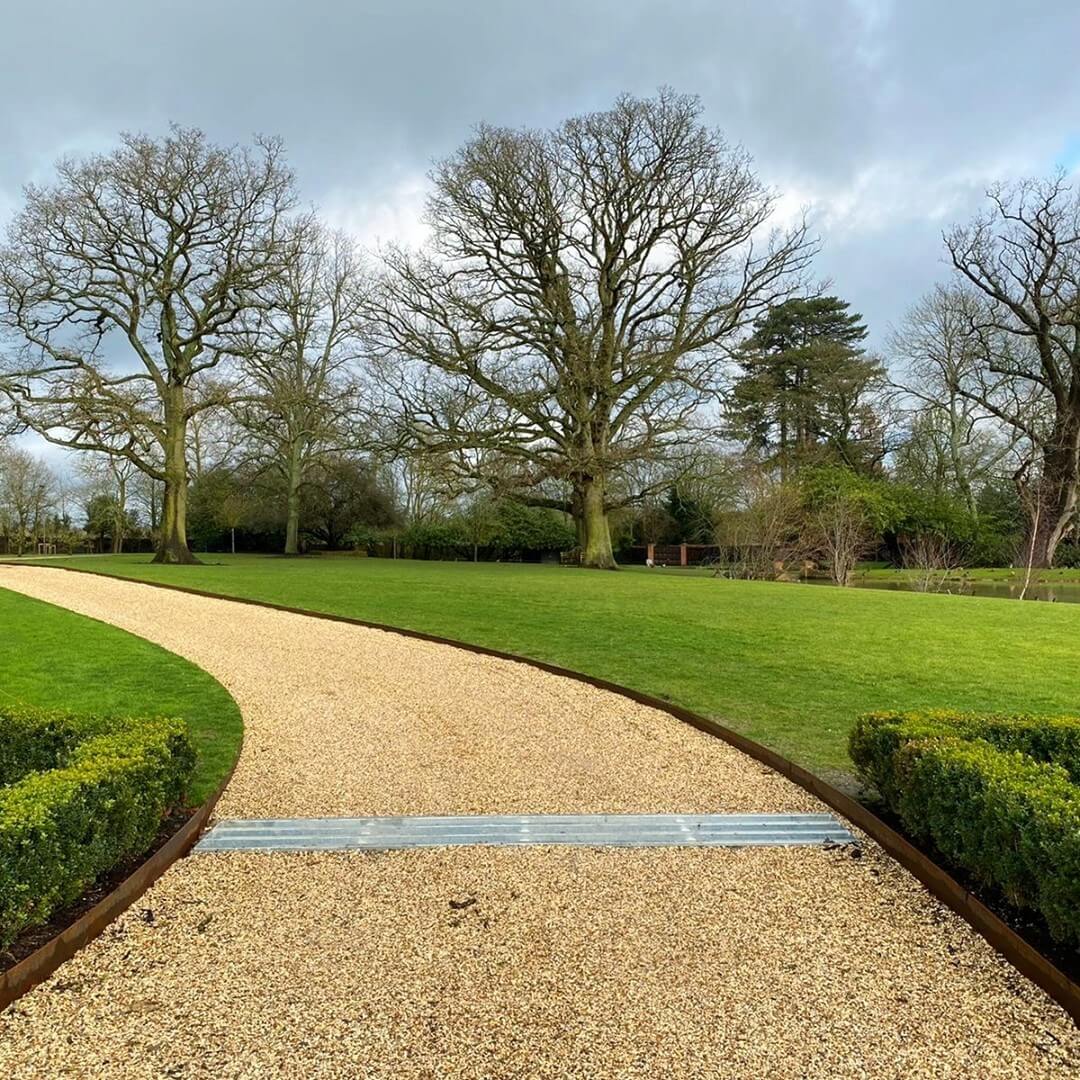
Pea Gravel Drainage Ribbon That Frames the Drive
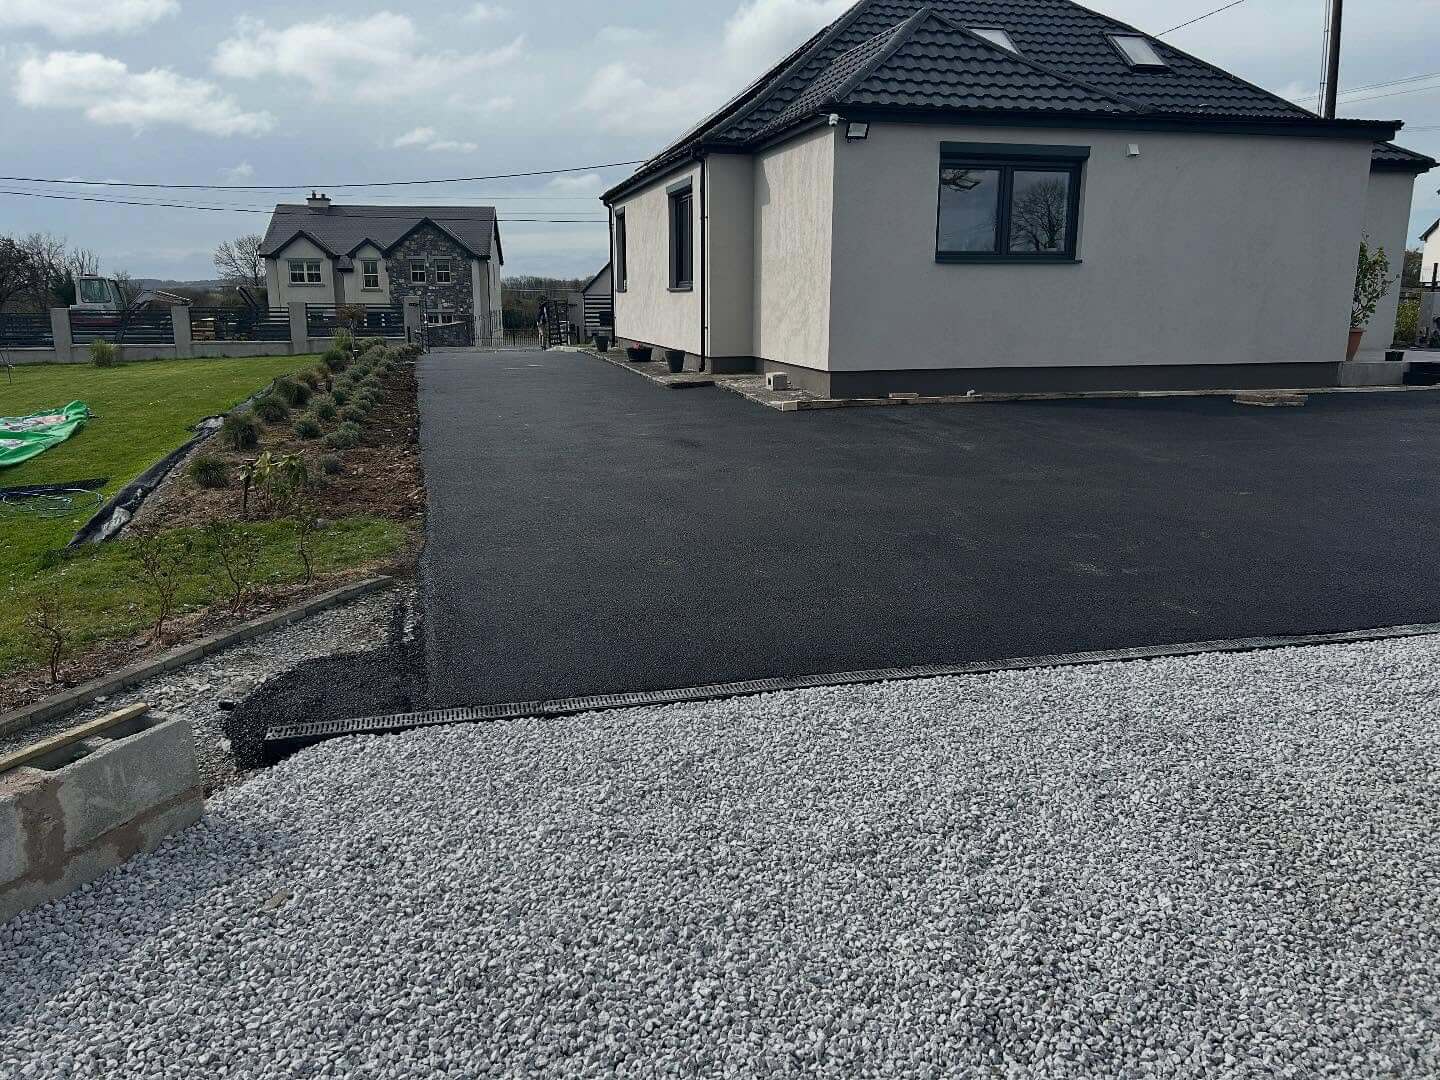
A slim ribbon of pea gravel or river rock doubles as attractive edging and smart drainage. Excavate an 8–12 inch wide strip along the driveway, lay geotextile fabric to block weeds, then add a hidden plastic or steel restraint between stone and lawn. Fill with washed pea gravel, 3/8 inch crushed stone, or contrasting river rock to the top of the drive so it’s comfortable underfoot. This porous band collects runoff, reduces splash on siding, and gives gravel driveways a crisp outline. Vary stone color to match your roof or trim for a designer detail on a dime. For downspout areas, deepen the trench and tie into a French drain to carry water away discreetly. Periodic raking keeps the surface smooth, and a top-up bag or two each year maintains the look. The result is a polished, practical border that reads custom landscape work—without the custom price tag.
Low-Growing Plant Strip as a Living Edge
A living border softens hard surfaces while guiding cars and defining space. Choose tough, low-growing plants that tolerate a bit of heat and reflected light from pavement: dwarf mondo grass, blue fescue, creeping thyme, sedum, or liriope are reliable, inexpensive options. Space plants tightly—6 to 10 inches on center—so they knit into a tidy ribbon within a season. Add a narrow mow strip of pavers or steel edging between plants and lawn to make maintenance simple. Mulch well the first year, then let groundcovers do the weed suppression for you. In hot, dry regions, drip irrigation under mulch keeps water targeted and costs low. For modern homes, a single-species planting creates a clean line; for cottage charm, mix two textures (e.g., thyme and sedum) in a repeating pattern. The greenery frames your driveway, protects turf from tire creep, and adds pollinator-friendly color—all for the price of a few flats at your local nursery.
Mixed Paver Offcuts for a Designer Look on a Dime
Factory seconds, clearance pavers, or leftover patio offcuts can become a custom driveway border with serious style. Sort pieces by height, then run a single stretcher course (long side parallel to the drive) on a compacted sand bed, tapping each stone level with a rubber mallet. For a boutique look, alternate two complementary colors every 2–3 feet or insert a darker “accent brick” at gateposts and the apron. Curves are easy: use smaller pieces along the inside radius and feather joints with polymeric sand. This approach minimizes waste and cost—many yards sell odd lots cheaply by the pallet. It also future-proofs repairs; if a section settles or chips, swap individual units in minutes. Finish by sweeping in sand, misting to set, and running a plate compactor if your base extends beyond the paver width. The result? A one-of-a-kind border that mirrors premium hardscape design without the premium price.
Recycled Rubber Edging That Bends Around Curves
Recycled rubber lawn edging is an underrated, budget-savvy way to tame messy driveway edges—especially on winding approaches. It arrives in flexible strips that stake in place, conforms to curves without cuts, and stands up to moisture, UV, and occasional tire rubs. Install is simple: carve a shallow trench, set the edging flush with the driveway surface, and drive included spikes every couple of feet. For gravel drives, run the rubber just proud of the stone to keep aggregate corralled; for asphalt and concrete, flush mounting creates a seamless transition that’s easy to snow-blow. Rubber’s dark tone visually recedes, letting your planting or mulch band shine. It’s also mower-friendly and safer around kids and pets than sharp metal. Use it as a hidden restraint behind a decorative stone ribbon—or let it stand alone for the cleanest, quickest edge on tight budgets and tighter timelines.
Pour-In-Place Concrete Mow Strip on Simple Forms
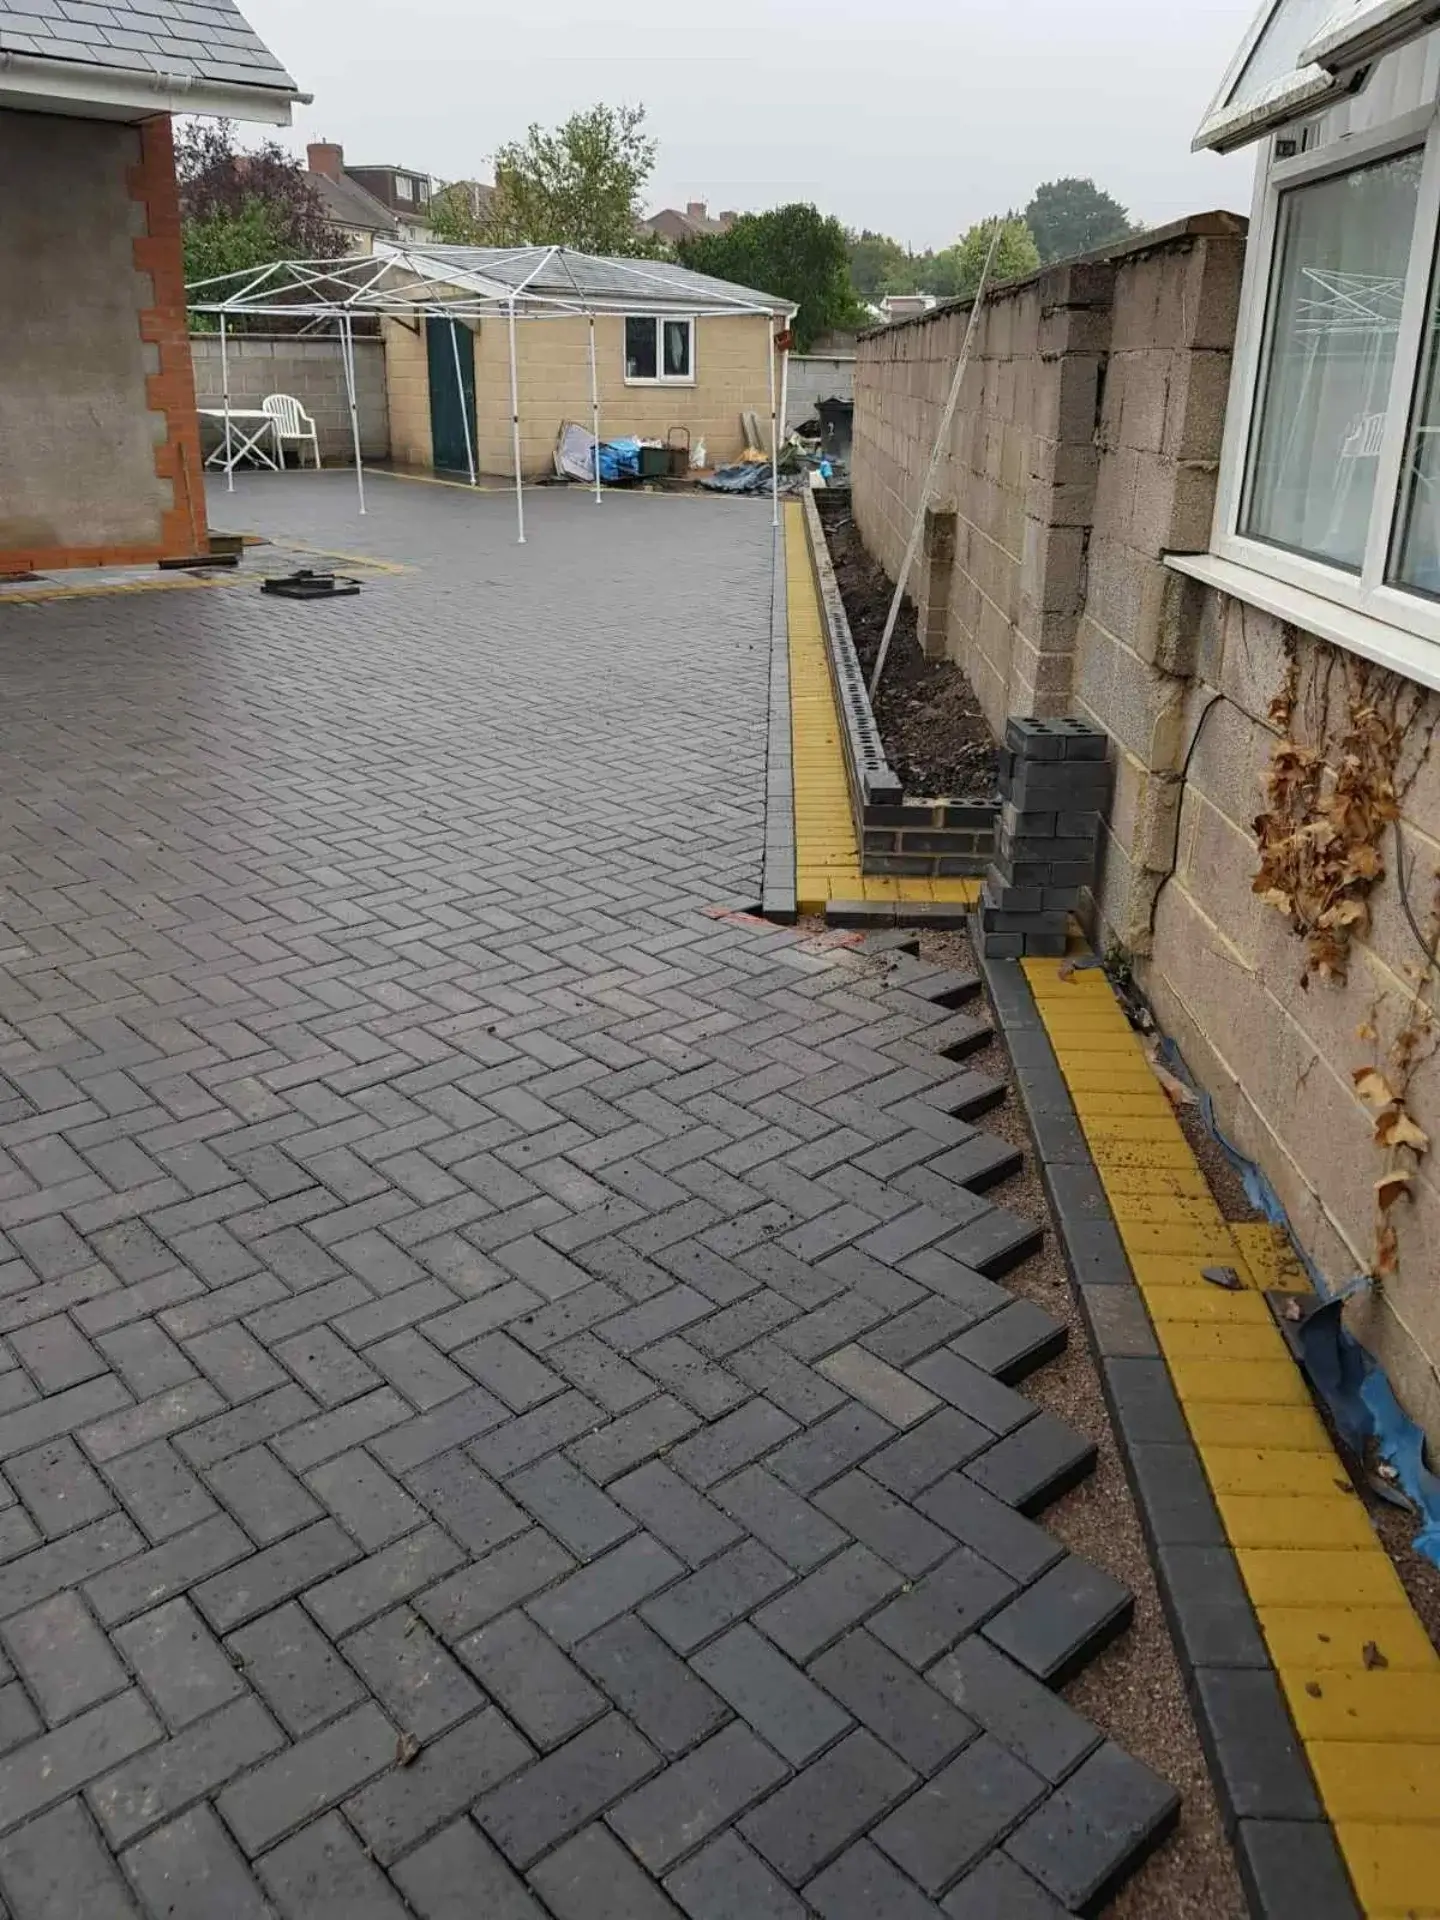
When you want permanence without a mason, a poured concrete mow strip creates a crisp, durable edge you’ll never have to reset. Build forms with straight 2x4s (or flexible hardboard for curves) 6–8 inches apart, following your driveway line. Add a 3–4 inch compacted base of crushed rock, then pour concrete, trowel the top flush with the drive, and broom-finish for traction. Cut control joints every 4–6 feet to manage cracking and slightly slope the strip away from the driveway to shed water. For a custom touch on the cheap, tint the mix or dust a mineral color hardener along the outer 2 inches. This “mow-over” border keeps grass from invading gravel, gives tires a clean edge to follow, and makes trimming fast. Material costs are low per linear foot, and the payoff is a professional, permanent line that upgrades curb appeal immediately.
Skinny Gabion Border from Mesh and Local Stone
Gabions aren’t just for retaining walls—scaled down, they make striking, budget-friendly driveway edging with rock-solid stability. Bend galvanized mesh or hog panel into 4–6 inch wide, 6–8 inch tall open-top “cages,” pin them with rebar stakes, then fill with local stone: crushed granite, river rock, or even broken concrete (“urbanite”). The weight keeps everything in place on slopes, and the gaps provide perfect drainage. For a modern vibe, use uniformly colored stone; for rustic charm, mix sizes and hues. Cap the top with a steel flat bar or a row of flat stones to finish the look. Gabion borders are durable, low maintenance, and surprisingly affordable when you source stone locally. They also double as a subtle barrier to keep delivery trucks off your lawn while visually framing the drive with texture and shadow.
Composite Bender Board with Solar Guide Lights
Composite bender board is a flexible, rot-proof edging that creates smooth curves and clean lines at a friendly price. Stake it every 3 feet along your driveway and backfill to sit flush with the surface, using a gravel trench beneath for longevity. It neatly contains mulch or small stone, prevents lawn creep, and rides out freeze-thaw better than rigid materials. For nighttime curb appeal and safety, add low-cost solar stake lights just behind the border every 6–8 feet. The soft illumination outlines the drive, helps guests park, and elevates the look after dark—no wiring required. Choose warm white for traditional homes or modern bollard-style heads for contemporary architecture. This combo is one of the fastest DIY upgrades: an afternoon to edge, another hour to set lights, and you’ve transformed both day and night presence without straining your budget.
Get the Fail-Safe Paint Color Playbook (Free PDF)
36 proven colors • 8 ready palettes • trim & sheen guide • printable testing cards.
Craigslist Fieldstone Edge You Can Dry-Stack in a Weekend
If you like the organic character of stone but want to keep costs low, dry-stacked fieldstone is a budget-friendly win. Source irregular “wall rock” or scavenged fieldstone from local listings and stone yards’ cull piles—it’s often sold cheaply by the pound. Mark your line with a taut string, then dig a trench 6–8 inches deep and as wide as your largest stones. Compact the subgrade, add 2–3 inches of crushed gravel (3/4-inch minus), and tamp again for a solid, free-draining base. Set your first course with the flattest faces out, leaning stones back 5–10 degrees toward the driveway to resist push from soil. Stagger joints like brickwork and use small “chinkers” to lock gaps. Backfill behind with gravel or soil as you go to brace the walllet. A single course usually does the job for edging; add a second where elevation changes. Dry-stack construction sheds water, resists frost heave, and delivers timeless curb appeal without mortar or specialty tools—just a spade, level, hand tamper, and mallet. It’s an easy weekend DIY that pairs especially well with gravel drives and cottage-style plantings.
Urbanite (Recycled Concrete) Border That Looks Like Stone
Repurpose broken concrete—called “urbanite”—to achieve a stone-look border for free or next to nothing. Check demolition sites, curb alerts, or landscape recyclers for chunks with at least one clean face. Score and shape with a cold chisel and sledge (or an angle grinder) to create flattish edges. As with any durable driveway edging, start with a 6–8 inch trench, compact the base, and add 2–3 inches of paver base or screenings. Bed each piece firmly, keeping tops level to your string line and a slight outward pitch for drainage. Tight joints read higher-end; sweep in stone dust or polymeric sand to lock pieces. Urbanite is heavy and stable, so it stands up to tires, splash, and freeze-thaw cycles. Visually, the fractured edges mimic limestone, especially if you brush on a breathable limewash to unify color. It’s an eco-forward, DIY-friendly border that contains gravel, protects lawn edges from tire creep, and adds serious curb appeal—without the cost of quarried stone. Pro tip: Knock off any protruding rebar before installing and wear PPE while cutting.
Scalloped Concrete Edging Blocks for a Classic, Cheap Curb
For fast, uniform lines on a shoestring, those big-box scalloped concrete edgers still deliver. They’re durable, curve nicely, and cost far less than poured curbs. Snap a string line at the desired setback, excavate a 4–6 inch trench, and compact. Add 2 inches of paver base, screed level, and set blocks snugly with a rubber mallet, checking level every few units. For longevity in frost zones, bury at least half the block height and keep the reveal 1–1.5 inches above grade. Stagger joints on curves and use concrete adhesive at tight radiuses for added integrity. Backfill with soil or gravel to brace the run and discourage weeds. A quick scrub or limewash can soften the stock color, while a charcoal masonry stain reads more modern. This classic edging keeps mulch and soil off hardscape, cleans up a concrete or asphalt edge, and creates a tidy mowing strip. It’s a half-day DIY for most driveways, with minimal tools and a big curb-appeal payoff.
Heavy-Duty HDPE Landscape Edging That Actually Stays Put
If you want a nearly invisible restraint that holds clean lines on a budget, skip flimsy roll edging and use commercial-grade HDPE. Look for 4–5 inch tall, 1/2-inch thick profiles with interlocking connectors and 10–12 inch spiral spikes. Lay out gentle curves, then trench 4–5 inches deep along your line. Pre-bend the edging by leaving it in the sun, set it with 1/2–1 inch reveal above grade to contain gravel or asphalt bleed, and spike every 24 inches—doubling up at joints, inside curves, and transitions. Backfill and compact on both sides to lock it in. The result is a crisp, modern edge that won’t snake or pop with frost heave when installed deep and well-spiked. Pair it with a narrow decorative stone band for a designer look, or keep it hidden to make lawn-to-drive transitions feel seamless. It’s lightweight, affordable, and ideal where steel isn’t in budget yet you still want pro-level results.
River Rock French Drain Swale to Tame Runoff and Frame the Drive
When puddles and erosion beat up your driveway edge, a river rock French drain swale turns a problem into a feature. Dig a trench 8–12 inches deep along the drive’s low side, maintaining a 1% slope to daylight, a dry well, or a rain garden. Line with non-woven geotextile (to keep soil out of the rock), add a few inches of 3/4-inch clean stone, then lay perforated drainpipe (holes down) where needed. Backfill with more clean stone and top with smooth 1.5–3 inch river rock for a finished look. Fold fabric edges over before topping to prevent fines migration. Keep the rock flush or slightly proud of adjacent grades for a tidy border that reads intentional. This inexpensive edging controls runoff, protects asphalt or gravel shoulders, and adds natural texture that complements most facades. Integrate stepping stones at mailboxes or trash pull-out spots to keep feet clean. Low-maintenance and long-lasting, it’s a functional, budget-friendly upgrade that lifts curb appeal while improving drainage.
Terra-Cotta Tile Border for Warm, Cottage-Style Edging
Reclaimed clay roof tiles or terra-cotta drain tiles make a charming, low-cost border with loads of warmth. Set curved mission tiles on edge for a scalloped look, or lay flat tiles with a slight reveal for a subtle, tailored edge. Establish your line, excavate 4–6 inches, and compact the trench. Add 1–2 inches of coarse sand or screenings, then bed each piece tightly, tapping level with a mallet. In cold climates, bury at least half the tile height and backfill with gravel to reduce frost heave. The earthy color pairs beautifully with gravel drives, white stucco, brick, and cottage plantings, and it disguises splash much better than pale concrete. Seal only if you want richer color; otherwise, let a natural patina develop. Sourced secondhand, terra-cotta is budget-friendly, easy to cut, and light enough for solo DIY. It cleanly contains mulch or stone while giving your driveway edge a custom, Old World finish—without the custom price.
Slate and Flagstone Offcut Strip for a Slim, Sophisticated Edge
Stone yards often sell broken slate and flagstone offcuts at a discount—perfect for an elegant, pencil-thin driveway edge. Aim for pieces 1–2 inches thick. Create an 8–12 inch wide strip, excavate 3–4 inches, and compact. Screed a bed of screenings (stone dust) so you can fine-tune heights. Lay larger fragments along the drive edge and nestle smaller pieces to fill voids, keeping a consistent 1-inch reveal above adjacent lawn or bed. Where a crisper line is desired, add a hidden restraint (HDPE or aluminum edging) under the outer edge before backfilling. Sweep in stone dust and mist to lock joints. The slim profile reads modern and refined, yet it’s forgiving on curves and transitions. It’s a cost-savvy way to echo stone used elsewhere on your property and to establish a clean mowing border that shrugs off splash and foot traffic. Minimal maintenance, maximum polish—on an offcut budget.
Grass-Reinforcement Grid to Stop Tire Creep at the Lawn
If tire creep is chewing up your lawn edge, a plastic grass-reinforcement grid creates a green, forgiving shoulder that’s tough enough for wheels. Products like EZ Roll, Nidagravel, or TRUEGRID ROOT install over a compacted 2–3 inch base. Roll out the grid, stake or clip sections together, then infill cells with a sand/topsoil blend. Seed with no-mow fescue, rye, or microclover, and keep moist until established. The honeycomb structure disperses weight, preventing ruts and protecting roots while preserving a natural look. It’s ideal along tight curves, mailbox pull-offs, or anywhere guests overrun the edge. Visually, the soft, planted band frames hard surfaces and boosts curb appeal; functionally, it reduces maintenance and mud. Compared with poured curbs, grids are inexpensive, DIY-friendly, and fully permeable—so they also help drainage along the driveway. Mow as usual once established, and top-dress thin spots annually. A simple, durable fix that blends landscape and hardscape on a budget.
Get the Fail-Safe Paint Color Playbook (Free PDF)
36 proven colors • 8 ready palettes • trim & sheen guide • printable testing cards.
Salvaged Parking Curbs as Indestructible Driveway Borders
For a rugged, industrial edge that’s virtually bombproof, repurpose precast concrete parking curbs (wheel stops). Salvage yards and classifieds often list them for $15–$30 each. They’re heavy, so plan on two people for handling. Set a compacted 3–4 inch base where each curb will land, then drill and drive #4 rebar pins through existing holes 12–18 inches into the subgrade to lock them in place. Keep a consistent reveal and butt joints snug to read as a continuous border. You can leave them raw for a utilitarian vibe or unify the look with a mineral masonry stain. These curbs shrug off plows, protect asphalt edges from crumbling, and create a definitive barrier where you need it—along slopes, near plantings, or at boat/RV parking pads. It’s a low-cost, high-durability solution with instant visual order and long-term performance, especially on high-traffic drives.
Crushed Brick Chip Ribbon for Color, Texture, and Low Maintenance
Want a budget border that pops? A slim ribbon of crushed brick chips delivers color, texture, and erosion control in one. Establish a 6–10 inch band along the driveway, install an inexpensive edging restraint (HDPE or bender board) to hold the aggregate, and line the trench with landscape fabric to block weeds. Fill 2–3 inches deep with 3/8-inch brick chips and rake smooth. The warm red tone contrasts beautifully with concrete, asphalt, and gray stone, dialing up curb appeal while hiding splash and oil specks better than pale gravel. It’s lighter than river rock, easy to refresh, and often cheaper by the yard from landscape suppliers. Keep the surface just proud of adjacent grades for a clean line, and add a handful of larger accent stones at downspouts or curves for visual rhythm. Minimal tools, minimal maintenance—just an occasional top-up—and a big style payoff for very little spend.
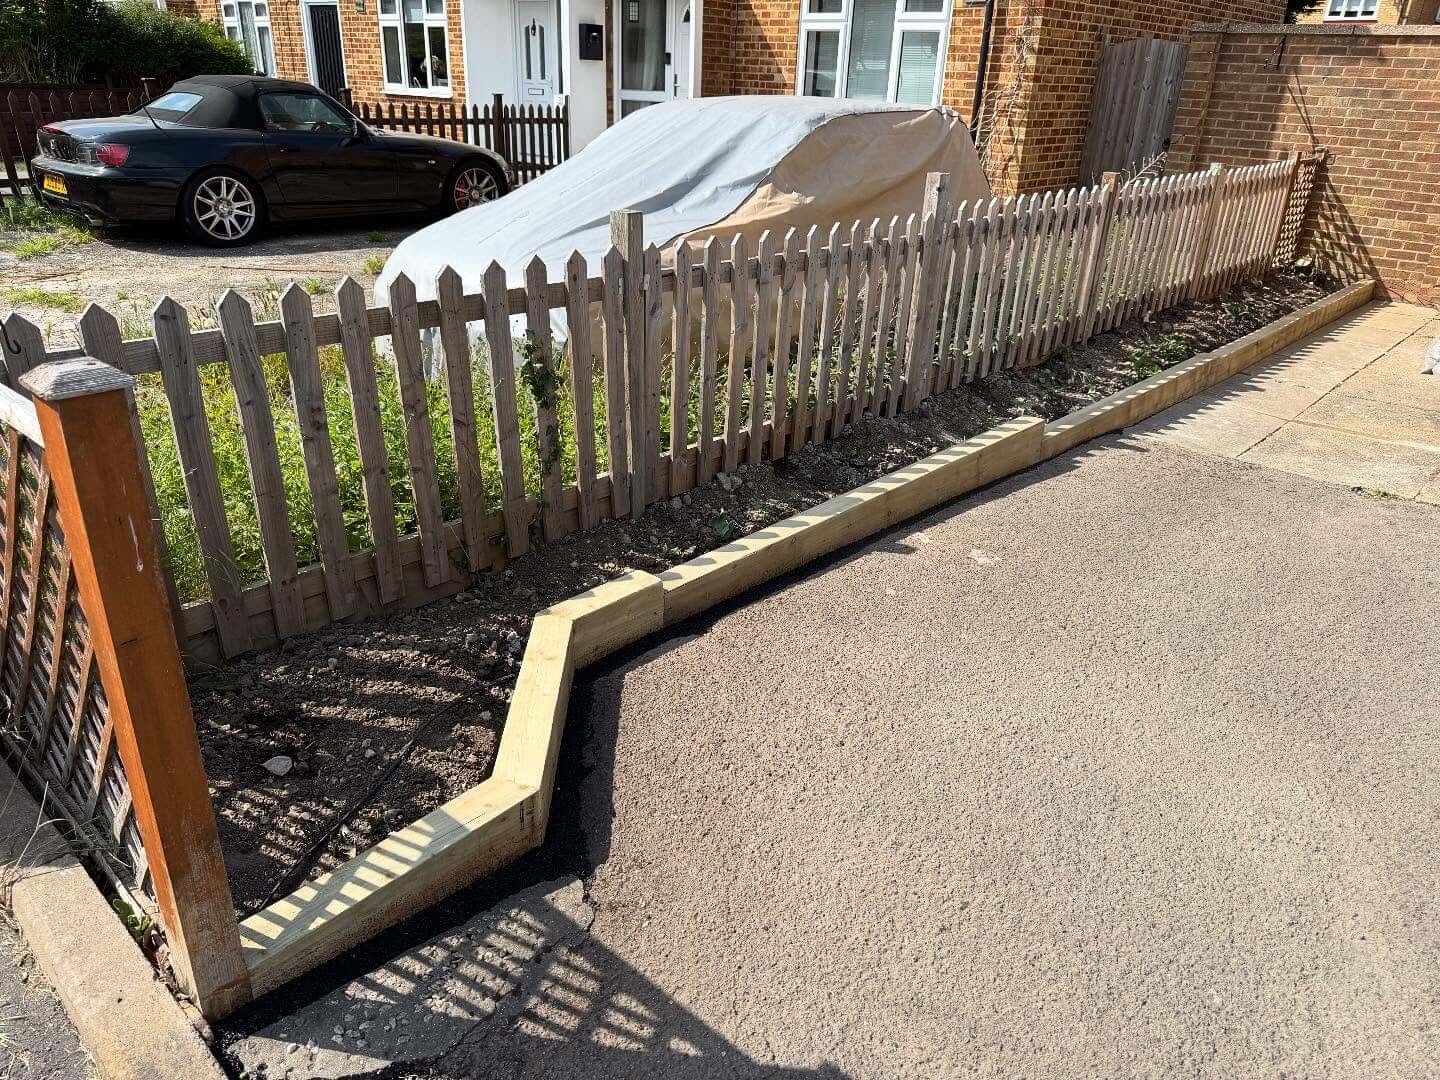
Pressure-Treated Timber Edge You Can Anchor in an Afternoon
For straight runs and cottage charm on a shoestring, pressure-treated 4×4 or 6×6 timbers make a sturdy, handsome driveway edge. They’re widely available, easy to cut, and strong enough to stop gravel creep and tire scuffing along lawns. Set a shallow trench on the driveway line, tamp a compacted base, then lay timbers level end to end. Pin each length with 24–36″ pieces of rebar or galvanized spikes every 3–4 feet (pre-drill to avoid splitting). Stagger joints and add metal plate connectors at corners for a clean, square look. To boost longevity, brush on wood preservative on all cut ends and add a thin gravel bed for drainage beneath the wood. The result is a crisp, warm border that pairs well with gravel, asphalt, or concrete. Expect DIY costs to land in the $2–$4 per linear foot range, far less than poured curbing. Keep the edge low for easy mowing or raise it slightly to serve as a subtle curb. A final layer of mulch or stone just inside the timber will keep weeds down and visually widen the driveway without pouring more pavement.
Get the Fail-Safe Paint Color Playbook (Free PDF)
36 proven colors • 8 ready palettes • trim & sheen guide • printable testing cards.
Flexible Recycled-Rubber Curbing for Effortless Curves
If your driveway sweeps and bends, flexible recycled-rubber edging is a budget-friendly way to get smooth, professional lines without special tools. Sold in easy-to-handle sections, it conforms to arcs and S-curves that frustrate rigid materials. Install is simple: define the line with a garden hose, excavate a shallow channel, set the edging flush with grade, and stake through pre-molded holes. Backfill with compacted gravel on the driveway side to resist movement, then mulch or pea gravel on the landscape side for a crisp finish. Rubber curbing won’t crack like concrete in freeze-thaw and shrugs off string-trimmer nicks, making it a low-maintenance driveway edging idea for busy yards. Look for darker charcoal or brown tones to mimic steel or timber at a fraction of the price—often $2–$3 per linear foot. It’s also a smart choice along asphalt drives where heat expansion can shift brittle edges. Add solar markers at wide curves for nighttime guidance without changing the clean daytime profile. A quick spring refresh—re-staking any high spots and topping adjacent mulch—keeps your border looking sharp for years.
Reclaimed Brick Soldier Course on Sand for a Timeless Border
Nothing beats the classic look of brick-on-edge—especially when you source reclaimed pavers from marketplace listings or demolition yards. A soldier course reads upscale but installs with simple tools: dig a trench the height of the brick plus 2 inches, add compacted base gravel, and screed a 1-inch sand bed. Set bricks on edge tightly, tapping them level with a mallet along a taut string line. Lock the course with concrete paver edging spikes on the landscape side (hidden under mulch) or a small concrete haunch for high-traffic drives. Sweep polymeric sand into joints to prevent weeds and keep the line rigid through seasons. Color variation from salvaged brick adds authentic charm and disguises future dust or scuffs. This border neatly contains gravel and provides a defined mowing strip beside lawns. With patient sourcing, you can complete a driveway edge for $1–$2 per linear foot—less than half the cost of new brick. For curves, cut bricks in thirds and “fan” the joints for a graceful arc; for modern vibe, choose tight joints and a flush finish with the driveway surface.
Thin Steel Landscape Edging for Razor-Crisp Modern Lines
For a minimalist, high-design look without the designer price, thin steel or aluminum landscape edging creates a laser-straight border that visually cleans up any driveway. It’s ideal where you want maximum definition with minimal material showing—just a thin, shadow-like line. Choose 3/16″ steel for durability (or aluminum in coastal areas) and stake sections every 2–3 feet. Keep tops flush with or slightly above grade to catch migrating gravel and prevent lawn encroachment. The narrow profile lets you plant right up to the edge—think dwarf grasses, groundcovers, or a ribbon of decorative stone—amplifying curb appeal without widening hardscape. Raw steel will naturally patina to a corten-like bronze, while powder-coated black reads crisp and contemporary. Installation is quick: shallow trench, set to string line, stake, backfill, and tamp on both sides. Expect $3–$5 per linear foot DIY depending on metal choice and thickness. Pair this edging with pea gravel, decomposed granite, or concrete drives to sharpen transitions, improve drainage, and make routine maintenance—blowing, sweeping, edging—a breeze.
Pea Gravel Accent Band with a Hidden Restraint
A narrow pea gravel ribbon along one or both driveway edges is a fast, inexpensive way to add texture, drain stormwater, and subtly widen the visual footprint. The trick to keeping it neat is a hidden restraint. Install a low-profile paver edging strip or steel flat bar just under the driveway lip, then excavate a 6–12″ wide trench on the landscape side. Lay weed barrier, add 2–3″ of compacted base, and top with washed pea gravel. The restraint stops scatter onto the drive; the fabric and base prevent sink and weeds. Choose a color that complements your home—warm buff for cottage style or cool gray for modern—and repeat it elsewhere in the landscape to tie the look together. This detail costs little per linear foot yet delivers big curb appeal, especially when contrasted with mulch, turf, or a low planting strip. On sloped drives, step the band down in gentle terraces to slow runoff and protect beds. A quick annual rake and top-up keeps the band pristine and the entire edge reading clean and intentional.
Crushed Shell Shoulder for Coastal Charm and Drainage
If you’re near the coast—or can source bulk shells locally—crushed oyster or clam shells make a bright, budget-friendly driveway edge with excellent drainage. The light color pops against asphalt and concrete, boosting nighttime visibility while reflecting heat in summer. Install like a pea gravel band: define a 12–18″ shoulder, add compacted base, then 2–3″ of crushed shell. Contain it with a subtle restraint (steel edging, bender board, or a brick header) to maintain a crisp line and stop migration. Over time, shells break down and interlock, forming a firm but permeable surface that handles foot traffic at passenger doors and mailboxes. Blend a small percentage of limestone fines if you want faster binding. Keep the look coastal-modern by pairing shells with dark mulch and native grasses, or lean cottage by edging beds with terra-cotta or lavender. Costs can come in under $2 per square foot when purchased in bulk, making this one of the most inexpensive driveway edging ideas with outsized style and stormwater benefits.
Dwarf Mondo and Creeping Thyme Living Edge That Holds a Line
A living border can be just as practical as hard edging—if you choose tough, low-profile plants that tolerate light foot traffic and reflected heat. Dwarf mondo grass, creeping thyme, blue star creeper, and sedum ‘Angelina’ form dense, mounding mats that visually frame a driveway while resisting tire creep better than standard turf. Prep a 12–18″ strip with compost and a slow-release starter fertilizer, then plant in a staggered grid for quick coverage. Tuck in stone or steel edging hidden at the back of the bed to keep a razor-straight line facing the drive. This living edge softens hardscape, cools the microclimate, and offers pollinator value—thyme and blue star creeper bloom low and fragrant. Maintenance is minimal: a spring trim, occasional weeding the first season, and drip irrigation during establishment. Costs stay low when you buy plugs or divide mature clumps. For structure in winter, intersperse a few dwarf ornamental grasses every 4–6 feet. The result is a durable, inexpensive driveway edging solution that looks intentional year-round without reading “cheap.”
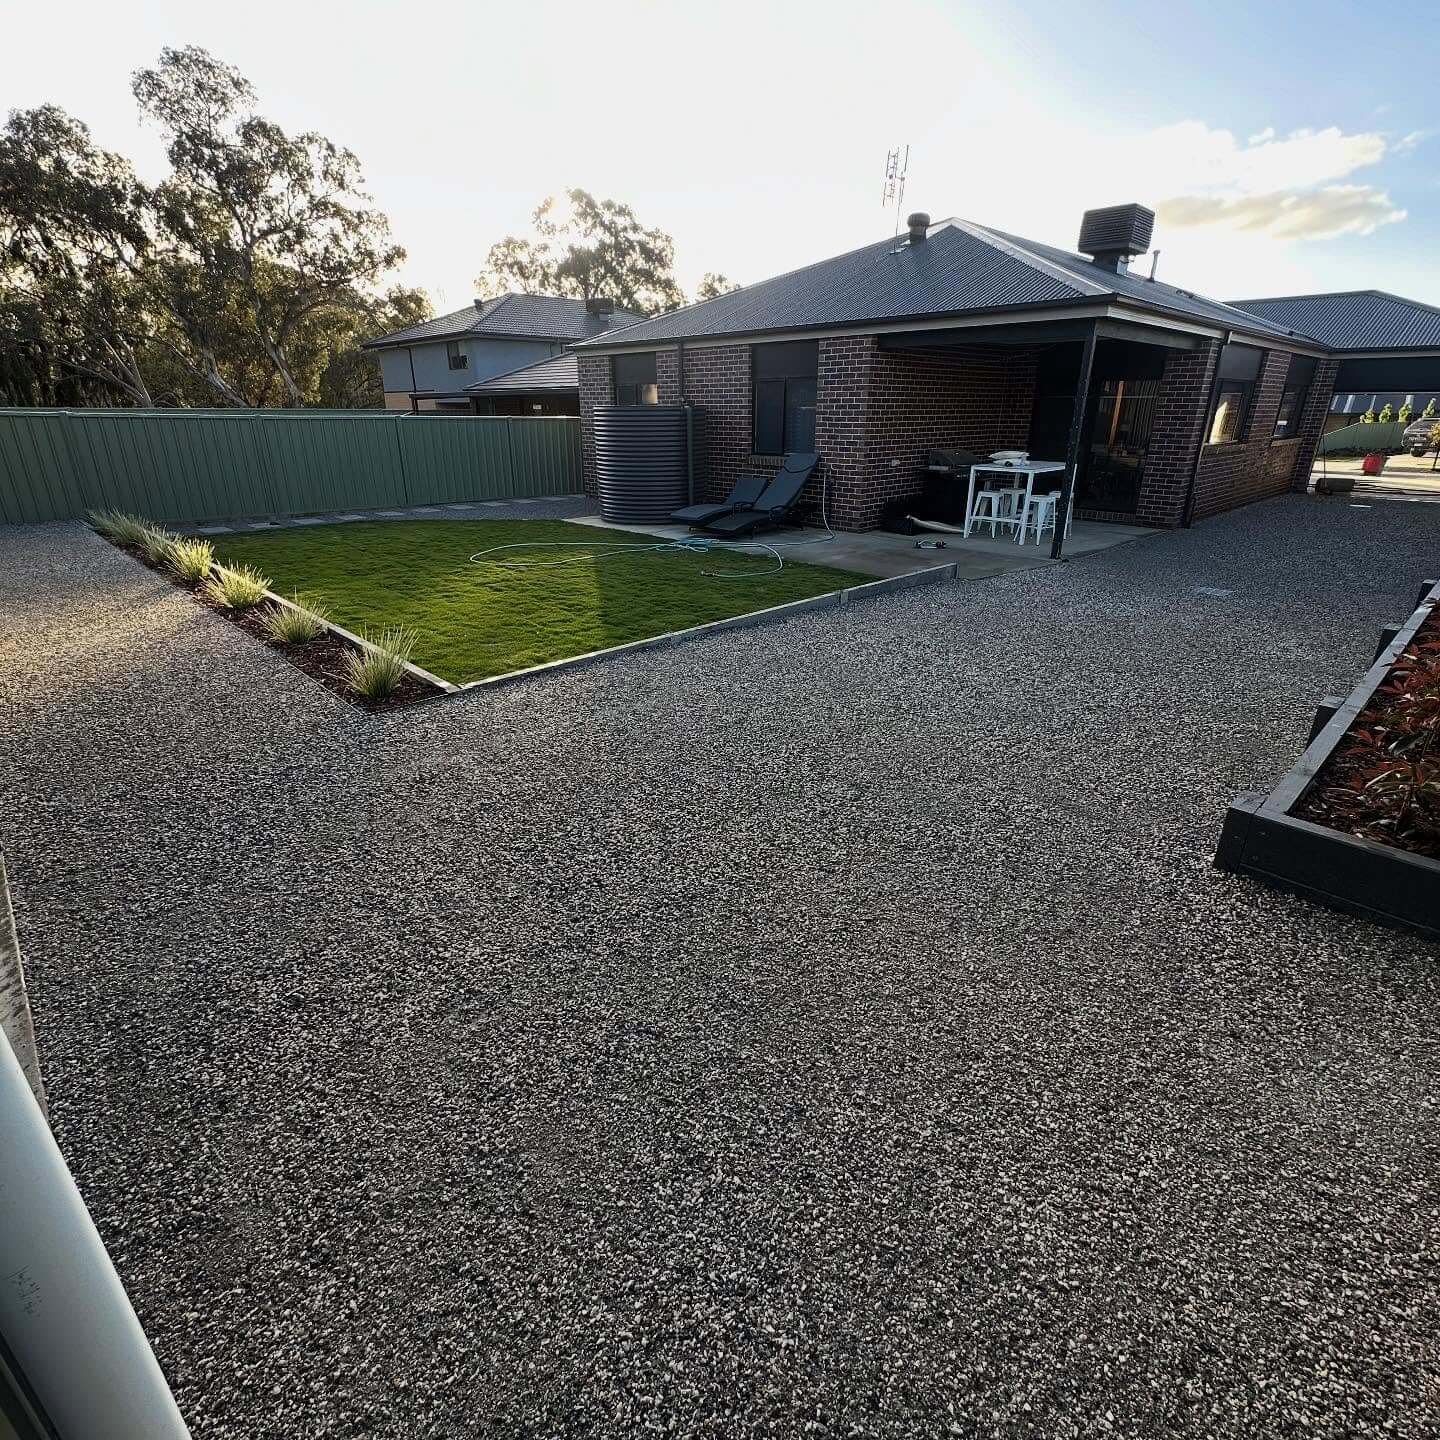
Gravel Honeycomb Panels to Lock a Clean Edge
If you love the look of loose stone but hate migration, gravel-stabilizing honeycomb panels let you build a precise driveway shoulder that stays put. These lightweight grids (often recycled plastic) sit atop a compacted base and geotextile, then fill with 3/8″ gravel to create a firm, ADA-friendly surface that won’t rut at passenger doors. Use a thin steel or aluminum edge at the outer perimeter and tuck the inner honeycomb just under the driveway lip for a seamless transition. The cells prevent washouts on slopes and keep rock from wandering into lawns and beds, cutting maintenance dramatically. Panels are easy to cut for curves and can be installed in a weekend with a plate compactor. Expect material costs around $2–$3 per square foot; since the shoulder is narrow, linear-foot pricing stays competitive with other budget borders. Choose a stone color that ties to your roof or façade for visual cohesion. This approach pairs beautifully with modern homes and works equally well alongside asphalt, concrete, or paver driveways.
DIY Poured Concrete Mow Strip That Looks Custom
A poured-in-place concrete mow strip gives you a bulletproof, low-profile driveway border that doubles as a tidy edge for lawns and planting beds. It’s surprisingly DIY-friendly: stake a straight form (or flexible hardboard for curves) 6–8″ wide and 3–4″ deep, add rebar or wire mesh at corners and long runs, then pour a small-batch mix. Tool a slight crown and a 1/8″ bevel along the driveway side to shed water. Cut control joints every 4–6 feet with a jointer or saw to prevent random cracking. Leave the finish natural, broom it for grip, or tint the mix to echo your façade. The strip cleanly separates materials—gravel, mulch, turf—so maintenance is effortless, and string trimming stays off your driveway’s edge. With rented forms and a buddy to help, many homeowners complete a weekend pour for $3–$5 per linear foot, well under professional curbing. For a high-end detail on a budget, inset small cobbles or brick slips at the top every few feet as “studs” that visually break the run.
Marketplace Paver Header Course: Two Rows, Big Impact
When you can score used concrete pavers for cheap, turn them into a bold, two-row header along the driveway. Laid flat on a compacted base with a thin sand bed, this border reads like custom hardscape but installs fast. Mix sizes—6x9s with 6x6s—or keep uniform blocks for a tailored look. Run the first row tight to the driveway, then offset the second by half a unit for a subtle pattern that catches the eye. Lock edges with a hidden paver restraint and sweep polymeric sand into joints to block weeds. The double width adds visual weight, keeps gravel in place, and creates a comfortable step-out zone for passengers. Color-match to your roof shingles or echo your front walk to stitch the property together. Expect $1–$2 per linear foot if you hunt smart on classifieds or salvage yards. For curves, cut just the outer row; keep the inner tight to maintain a clean line. This is a top-tier curb appeal upgrade that still checks the “inexpensive driveway edging ideas” box.
Get the Fail-Safe Paint Color Playbook (Free PDF)
36 proven colors • 8 ready palettes • trim & sheen guide • printable testing cards.
Low-Profile Concrete Garden Edgers You Can Lay Before Lunch
If you want a sturdy, finished look without hiring a mason, big-box concrete garden edgers are the sweet spot of price and performance. These straight or subtly curved blocks create a tidy driveway border that keeps gravel, mulch, and soil in their lane—and they won’t heave like flimsy plastic. Plan your line with a string, then dig a shallow trench 2–3 inches deep and a bit wider than the block. Add a compacted base of stone dust or sand, set the edgers level and tight, and tap into place with a rubber mallet. For gentle curves, use shorter units or pivot slight angles between pieces. Backfill on both sides and sweep in sand to lock joints. Choose low-profile, chamfered styles in neutral gray, tan, or charcoal for a refined look that complements asphalt, concrete, and gravel drives alike. Maintenance stays light: a quick re-level if frost shifts a unit and an occasional weed pass keeps the edge crisp. It’s an affordable, DIY-friendly way to add a permanent-looking border that instantly upgrades curb appeal.
Budget Bender Board for Fluid Curves and Clean Transitions
When you need sweeping, organic lines without the cost of steel, HDPE/composite bender board delivers. Sold in long, flexible strips, it creates a clean separation between your driveway and planting beds or decorative gravel, then disappears visually for a modern, understated edge. Score your curve with a hose or string, cut a shallow trench, and stand the board with 1–1.5 inches revealed above grade. Anchor with stakes every 24–36 inches (closer on tight curves), fasten with exterior screws, and backfill both sides so traffic and mowers can’t nudge it. The result: a durable restraint that holds rock, decomposed granite, or mulch in place and guides runoff without looking bulky. Pick dark brown or black so the edge blends into the shadow line, and pre-bend in the sun (or lightly warm) to make smooth arcs. It’s especially useful along asphalt or gravel drives where you want crisp definition but flexible geometry. Low cost, fast install, and easy future edits make bender board a go-to for DIY driveway edging on a budget.
Spade-Cut “English Edge” That Costs Next to Nothing
For the lowest-cost driveway edging that still reads intentional, cut an “English edge”—a clean V-shaped trench between hard surface and lawn or bed. This classic technique creates a sharp shadow line that stops turf creep, guides water off the drive, and frames the front yard with nothing more than elbow grease. Snap a string to set your line, then use a half-moon edger or spade to slice a 3–4 inch deep bevel sloping toward the lawn. Remove the strip, refine the profile, and mulch the bed side so the edge pops. On straight runs, keep the cut parallel to the driveway; on curves, walk the tool in small bites for a smooth arc. Maintenance is simple: re-cut once or twice a season (faster with an edging tool) and spot-spray weeds if needed. This method pairs beautifully with concrete and asphalt, and it’s a smart pre-step before adding rock bands or plantings later. Minimal tools, zero materials, maximum curb appeal—proof that crisp driveway borders don’t have to cost a dime.
DIY Driveway Edging Installation Tips for Cheap, Long-Lasting Results
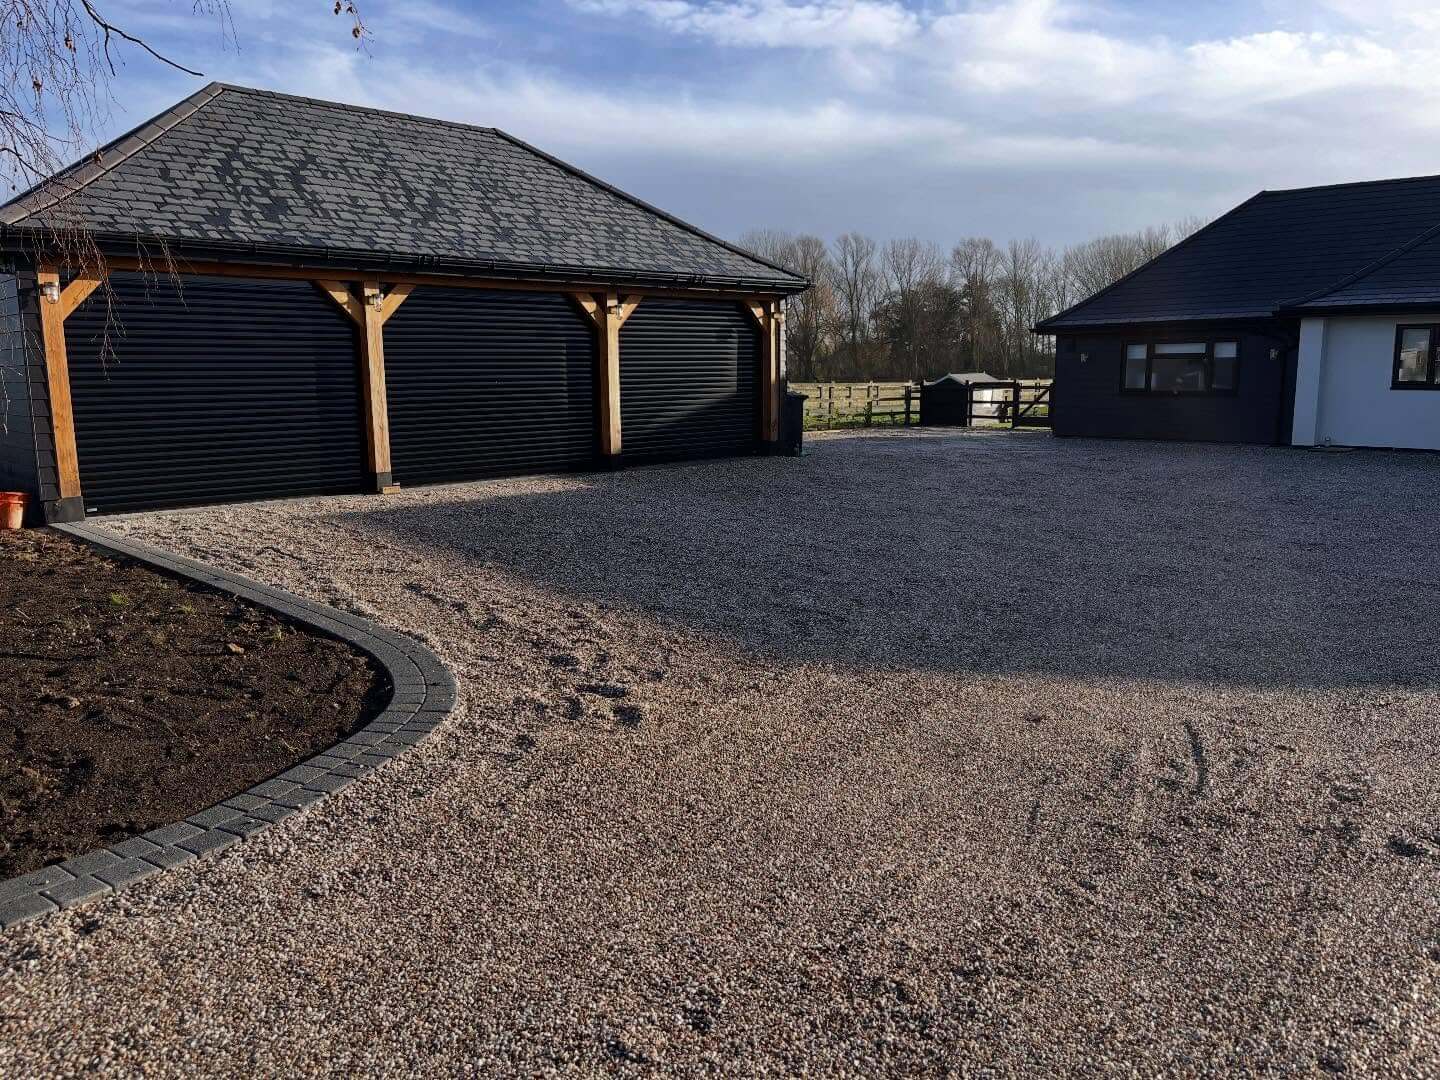
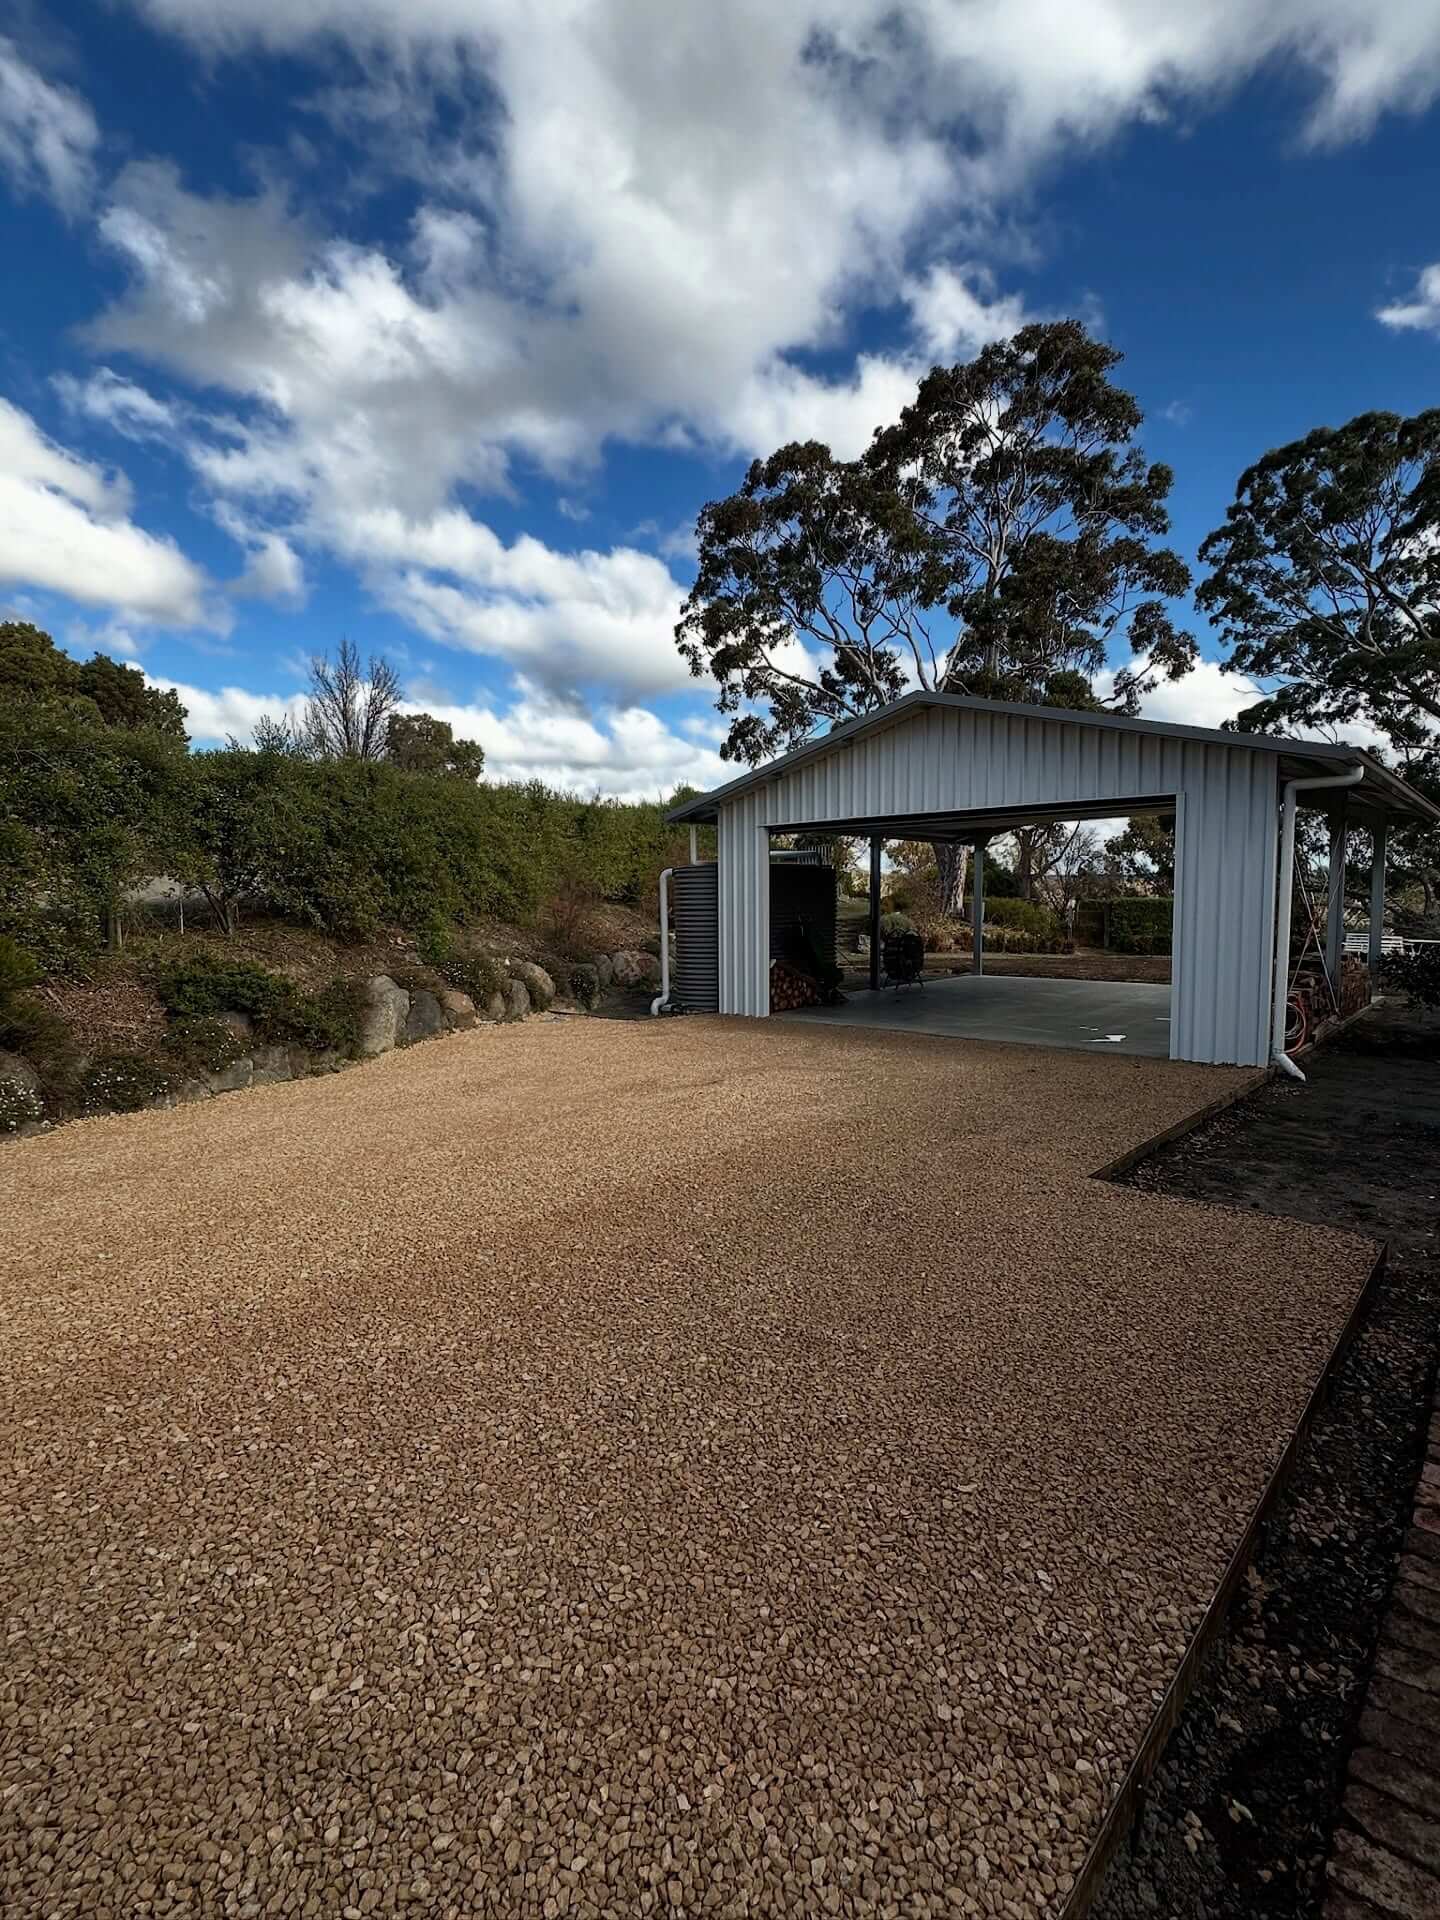
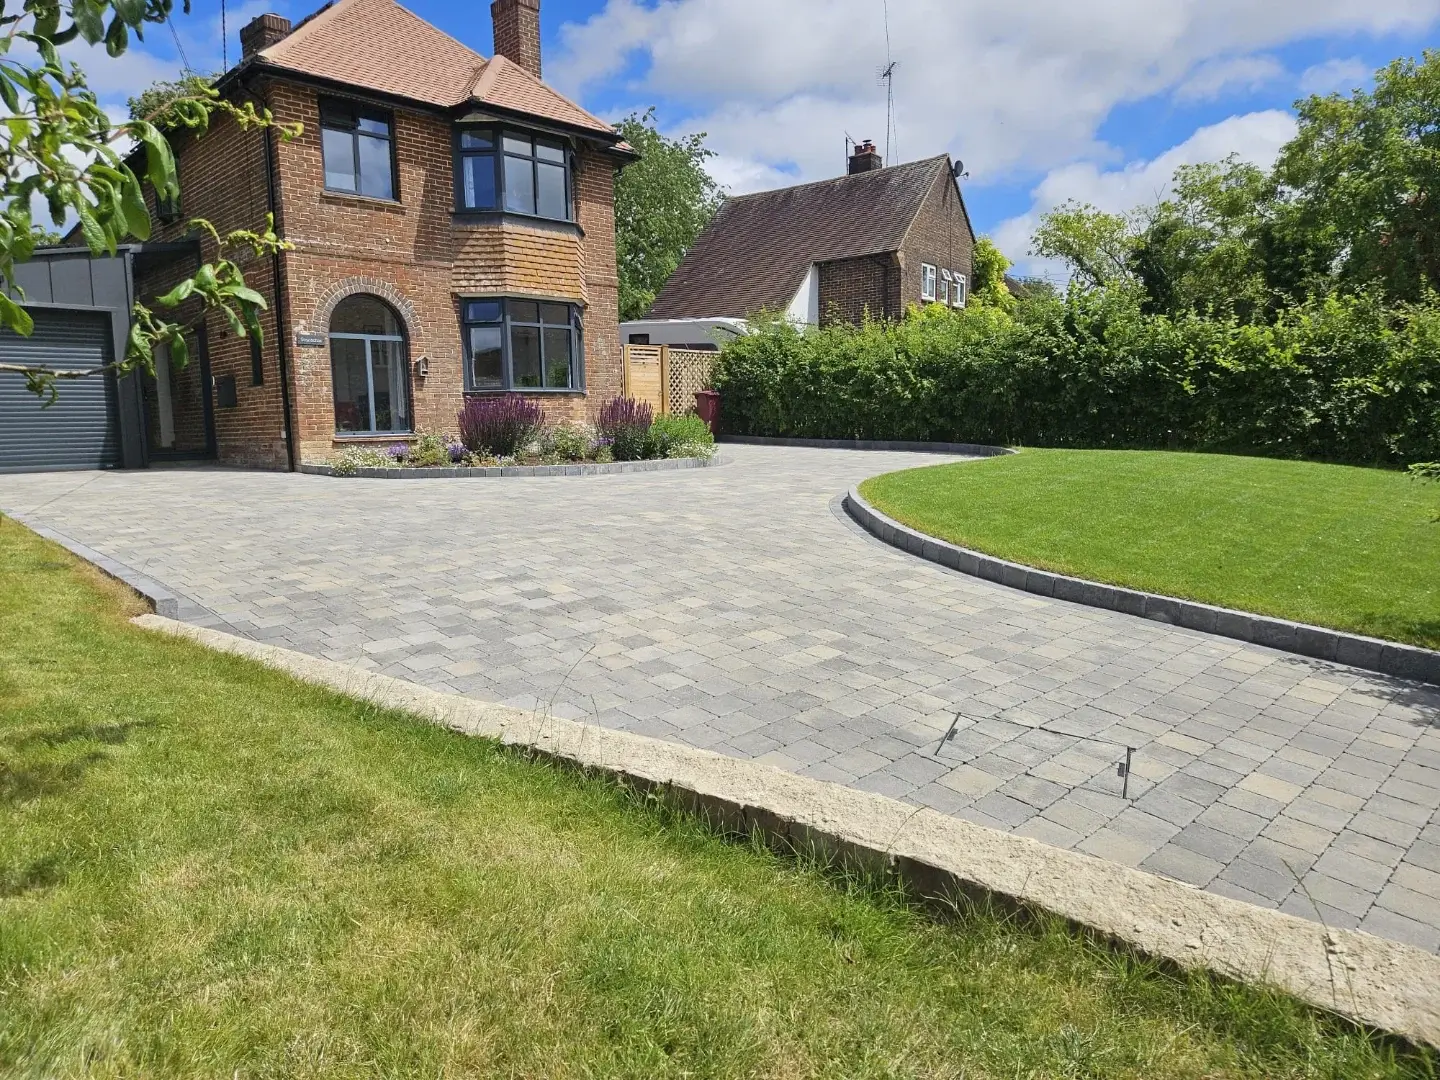
A durable, low-cost border starts with a plan scaled to your driveway’s curves, grades, and soil conditions. Sketch the layout, note high and low spots, and mark utilities before digging. Budget friendly does not mean flimsy—proper base depth, compaction, and drainage matter more than premium materials. Favor simple radiuses over tight turns to reduce cuts and gaps. Keep the finished height flush with existing paving for safety and easy snow clearing. Gather essentials early: stakes, mason’s line, shovel, gravel, bedding sand, mallet, and a hand tamper or rental plate compactor.
- Mock curves with a garden hose, then paint the line; gentle radiuses reduce cutting, simplify compaction, prevent trip edges, and make inexpensive materials look deliberate rather than improvised.
- Excavate a trench 4–6 inches deep and as wide as your edging; square, consistent walls help materials seat tightly, resist frost heave, and maintain a clean, professional reveal.
- Build a base with compacted three-quarter-minus gravel topped by one inch of bedding sand; this layered approach drains water, spreads loads, and cuts ruts where tires occasionally roll.
- Set elevations so edging tops sit flush with paving, not proud; flush heights reduce plow snags, mower strikes, and ankle catches while keeping gravel or mulch neatly contained.
- Use a hand tamper or plate compactor in three passes—base, bedding, and final—to lock pieces; vibratory compaction is the difference between wobbly borders and long-lasting, tidy lines.
- Backfill lawn side with topsoil and seed, not mulch; tying turf right up to hard edges delivers crisp contrast, shades base materials, and makes sweeping debris easier after storms.
After installation, sweep polymeric sand into joints where applicable and lightly mist to set, reducing weed growth and washout. Inspect each spring for frost lift, then reset and recompact any high spots. Replenish pea gravel yearly and recoat timber with exterior sealer every two to three seasons. Keep downspouts aimed away from edges to prevent undermining, and brush debris after storms to avoid organic buildup. Use plastic-friendly de-icers near timber and brick to limit staining and spalling. With seasonal touch-ups, cheap driveway edging looks polished and performs reliably for years.
Quick Answers for Smarter Edges on a Smaller Budget
What is the cheapest way to edge a driveway without it looking unfinished?
Reused materials—brick, urbanite, or paver offcuts—set on a compacted base give a tailored look for little money. Keep lines flush and consistent, and finish joints with polymeric sand for polish.
Do I really need a gravel base if I’m using timbers or rocks?
Yes, a compacted granular base prevents settling, heave, and washouts, even under light tires. It also improves drainage, which extends the life of wood and keeps rocks locked.
Get the Fail-Safe Paint Color Playbook (Free PDF)
36 proven colors • 8 ready palettes • trim & sheen guide • printable testing cards.
How can I stop gravel from spilling onto the lawn cheaply?
Install a shallow trench with bender board or a flush row of stones to form a physical stop. Set heights even with paving and backfill the lawn side to knit turf tight.
Will recycled concrete or brick last in freeze–thaw climates?
They can, provided you use a draining base, compact well, and keep tops flush to shed plows and shovels. Avoid soft mortar, and relevel sections promptly after winter movement.
Final Verdict: Inexpensive Edges, Outsized Curb Appeal
Thoughtful driveway edging doesn’t have to be pricey to look polished and perform well. Whether you lean modern with thin steel strips, rustic with reclaimed brick or urbanite, or low-key with bender board, pea gravel ribbons, and plant-led borders, there’s a budget pathway that fits your surface, style, and climate. The common thread among the best low-cost options is smart prep: a stable base, proper slope for drainage, and a reliable restraint so the line stays straight and the materials don’t migrate.
Set yourself up for success by measuring your run, marking curves with a garden hose, and pricing locally sourced or salvaged materials first. Dig a clean trench, compact the subbase, add a sand or stone-dust bedding where needed, and use spikes, rebar, or hidden restraints to lock everything in. Keep a gentle fall away from the drive (about 1–2%) to shed water, consider a weed barrier under loose aggregates, and finish with a tidy top-dress. Small upgrades—like solar guide lights, a contrasting chip stone, or a narrow mow strip—stretch impact without stretching the budget.
Start with one side to dial in your process, then mirror it on the other for symmetry. A quick seasonal tune-up—sweeping, re-leveling displaced gravel, trimming plant edges, and checking spikes—will keep your new border crisp. With a weekend of work and smart material choices, you’ll capture cleaner lines, better drainage, and a big curb-appeal boost—without an expensive install.