
How Long To Let Chalk Paint Dry Between Coats: A Complete Guide
Welcome to the rewarding world of chalk paint. This versatile medium has captured the hearts of DIY enthusiasts and designers alike, offering a beautiful, matte, and rustic finish that can transform old furniture or create stunning accent walls. Its unique appearance makes it a go-to choice for everything from farmhouse tables to delicate decorative pieces.
However, the magic of chalk paint doesn’t happen overnight. Achieving that signature flawless, durable finish requires mastering the process, and the single most crucial step is understanding the proper drying and curing time between coats. Rushing this process is the most common mistake, and knowing exactly how long to wait is the key to success.
Get the Fail-Safe Paint Color Playbook (Free PDF)
36 proven colors • 8 ready palettes • trim & sheen guide • printable testing cards.
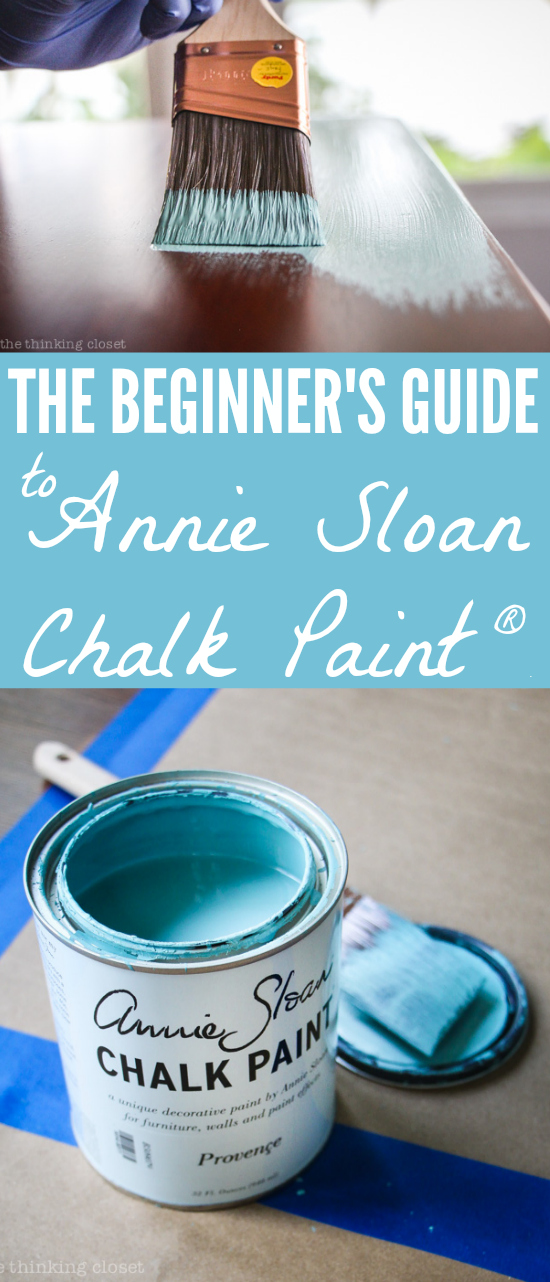
This comprehensive guide is designed to be your step-by-step resource, providing detailed knowledge on everything from surface preparation and paint chemistry to environmental factors and final sealing techniques. By following these guidelines, you will confidently navigate the drying process and achieve professional, long-lasting results every time.
Quick answer: Paint may feel dry within hours, but full cure can take much longer depending on paint type, humidity, temperature, ventilation, coat thickness, and surface. Always follow the product label before recoating, cleaning, or applying a topcoat.
Preparation: Planning Your Chalk Paint Project
Before you even open the paint can, proper planning is essential. A flawless paint job starts long before the brush touches the surface. Assessing your project constraints—such as the surface material, the room’s humidity, and your timeline—will prevent costly mistakes and frustration.
Consider the surface material. Is it raw wood, heavily stained oak, or perhaps a metal filing cabinet? Each material requires a specific cleaning and preparation protocol. For wood, sanding is usually necessary to create a uniform surface and ensure maximum adhesion. For metal, gentle cleaning and degreasing are critical. Understanding the porosity of your surface dictates how much paint is absorbed and, consequently, how long the paint takes to dry. Highly porous surfaces, like unsealed plaster, will soak up the paint, prolonging the drying time significantly.
Also, factor in your environment. If you are working in a bathroom with high humidity, or if the temperature is unusually cool, you must adjust your expectations for drying time. The local climate is a major variable that can derail even the most careful plan, so always check the weather forecast and prepare accordingly.
Understanding Chalk Paint Drying and Curing Times
The terms “drying” and “curing” are often misused in DIY painting, and understanding the difference is paramount to success. When paint *dries*, it means the surface water has evaporated, and the paint no longer feels wet. When paint *cures*, it means the chemical compounds within the paint have reacted (often through oxidation or polymerization) to achieve maximum hardness and durability. You can paint over a surface that is completely dry, but if it hasn’t cured, it will be susceptible to chipping, scratching, and wear.
To help navigate the wait times, here is a detailed guide based on the type of product you are using. Remember that these are general guidelines; always defer to the manufacturer’s specific instructions.
Water-Based vs. Oil-Based Formulations
The chemical base of your paint dictates its drying speed. Water-based chalk paints are formulated to dry relatively quickly, making them ideal for projects where time is limited. They typically dry to the touch within a few hours.
In contrast, oil-based chalk paints utilize different resins and binders, which require a slower chemical reaction process. These paints often yield a deeper, richer patina and are generally more durable, but they demand patience. They require much longer drying and curing times, sometimes needing multiple days before they can be sealed or handled roughly.
Best Practice Timing Summary: For water-based paints, wait until the paint is dry to the touch (usually 2-4 hours) before applying the next coat. For oil-based paints, wait much longer (4-8 hours or overnight) and allow the entire piece to cure for a minimum of 3 to 7 days before sealing or use.
The Step-by-Step Painting Cycle
To ensure optimal results, follow this structured process, allowing adequate time at each stage:
Preparation: Clean, degrease, and lightly sand the surface. Allow the surface to stabilize and dry completely (this can take days).
First Coat: Apply a thin, even coat of paint. Allow the specified drying time (e.g., 2-4 hours for water-based).
Sanding (Optional but Recommended): Once dry, lightly sand the first coat with fine-grit sandpaper (220 grit). This removes any imperfections and helps the second coat adhere better. Clean all sanding dust thoroughly.
Subsequent Coats: Apply the second coat. Wait for the full recommended drying period again. Repeat the sanding process if necessary. Build up layers slowly, prioritizing thin coats over thick, heavy applications.
Sealing and Curing: After the final coat is applied, allow the paint to cure for the full time recommended by the manufacturer (this is often the longest wait, sometimes weeks). Only once fully cured should you apply a protective sealant or wax.
Materials and Tools for Flawless Application
Having the right equipment is half the battle. Investing in quality tools will streamline your process and improve the final aesthetic.
- Chalk Paint: Always purchase the specific brand you intend to use, as formulas vary drastically.
- Primer/Sealer: Depending on your surface (especially if painting over highly porous or stained wood), an appropriate primer is non-negotiable. This seals the surface and ensures even paint absorption.
- Sandpaper: A selection of grits is needed: 80-120 grit for heavy sanding, and 220-320 grit for fine sanding between coats.
- Brushes: Use high-quality, natural bristle brushes suited for the paint type. Clean brushes frequently to prevent color bleed.
- Cleaning Supplies: Degreaser, mineral spirits, or soap and water for cleaning the surface and tools.
- Protective Gear: Dust masks (N95 rating), gloves, and safety glasses, particularly when sanding or using chemical degreasers.
Design and Finish Considerations
Chalk paint’s inherent matte finish is part of its charm, but its appearance can be dramatically enhanced or altered by the protective topcoat you choose. Consider how the finish will interact with the intended use of the piece.
Understanding Sheen: Because chalk paint is porous and matte, it requires a protective clear coat (sealer, wax, or polycrylic). The sheen of this topcoat—be it satin, semi-gloss, or matte—will significantly change the overall look. A high-gloss polycrylic offers maximum durability and protection, making it suitable for high-traffic areas like bathroom vanities. A matte wax, conversely, enhances the rustic, chalky aesthetic but offers less resistance to moisture and wear.
Color and Undertones: When selecting colors, remember that the final color can be affected by the underlying surface and the lighting in the room. Test swatches on the actual surface, and observe them at different times of day (natural daylight vs. artificial light) to understand how the undertones will shift. Pairing colors is easiest with neutrals (creams, grays, soft whites), allowing the paint’s texture to be the main design feature.
Common Mistakes and How to Avoid Them
Even experienced DIYers make mistakes. Being aware of these pitfalls will greatly improve your chances of a professional finish.
- Mistake: Applying paint over a dirty or greasy surface.
Correction: Always thoroughly degrease the surface with soap and water or a dedicated degreaser before priming. - Mistake: Skipping the primer.
Correction: If painting a raw, highly absorbent material (like unsealed plaster or raw wood), a quality primer is mandatory. It prevents the paint from soaking in unevenly and ensures the chalk paint adheres uniformly. - Mistake: Assuming “dry to the touch” means “finished.”
Correction: Always remember the difference between surface drying and full curing. For maximum durability, the piece must be sealed and allowed to cure for the full recommended time, regardless of how quickly it dries initially. - Mistake: Using too many thin coats.
Correction: While thin coats are better than thick ones, if the paint is meant to build up significant color, it may be better to apply fewer, slightly thicker coats, provided you allow ample drying time between them.
Safety and Practical Handling Notes
Safety must always be your top priority when working with paint, solvents, and sanding dust. Proper preparation and handling minimize risks to your health and your project.
Ventilation is Key: Always work in a well-ventilated area. When using solvents, degreasers, or sanding, ensure that fresh air is circulating to prevent the buildup of fumes. Use fans, not open windows, if the wind is unpredictable.
Protective Gear: When sanding, the dust generated can be irritating and harmful. Wear an N95 dust mask and safety goggles. When mixing or applying paint, wear gloves to protect your skin from stains and chemicals. Never mix unknown chemicals or solvents.
Professional Boundaries: If your project involves structural elements, electrical wiring, or large-scale, complex restoration of antique pieces, it is always best practice to consult or hire a professional restorer. DIY methods are perfect for furniture and décor, but structural integrity requires expert care.
Frequently Asked Questions
How long do I let chalk paint dry between coats?
The drying time depends entirely on the paint base. For most water-based chalk paints, you can typically wait 2 to 4 hours before applying the next thin coat. However, if you are using oil-based formulations, the drying process is much slower and may require 4 to 8 hours or even overnight. Always check the specific manufacturer’s instructions, as these times are general guidelines.
Get the Fail-Safe Paint Color Playbook (Free PDF)
36 proven colors • 8 ready palettes • trim & sheen guide • printable testing cards.
What is the difference between “dry” and “cured”?
This is the most important distinction. When paint *dries*, it simply means the surface water has evaporated and the paint no longer feels wet. When paint *cures*, it means the chemical binders have undergone a complete reaction (oxidation or polymerization) to achieve maximum hardness and durability. You can paint over a surface that is dry to the touch, but if it has not cured, it remains vulnerable to chipping and wear. Maximum durability requires waiting for the full curing time, which can take several days or weeks.
My wood surface is very porous or stained; what should I do first?
If your surface is highly porous (like unsealed plaster or raw wood) or heavily stained, do not skip the primer. Applying a quality primer or sealer is mandatory. It seals the surface, ensuring that the paint absorbs uniformly and prevents the chalk paint from soaking in unevenly. This step is crucial for proper adhesion and a professional finish.
Can I sand the paint before it is fully dry, and what safety precautions should I take?
It is generally safe and recommended to lightly sand the surface once the paint is completely dry (allowing for the minimum recommended time). However, sanding generates fine dust, which can be irritating and harmful. Always wear an N95 dust mask and safety goggles when sanding. When working with solvents or degreasers, ensure the area is extremely well-ventilated to prevent the buildup of fumes.
Conclusion
Mastering chalk paint is a journey of patience, preparation, and careful timing. By treating the drying process not as a mere wait, but as a critical, multi-stage chemical reaction, you will transform your approach from guesswork to expertise. Remember that the time spent waiting is an investment in durability and flawless aesthetics.
Always prioritize the manufacturer’s guidelines, respect the difference between surface drying and deep curing, and never skip the steps of proper cleaning, priming, and sealing. By following these comprehensive guidelines, you are well-equipped to tackle any furniture or wall project, ensuring your chalk paint creations remain beautiful and durable for years to come.