
How To Clean Dried Latex Paint From Paint Sprayer
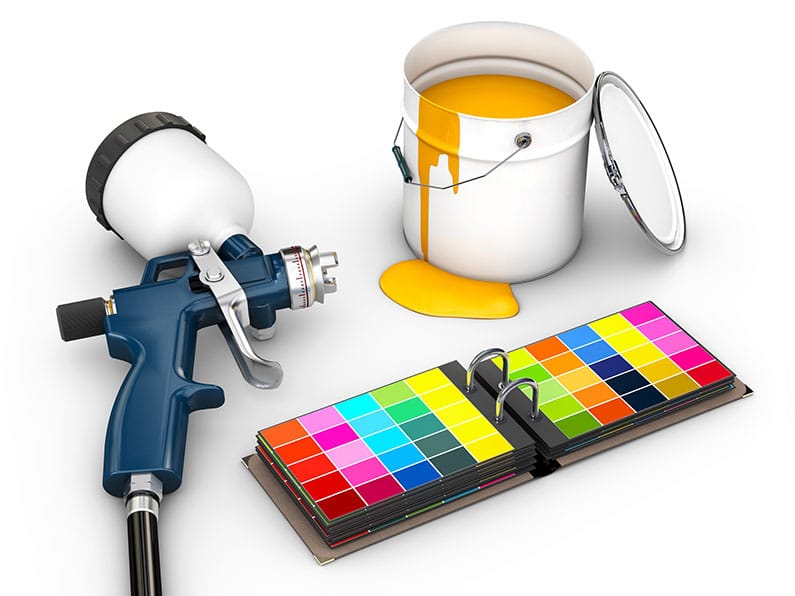
Using an air-powered or electric paint sprayer is a massive time saver compared to traditional brushing and rolling, making it an indispensable tool for any DIY home improvement project. However, the efficiency of this equipment is entirely dependent on proper maintenance. When dealing with latex paint, the primary challenge arises when the paint begins to dry within the internal components of the sprayer, creating clogs that can halt your project entirely.
Cleaning dried latex paint from a paint sprayer is not just a quick rinse; it is a systematic process requiring careful disassembly, the use of appropriate solvents, and thorough cleaning of every component, from the trigger guard to the pump mechanism. By understanding the proper workflow and knowing the materials you need, you can tackle this seemingly daunting task and ensure your sprayer is ready for its next use.
Get the Fail-Safe Paint Color Playbook (Free PDF)
36 proven colors • 8 ready palettes • trim & sheen guide • printable testing cards.
Quick answer: To clean dried latex paint from paint sprayer, depressurize the sprayer or gun, flush the cup and hose with the cleaner that matches the coating, then remove the tip, guard, filter, and nozzle parts for separate soaking. Brush out softened residue, rinse the flow path until clear, and reassemble only after the parts are dry. Wear eye protection and ventilate solvent cleanup.
Preparation and Assessment Before You Start Cleaning
Before you even touch a wrench, proper planning is crucial. Attempting to clean a dried-out sprayer without assessing the situation can lead to stripped fittings, damaged seals, or inadequate cleaning. First, gather all necessary tools and materials in one accessible area. Second, identify the specific type of latex paint you used. Knowing if it was a water-based, acrylic, or elastomeric latex paint dictates the appropriate cleaning solution you must use, as using the wrong solvent can damage seals or plastics.
Furthermore, assess the level of the clog. Was the paint merely tacky, or is it completely hardened and dried? If the paint has been allowed to dry for an extended period (days or weeks), do not attempt to force it. Instead, soak the entire unit in a mild solvent bath first to soften the hardened residue, making the mechanical scrubbing process much easier and safer.
Materials and Tools Checklist
Having everything organized prevents interruptions and ensures that no component is overlooked. This comprehensive list covers general supplies and specialized equipment.
- Safety Gear: Chemical-resistant gloves, safety goggles, and a dust mask (especially important if dealing with mold or heavy residue).
- Cleaning Solutions:
- Water (clean, filtered water is best for final rinsing).
- Appropriate thinner/solvent: For latex paint, warm water mixed with a degreaser or mild soap often works. For extremely stubborn clogs, specialized paint thinner or mineral spirits may be needed, but always check the sprayer manufacturer’s guidelines first.
- Vinegar (mild acid solution can help break down some mineral deposits).
Cleaning Tools:
- Small, stiff-bristle brushes (various sizes) for reaching tight spots (like the nozzle tip and internal passages).
- Soft cloths or rags for wiping down exterior components.
- A large plastic or metal container for soaking parts.
Mechanical Tools:
- Wrench set or adjustable pliers (to loosen fittings without stripping threads).
- Disassembly kit (if provided by the manufacturer).
Step-by-Step Guide to Cleaning Dried Paint
The cleaning process is methodical and must be followed in sequence. Never rush the soaking or rinsing steps.
Step 1: Preparation and Disassembly
Before starting, put on all required protective gear. Unplug the sprayer and ensure it cannot be accidentally powered on. Carefully disassemble the entire unit. This means separating the spray gun, the pump mechanism, the hose, and the paint container/reservoir. Use the wrenches or pliers gently to loosen fittings, taking care not to force any connections that are stuck, as excessive force can break plastic parts.
Step 2: Initial Soaking (The Chemical Attack)
This is the most crucial step for dried paint. Do not attempt to scrub hardened paint immediately. Fill your soaking container with the appropriate cleaning solution. Submerge the disassembled components (spray gun, pump, and hose sections) into the bath. Allow them to soak for a minimum of 30 minutes, or even several hours if the paint is severely dried. The solvent needs time to penetrate and soften the dried latex film.
Step 3: Component Scrubbing and Deep Cleaning
After the soaking time, the paint residue should be significantly softened. Now, use the specialized brushes. Focus especially on the narrow passages: the nozzle tip, the internal pathways of the spray gun, and the pump inlet/outlet ports. Scrub vigorously but carefully. For the pump, ensure you scrub both the internal pump chamber and the exterior housing. Rinse each component individually under running water, using the brush to guide the water into all crevices. Never let any part touch dirty water, as this will simply recontaminate the clean components.
Step 4: Rinsing and Drying
Rinsing must be exhaustive. Rinse every component multiple times with clean, running water until you are certain that all traces of cleaning solution and paint residue are gone. Residue from the solvent can react with the paint later. Once rinsed, assemble the parts in a clean, well-ventilated area. Hang the hose and allow all components to air dry completely. Use towels only for external wiping; do not use them to dry internal parts.
Step 5: Reassembly and Testing
Once everything is bone dry, reassemble the sprayer, following the manufacturer’s recommended order. Before using actual paint, fill the reservoir with clean water and cycle the pump several times. This flushing process removes any remaining dust or minor clogs. Finally, test the spray pattern by spraying water onto a scrap piece of wood. Check for consistent pressure, even coverage, and any unexpected drips or clogs. If the spray is inconsistent, repeat the scrubbing process on the specific component causing the issue.
Materials and Tool Depth: Advanced Cleaning Tips
If the standard process fails, the clog may be due to a specific type of paint particle or mineral deposit. In these cases, consider specialized solutions. For example, if the paint was highly pigmented or contained excessive fillers, a mixture of warm water and a mild acidic cleaner (like vinegar, diluted heavily) might be necessary to dissolve mineral buildup. Always prioritize the manufacturer’s recommended cleaning agent over generic solutions, as chemical compatibility is key to preventing damage to rubber seals and plastic parts.
Furthermore, consider the function of the nozzle tip. These tips are often the last place paint residue collects. If the clog persists, carefully examine the nozzle tip under magnification and use a very fine wire or specialized cleaning needle (if provided by the manufacturer) to clear the passage, moving slowly and deliberately.
Finish, Compatibility, and Prevention Tips
Choose a finish that matches the repair goal and the surface conditions. Gloss and semi-gloss resist moisture and are easier to clean, while flat or matte finishes hide imperfections better but are less washable.
Check compatibility between primer, filler, paint, and the existing surface. Some repairs require specific primers or prep steps to prevent the problem from returning. Consider drying time, odor, and cleanup method before starting, and confirm that the product suits interior or exterior use as needed.
Mistakes to Avoid When Cleaning
Cleaning a sprayer is technical, and common mistakes can lead to frustration or costly damage. The most frequent error is insufficient soaking time. If the paint is heavily dried, simply scrubbing it will only tear up the paint, leaving the residue trapped in the internal mechanisms. Another major mistake is skipping the thorough rinsing stage, which can lead to chemical reactions when you introduce new paint.
Never use abrasive tools on the pump or seals; these components are often made of soft plastics and can be easily scratched or damaged. Always disassemble the sprayer completely. Attempting to clean it while partially assembled guarantees that you will miss critical passages, resulting in a recurring clog.
Safety and Practical Notes
Safety must be the top priority. Latex paints and their cleaning solvents can be irritating, so always wear chemical-resistant gloves, safety goggles, and appropriate ventilation. Work in a well-ventilated area, preferably outdoors or under an exhaust fan, to minimize inhaling solvent fumes.
It is crucial to consult the paint sprayer manufacturer’s manual. They provide specific cleaning recommendations for their model, which supersede general advice. If the sprayer is complex, involves high electrical voltage, or if you are unsure about the chemical interaction between your paint and the solvent, it is always safest and most reliable to call a licensed professional service for maintenance.
Get the Fail-Safe Paint Color Playbook (Free PDF)
36 proven colors • 8 ready palettes • trim & sheen guide • printable testing cards.
Credit: www.toolnerds.com Frequently Asked Questions
What is the safest solvent to use for dried latex paint?
Always consult the paint sprayer manufacturer’s manual first, as chemical compatibility is paramount. For general dried latex paint, start with warm, clean water mixed with a mild degreaser or soap. If the clog is extremely stubborn, a specialized paint thinner designed for water-based coatings may be necessary. Never substitute harsh solvents like acetone or mineral spirits unless explicitly recommended by the manufacturer, as they can damage seals, plastics, and rubber components.
How long should I soak the sprayer if the paint has been hardened for weeks?
Patience is key. Do not attempt to force the cleaning process. If the paint is severely dried, soaking is mandatory. Submerge all disassembled components (pump, gun, and hose sections) in the appropriate solvent bath for a minimum of three to six hours. The goal of the soaking time is to allow the solvent to slowly penetrate and soften the hardened film, making the mechanical scrubbing process effective and safe.
When should I stop cleaning and call a professional?
You should call a professional service if the sprayer is highly complex, if the clog is deep within the pump mechanism, or if you are unsure about the chemical interaction between the paint and the solvent. Professionals have specialized tools and knowledge regarding electrical components and proprietary fittings. If the manufacturer’s recommended cleaning process fails after multiple attempts, professional intervention is the safest course of action.
What is the best way to prevent dried paint clogs in the future?
The most effective preventative measure is immediate maintenance. After every use, even if you only used a small amount of paint, disassemble the sprayer and run a cleaning solution (such as warm water mixed with soap) through the entire system. This rapid flushing prevents the paint from having time to dry and bond with the internal parts, significantly extending the life of your equipment.
Conclusion
Cleaning dried latex paint from a paint sprayer is a detailed process, but by approaching it systematically—prioritizing safety, using the correct solvents, and dedicating enough time to soaking and rinsing—you can restore your equipment to peak working condition. Regular maintenance, especially cleaning immediately after every use, is the single best preventative measure. Following these steps will ensure that your paint sprayer remains a reliable asset for years of successful DIY painting projects.