
How To Clean Oil Paint Brushes Without Paint Thinner
As an oil painter, the quality of your brushes is paramount to the quality of your artwork. They are not merely tools; they are extensions of your hand, capable of delivering delicate washes or bold impasto strokes. However, the life cycle of a brush includes a necessary, and sometimes daunting, part: cleaning. While chemical solvents like paint thinner are highly effective at dissolving dried oil paint, their strong fumes and chemical composition make them undesirable for many artists concerned about safety and environmental impact.
Fortunately, mastering the art of brush cleaning doesn’t require harsh chemicals. By understanding the properties of household, non-toxic ingredients—such as mild soap, conditioner, and natural acids—you can achieve a thoroughly clean, properly conditioned brush that is safe for your workspace and better for your health. This comprehensive guide will equip you with the knowledge to maintain your prized tools safely and effectively, ensuring they remain responsive and durable for years of artistic creation.
Get the Fail-Safe Paint Color Playbook (Free PDF)
36 proven colors • 8 ready palettes • trim & sheen guide • printable testing cards.
Quick answer: To Clean Oil Paint Brushes Without Paint Thinner, start with the safest first step for the material involved, test a small area when needed, and follow the process in thin, controlled stages. Use proper ventilation and protective gear when chemicals, sanding, spraying, or solvents are involved.
Planning Your Brush Cleaning Session
Before you even touch a brush, a little preparation goes a long way toward a successful, stress-free cleaning session. Assessing the state of your brushes, the type of paint, and the ingredients you are using will determine the best approach and prevent damage.
First, categorize your brushes. Are they natural hair (like hog bristle or sable) or synthetic? Natural hair brushes often require slightly gentler handling and specific conditioners to maintain their natural oils, while synthetic brushes are generally more resilient but can still suffer from buildup. Secondly, assess the paint buildup. Is it a fresh, tacky residue, or is it dried, crusty paint that has been sitting for weeks? The more dried the paint, the more vigorous the initial scraping will need to be, but the cleaner the final rinse must be to avoid stripping the bristles.
Timing is also crucial. Never try to clean brushes when they are completely dried out and cemented with paint. If you know you won’t be painting for a few days, a light, initial rinse with mild soap and water will prevent the paint from hardening into a solid block, making the deep cleaning process much easier.
The Step-by-Step Cleaning Method for Oil Paint
Regardless of whether you prefer the soap method or the conditioner method, the overall process remains consistent: loosen, dissolve, rinse, and condition. Follow these steps meticulously for optimal results.
Phase 1: Initial Scraping and Bulk Removal
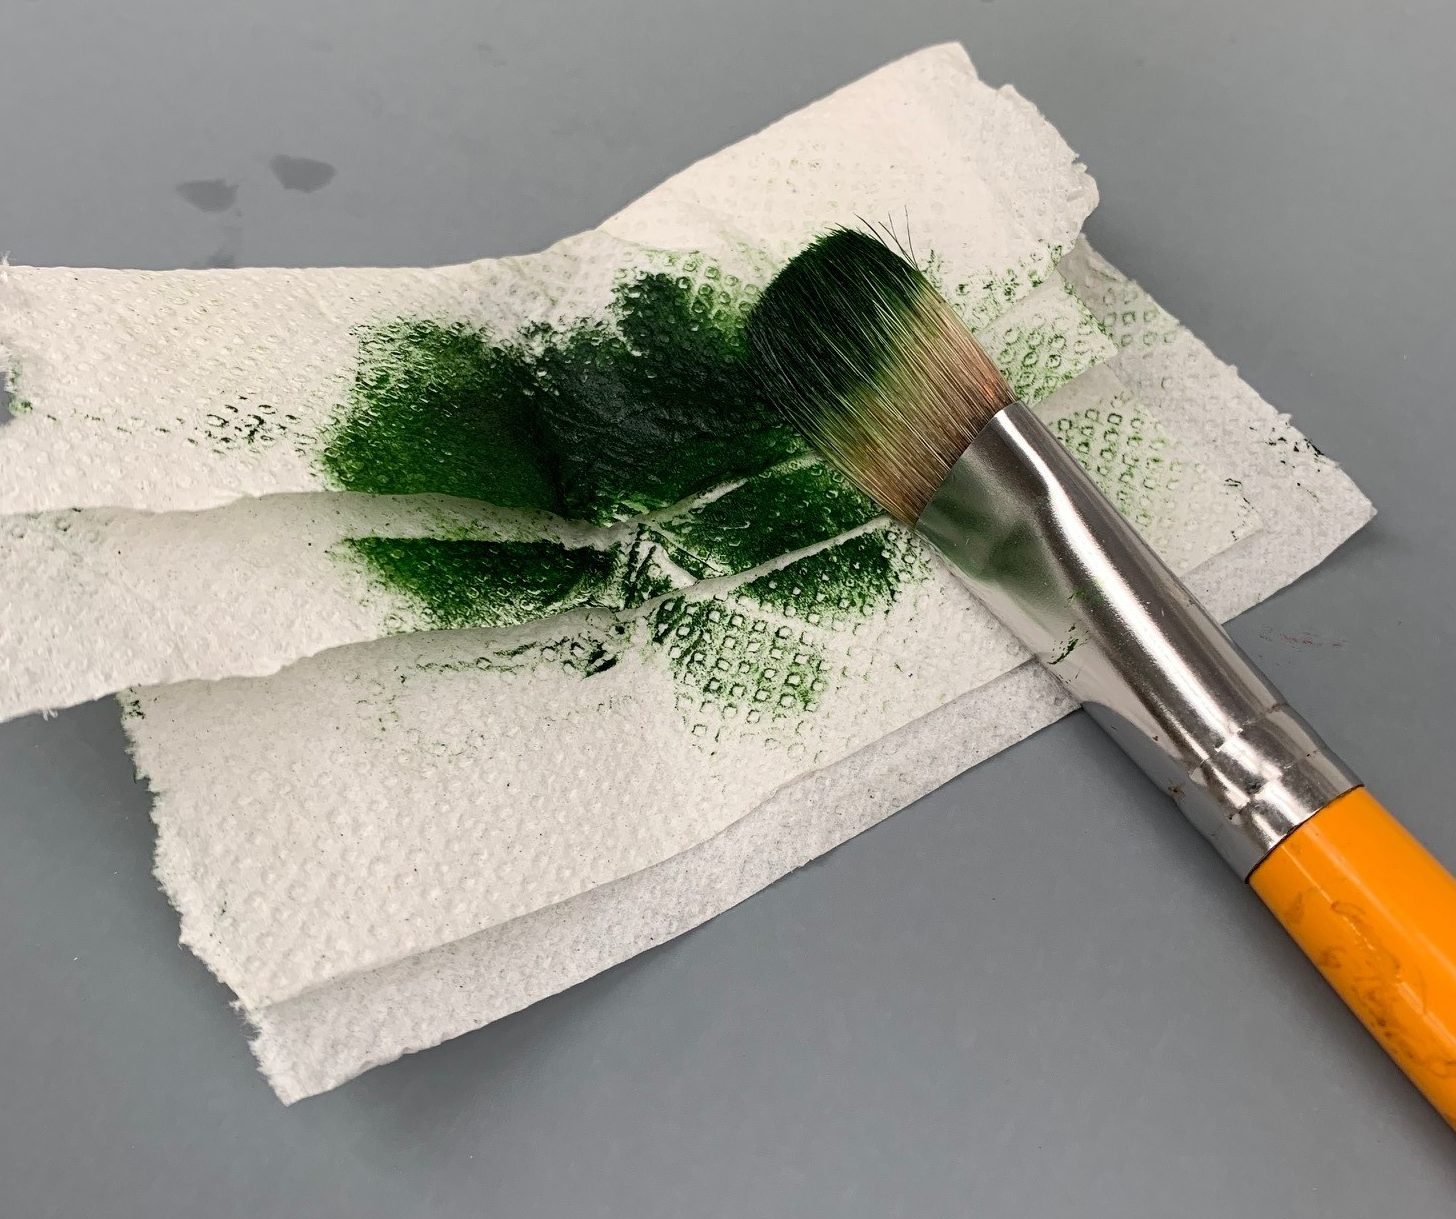
The first step is mechanical removal. Do not try to wash away thick paint clumps. Use a palette knife, a stiff, flat brush scraper, or even a credit card edge to scrape off as much excess paint as possible and dispose of it safely. This reduces the workload for the cleaning solution. Next, wipe the brushes thoroughly on a paper towel or rag to remove the loose, surface-level paint.
Phase 2: Selecting and Applying the Cleaning Solution
Choose your method based on the paint type and the brush material, but generally, a mild soap solution is best for daily cleaning, while conditioner is ideal for deep restoration.
- Preparation: Fill a dedicated container (a shallow basin or jar works well) with lukewarm water. Lukewarm water is preferred over hot water, as high heat can damage the natural oils and integrity of the bristles, causing them to weaken or lose their shape.
- Adding the Agent: Add your chosen cleaning agent—a few drops of dish soap, a tablespoon of hair conditioner, or a mix of vinegar and baking soda paste (if the paint is exceptionally stubborn).
- Washing: Dip the brush into the solution. Gently swirl the brush head back and forth, ensuring the solution penetrates the entire ferrule (the metal band) and all the way into the bristles. Do not scrub aggressively; let the soap and the gentle agitation do the work of lifting the paint.
Phase 3: Deep Rinsing and Neutralizing
This is arguably the most important step. Residual soap or conditioner will ruin the brush’s performance. Rinse the brush thoroughly under a stream of clean, running water. Use your fingers to gently massage the bristles while rinsing, ensuring that all traces of the cleaning agent and paint residue are washed away. The water should run completely clear, and the brush should feel slick, not soapy.
Phase 4: Shaping and Drying
Gently squeeze the excess water from the bristles, ensuring you are maintaining the natural curve and shape of the brush head. Never twist or pull the brush head while squeezing, as this can permanently warp the bristles. Lay the brush flat on a clean, absorbent surface—a dedicated drying rack or a clean stack of paper towels works best. Allow the brush to air dry completely for at least 24 hours. Never store or use a brush until it is bone dry.
Materials and Tools for Optimal Care
Having the right supplies makes the process infinitely easier and more effective. Invest in dedicated tools to keep your cleaning station organized and efficient.
- Mild Dish Soap or Brush Soap: Opt for a soap that is pH-neutral and free of heavy moisturizers or additives, which can leave a film on the bristles.
- Conditioning Agent (Optional): Hair conditioner or specific artist brush conditioners are excellent for maintaining the elasticity and flexibility of the bristles, especially in natural hair brushes.
- White Vinegar and Baking Soda: This combination is great for neutralizing strong odors and tackling certain types of mineral buildup, but use it sparingly as it can be slightly abrasive.
- Water Source: A shallow basin or dedicated brush cleaning container.
- Scraping Tools: A palette knife or dedicated scraper for removing thick paint globs.
- Drying Surface: A flat, non-porous surface (like a glass plate or ceramic tile) or a dedicated drying rack to ensure proper, even airflow.
Tips for Maintaining Brush Health and Longevity
Proper maintenance between deep cleans is key to keeping your collection in peak condition. Think of this as preventative care for your art instruments.
- The “Wipe and Rinse” Rule: After every painting session, even if you are just taking a break, do not let the paint dry on the brush. Wipe the excess paint onto a rag, then rinse the brush under running water to remove the bulk of the material.
- Storage Matters: Always store brushes with the bristles pointed upward in a container that allows air circulation. Never store them bristles-down, as this encourages moisture buildup and potential mildew.
- Brush Conditioning: Once a month, or every few deep cleans, follow the cleaning process with a light wash using only conditioner. This helps replenish the natural oils and keeps the bristles supple, preventing them from becoming brittle or stiff.
- Drying Technique: To speed up drying, you can hold the brushes upright in a slightly elevated position, allowing gravity to pull the water out, but always ensure they are completely dry before storing them.
Finish, Compatibility, and Prevention Tips
Choose a finish that matches the repair goal and the surface conditions. Gloss and semi-gloss resist moisture and are easier to clean, while flat or matte finishes hide imperfections better but are less washable.
Check compatibility between primer, filler, paint, and the existing surface. Some repairs require specific primers or prep steps to prevent the problem from returning. Consider drying time, odor, and cleanup method before starting, and confirm that the product suits interior or exterior use as needed.
Common Mistakes to Avoid When Cleaning
Many artists inadvertently damage their brushes during the cleaning process. Recognizing these pitfalls will save your tools from premature wear.
- Using Hot Water: Hot water strips the natural oils from the bristles, causing them to become brittle, lose their natural resilience, and eventually shed hairs. Stick to lukewarm water.
- Aggressive Scrubbing: Do not scrub the bristles against a hard surface or aggressively rub them back and forth. This can damage the delicate structure of the natural hairs and weaken the bond between the bristles and the ferrule.
- Ignoring the Ferrule: The ferrule (metal band) is often where paint residue gets trapped. Make sure to rinse the entire metal band and the junction where the bristles meet the metal, as paint buildup here can weaken the structure.
- Skipping the Conditioning Rinse: If you skip the conditioning step, the soap residue left behind will make the bristles stiff and dull, compromising their ability to hold a perfect edge or blend smoothly.
Safety and Practical Considerations
While this guide focuses on non-toxic alternatives, safety remains paramount. Even household cleaning agents require caution, and proper disposal of paint waste is a legal and environmental responsibility.
Ventilation and Protection: Always work in a well-ventilated area. Even non-toxic solutions can release mild fumes. Wear protective gloves and safety glasses to prevent skin and eye irritation. When dealing with paint waste, treat it as chemical waste and follow all local regulations for disposal.
Structural Integrity: If your brush feels unusually loose, or if the paint buildup is so severe that it seems to have hardened into the metal ferrule, do not attempt to clean it yourself. In these cases, it is advisable to consult a professional restoration service or, if the damage is irreparable, retire the brush responsibly.
Safety and Practical Notes
Work in a well-ventilated space and wear gloves, eye protection, and a respirator when needed. Keep children and pets away from wet surfaces and open containers.
Follow manufacturer drying times between coats. Dispose of rags and leftover materials according to local regulations. If the project involves heights, lead paint, or structural work, consider hiring a licensed professional.
Get the Fail-Safe Paint Color Playbook (Free PDF)
36 proven colors • 8 ready palettes • trim & sheen guide • printable testing cards.
Frequently Asked Questions
What should I do if the paint is completely dried and cemented to the bristles?
If the paint is dried into a solid, cemented block, do not attempt to force it off with excessive scrubbing or scraping, as this can damage the bristle structure. First, soak the entire brush head in lukewarm water mixed with a small amount of mild dish soap for at least 30 minutes. The soak will help rehydrate and loosen the paint. After soaking, use a soft brush or a finger to gently massage the paint out, followed by the full deep cleaning process.
Can I use vinegar and baking soda for every cleaning, or is it too harsh?
Vinegar and baking soda are excellent for neutralizing strong odors or tackling mineral buildup, but they should be used sparingly. For routine cleaning, stick to mild, pH-neutral dish soap. If you use the vinegar/baking soda mix, use it only as a targeted deep clean every few weeks, rather than after every painting session, as the combination can be slightly abrasive if overused.
How do I prevent my brushes from becoming brittle or losing their shape?
The most important preventative steps are proper cleaning and storage. Always remember the “Wipe and Rinse” rule: clean excess paint off immediately after use. When storing, ensure brushes are completely dry and stored bristles-up in a ventilated area. For natural hair brushes, incorporating a light conditioner wash once a month helps maintain the natural oils, keeping the bristles supple and flexible.
Do I need a special cleaning solution for natural hair vs. synthetic brushes?
While both types benefit from mild soap, natural hair brushes (like sable or hog bristle) are more delicate and require extra care to preserve their natural oils. Conditioner is highly recommended for natural hairs. Synthetic brushes are generally more durable but still require thorough rinsing to prevent residue from building up, which can compromise their ability to hold a crisp edge.
Conclusion
Maintaining your paintbrushes is a cyclical process of use, cleanup, and care. By adopting these safer, natural cleaning methods—utilizing dish soap, conditioner, and gentle rinsing—you can eliminate the need for harsh solvents like paint thinner, protecting both your health and your art supplies. Remember that consistency is key: a quick wipe and rinse after every session, followed by a deep clean every few weeks, will ensure your brushes retain their perfect shape, responsiveness, and longevity, allowing your artistic vision to flow freely.