How to Mix Paint for Airbrushing
Airbrushing, a technique rooted in precision and creativity, hinges on the art of mixing paint. The key to unlocking your full airbrushing potential lies in achieving the perfect paint consistency. Paint that flows seamlessly through your airbrush, with just the right balance of thickness and fluidity, is the linchpin of this artistic craft.

But what defines the “ideal” paint consistency for airbrushing? In the realm of this captivating art form, it’s the fine balance between thickness and fluidity that ensures your masterpiece takes shape as envisioned. No more battling with syrupy or watery mixtures that thwart your artistic aspirations. In this comprehensive guide, we’ll not only define the ideal paint consistency but also provide you with actionable insights into gathering the right materials, understanding different paint types, selecting the perfect thinner, and mastering the crucial art of mixing paint and thinner ratios.
Get the Fail-Safe Paint Color Playbook (Free PDF)
36 proven colors • 8 ready palettes • trim & sheen guide • printable testing cards.
Let’s embark on this journey to transform your airbrushing experience, unveiling the intricate nuances of the ideal paint consistency and equipping you with the knowledge to create stunning works of art. Whether you’re a beginner or a seasoned artist, this guide is your gateway to airbrushing excellence.
What is the Ideal Paint Consistency for Airbrushing?
To embark on your airbrushing journey, understanding the ideal paint consistency is paramount. Imagine trying to paint with a mixture resembling syrup or, conversely, water – disastrous outcomes await. The sweet spot is a consistency that’s thin enough to flow smoothly through your airbrush but not so thin that it loses opacity.

Pro Tip: Think of milk as a benchmark – a consistency slightly thinner than milk is often ideal.
Gathering Your Materials
Before you dive into the mixing process, ensure you have the right materials at your disposal. You’ll need:
| Materials | Purpose |
|---|---|
| High-quality paint | Ensure vibrant colors and smooth flow |
| Thinner | Adjust paint consistency and facilitate airbrushing |
| Mixing cups | Accurately measure paint and thinner quantities |
| Stirring sticks | Blend the mixture thoroughly |
| Respirator | Protect yourself from harmful fumes |
| Gloves | Prevent skin contact with paint and thinner |
| Well-ventilated workspace | Ensure safety during the mixing process |
Understanding Paint Types
Different paints require different mixing techniques. Let’s explore the primary types:
Acrylic Paint
- Attributes: Water-based, dries quickly, versatile.
- Mixing Tip: Dilute with water or acrylic thinner.
Enamel Paint
- Attributes: Oil-based, glossy finish, slower drying time.
- Mixing Tip: Thin with enamel thinner.
Lacquer Paint
- Attributes: Fast-drying, high-gloss, toxic fumes.
- Mixing Tip: Use lacquer thinner sparingly for thinning.
Selecting the Right Thinner
Thinning agents, or thinners, are essential for adjusting paint consistency. Your choice of thinner depends on the type of paint you’re using. Let’s examine the options:
| Type of Paint | Recommended Thinner |
|---|---|
| Acrylic | Acrylic thinner or water |
| Enamel | Enamel thinner |
| Lacquer | Lacquer thinner |
Remember, using the correct thinner ensures optimal paint flow and adherence.
Mixing Paint and Thinner Ratios
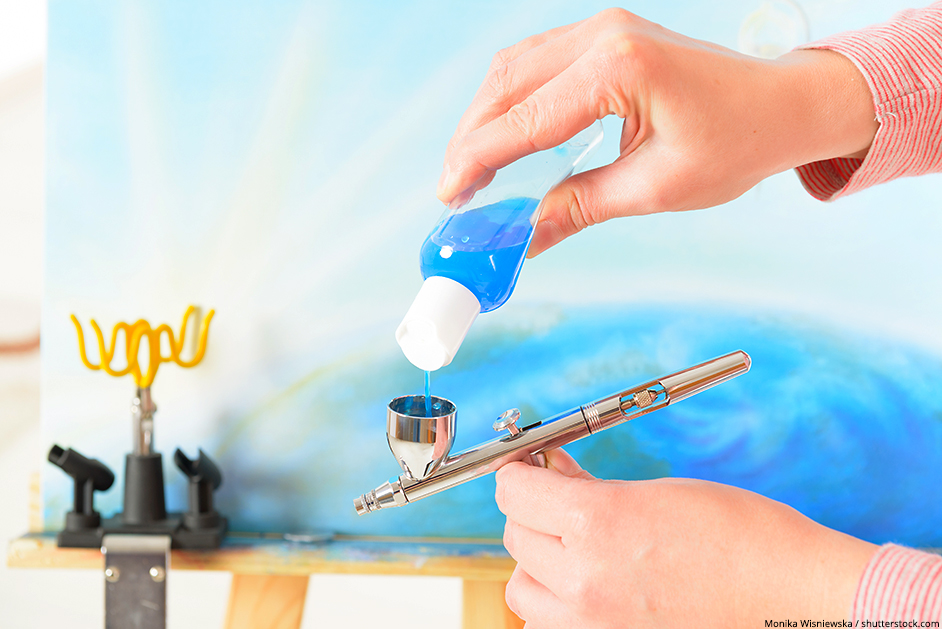
Mixing paint and thinner in the right proportions is the crux of airbrushing success. The ideal ratio can vary, but here are some general guidelines:
- Beginner’s Ratio: Start with a 1:1 ratio of paint to thinner.
- Fine Detail Work: For intricate details, lean towards a 1:2 or 1:3 ratio (more thinner).
- Solid Coverage: When covering large areas, opt for a 2:1 ratio (more paint).
Pro Tip: Gradually adjust your ratios based on experimentation and the desired effect.
Preparing Your Workspace
Before you begin mixing, ensure your workspace is conducive to creativity:
- Cleanliness: A clutter-free space promotes focus and precision.
- Ventilation: Adequate airflow prevents inhaling harmful fumes.
- Lighting: Good lighting is essential for accurate color perception.
Mixing Paint for Different Effects
Mastering airbrushing techniques means understanding how paint consistency influences outcomes:
- Fine Lines and Details: A thinner mixture is your ally for delicate lines.
- Shading and Gradation: Vary your ratios for smooth transitions.
- Solid Color Coverage: A thicker mixture ensures uniform coverage.
Experimentation is key; don’t shy away from trial and error to achieve your desired results.
Testing Your Mixture
Before you start your actual project, take the time to test your paint mixture. A test spray on a scrap surface will reveal if your consistency is on point. Be on the lookout for issues like clogging or splattering, which might necessitate adjustments.
Get the Fail-Safe Paint Color Playbook (Free PDF)
36 proven colors • 8 ready palettes • trim & sheen guide • printable testing cards.
Pro Tip: Keep a scrap piece of material handy for ongoing tests and tweaks during your project.
Adjusting Consistency as You Work
Environmental factors can impact your paint’s consistency. As you work, be prepared to make real-time adjustments:
- Temperature: High temperatures can lead to faster drying, so add more thinner.
- Humidity: Dry air can thicken your paint; consider adding more paint.
- Airbrush Type: Some airbrushes work better with thinner paint; adapt accordingly.
Cleaning and Maintaining Your Airbrush
Airbrushes are precision tools that demand care. After each session, follow these steps:
- Flush with Thinner: Run the appropriate thinner through your airbrush to clean it.
- Disassemble and Clean: Take apart your airbrush and clean each component.
- Change Colors: If switching colors, ensure thorough cleaning to avoid contamination.
- Lubricate: Apply a few drops of airbrush lubricant to moving parts for longevity.
Storing Mixed Paint
What do you do with leftover mixed paint? It’s valuable, so ensure proper storage:
- Seal Containers: Use airtight containers to prevent evaporation.
- Label Clearly: Record the color and date for easy identification.
- Shelf Life: Be aware that some mixed paints have limited shelf lives; don’t keep them indefinitely.
In conclusion, the art of mixing paint for airbrushing is a blend of science and creativity. Finding the perfect consistency, selecting the right materials, and mastering techniques will elevate your airbrushing game. Remember, practice and experimentation are your allies on this artistic journey. Happy airbrushing!
