How To Paint Glass Plates
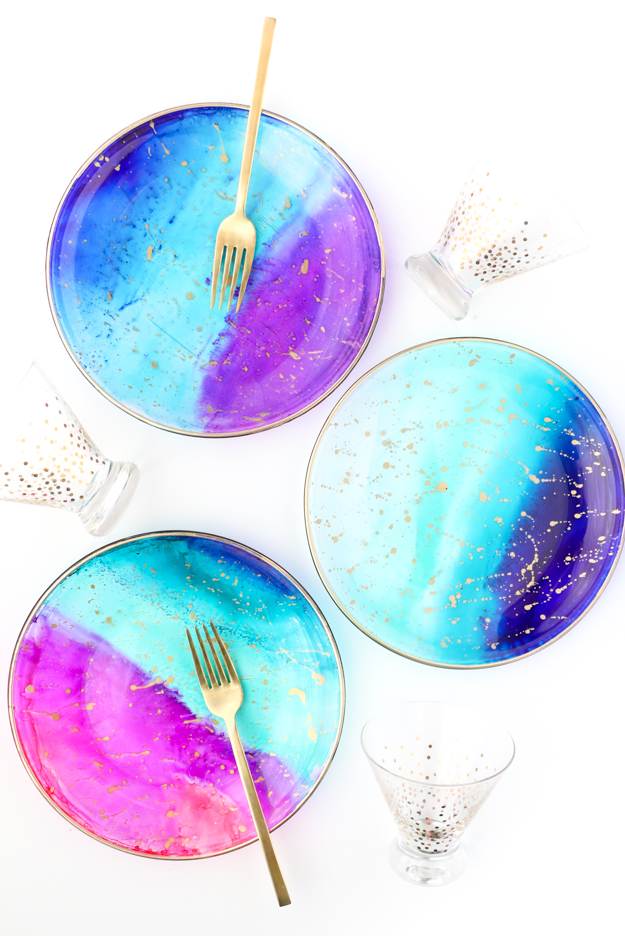
Glass plates can be a beautiful and unique addition to any table setting or home decor. However, plain and boring glass plates can leave something to be desired. Fortunately, with a little bit of creativity and skill, you can transform your plain glass plates into stunning works of art through the art of glass painting.

Painting on glass plates can seem intimidating for those who have never tried it before. But fear not, with the right tools, techniques, and a bit of patience, anyone can create beautiful painted glass plates that will impress their guests or add a personal touch to their home decor.
Get the Fail-Safe Paint Color Playbook (Free PDF)
36 proven colors • 8 ready palettes • trim & sheen guide • printable testing cards.
In this article, we will guide you through the process of painting on glass plates, from the necessary materials to the step-by-step techniques. Whether you are a beginner or an experienced painter, you will find valuable tips and tricks that will help you achieve stunning results.
So, if you are ready to add some color and creativity to your glass plates, let’s dive in and explore the world of glass plate painting!

Gathering the Supplies
Before you get started, you’ll need to gather a few supplies. Here’s what you’ll need:
Get the Fail-Safe Paint Color Playbook (Free PDF)
36 proven colors • 8 ready palettes • trim & sheen guide • printable testing cards.
- Glass plates: You can find plain glass plates at most home goods stores or online.
- Paints: Look for paints specifically made for glass painting, such as enamel or acrylic paint.
- Brushes: Choose brushes with soft bristles in various sizes to allow for different painting techniques.
- Other materials: You may also want to gather a pencil, eraser, painter’s tape, and a palette.
Preparing the Glass Plates
To ensure that your paint adheres properly to the glass plates, you’ll need to prepare them properly. Follow these steps:
- Clean the glass plates: Use soap and water to thoroughly clean the glass plates, removing any dirt or oils that might interfere with the paint’s adhesion.
- Sand the edges: Use sandpaper to smooth any rough edges around the plates to prevent chipping.
- Apply primer: Apply a thin layer of primer to the backside of the plate to help the paint adhere better.
Painting the Glass Plates
Now it’s time to get creative and paint your glass plates! Here are the steps to follow:
- Choose a design: Decide on the design you want to paint on your glass plate. You can find inspiration online or come up with your own design.
- Transfer the design onto the plate: Use a pencil to trace your design onto the backside of the plate, so the design will show through from the front.
- Apply paint: Using your brushes, apply paint to the design on the backside of the plate. You can use different painting techniques such as stenciling or freehand painting.
- Layer the paint: Add additional layers of paint to create depth and dimension in your design.
Finishing the Glass Plates
Once you’ve finished painting, you’ll want to take a few steps to ensure that your glass plates last for years to come.
- Add details with a paintbrush: Once the base layers of paint have dried, you can use a paintbrush to add details or touch-ups to your design.
- Cure the paint: Follow the manufacturer’s instructions to cure the paint, usually by baking the plate in the oven or allowing it to air dry for a few days.
- Add a protective coating: To help preserve the paint and protect it from scratches or fading, add a clear protective coating to the backside of the plate.
Displaying the Glass Plates
There are so many ways to display your painted glass plates! Here are a few ideas:
- Use them as decorative plates on a bookshelf or mantel.
- Hang them on the wall using plate hangers or command strips.
- Use them as serving plates at special occasions or dinner parties.
- Give them as gifts to family and friends.
Conclusion
Painting glass plates is a fun and easy way to add a personal touch to your home decor. With the right supplies and a little creativity, you can create beautiful designs that will last for years to come. Follow the steps in this guide to get started on your own glass painting project today!
