
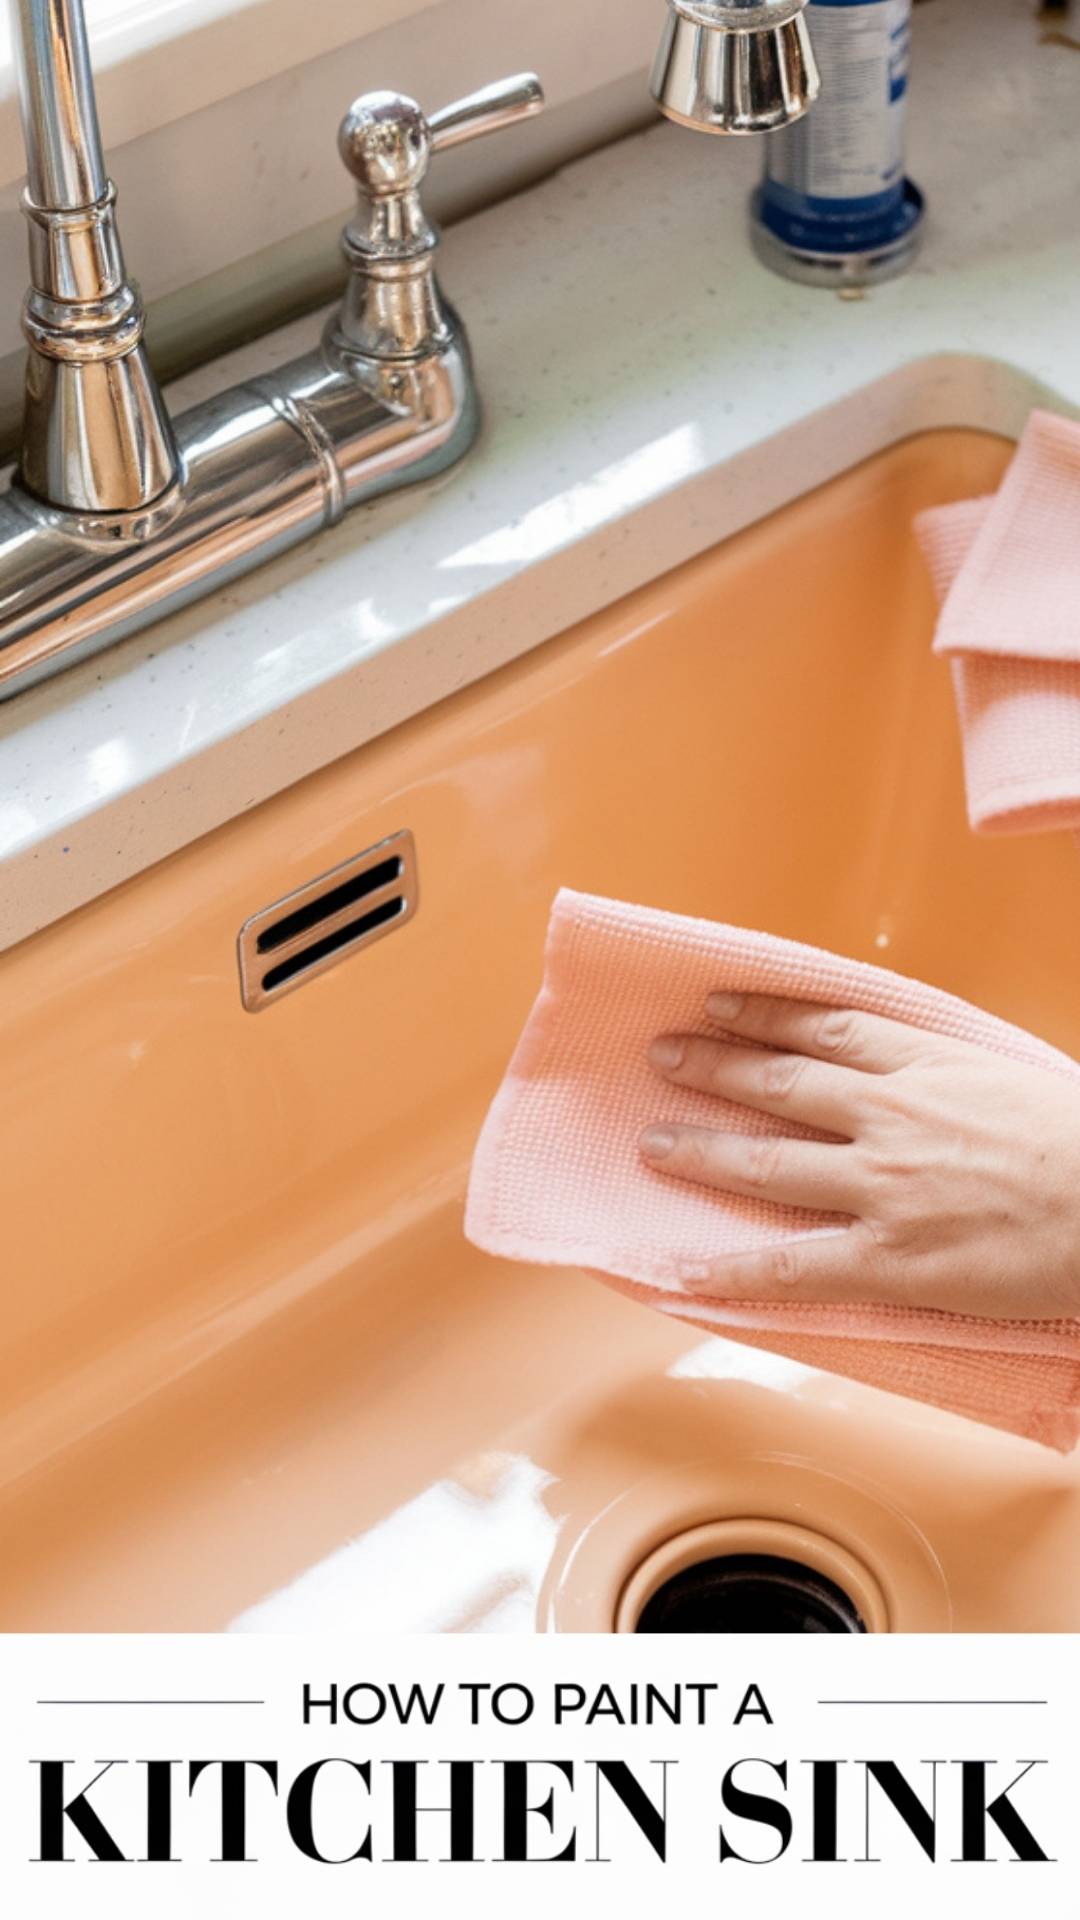
How to Paint a Kitchen Sink
Transforming your kitchen doesn’t always require a complete remodel or expensive replacements. Sometimes, a simple yet creative solution, like painting your kitchen sink, can breathe new life into the space. Whether your sink is showing signs of wear or you simply want to update its look, painting can be a cost-effective and satisfying DIY project.
This guide will walk you through the entire process, from selecting the right materials to achieving a durable, professional finish. We’ll cover everything you need to know to ensure the paint adheres properly, lasts long, and enhances your kitchen’s overall aesthetics.
Get the Fail-Safe Paint Color Playbook (Free PDF)
36 proven colors • 8 ready palettes • trim & sheen guide • printable testing cards.
Before diving into the step-by-step instructions, it’s essential to understand the types of kitchen sinks that can be painted. Porcelain, stainless steel, and composite sinks are commonly used materials, and each requires a slightly different approach to ensure optimal results. By the end of this guide, you’ll have the confidence and knowledge to tackle this project successfully.
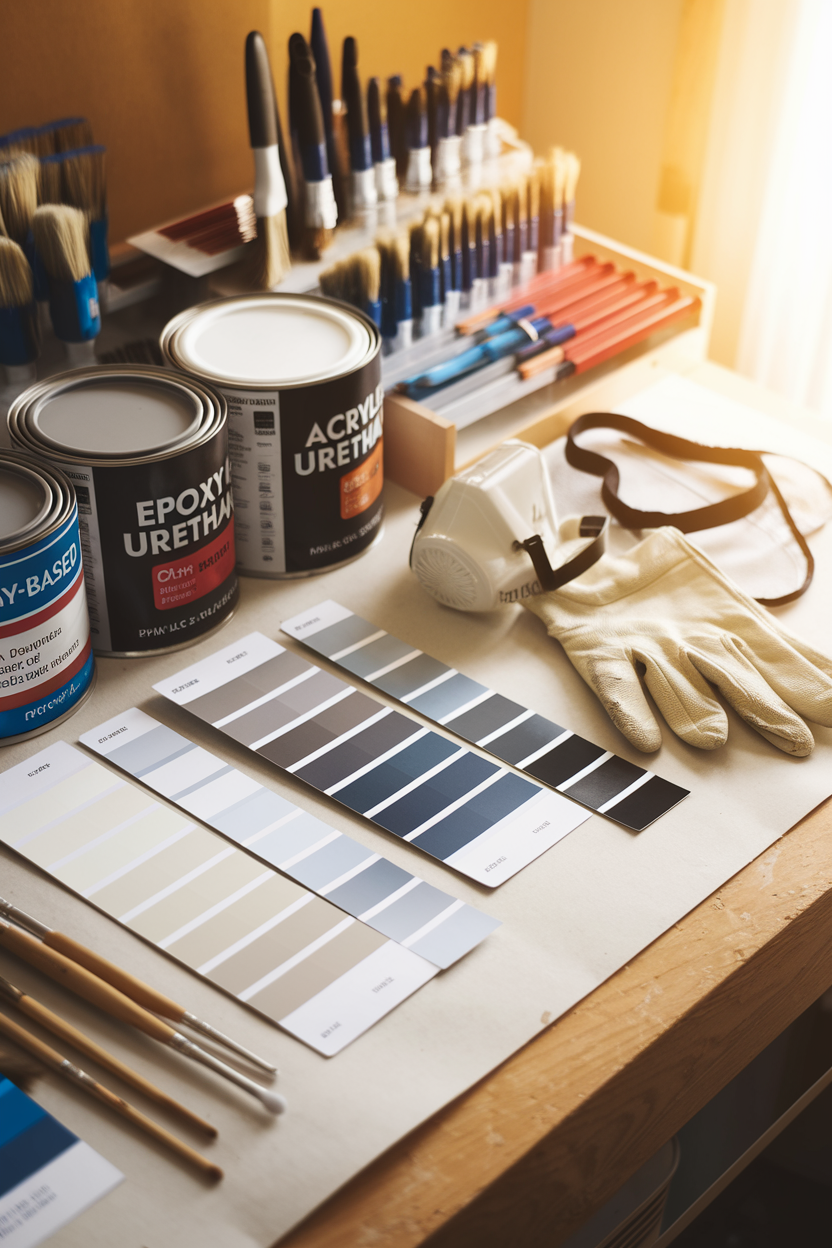
Choosing the Right Paint
Selecting the appropriate paint is crucial to ensure your kitchen sink not only looks great but also withstands daily use. Kitchen sinks are constantly exposed to water, detergents, and temperature changes, so the paint you choose must be durable and water-resistant.
Types of Paint for Kitchen Sinks
Epoxy-Based Paints
Epoxy-based paints are the top choice for painting kitchen sinks due to their durability and strong adhesion. These paints create a hard, glossy finish that resists chipping, scratches, and moisture. They are ideal for porcelain and stainless steel sinks. However, proper ventilation is crucial when using epoxy paint, as it can emit strong fumes during application and curing.
Acrylic Urethane Paints
Acrylic urethane paints are another reliable option, especially for DIY projects. They are easier to apply than epoxy and offer a smooth, professional-looking finish. While not as hard as epoxy, they provide decent durability and are less toxic, making them a user-friendly choice.
Spray Paint Options
For those looking for convenience, spray paints designed specifically for appliances and fixtures can be an alternative. These paints are typically formulated to bond with metal and ceramic surfaces, but achieving an even coat may require practice. Spray paint is best suited for smaller touch-ups rather than a full sink makeover.
Color Selection and Finish
Tips for Choosing Colors
When selecting a color, consider how it complements your kitchen’s overall design. Neutral tones like white, gray, and black offer timeless appeal, while bold colors can create a statement piece. Think about the cabinetry, countertops, and backsplash to ensure harmony in your design.
Glossy vs. Matte Finishes
The finish of the paint plays a significant role in the final look and functionality of the sink. A glossy finish enhances the sink’s visual appeal, adds a polished look, and is easier to clean. On the other hand, a matte finish can create a modern, understated effect but may require more maintenance to keep it looking clean.
Preparing the Sink for Painting
Proper preparation is key to ensuring that the paint adheres correctly and lasts for years. Skipping or rushing through this step can lead to peeling, chipping, or uneven coverage, so take the time to get it right.
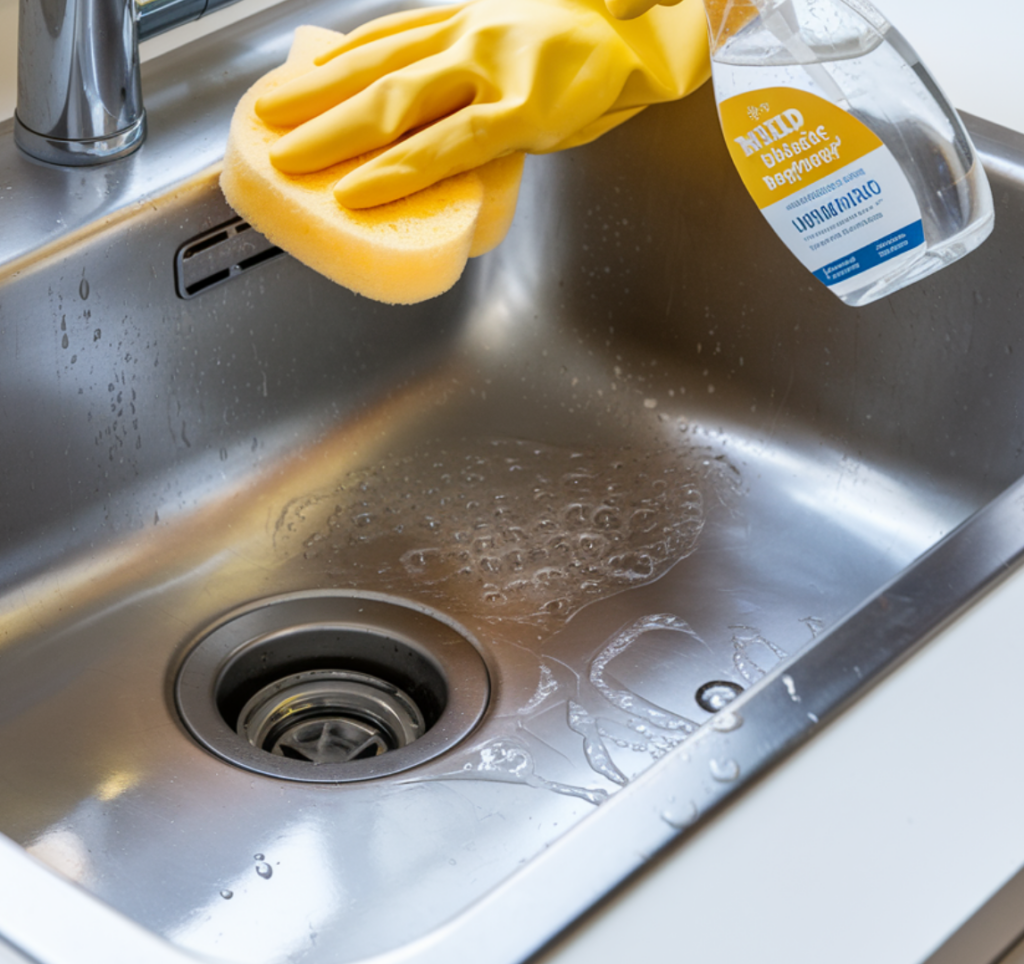
Cleaning and Degreasing
Before applying any paint, the sink must be thoroughly cleaned to remove dirt, grease, and soap residue. Use a strong degreaser or a combination of baking soda and vinegar to tackle stubborn stains. Dish soap and warm water can also help remove surface grime.
For best results:
- Scrub the sink with a non-abrasive scouring pad or sponge.
- Rinse thoroughly to remove all cleaning agents, as leftover residue can prevent the paint from bonding.
- Allow the sink to dry completely before proceeding to the next step.
A spotless, grease-free surface is the foundation for proper paint adhesion.
Sanding the Surface
Sanding creates a slightly rough texture on the sink’s surface, which helps the primer and paint adhere better. The type of sandpaper grit you’ll need depends on the material of your sink:
- Porcelain Sinks: Use 220-400 grit sandpaper for a light sanding to avoid damaging the surface.
- Stainless Steel Sinks: Opt for 120-220 grit sandpaper to remove any shine and create a good bonding surface.
After sanding, wipe down the sink with a damp cloth to remove any dust particles. Ensure the surface is clean and dry before moving forward.
Masking and Protecting Surrounding Areas
Painting a sink can be messy, so it’s important to protect the surrounding area. Use painter’s tape to mask off edges around the sink, faucets, and drains. Plastic sheeting or newspapers can be used to cover countertops and nearby fixtures to prevent accidental splatters.
To ensure safety and comfort:
- Work in a well-ventilated area or use a fan to circulate air.
- Consider wearing gloves and a mask to protect your skin and lungs from dust and fumes.
With the sink fully prepared, you’re ready to move on to the painting process.
Painting the Sink
With the sink properly prepared, it’s time to begin the painting process. This step involves applying primer, paint, and a protective topcoat to ensure a durable and long-lasting finish. Following the steps carefully will help you achieve professional results.
Priming the Sink
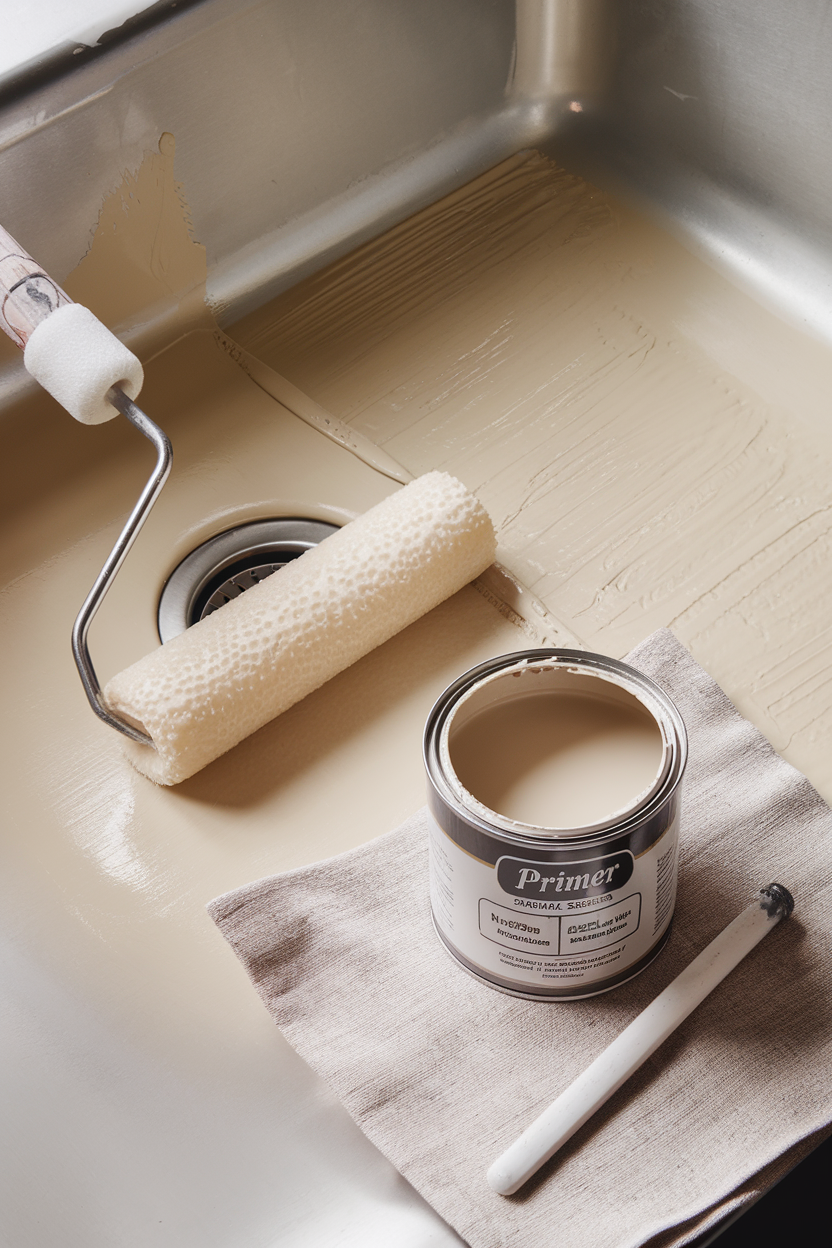
Importance of Primer
Primer is an essential step when painting a sink, as it ensures the paint adheres properly to the surface and provides a uniform base. Without a primer, the paint may not bond effectively, leading to peeling or chipping over time.
Choosing the Right Primer
Select a primer designed for the material of your sink:
- Porcelain Sinks: Use a high-adhesion epoxy primer for optimal bonding.
- Stainless Steel Sinks: A metal etching primer works best for creating a durable surface.
Step-by-Step Application Guide
- Stir the primer thoroughly to ensure consistency.
- Use a small foam roller or brush to apply a thin, even coat.
- Allow the primer to dry completely according to the manufacturer’s instructions, typically 4-6 hours.
- Inspect the sink for any missed spots and touch up if necessary.
Proper priming creates a smooth foundation for the paint and enhances its durability.
Applying the Paint
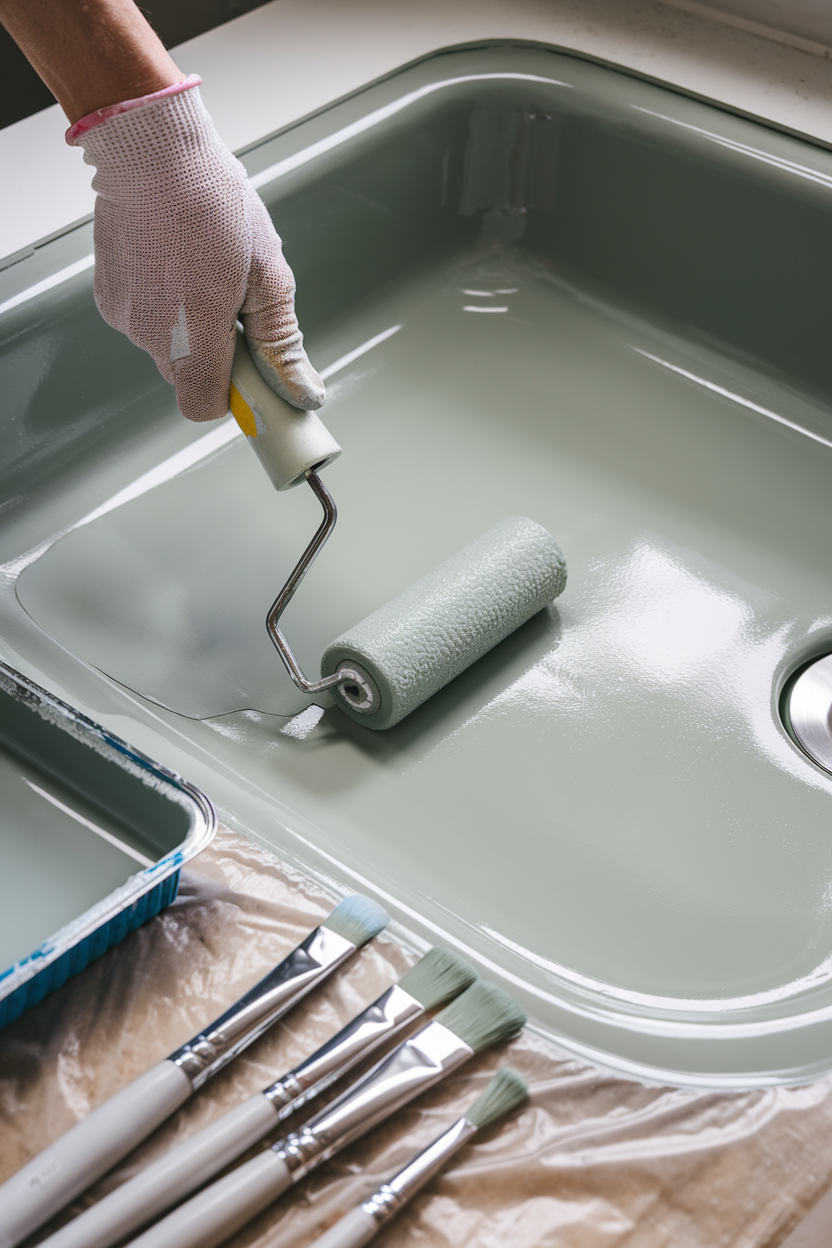
Achieving an Even Coat
For the best results, use a combination of brushes and foam rollers to paint the sink:
- Brushes are ideal for corners and edges.
- Foam rollers help cover flat areas evenly.
Steps for Painting
- Apply the first thin coat of paint using long, even strokes. Avoid overloading the brush or roller, as this can lead to drips or an uneven finish.
- Allow the paint to dry completely between coats. Check the drying time specified on the paint can, which is typically 4-8 hours.
- Apply additional coats as needed (usually 2-3 coats), ensuring each layer is smooth and even.
Drying Time and Precautions
After the final coat, let the sink cure for at least 24-48 hours before applying a topcoat or using the sink. Avoid touching or placing items in the sink during this time to prevent smudges or dents in the paint.
Sealing and Finishing Touches
Once the paint has dried, sealing the sink is a critical step to protect the surface from water, stains, and daily wear. A high-quality clear coat enhances durability and gives the sink a polished, professional look.
Applying a Clear Coat
Benefits of Sealing
A clear coat acts as a protective barrier against scratches, moisture, and cleaning agents. It also prolongs the lifespan of the painted sink by maintaining its color and finish.
Choosing the Right Sealant
Look for a clear sealant designed for the specific material and paint type used:
- Epoxy Paint: Use a high-gloss epoxy sealer for maximum durability.
- Acrylic Paint: An acrylic polyurethane clear coat works well to maintain a smooth finish.
Step-by-Step Application Guide
- Ensure the painted surface is completely dry and free of dust or debris.
- Using a clean foam brush or spray applicator, apply a thin, even layer of the clear coat.
- Allow the sealant to dry for the time recommended by the manufacturer, typically 4-6 hours.
- Apply additional layers if needed, letting each layer cure fully before applying the next.
The clear coat not only enhances the sink’s appearance but also ensures it stands up to everyday use.
Buffing and Polishing
After the sealant has cured completely (24-48 hours), consider buffing the sink to achieve a flawless finish:
Get the Fail-Safe Paint Color Playbook (Free PDF)
36 proven colors • 8 ready palettes • trim & sheen guide • printable testing cards.
- Use a soft microfiber cloth or a non-abrasive buffing pad.
- Gently polish the surface in circular motions to smooth out any imperfections or uneven gloss.
- Inspect the sink for any spots that need additional attention and touch up as necessary.
Buffing ensures the sink looks sleek and professional, giving it a showroom-quality appearance.
Maintaining a Painted Kitchen Sink
After completing your sink makeover, proper maintenance is essential to preserve its fresh look and functionality.
Cleaning Tips for Painted Surfaces
Safe Cleaning Products
To clean a painted sink without damaging the finish:
- Use mild, non-abrasive cleaners such as dish soap and water.
- Avoid harsh chemicals, bleach, or abrasive pads that can scratch or wear down the paint.
Routine Cleaning Practices
- Wipe the sink dry after each use to prevent water spots and mineral deposits.
- Regularly clean with a soft sponge or cloth to remove buildup and maintain the shine.
Routine Touch-Ups
Over time, small chips or scratches may occur. Here’s how to address them:
- Clean the affected area thoroughly and let it dry.
- Lightly sand the chipped spot to smooth the edges.
- Apply a small amount of matching paint using a fine brush, and let it dry.
- Seal the repaired area with a dab of clear coat for added protection.
With proper care, your painted kitchen sink can remain a stunning focal point in your kitchen for years to come.