
How To Paint A Pool: A Step-by-Step Guide for DIY Success
A swimming pool is often the centerpiece of outdoor living, providing not only a refreshing escape during hot months but also a significant aesthetic upgrade to your property. However, like any outdoor feature, the paint and plaster lining are susceptible to wear, fading, and damage over time, diminishing the pool’s original beauty and structural integrity.
While the prospect of repainting a pool can seem daunting—involving chemicals, draining water, and multi-day curing times—it is a highly effective and cost-efficient way to restore its vibrant appearance. With careful planning, the right materials, and systematic execution, you can achieve a professional, lasting finish that protects the underlying structure and enhances your backyard oasis for years to come.
Get the Fail-Safe Paint Color Playbook (Free PDF)
36 proven colors • 8 ready palettes • trim & sheen guide • printable testing cards.
Quick answer: To Paint A Pool, start with the safest first step for the material involved, test a small area when needed, and follow the process in thin, controlled stages. Use proper ventilation and protective gear when chemicals, sanding, spraying, or solvents are involved.
Planning Before You Start: Assessing Your Pool Project
Before you even think about opening a paint can, a thorough assessment of your pool is mandatory. This initial planning phase dictates your timeline, budget, and the complexity of the job. Do not skip this step, as rushing into the process is the number one cause of failure.
Understanding the Substrate and Condition
The most critical factor is identifying the pool’s underlying material (the substrate). Is it original plaster, modern gunite (reinforced concrete), or fiberglass? Each material requires a different cleaning regimen and paint adhesion strategy. If your pool is heavily stained, stained, or has extensive structural cracks, you may need structural repair work first, which should be handled by a specialized contractor before painting can even begin.
During your inspection, look for signs of wear: hairline cracks, efflorescence (white, powdery mineral deposits), severe staining, or peeling paint. Documenting these issues will help you accurately estimate the necessary labor and material costs.
Setting Realistic Expectations and Budgeting
Pool painting is not a weekend project. It is a multi-day commitment involving drying, curing, and chemical application. Budgeting must account for not only the cost of the paint itself but also specialized cleaning agents (acid washes, degreasers), necessary tools, and, if applicable, professional labor. Be prepared for the initial investment to be significant, but remember that this investment protects the pool’s value and aesthetic appeal for years.
Step-by-Step Guide to Painting a Pool
This process must be followed sequentially. Deviation from these steps, especially in preparation, drastically reduces the paint’s adhesion and lifespan.
Stage 1: Deep Surface Preparation (The Most Critical Step)
This phase determines 80% of your final result. The goal is to create a perfectly clean, uniform, and porous surface that accepts the paint.
- Draining and Initial Cleaning: Completely drain the pool. Use a stiff brush and detergent to remove all loose debris, oils, and calcium buildup.
- Structural Repair: Systematically locate and fill all cracks, chips, and voids using specialized concrete patching compounds. Allow these repairs to cure completely.
- Chemical Cleaning/Etching: Depending on the substrate, you may need to use a mild acid wash or a specialized cleaner (like a degreaser) to remove mineral deposits and oils. This process etches the surface slightly, ensuring the paint has mechanical grip.
- Rinsing: Rinse the entire pool surface repeatedly with fresh water until no chemical residue remains. Any leftover cleaning agent will interfere with the primer’s adhesion.
- Final Drying: Allow the pool surface to dry completely, which may take several days depending on humidity and temperature.
Stage 2: Paint Selection and Priming
Selecting the correct paint type is paramount. Consider the following options:
- Epoxy: Highly durable, chemical-resistant, and glossy. Best suited for high-traffic areas or commercial pools that require maximum longevity. Requires expert application.
- Acrylic: The most popular choice for residential DIY. It is flexible, easier to apply, and offers good color retention, though it may not match the extreme durability of epoxy.
- Rubber-Based: Generally the most economical option. It offers a softer, matte finish and is effective, but typically requires more frequent maintenance and repainting than the other two.
Regardless of the paint chosen, the first step in application is applying a specialized, dedicated pool primer. The primer seals the substrate, blocks efflorescence, and provides the perfect base layer for the main paint coat.
Stage 3: Application and Curing
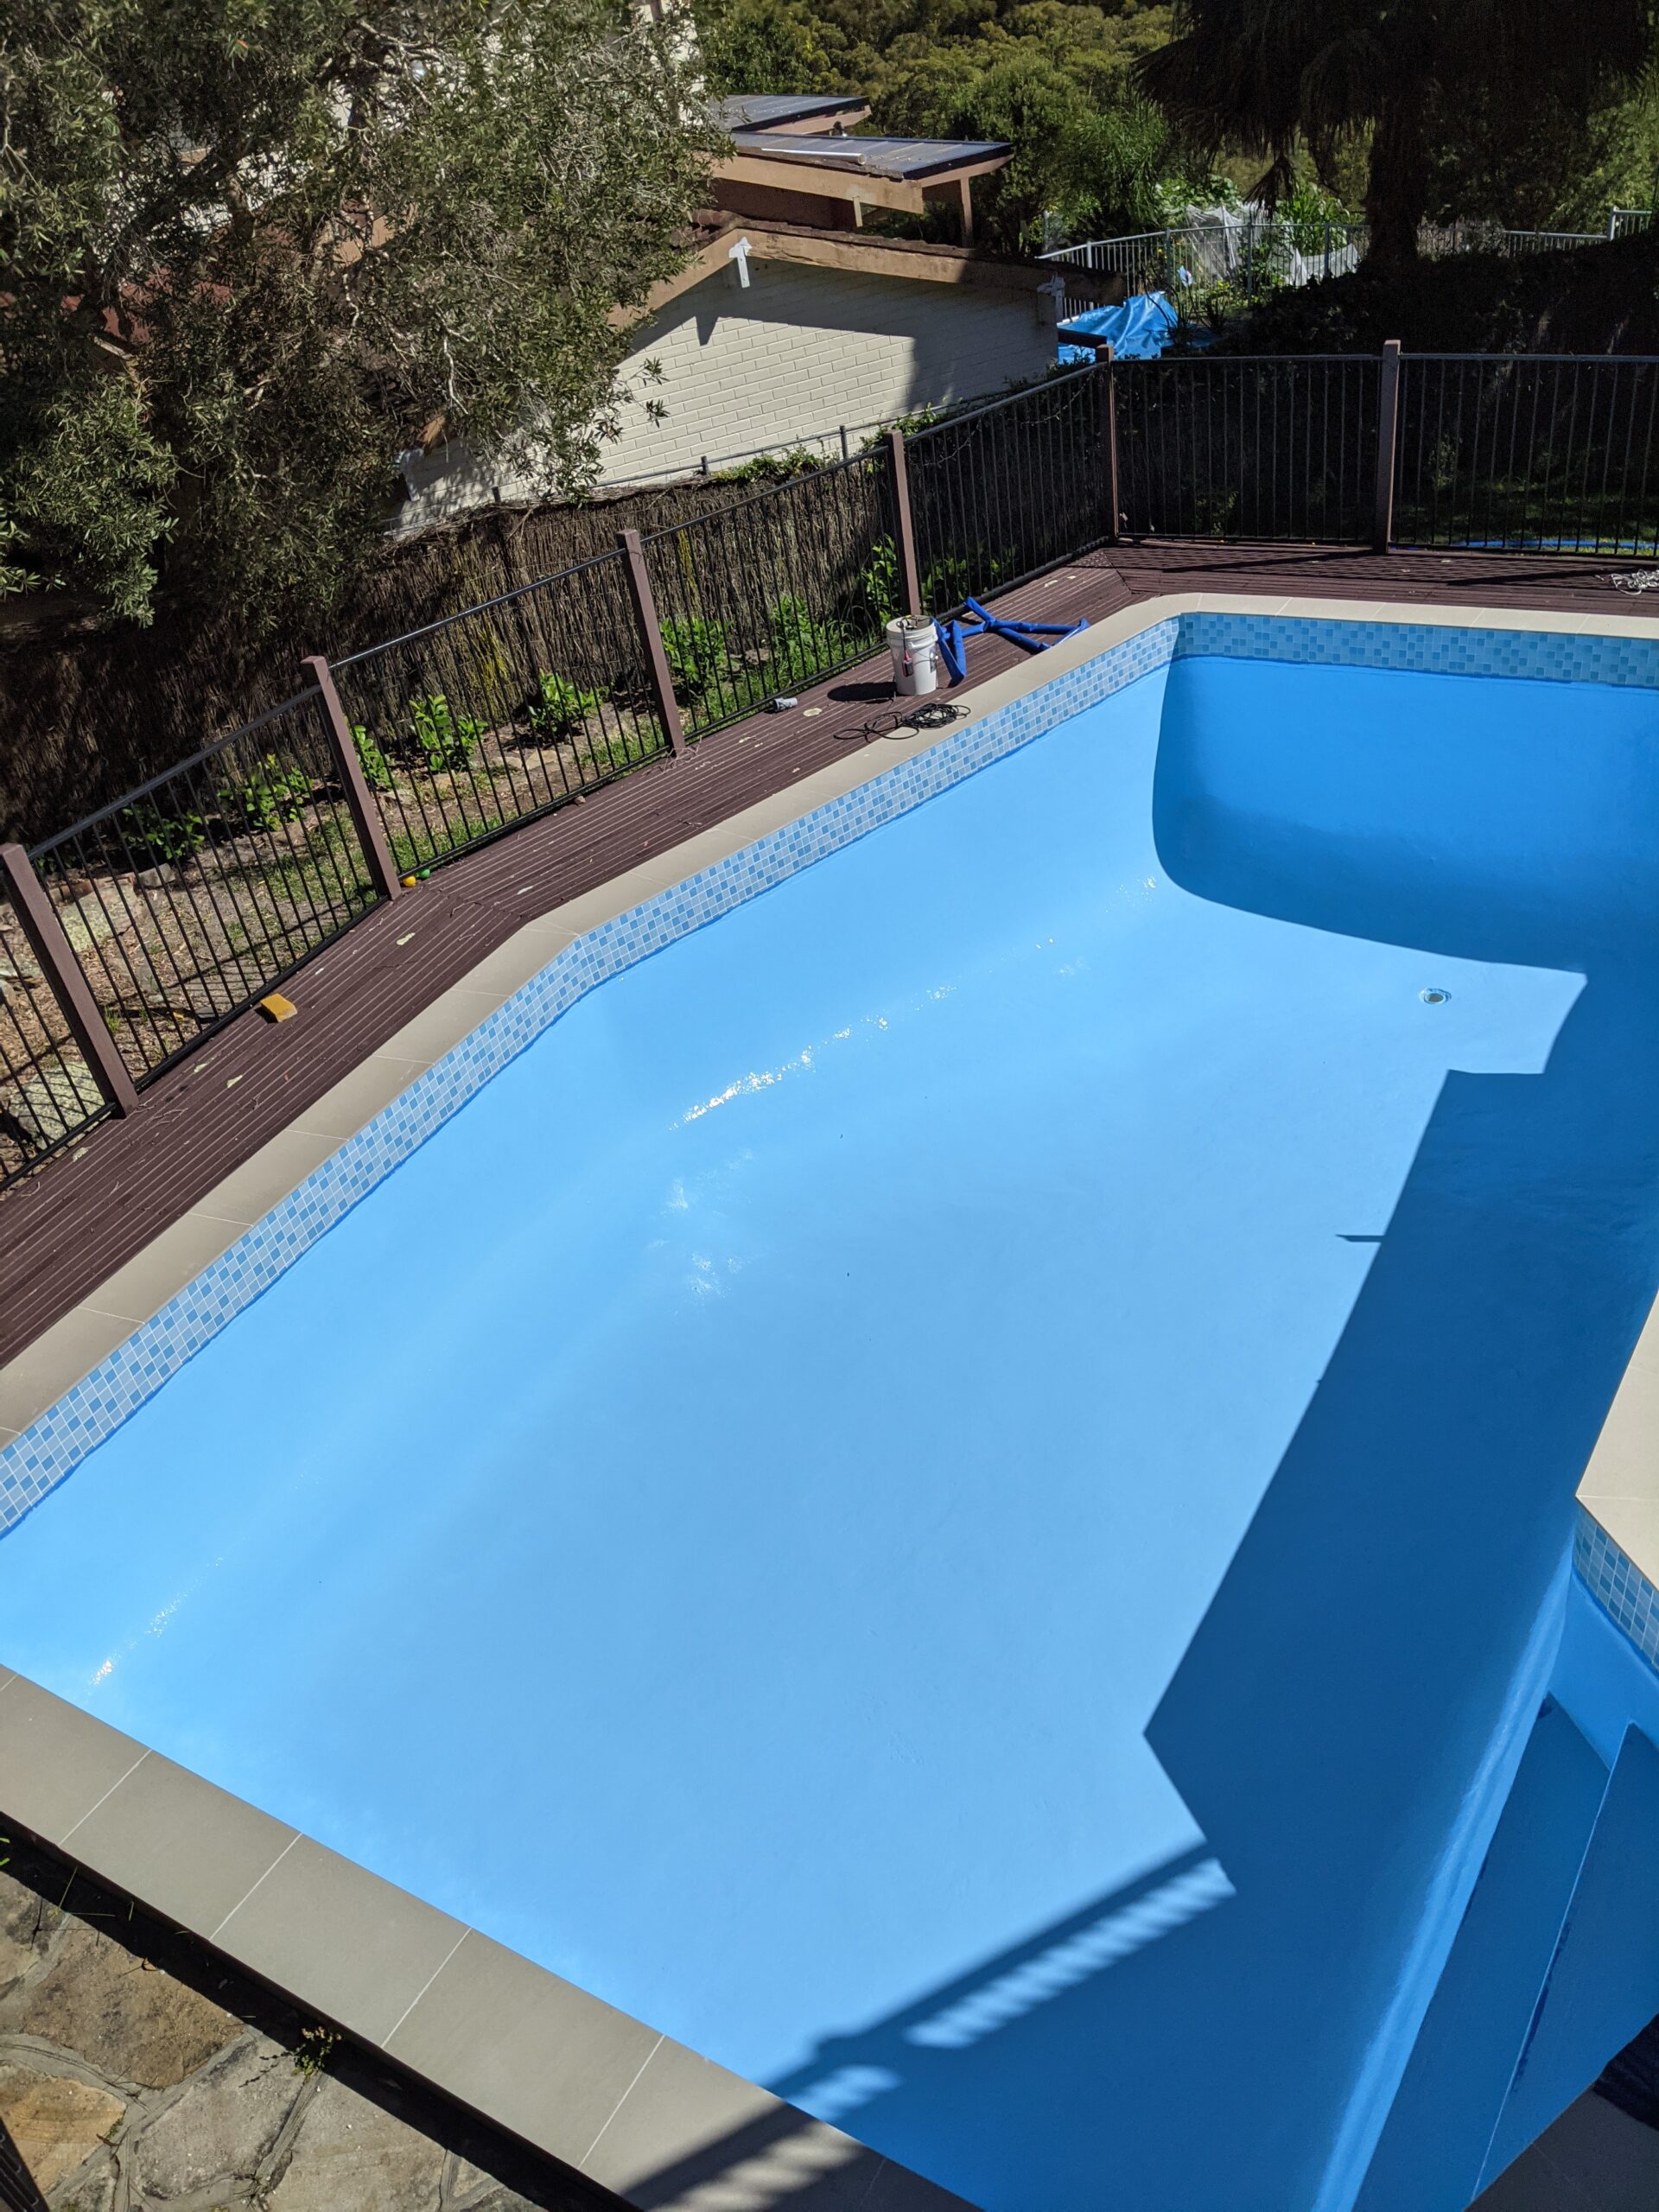
Once the primer is fully cured (follow manufacturer guidelines), the main paint application can begin. Use a combination of brushes for intricate areas (steps, coping) and specialized rollers for large, flat surfaces. Apply the paint in manageable sections, ensuring an even coat. Most pool paint systems require two to three full coats to achieve the desired depth, uniform color, and maximum protection. After each coat, allow the specified curing time before applying the next layer. Rushing the curing process is the fastest way to guarantee flaking and failure.
Materials and Tools: What You Need for Success
A successful pool paint job requires specialized equipment. Do not attempt this with standard household paint supplies.
Cleaning and Prep Materials
- Pool brushes and scrubbers.
- Acid wash or specialized degreasers (with appropriate neutralizing agents).
- Crack fillers and concrete patch compounds.
- Sandpaper or abrasive pads for light etching.
- Industrial-grade rinsing hoses and buckets.
- Dedicated Pool Primer (compatible with your chosen paint type).
- Chosen Paint System (Acrylic, Epoxy, or Rubber-based).
- Sealer or topcoat (if recommended by the manufacturer).
Application and Safety Tools
- High-quality paint rollers and appropriate nap sizes.
- Brushes (various sizes, synthetic fiber).
- Safety Gear: Respirator (chemical cartridges required), chemical-resistant gloves, safety goggles, and protective clothing.
- Drop cloths and masking tape.
Design and Color Tips: Choosing the Perfect Finish
The color you choose for your pool is a major design element, but it must be selected with the specific environment in mind. Pool colors interact dramatically with natural light and surrounding materials.
Pool colors are rarely pure shades. They often have undertones—a hint of blue, green, or grey. When selecting a color, always test samples in the actual pool, at different times of day (morning, noon, and dusk). Natural light changes the perception of color drastically. A color that looks perfect under indoor lighting might appear muddy or too bright when exposed to direct sunlight.
The sheen of the paint significantly affects how the pool looks:
- Matte Finish: Offers the most natural, deep, and sophisticated look, absorbing light to create the illusion of depth. It is often chosen for its timeless elegance.
- Semi-Gloss Finish: Is more durable and easier to clean but can sometimes reflect too much light, potentially making the water look less deep or more artificial.
- High-Gloss Finish: Is rarely recommended for pools as it can be highly reflective and show dirt and mineral deposits easily.
Mistakes to Avoid: Common Pool Painting Pitfalls
Even experienced DIYers can make costly mistakes. Knowing these pitfalls will save you time, money, and frustration.
- Skipping the Surface Etch: Failing to properly clean and etch the surface means the primer and paint will sit on top of contaminants, leading to poor adhesion and premature peeling.
- Ignoring Structural Integrity: Applying paint over large, unaddressed cracks is like putting a band-aid on a broken bone. The cracks will eventually expand, causing the paint to fail.
- Applying Paint in Direct Sunlight: Extreme heat and direct sun can cause the paint to cure too quickly (flash cure), leading to uneven thickness, cracking, or poor adhesion. Work in shaded conditions if possible.
- Insufficient Curing Time: This is perhaps the most common error. Rushing the process by refilling the pool or using the area before the paint has reached its full cure time will lead to chemical reactions that compromise the finish.
Safety and Practical Notes: Working Safely and Calling a Pro
Pool painting involves industrial chemicals and physical labor. Safety must be your absolute top priority.
Protective Equipment: Always wear a full respirator mask rated for chemical fumes, chemical-resistant gloves, and safety goggles. Never mix cleaning chemicals (especially acids and degreasers) without knowing the proper neutralizing agent, as certain combinations can release toxic fumes.
Ventilation: Ensure the area is well-ventilated, especially during the use of solvents or curing epoxies. Keep children and pets far away until the paint is fully cured.
When to Call a Professional: While DIY is rewarding, there are times when professional expertise is non-negotiable. You must call a licensed professional if the project involves:
- Structural issues, such as deep concrete reinforcement or major re-pouring of gunite.
- Handling suspected asbestos or lead paint (always assume these materials are present and follow strict handling protocols).
- Any complex electrical work related to pool pumps or heaters.
Frequently Asked Questions
What is the single most critical step in painting a pool?
The most critical step is the deep surface preparation. Simply washing the pool is not enough. You must structurally repair all cracks and chips, and then chemically clean the substrate (often using an acid wash or specialized degreaser) to ensure the surface is porous and free of mineral deposits, oils, and efflorescence. If the surface is not perfectly etched and clean, the paint will fail rapidly, regardless of how good the paint itself is.
Get the Fail-Safe Paint Color Playbook (Free PDF)
36 proven colors • 8 ready palettes • trim & sheen guide • printable testing cards.
Which type of paint (Epoxy, Acrylic, etc.) should I choose?
The best choice depends on your budget, desired look, and the pool’s usage. Epoxy offers maximum durability and is best for commercial or highly trafficked areas, but it requires professional application. Acrylic is the most popular choice for residential DIY due to its flexibility and ease of use. Rubber-based paints are the most economical but typically require more frequent maintenance. Regardless of the paint type, always use a dedicated pool primer first, as this seals the surface and ensures proper adhesion.
How long does the pool need to cure, and when can I safely refill it?
You must follow the manufacturer’s curing time recommendations precisely. “Curing” is not the same as “drying.” Curing is the chemical process where the paint hardens and reaches maximum strength. Refilling or using the pool before the specified cure time will cause chemical reactions that can compromise the finish, leading to flaking or poor adhesion. Never rush this process; patience is key to a lasting finish.
When should I hire a professional instead of attempting a DIY job?
While DIY is possible, you should call a licensed professional if the project involves structural concerns (such as major concrete reinforcement or re-pouring gunite). Furthermore, if you suspect the presence of asbestos or lead paint, or if the job requires complex electrical work related to the pool’s mechanical systems, professional handling is mandatory for safety and code compliance. Safety always comes first.
Conclusion
Successfully painting a pool is a labor-intensive endeavor that demands patience, precision, and a deep respect for the materials and chemistry involved. By approaching the project with the care of a professional—from the deep initial surface preparation to the careful selection of the perfect finish—you are investing in more than just color; you are investing in the lasting beauty and structural integrity of your outdoor space.
Remember that the initial effort in preparation directly correlates with the longevity of the final paint job. With diligent application and consistent, preventative maintenance, your pool will remain a stunning, functional centerpiece for years of enjoyment.