
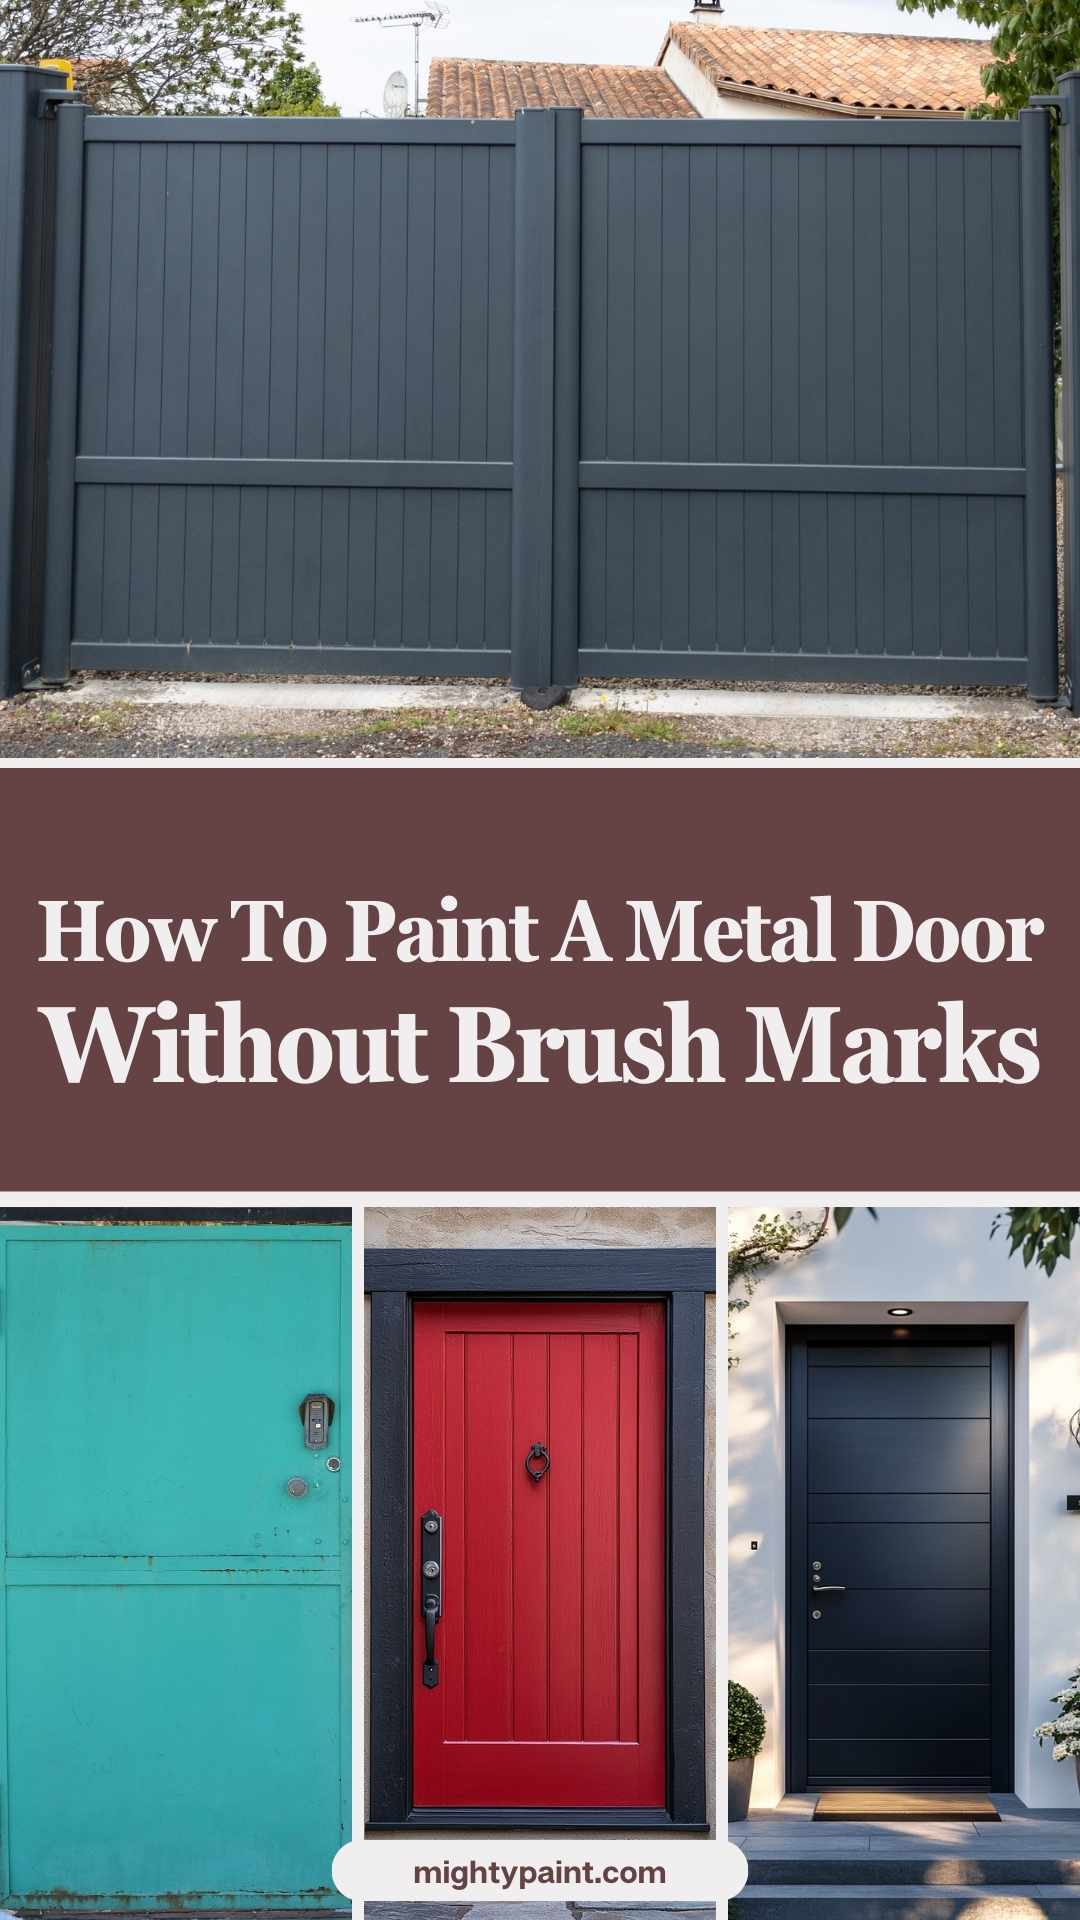
Step-by-Step Guide to Flawless Metal Door Painting (Zero Streaks!)
Painting a metal door can feel like a challenge, especially when it comes to achieving a smooth, flawless finish. To avoid leaving any brush marks, use a high-quality foam roller or a paint sprayer, which helps to create an even coat without the hassle of visible strokes. Choosing the right kind of paint is also important; oil-based paints often provide a more durable finish, but latex paint can be easier to work with and clean up.
Before you start, don’t forget to use a good primer. A primer ensures that the paint adheres well and helps in achieving that perfect look. Whether you choose oil-based or latex paint, applying it correctly can make a significant difference in the final appearance of your door. With the right tools and techniques, you can transform your metal door and make it stand out beautifully.
Get the Fail-Safe Paint Color Playbook (Free PDF)
36 proven colors • 8 ready palettes • trim & sheen guide • printable testing cards.
The Challenges of Painting a Metal Door
1. Proper Surface Preparation
One key challenge in painting a metal door is ensuring proper surface preparation. Metal surfaces often come with dirt, grease, peeling paint, or glossy finishes, all of which prevent new paint from adhering properly. Thoroughly cleaning, sanding to create a rough surface, and applying a suitable primer helps achieve a durable finish.
2. Rust and Corrosion
Another significant issue is dealing with rust and corrosion, particularly on exterior metal doors exposed to moisture. Rust not only affects the door’s appearance but also weakens paint adhesion. Removing existing rust completely and using a rust-inhibiting primer will help prevent future corrosion and extend the paint’s life.
3. Paint Adhesion Issues
Achieving good paint adhesion on metal doors can be challenging due to their naturally smooth and non-porous surfaces. Without adequate preparation and priming, paint is likely to peel, bubble, or flake. Proper sanding and applying a high-quality primer specifically designed for metal surfaces ensures better adhesion and durability.
4. Paint Selection and Compatibility
Selecting the right type of paint is essential, as some paints are incompatible with metal surfaces, leading to issues like cracking or peeling. Choosing exterior-grade paint explicitly formulated for metal—often oil-based or acrylic latex—helps ensure compatibility, a smoother application, and a longer-lasting finish.
5. Brush Marks and Uneven Finish
Metal surfaces easily show brush marks, drips, and uneven paint layers, making it challenging to achieve a smooth, professional-looking finish. Using high-quality brushes or foam rollers and applying paint in multiple thin coats rather than one thick coat reduces visible imperfections and provides an even finish.
6. Drying Time and Weather Conditions
Weather conditions pose another challenge since extreme temperatures, humidity, or direct sunlight can negatively affect paint drying and curing times. Painting should be done in mild, dry weather—typically between 50°F and 85°F (10°C–30°C)—to achieve the best results and prevent cracking or uneven curing.
7. Durability and Maintenance
Painted metal doors are susceptible to scratches, chips, and general wear from everyday use and weather exposure. Selecting durable, enamel-based or protective topcoat paints can significantly improve durability and reduce the frequency of maintenance or repainting.
Preparing the Door
Getting your door ready for painting is crucial to achieving a smooth finish. Proper preparation helps you avoid brush marks and ensures that the paint adheres well. Here are the key steps to consider.
Cleaning and Sanding
Start by cleaning the door thoroughly. Use a mixture of warm water and mild soap to remove dirt and grease. Wipe it down with a clean cloth. After cleaning, let the door dry completely.
Next, sand the surface to create a smooth base. Use fine-grit sanding blocks or sandpaper. Make sure to sand in the direction of the grain. This step reduces imperfections and helps the paint adhere better.
If the door has glossy areas, use mineral spirits to clean them. This will dull the surface slightly, making it easier for the paint to stick.
Repairing Surface Imperfections
Check your door for any dents or scratches. Fill these imperfections with wood putty for a smooth finish. Use a putty knife to spread the putty evenly and make sure it’s level with the door surface.
If there are large gaps, consider using caulking. This helps seal any openings that might affect the look of the paint.
Get the Fail-Safe Paint Color Playbook (Free PDF)
36 proven colors • 8 ready palettes • trim & sheen guide • printable testing cards.
Once the putty or caulking is dry, sand the areas again until they are smooth. Inspect your work carefully to ensure a flawless surface to paint on.
Taping and Protecting Surrounding Areas
To keep your painting neat, use masking tape on the edges of the door and any hardware that you don’t want to paint. Apply the tape carefully to avoid paint seeping underneath.
Lay down drop cloths on the floor below the door to catch any drips. This protects your flooring from accidental paint splatters.
Double-check that everything is taped securely. Taking these precautions ensures that your painting process stays clean and efficient.
Applying Primer for a Strong Foundation
Applying primer is a key step in painting a metal door. It creates a strong foundation, helping the paint adhere better and reducing the chances of brush marks. Let’s look at choosing the right primer and effective techniques for application.
Choosing the Right Primer
Selecting the appropriate primer is essential for your metal door project. Look for a rust-inhibiting primer designed specifically for metal surfaces. This will help prevent rust and corrosion over time.
Fine grit sandpaper, around 400, can be used to lightly sand the door before priming. This gives the primer something to grip onto.
Consider using oil-based or acrylic primers. Oil-based primers provide excellent adhesion, while acrylic primers dry faster and have less odor. Choose a primer that suits your needs and preferences.
Primer Application Techniques
When applying primer, using the right technique is key to avoiding brush marks. Begin by using a high-quality paint brush with soft bristles. This helps in achieving a smooth finish.
Apply the primer in thin, even coats. Avoid overloading your brush to prevent drips. Using long, unidirectional strokes can also help keep the coat smooth.
Allow the primer to dry completely according to the manufacturer’s instructions before adding more coats. This ensures proper adhesion and reduces the chances of imperfections.
Get the Fail-Safe Paint Color Playbook (Free PDF)
36 proven colors • 8 ready palettes • trim & sheen guide • printable testing cards.
If you see any brush marks after the first coat, lightly sand the surface once it’s dry. Then, apply a second coat of primer for a flawless base.
Selecting Your Paint
Choosing the right paint is key to achieving a smooth, flawless finish on your metal door. Your choice will affect durability, appearance, and ease of application. Here’s what to consider.
Oil-based vs Latex Paint
When painting metal doors, you have two main options: oil-based and latex paint.
Get the Fail-Safe Paint Color Playbook (Free PDF)
36 proven colors • 8 ready palettes • trim & sheen guide • printable testing cards.
Oil-based paint is known for its durable finish. It adheres well to metal and is less likely to show brush marks. However, it takes longer to dry and has strong fumes, so proper ventilation is a must.
Latex paint, on the other hand, dries quickly and is easier to clean up with soap and water. While it may not be as durable as oil-based paint, advancements in latex technology mean some options are quite tough.
To help you decide, consider the pros and cons:
| Type | Pros | Cons |
|---|---|---|
| Oil-based | Durable, fewer brush marks | Strong fumes, slow drying |
| Latex | Quick drying, easy cleanup | May not be as durable |
The Importance of Exterior Paint for Outdoor Doors
If your door is outside, using exterior paint is crucial. Exterior paint is specially formulated to withstand weather conditions. It helps protect your door from moisture, UV rays, and temperature changes.
Look for paints that offer weather resistance and are labeled as suitable for metal surfaces. These paints often contain additives to prevent fading and cracking.
Ensure that your paint is suitable for the metal type of your door. Using the right exterior paint not only enhances the door’s aesthetics but also extends its lifespan, saving you future repair costs. A good exterior paint can make a noticeable difference in keeping your door looking fresh and vibrant.
Get the Fail-Safe Paint Color Playbook (Free PDF)
36 proven colors • 8 ready palettes • trim & sheen guide • printable testing cards.
Paint Application Techniques
When painting a metal door, the right application technique is vital for achieving a smooth finish without brush marks. You can use traditional brushes or opt for a paint sprayer. Both methods have their advantages, and your choice can depend on your comfort level and the specifics of your project.
Brush Techniques for a Smooth Finish
To achieve the best results with a brush, select a high-quality natural bristle brush. These brushes pick up paint well and help create an even coat. Begin by gently applying paint in long, even strokes.
- Start at the top of the door and work your way down. This reduces drips and ensures consistency.
- Use a foam roller to cover larger areas first, then finish with a brush for edges and corners.
If a brush is used, avoid overloading it with paint, as this can lead to brush marks. Always work quickly and blend strokes for a seamless look.
Using a Paint Sprayer for an Even Coat
A paint sprayer is an excellent choice for a flawless finish and can save time. When using a sprayer, set it to a fine mist for an even coat.
- Keep the sprayer at least 12 inches from the surface to prevent excess paint build-up.
- Move in smooth, sweeping motions and maintain a consistent speed.
Be sure to practice on scrap material if you’re new to sprayers. This ensures you get comfortable before tackling your metal door. Using a sprayer minimizes the risk of brush marks and can result in a professional look.
Finishing Touches
After painting your metal door, the finishing touches are key to a clean and professional look. You want to ensure that everything is neat and your hard work shines through. This involves carefully removing any tape and checking your paint job.
Removing the Tape and Cleaning Up
Once the paint is completely dry, it’s time to remove the masking tape. Peel it off slowly at a 45-degree angle to avoid pulling any paint from the edges. If you notice any paint bleeding under the tape, use a craft knife to carefully cut along the edge before removing it.
Next, clean up your area. Make sure to remove any drop cloths, and clean your brushes with the appropriate cleaner for the paint you used. Use water for latex paint and mineral spirits for oil-based paint. Dispose of any used materials responsibly.
Inspecting and Touching Up the Paint Job
After you’ve removed the tape, take a moment to inspect your door for any imperfections. Look for brush marks or uneven spots in the finish. If you find any, lightly sand the area with fine-grit sandpaper to smooth it out.
For touch-ups, use a small brush to apply additional paint to any missed spots. This helps create a uniform look. Always try to use the same paint and color you started with to ensure a perfect match. Don’t forget this step; it makes a big difference in the final appearance!
Safety and Clean Up
Proper Ventilation and Protective Gear
Make sure your workspace is well-ventilated. Open windows and use fans to keep fresh air flowing. This helps to reduce the buildup of fumes from the paint and any solvents, like mineral spirits, you may use.
Wear protective gear to keep yourself safe. This should include:
- Safety goggles to protect your eyes from splashes.
- Mask or respirator to filter out harmful vapors.
- Gloves to avoid skin contact with paint and solvents.
By preparing the area and wearing the right gear, you can paint your door without worry.
Get the Fail-Safe Paint Color Playbook (Free PDF)
36 proven colors • 8 ready palettes • trim & sheen guide • printable testing cards.
Disposal of Painting Materials
After you finish painting, it’s important to clean up properly. Dispose of any leftover paint and materials according to local guidelines. Unused paint can often be taken to hazardous waste facilities.
For brushes and rollers, clean them with water or mineral spirits, depending on the paint you used. Rinse them thoroughly to keep your tools in good shape for future projects.
Finally, store leftover paint in a cool, dry place if you plan to use it later. By taking these steps, you ensure your space is safe and clear of harmful substances.
Additional Tips for a Professional-Looking Finish
To achieve a smooth, professional finish on your metal door, careful preparation is key. Here are some helpful tips:
- Set Up Your Workspace
Use sawhorses to elevate the door. This keeps it off the ground and makes it easier to paint. Lay down a drop cloth to protect your floors or driveway. - Cleaning Is Crucial
Before painting, ensure your door is clean. Use a gentle degreaser or mild detergent to remove any dirt or grease. This helps the paint adhere better. - Sanding
Lightly sand the door with 120-220 grit sandpaper. This roughens the surface slightly and helps the paint stick. Wipe away dust with a clean cloth after sanding. - Select the Right Tools
Use high-quality brushes made for smooth finishes. Foam brushes or synthetic brushes are great choices to avoid brush marks. - Rollers Work Wonders
If you prefer a roller, choose one with a 1/4″ or 1/2″ nap. Rollers can cover large areas smoothly and quickly. Long, even strokes are best. - Thin Coats Are Better
Apply several thin coats rather than one thick coat. Allow each coat to dry completely before adding another. This reduces the chance of drips and uneven texture.