
How To Paint Wood Garage Doors
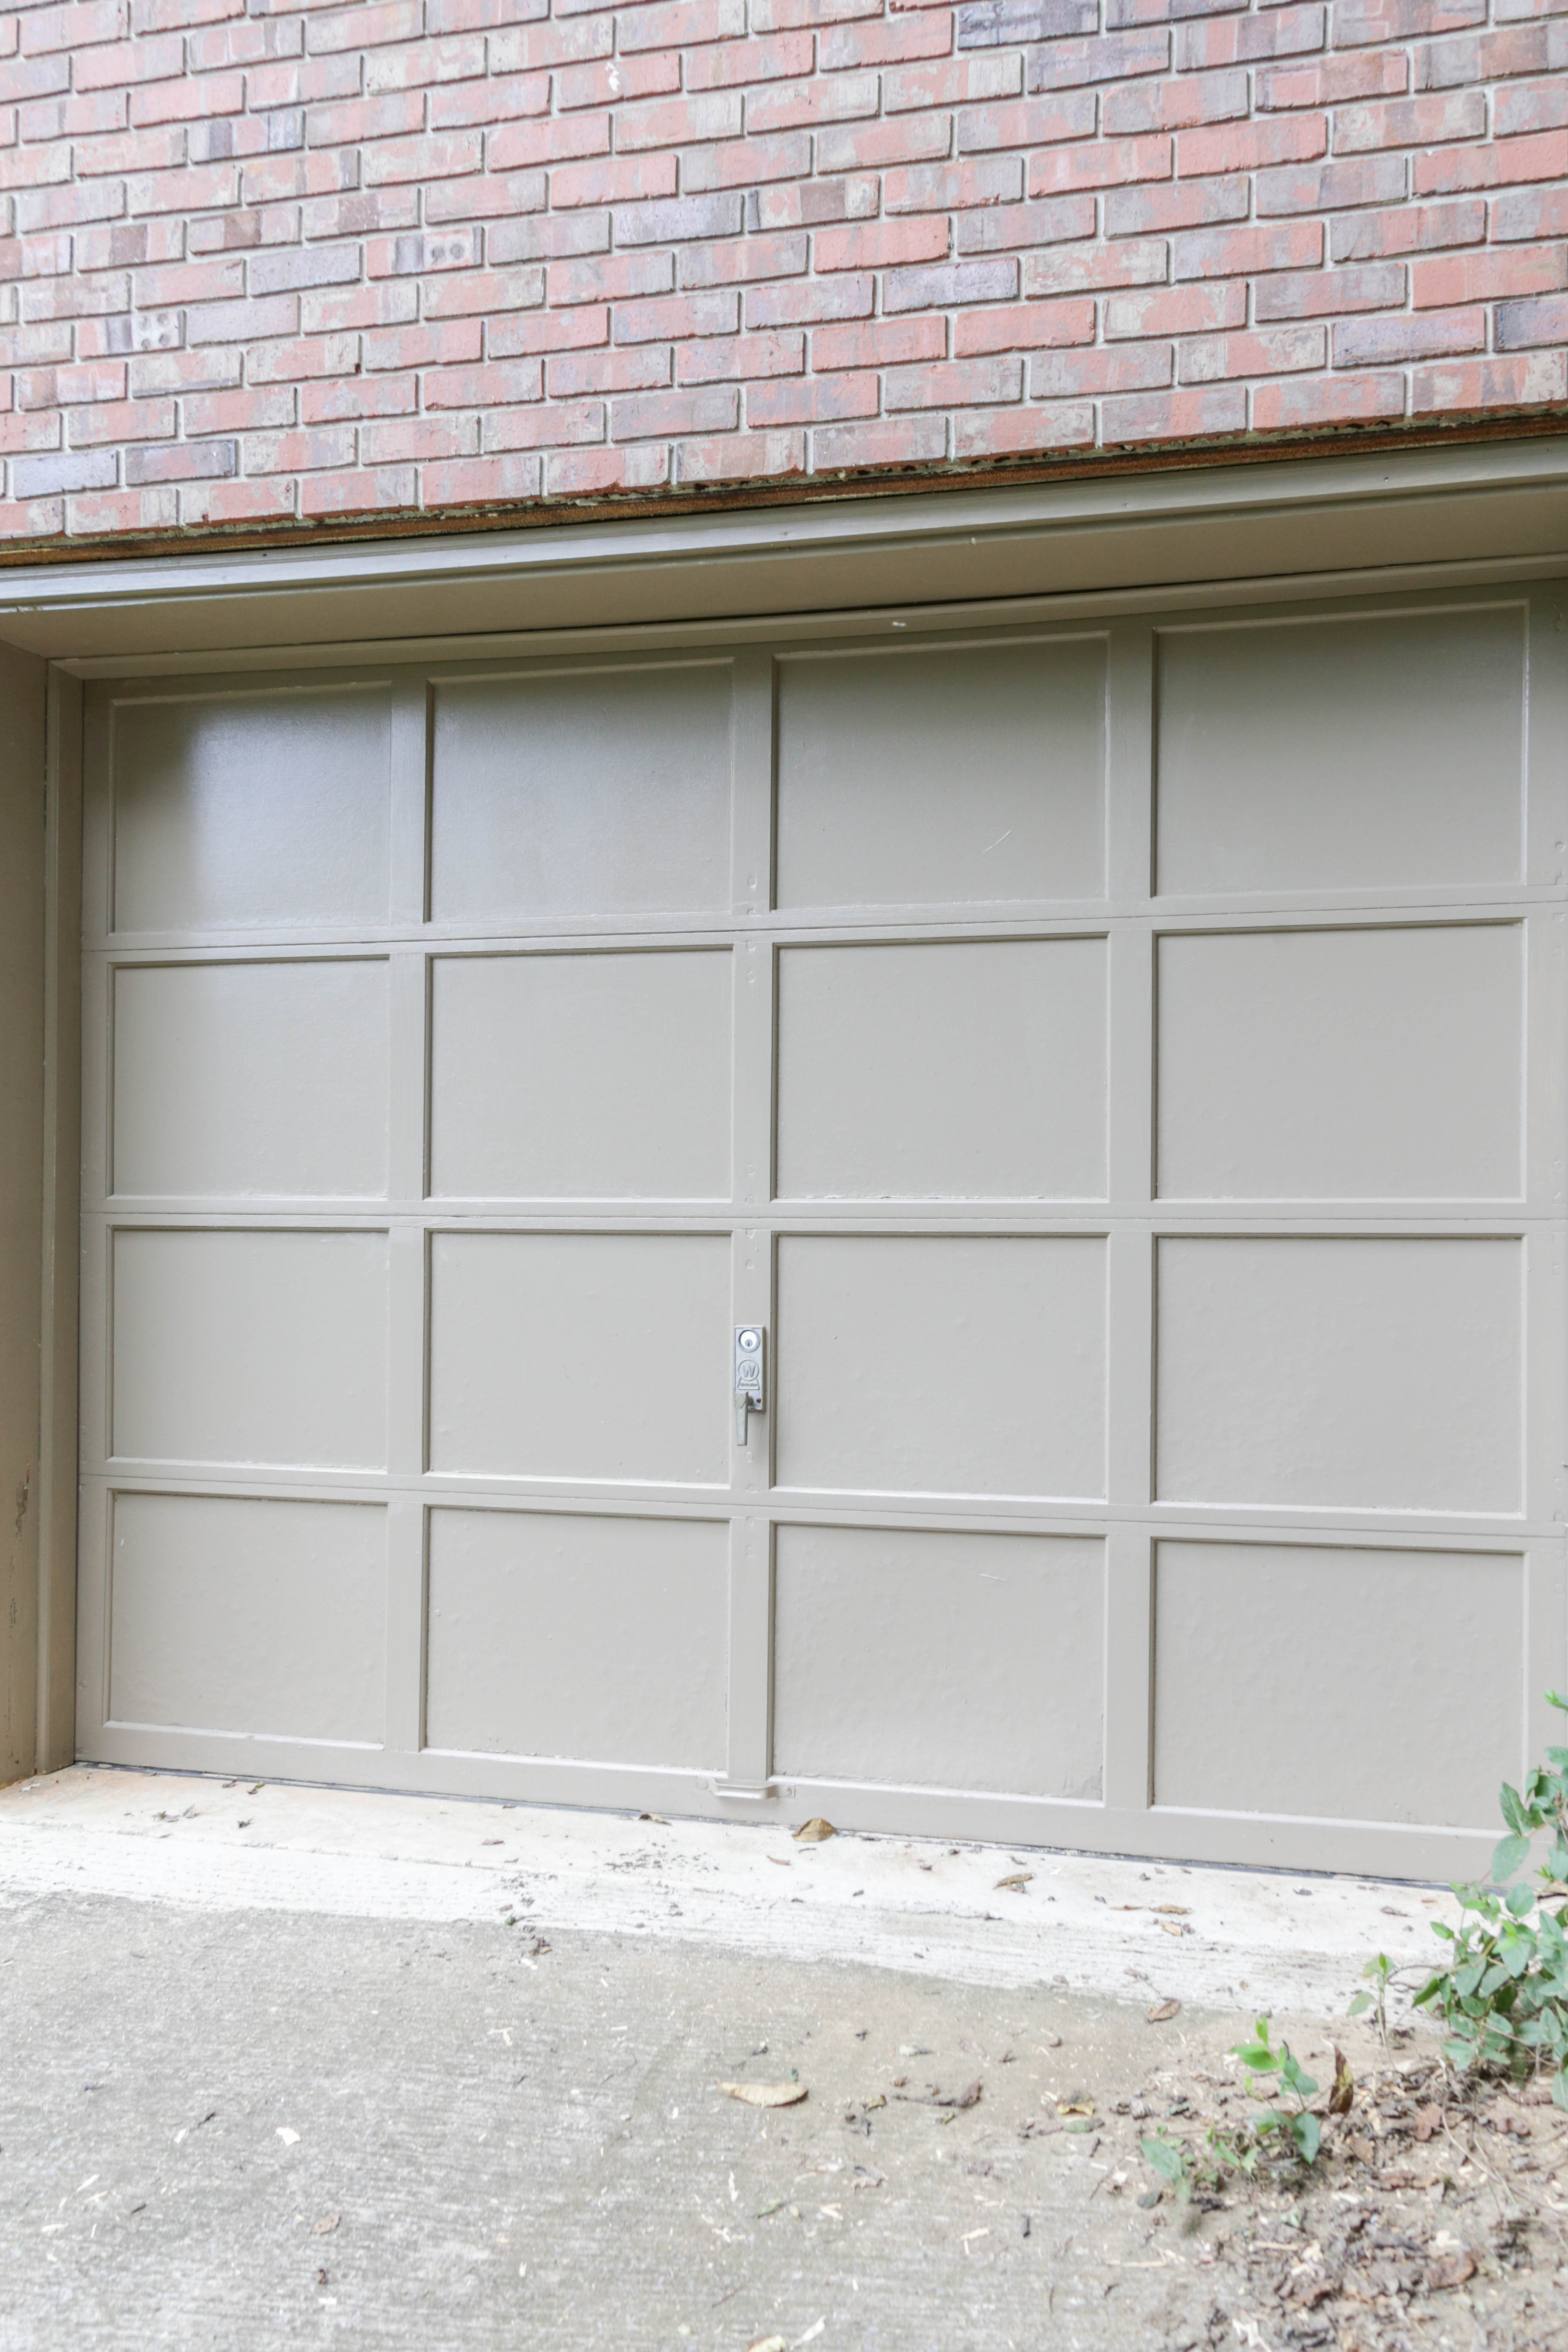
The wooden garage door is often overlooked, yet it serves as a major architectural component of your home’s exterior. It is more than just a passage; it is a defining element that contributes significantly to your property’s curb appeal and overall aesthetic. While the sheer size and occasional neglect can make these doors seem daunting to maintain, refreshing them with a coat of paint is one of the most impactful and cost-effective home improvements you can undertake.
However, achieving a professional, long-lasting painted finish requires far more than simply applying paint. The success of this project hinges entirely on the preparation—the meticulous cleaning, sanding, and priming process. By treating the door’s surface with the care it deserves, you can transform a faded, weathered, or chipped door into a stunning centerpiece that enhances your home’s value and beauty for years to come.
Get the Fail-Safe Paint Color Playbook (Free PDF)
36 proven colors • 8 ready palettes • trim & sheen guide • printable testing cards.
Quick answer: To paint wood garage doors, wash the wood, sand peeling or glossy areas, fill cracks, spot-prime bare wood, and use exterior acrylic or enamel that can handle expansion. Brush panel edges first, roll broad areas, and keep a wet edge. Paint in mild weather and leave the door open until edges are dry.
Planning Before You Start: Assessing the Project
Before you even open a can of paint, a detailed assessment of the door and the surrounding environment is crucial. This planning phase determines your materials, your timeline, and the scope of work.
Structural Assessment: Take your time examining the entire door, panels, and trim. Look closely for signs of structural compromise. Do you see deep cracks, areas of warping, or soft, spongy wood that might indicate rot? If the rot is extensive, painting will not solve the problem, and structural repair or replacement must happen first. If the door is warped but sound, gentle sanding and filling with exterior wood filler may suffice. If you suspect severe damage or underlying issues, stop and consult a professional carpenter.
Environmental Considerations: Where is the garage door located? Is it heavily exposed to direct afternoon sun, constant humidity, or salt air (if near the coast)? These factors dictate the type of paint finish and the necessary durability. High-traffic, high-moisture areas require extremely durable, mildew-resistant paints. Also, consider the climate: paint applied in extreme heat or cold will not cure correctly, so check local weather forecasts and adjust your schedule accordingly.
Materials and Tools Checklist
Selecting the right materials is non-negotiable. Never use interior paint; it is formulated for indoor humidity and lacks the UV resistance and mildew inhibitors needed for exterior use. Always opt for exterior-grade products.
Paint Selection:
- Exterior Acrylic Latex Paint: This is the most common and versatile choice. It handles temperature fluctuations well, is breathable, and is excellent for general residential use. It tends to be more forgiving on slightly uneven surfaces.
- Oil-Based Enamel Paint: Offers superior durability and a very hard finish. It is excellent for doors that see heavy use or are exposed to extreme weather, but it can sometimes yellow over time and requires more ventilation during application.
- Stain/Rust Inhibitor: If the door has exposed bare metal or bare wood, a dedicated rust or stain-blocking primer is necessary to prevent bleeding through the paint coats.
Essential Tools:
- Sanding Supplies: A variety of sandpaper grits (80-grit for rough removal, 120-grit for general sanding, and 220-grit for final smoothing). Sanding sponges are also useful.
- Cleaning Solutions: A mild detergent (like TSP substitute) and a specialized mildew remover/wood cleaner.
- Application Tools: High-quality paint brushes (angled sash brushes are best for cutting in edges), paint rollers (select a nap size appropriate for the door’s texture—1/2 inch is often good for wood), and paint trays.
- Safety Gear: Respirator mask (N95 or better), safety goggles, and chemical-resistant gloves.
The Step-by-Step Painting Guide
This process must be followed sequentially to ensure maximum adhesion and longevity.
Step 1: Deep Cleaning and Preparation
This is the most critical step. Dirt, pollen, mildew, and grease are the enemies of paint adhesion. Do not skip or rush this phase.
- Remove Hardware: Take off all handles, hinges, and decorative elements. This allows you to clean and paint every surface, including the mounting points.
- Mildew Treatment: If you see mildew, scrub the areas with a specialized mildew remover, following the manufacturer’s dilution instructions. Rinse thoroughly with clean water.
- Degreasing: Use a mild detergent or TSP substitute to wash the entire door, paying special attention to seams, hinges, and any areas that might have accumulated grease.
- Rinsing and Drying: Rinse the door thoroughly with clean water. Allow the door to dry completely, which may take several days depending on the climate.
Step 2: Sanding and Surface Smoothing
Sanding accomplishes two goals: it removes loose, peeling paint, and it creates a ‘tooth’—a slightly rough surface that allows the primer and paint to grip firmly.
Start with 80-grit sandpaper on any heavily peeling or chipped areas to remove all loose flakes. Progress to 120-grit sandpaper to smooth out rough patches and seams. Finish with 220-grit sandpaper over the entire surface to ensure a smooth, uniform finish. After sanding, use a vacuum cleaner or a dry cloth to remove all sanding dust and debris.
Step 3: Priming the Surface
The primer acts as a uniform barrier and an adhesive glue between the bare wood and the final paint coat. The type of primer depends on the door’s condition.
- Bare Wood/Extensive Damage: Use a high-quality, stain-blocking exterior primer. This prevents tannins in the wood from bleeding through the paint and causing discoloration.
- Previously Painted/Glossy: Use a bonding primer. This ensures the new paint adheres strongly to the existing, stable paint layers.
Apply the primer in thin, even coats, allowing the manufacturer-recommended drying time between coats. Do not let the primer pool or drip.
Step 4: Painting the Door
Once the primer is fully dry, you are ready for the topcoat. Always apply the first coat of paint after the primer has cured (not just dried) to ensure maximum bond strength.
- Cutting In: Use a high-quality paintbrush to paint the edges, corners, and surrounding trim (the “cutting in” process). This allows you to get into tight areas the roller cannot reach.
- Rolling: Use the roller to cover the main, flat panels of the door. Work in manageable sections, maintaining a wet edge as you move across the door to prevent lap marks. Apply moderate, even pressure.
- Second Coat: After the first coat has dried completely (check the can for minimum time, usually 4-8 hours), apply a second coat. Two coats are highly recommended for deep, rich color saturation and maximum durability.
Step 5: Curing and Maintenance
It is crucial to understand the difference between drying and curing. The paint may feel dry to the touch in a few hours, but it takes significantly longer—sometimes several days or even weeks—to fully cure. During this time, the paint hardens chemically and achieves its maximum durability. Do not use the door or subject it to heavy weather until the paint has fully cured according to the manufacturer’s instructions.
Design and Color Tips for Curb Appeal
The color you choose can dramatically impact the perceived age and style of your entire home. Treat the garage door color as an integral part of your exterior palette.
Understanding Sheen and Finish:
- Matte/Flat Finish: Best for hiding minor imperfections, wood grain, and surface inconsistencies. It provides a soft, sophisticated, and low-glare look, often preferred for historical or rustic homes. However, flat finishes are the least washable and prone to mildew if not properly maintained.
- Satin Finish: This is the ideal balance. It offers a slight sheen, making the door washable and durable, while still having enough depth to mask minor surface flaws. It is suitable for most architectural styles.
- Semi-Gloss Finish: Highly durable and easy to clean, making it excellent for high-traffic areas. However, its high reflectivity will emphasize every crack and imperfection on the wood surface, so only use this if the door is in pristine condition.
Color Pairings and Undertones:
When selecting a color, always consider the undertones of your house siding and trim. If your siding is a cool gray, choosing a warm, yellow-based door color might clash. Conversely, if your home has deep, earthy tones, a classic black, deep navy, or forest green can create a striking, cohesive look. For Modern Farmhouse styles, charcoal grays and deep blacks are popular. For Craftsman homes, rich, earthy greens or deep browns often complement the natural wood tones.
Paint vs. Stain:
If you prefer to keep the natural wood grain visible, consider a high-quality exterior wood stain. Stains penetrate the wood and protect it, but they do not offer the full, opaque coverage of paint. Paint is generally recommended for maximum protection and color change, while stains are better for preserving the natural character of the wood.
Mistakes to Avoid: Troubleshooting Common Failures
Many painting failures are not due to poor paint, but rather poor preparation. Being aware of these common pitfalls can save you hours of frustrating re-painting.
- Skipping the Deep Clean: Failure to remove mildew, grease, and dirt means the new paint will adhere to the grime, not the wood, leading to early peeling.
- Using Interior Paint: This is the most common mistake. Interior paints contain chemicals that break down quickly when exposed to UV rays and humidity, leading to rapid flaking and mildew growth.
- Rushing the Drying/Curing Process: Applying the second coat before the first has fully cured results in poor adhesion, uneven texture, and a patchy, weak finish.
- Ignoring Warping: If the door is warped or has uneven panels, you must use wood fillers and sanding to level the surface. Painting over warped wood simply highlights the underlying structural issue.
Safety and Practical Notes
Safety must be the top priority throughout this project. Working at heights, handling solvents, and dealing with old materials requires caution.
Personal Protective Equipment (PPE): Always wear safety goggles and gloves. When sanding, particularly if the wood is old, you must wear a respirator mask rated for fine dust particles. If you suspect the presence of lead paint or asbestos, do not attempt removal yourself; call a licensed professional immediately.
Ventilation: When mixing, applying, or cleaning with solvents, ensure the garage and surrounding area are well-ventilated. Open garage doors and windows to allow fresh air circulation to dissipate fumes.
When to Call a Professional: Professional help is recommended if: the structural damage is severe, if the door is extremely heavy and difficult to move, or if you encounter suspect materials like lead paint or mold that requires specialized remediation.
Frequently Asked Questions
Do I need to sand the entire door, or just the peeling spots?
While sanding all peeling spots is necessary, sanding the entire door surface (especially with 220-grit) is highly recommended. Sanding creates a “tooth” on the wood that allows the primer and paint to adhere much more strongly, preventing flaking and peeling down the line. If the door is heavily weathered, a light, uniform sanding is key to a lasting finish.
Get the Fail-Safe Paint Color Playbook (Free PDF)
36 proven colors • 8 ready palettes • trim & sheen guide • printable testing cards.
What is the difference between ‘drying’ and ‘curing’ paint?
This is a common point of confusion. ‘Drying’ simply means the surface feels dry to the touch (which might happen in a few hours). ‘Curing’ is the chemical process where the paint hardens and reaches its maximum strength and durability. Many people use the door or subject it to heavy weather before the paint has fully cured, which can lead to chipping, fading, or flaking. Always follow the manufacturer’s instructions regarding curing time.
Can I just use a specialized exterior paint and skip the primer?
It is strongly advised that you do not skip the primer. The primer acts as a crucial adhesive layer and a barrier. If your door has bare wood or is severely stained, the primer prevents tannins (natural wood compounds) from bleeding through the paint and causing discoloration. Using the correct primer ensures the topcoat adheres properly and provides a uniform base.
When should I stop painting and call a professional?
You should immediately call a professional if you encounter any of the following: 1) Structural damage (deep rot, severe warping) that cannot be easily filled or repaired; 2) Evidence of lead paint or asbestos; or 3) If the door is extremely heavy or difficult to move, requiring specialized lifting equipment. Safety is always the priority.
Conclusion
Painting a wood garage door is a rewarding DIY project that dramatically boosts the aesthetic appeal and curb value of your home. By approaching the task methodically—prioritizing deep cleaning, using the correct primers, and selecting high-quality, exterior-grade materials—you can achieve a professional-grade finish that will last for years.
Remember that patience is your greatest tool. Take your time during the prep work, respect the drying and curing times, and follow the manufacturer’s instructions for every product. With meticulous attention to detail, your garage door will not only look beautiful but will also be structurally protected against the elements.