
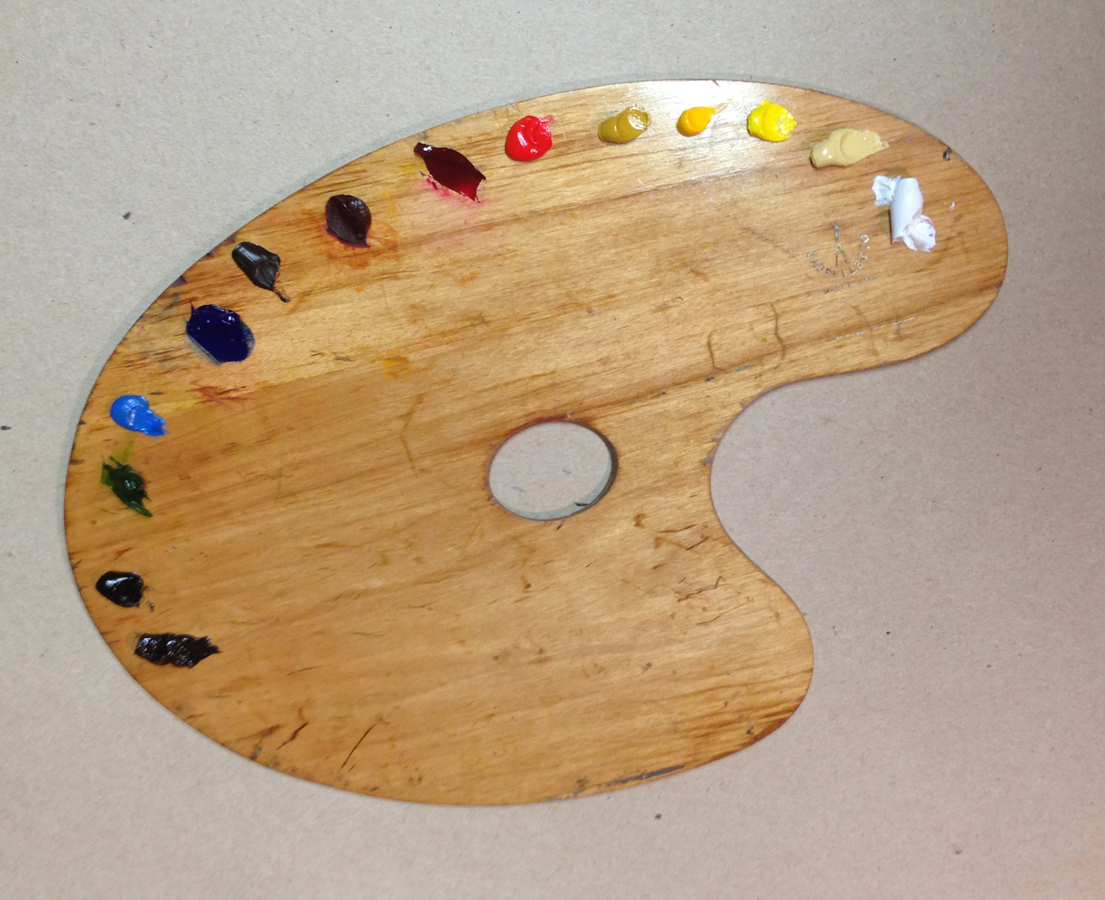
How To Clean A Wooden Paint Palette
A wooden paint palette is much more than just a surface; it is an essential, tactile partner in the creative process. It holds the history of your best work and the potential for your next masterpiece. However, like any natural, porous surface, it is susceptible to paint buildup, cross-contamination, and degradation over time. Maintaining a clean palette is not just about aesthetics—it is critical for ensuring the purity of your colors and the longevity of the wood itself.
Many artists treat their palettes as disposable, but understanding proper cleaning and preservation techniques allows you to keep your beloved wooden surface in pristine condition for decades. This guide provides a comprehensive, expert-level walkthrough, detailing everything from initial prep work to advanced restoration methods, ensuring your palette remains a flawless canvas for color.
Get the Fail-Safe Paint Color Playbook (Free PDF)
36 proven colors • 8 ready palettes • trim & sheen guide • printable testing cards.
Quick answer: To clean a wooden paint palette, identify the coating and base material, test the mildest cleaner or solvent on a hidden edge, then remove residue in small sections with scraping, wiping, sanding, or a compatible remover. Use ventilation, gloves, and eye protection when solvents, sanding dust, or spray cleaners are involved, and stop if the surface softens or discolors.
Planning Before You Start: Assessing the Build-Up
Before you reach for any cleaning agent, take a moment to assess the state of the palette. The required cleanup method changes drastically depending on whether the paint is fresh, semi-dried, or completely hardened. This initial assessment prevents you from using the wrong tool and damaging the wood.
Consider the paint medium. Was the buildup primarily oil-based (which tends to stain deeply and requires solvent solvents like mineral spirits), or was it acrylic (which tends to dry hard and responds better to alcohol)? Knowing this helps you anticipate the type of residue and guides your choice of solvent. If the paint is extremely thick and has been sitting for months, you must be extremely gentle, as the wood may be brittle.
Step-by-Step Guide to Cleaning and Sanitizing
This process is broken down into four critical phases: mechanical removal, chemical cleaning, neutralization, and restoration. Follow these steps in order for the best results.
Phase 1: Mechanical Preparation and Initial Removal
The goal of this phase is to remove the bulk of the paint without damaging the wood grain or finish. Do not attempt to scrub thick layers off.
Start by using a palette knife or a sturdy, dull scraper. Always angle your scraper slightly to glide along the wood grain, rather than digging into it. Gently lift the thickest, most superficial paint layers. If the paint is very hardened, allow the palette to soak briefly (but not excessively—never soak for hours, as this causes warping) in a bowl of warm, soapy water to soften the bond between the paint and the wood.
Phase 2: Targeted Chemical Cleaning
Once the bulk is removed, you need to address the remaining residue and stains. The choice of solvent is crucial and depends on the paint medium.
Mild Dish Soap Wash: For general grime and light buildup, warm water and mild dish soap are safe. Use a soft-bristle brush (like a toothbrush) and scrub in small, circular motions. The soap helps lift the paint oils and pigments. Rinse immediately and thoroughly.
Solvent Treatment (Targeted Stains): For persistent, stubborn stains, a solvent is necessary, but use it judiciously. Never apply a solvent to the entire palette; only damp a cloth or cotton swab with the chosen agent and dab the stained areas.
- Oil Paint Residue: Use mineral spirits or odorless paint thinner. These solvents are formulated to cut through oil-based paint and grime without damaging the wood.
- Acrylic Paint Residue: Rubbing alcohol (isopropyl alcohol) is highly effective against acrylic polymers. It evaporates quickly and is less aggressive than many paint thinners.
- Water-Based/General Clean: A weak solution of white vinegar and water (equal parts) can act as a mild disinfectant and residue remover, especially good for non-paint stains.
Phase 3: Neutralization and Rinsing
After using any solvent, the palette must be thoroughly neutralized. Residual solvents can continue to break down the wood over time. Rinse the entire surface multiple times with clean, lukewarm water. Use a soft cloth to wipe away any visible streaks or soap scum. The goal here is a perfectly clean, residue-free surface.
Phase 4: Drying and Restoration
This is arguably the most important step. The palette must dry completely before any further care is taken. Towel dry the surface first to remove excess water, and then allow it to air dry in a well-ventilated area for at least 24 to 48 hours. Once fully dry, the wood is susceptible to staining and moisture absorption. To prevent this, apply a protective sealant. Use a natural wood oil (such as linseed or tung oil) or a specialized artist’s sealant. This seals the pores, preventing future paint absorption and making the palette easier to clean in the future. Apply a thin, even coat and let it cure completely according to the oil manufacturer’s directions.
Materials and Tools Checklist
Gathering the right supplies ensures the process is smooth and safe. Investing in quality tools will extend the life of your palette.
- Cleaning Agents: Mild, pH-neutral dish soap; Distilled water; Appropriate solvent (Mineral Spirits for oils, Isopropyl Alcohol for acrylics); White vinegar (optional).
- Cleaning Tools: Soft-bristle brush (e.g., a clean toothbrush); Non-abrasive sponge or cloth; Lint-free paper towels or microfiber cloths.
- Scraping/Scrubbing: Dedicated, dull palette knife or plastic scraper (never use metal implements that could scratch the finish); Small basin for soaking.
- Restoration: Natural wood finishing oil (linseed or tung oil) or a specialized artist’s sealant; Clean rag for application.
Palette Care and Maintenance Tips
Prevention is always better than cure. Implementing these preventative measures will minimize the severity of future cleanings.
Daily Cleanup: After every painting session, scrape off any thick paint immediately and wipe the surface down with a damp cloth. This prevents paint from drying into the pores.
Storage Best Practices: Store your palette in a cool, dry environment, away from direct sunlight and extreme temperature changes. Consider storing it vertically in a dedicated art supply cabinet to allow air circulation, which helps prevent mildew and warping.
The Role of Sealing: Regularly re-applying a protective oil or sealant (every few months, depending on usage) is key. This layer acts as a barrier, minimizing the wood’s natural tendency to absorb paint pigments and keeping the wood stable.
Mistakes to Avoid When Cleaning
Even with the best intentions, it is easy to make mistakes that can permanently damage the wood. Be mindful of these common pitfalls.
- Over-Scrubbing: Never use abrasive materials like steel wool, scouring pads, or aggressive scrubbing brushes. These will inevitably scratch the wood grain and compromise the surface integrity.
- Improper Solvent Use: Never use household cleaners (like bleach or bleach-based drain cleaners) or solvents that are too harsh for art materials. Always test any chemical on an inconspicuous area first.
- Insufficient Drying Time: Never store or use the palette until it is 100% dry. Residual moisture encourages mold, mildew, and warping, which can crack the wood over time.
- Soaking Too Long: While soaking helps loosen paint, leaving the palette submerged for extended periods can cause the wood to swell, warp, or weaken its structure.
Safety and Practical Notes
Handling solvents requires caution. Always prioritize safety to protect your health and the palette itself.
Ventilation is Non-Negotiable: When using solvents like mineral spirits or rubbing alcohol, always work outdoors or in a highly ventilated area. The fumes can be irritating and dangerous if inhaled in concentrated amounts.
Protective Gear: Wear nitrile gloves and eye protection when handling solvents. This protects your skin and eyes from chemical irritants. Keep all chemicals stored safely and out of reach of children or pets.
Know Your Wood: If your palette is made of a highly porous or exotic wood, consult a professional conservator if you are unsure of its care requirements. Always follow the manufacturer’s directions for any specialized cleaning products.
Get the Fail-Safe Paint Color Playbook (Free PDF)
36 proven colors • 8 ready palettes • trim & sheen guide • printable testing cards.
Frequently Asked Questions
What solvent should I use to clean my palette?
The choice of solvent depends entirely on the paint medium used. Never use a solvent that is too aggressive for the wood. For oil-based paints, mineral spirits or odorless paint thinner are recommended. For acrylic paints, rubbing alcohol (isopropyl alcohol) is highly effective. Always test any solvent on an inconspicuous area of the wood first, and remember to neutralize the surface thoroughly afterward.
Can I soak my palette to remove thick paint?
Soaking can help loosen deeply set paint, but extreme caution is needed. Never soak the palette for hours, as this will cause the wood to swell, warp, or weaken its structure. If you must soak, use warm, soapy water for a short duration, and constantly monitor the wood for signs of excessive moisture absorption.
How often do I need to re-seal my wooden palette?
If you use the palette frequently, you should re-apply a protective sealant (like tung or linseed oil) every few months. This sealant acts as a barrier, minimizing the wood’s natural porosity and preventing future paint pigments from staining deep into the wood grain. A sealed palette is much easier to clean and maintain.
What is the best way to prevent paint from building up in the first place?
Prevention is key. After every painting session, always scrape off thick paint immediately. Then, wipe the surface down with a damp cloth and allow it to air dry. Additionally, storing the palette in a cool, dry, and well-ventilated area, away from direct sunlight, will help maintain its integrity and cleanliness.
Conclusion
Cleaning a wooden paint palette is a routine act of preservation that ensures the purity of your artistic process. By adopting a careful, multi-step approach—from gentle scraping and targeted solvent use to meticulous drying and sealing—you extend the life of your favorite tool. Treat your palette with the same care you give your art, and it will continue to inspire countless masterpieces for years to come.