How To Paint A Room With Two Colors: Transform Your Space Effortlessly
Do you want to freshen up your living space without a complete makeover? Painting a room with two colors is a simple way to add some style and depth to your home. By using two colors, you can create an eye-catching contrast or a subtle blend that suits your taste and enhances the overall vibe of your room. Whether you prefer bold contrasts or mellow tones, this DIY project might be just what your space needs.

Wondering how to make it happen? Start by choosing complementary colors that work well together. Think about the mood you want to set. Do you love the idea of warm, inviting hues, or are you drawn to cool, calm shades? Once you have your colors, use them to highlight interesting features in your room, like moldings or an accent wall. You’ll be amazed at how a little paint can transform a space.
Get the Fail-Safe Paint Color Playbook (Free PDF)
36 proven colors • 8 ready palettes • trim & sheen guide • printable testing cards.
Curious about the process? Grab your paintbrush because we’ll guide you through the steps. Cutting in along the wall edges, rolling out even layers, and mastering the art of clean lines between two colors—sound tricky? Don’t worry, because we’ll break it down and make it easy. Your newly painted room is just a weekend away!
Planning Your Two-Tone Room
When planning a two-tone room, you need to think about the color wheel, as well as make smart choices about your main and accent colors. These steps help create a balanced and visually appealing room.
Understanding the Color Wheel and Combinations
The color wheel is your best friend when it comes to choosing colors. It helps you see how different colors work together. Complementary colors, which are opposite each other on the wheel, can create a vibrant look. Analogous colors, which are next to each other, offer a more relaxed feel.
For example, if you want a calming space, pick blues and greens. If you want energy, go for red and green. Don’t be afraid to experiment with bold colors, but remember, balance is key!
Selecting Your Dominant and Accent Colors
Choosing your dominant and accent colors is like picking a lead actor and a supporting role. The dominant color covers most of the room, like walls or floors. The accent color adds pops of interest through accessories or one wall.
When selecting colors, think about how each will affect the mood of the room. A neutral dominant color like grey can be balanced with a vibrant accent like yellow, giving life without overwhelming. Test paint samples on your wall before committing to see how they interact with light throughout the day.
Prepping Your Space
Getting your space ready for painting is crucial for a professional-looking result. Pay attention to how you protect your furniture and flooring, clean and repair walls, and ensure clean lines with taping.
Protecting Furniture and Flooring
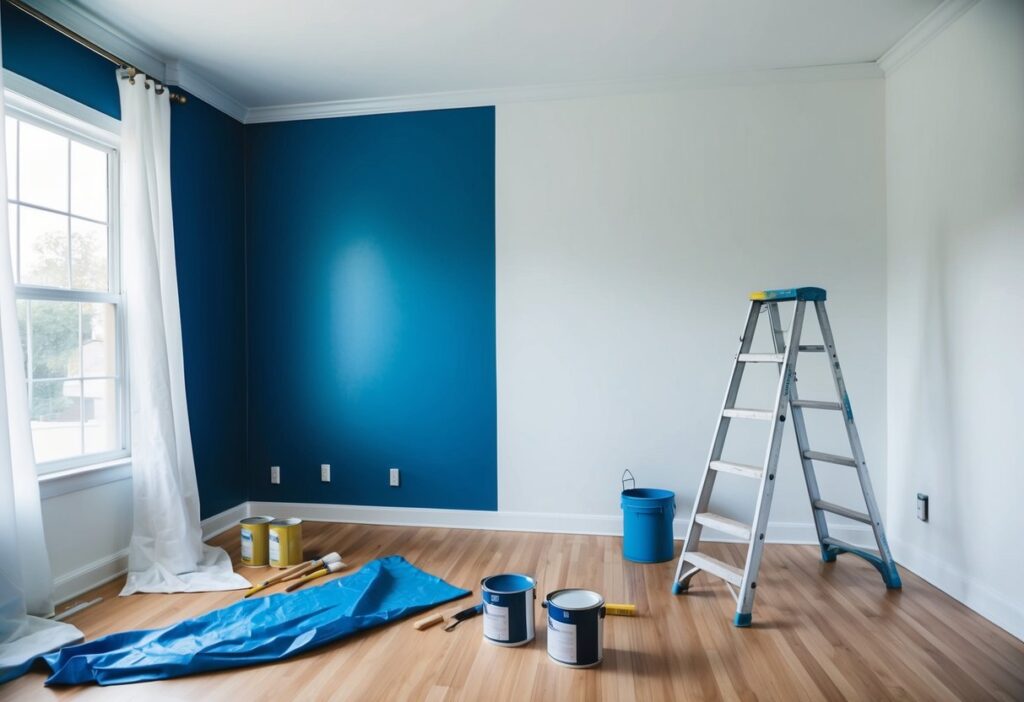
Before painting, it’s important to protect your furniture and flooring to avoid accidental spills or splatters. Start by moving as much furniture as possible out of the room. For pieces that can’t be moved, place them in the center of the room and cover each piece with plastic or a drop cloth.

Use a floor covering, such as a plastic sheet or heavy-duty canvas tarp, to protect the floor. Secure it in place using painter’s tape, wrapping the edges around the baseboards. If you have any rugs, it’s better to remove them altogether since paint can seep through fabric more easily.
Cleaning and Repairing Walls
Walls should be clean and smooth before you start painting for the best results. Begin by dusting the walls with a dry cloth to remove any loose dirt. Then wash the walls using a mild soap and water solution to get rid of grime or grease.
If you notice any holes or cracks, fill them with spackle and smooth out with a putty knife. Let it dry completely before sanding it down until it’s flush with the wall. Wipe off any dust from sanding with a damp cloth and let the wall dry thoroughly.
Taping for Clean Lines and Patterns
Taping is key to achieving neat edges and patterns. Use high-quality painter’s tape along the edges where the two colors will meet. It’s also useful for protecting trim, windows, and outlets. Press the tape down firmly to prevent paint from seeping underneath.
When painting stripes or patterns, measure carefully and use a level to draw guidelines on the walls. Place the tape just outside the lines where you’ll be painting, ensuring it stays straight and secure. Remember to remove the tape slowly after the paint is dry to avoid lifting the new paint.
Get the Fail-Safe Paint Color Playbook (Free PDF)
36 proven colors • 8 ready palettes • trim & sheen guide • printable testing cards.
Applying the Base Coat

Applying the base coat sets the groundwork for your room’s transformation. With the right primer and technique, the walls will be ready for your chosen paint colors.
Choosing the Right Primer
You might be wondering why a primer is necessary. Primer is key to a long-lasting paint job because it helps the paint stick and improves the appearance of the final colors. When selecting a primer, consider the type and condition of your walls. If your walls are smooth and light, a basic latex primer works well. For darker walls or ones with stains, go for a stain-blocking primer. Using a tinted primer can also enhance your chosen colors, making them pop more vibrantly. Always read labels for compatibility with your paint to avoid any surprises.
Roller or Brush? Techniques for a Smooth Base
Deciding between a roller and a brush can feel tricky. Each tool has its perks. Rollers cover large areas quickly and provide a smooth finish, especially with broader strokes. They’re great for even coverage, so if you’re painting walls, they’re your go-to. Brushes, on the other hand, rock for detailed work like edges and corners. They help you get paint into those tough-to-reach areas. Use steady, overlapping strokes to ensure full coverage and prevent streaks. Don’t skimp on the quality of your tools—a good brush or roller can make all the difference. Remember, a smooth base means a smoother final look!
Painting Techniques for a Two-Tone Look

When you paint a room with two colors, you can create a striking visual effect that adds personality to your space. This section explores different techniques that can help you achieve the perfect two-tone look without going overboard.
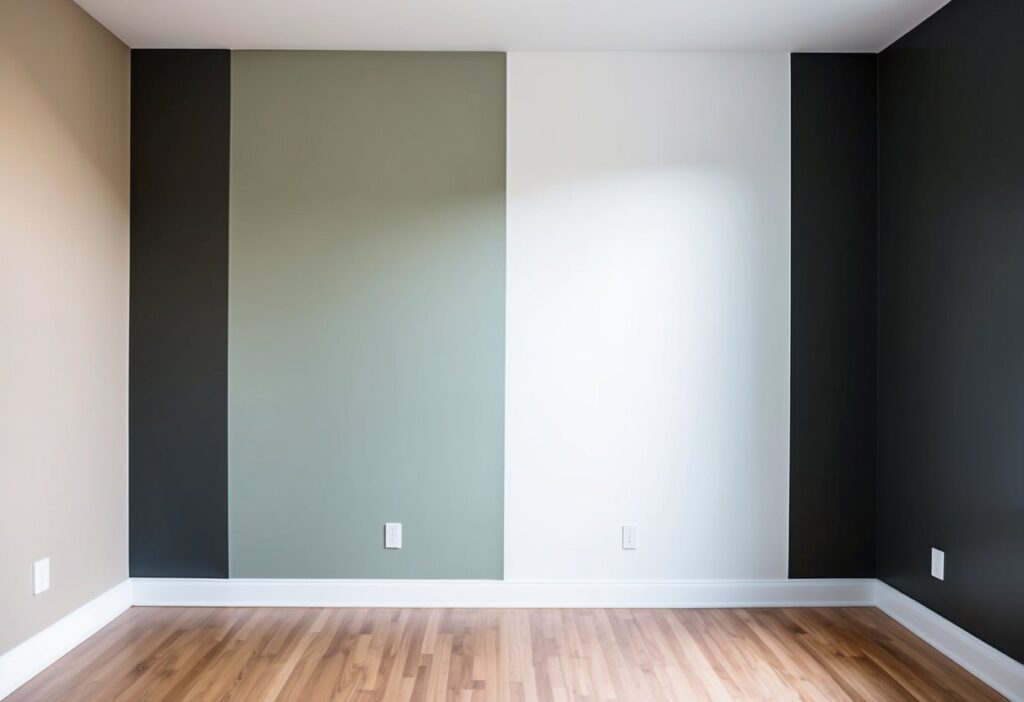
Vertical Stripes for Height
Vertical stripes can make your room seem taller. To start, choose two contrasting colors. Light and dark shades work well.
Use a level and measuring tape to mark the walls. Mark evenly spaced lines to create symmetrical stripes.
Apply painter’s tape along the lines. Paint the first color inside the taped areas. When it’s dry, remove the tape and reposition it on the edges of the painted stripes. Paint the second color in the unpainted sections.
Pro tip: Keep a steady hand to avoid smudges. Test a small area first to make sure you like how the colors work together.
Horizontal Stripes for Depth
Horizontal stripes can make your room feel wider and more expansive. Neutral and bold combinations often work well here.
Begin by measuring the walls carefully. Divide into equal sections for consistent stripes. Use a pencil to draw straight lines where you want the stripes.
As before, apply painter’s tape along the marked lines. Ensure it’s tightly sealed to avoid bleeding. Paint your first color, let it dry, then apply the second.
Get the Fail-Safe Paint Color Playbook (Free PDF)
36 proven colors • 8 ready palettes • trim & sheen guide • printable testing cards.
Tip: If your room has low ceilings, stripe width matters. Wider stripes can make a room appear larger, while thinner ones create elegance.
Using Architectural Details to Your Advantage
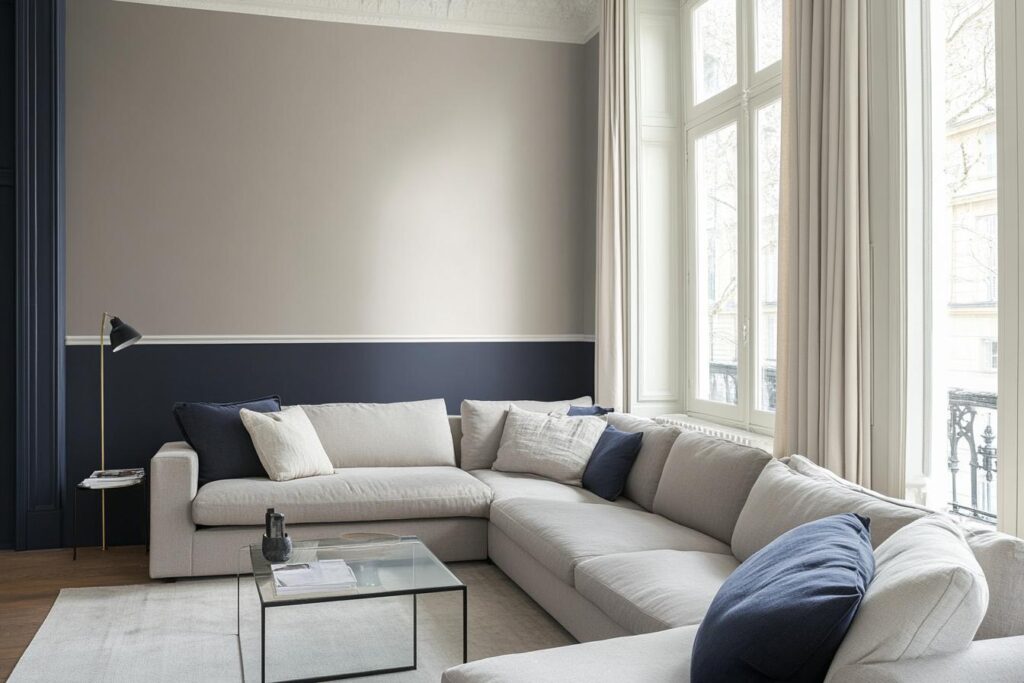
Architectural details, like chair rails and molding, are perfect dividers for two-tone walls. Use them to naturally separate colors.
Paint above a chair rail one color and below another. This technique can highlight the details and produce a cozy feel.
Beams, niches, and built-ins can also act as guides where you switch colors. Use features you already have to streamline the process.
Choose shades that complement your existing decor. Rich, warm colors can add depth, while cooler tones can keep things fresh.
Detail Work and Adding the Secondary Color
When painting a room with two colors, adding the secondary color involves precision and technique. Accurate cutting in and rolling are essential to achieving crisp edges and even coverage.

Cutting In for Sharp Edges
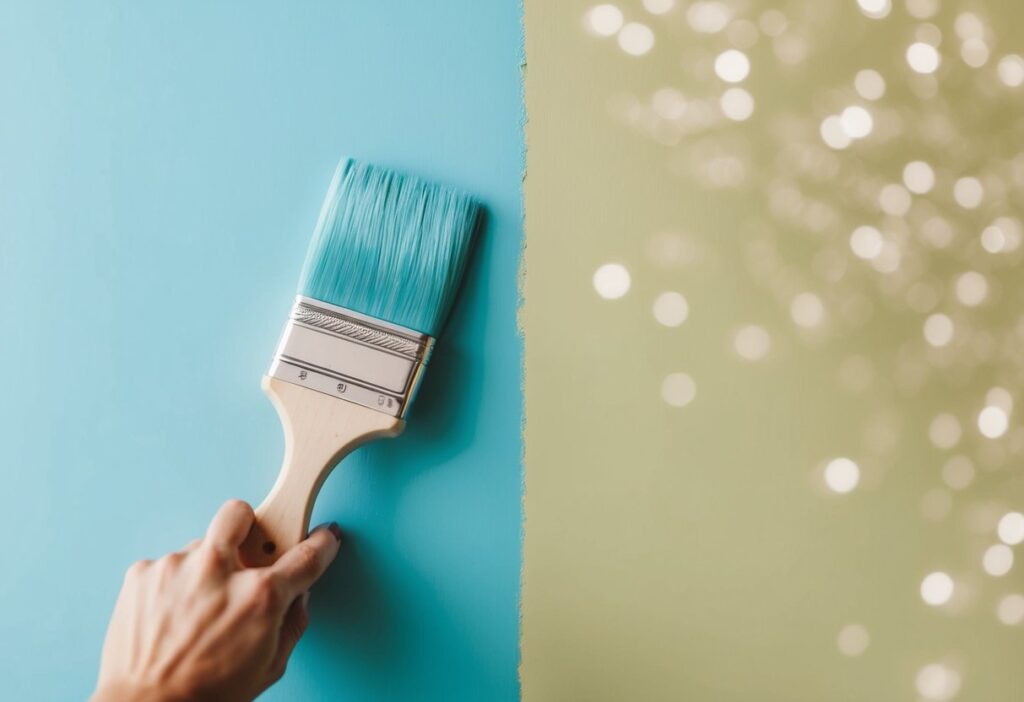
Cutting in is the key to achieving clean, sharp lines between your base and secondary colors. Use a quality angled brush, which allows you to reach the edges and corners with precision. Tip: Dip the brush lightly to avoid excess paint that might cause smudging.
Start by applying painter’s tape along the edge where the two-tone walls meet. Press it down firmly to prevent paint bleed. Carefully brush along the edge, keeping a steady hand.
Pro Tip: Work in sections rather than trying to finish one long edge all at once. This helps maintain control.
Get the Fail-Safe Paint Color Playbook (Free PDF)
36 proven colors • 8 ready palettes • trim & sheen guide • printable testing cards.
After cutting in, step back and ensure everything looks even. Adjust as needed before the paint dries entirely. This will help you catch any areas you might have missed.
Rolling the Secondary Color
Once you’ve perfected your edges, grab a roller for the secondary color. Choose a roller with a nap that suits your wall’s texture. Start from a corner of the wall and use a “W” or “M” pattern to spread the paint. This technique ensures even distribution and minimizes streaking.
Get the Fail-Safe Paint Color Playbook (Free PDF)
36 proven colors • 8 ready palettes • trim & sheen guide • printable testing cards.
Load the roller evenly, but avoid overloading it. Excess paint can cause drips and uneven surfaces. If your room has walls over 8 feet, consider using an extension pole. It will give you a better reach and control.
Remember to take off the painter’s tape before the paint is completely dry. This reduces the risk of pulling off any dried paint and keeps your lines crisp and clean.
Tying It All Together
Bringing the two colors of a room together creates a harmonious look. Focus on elements like trim, color palette, and decor to enhance visual continuity.
Choosing a Trim Color for Cohesion
The right trim color acts as a bridge between your two main colors. Neutral shades like white or gray often work best, as they don’t compete with the primary colors. Ever thought about using one of your room colors in a lighter or darker shade for the trim? This can smartly tie the design together.
If your room embraces bold colors, try softer tones for the trim. This balance maintains a seamless flow and guides the eye smoothly around the room. A solid strategy could be coordinating trim color with furniture or fixtures, offering a cohesive touch without disrupting the palette.

Understanding the 60-30-10 Rule
This rule is a classic in interior design. It involves using 60% of a dominant color, 30% of a secondary color, and 10% of an accent color. In a two-color room, let the dominant shade cover large areas like walls and floors. The secondary color could be your trim or a feature wall.
An accent color spices things up. Use it in small doses—think cushions or an art piece. The beauty of the 60-30-10 rule lies in its flexibility, allowing you to play with proportions to fit your style while ensuring your room remains balanced and engaging.
Integrating Decor to Enhance Your Colors
Decor choices can enhance the color story of your room. You might include rugs or curtains to match or contrast with the existing hues. For instance, if your room’s colors are blue and green, a patterned rug featuring both might tie them together seamlessly.
Consider artwork or throw pillows that incorporate your chosen colors. Accessories not only complement but also unify the theme. Mirrors, for instance, can reflect colors, further enhancing the overall look.
Remember, it’s all about balance. Too much decor could clutter your space, while too little might make it feel sparse. Find that sweet spot where these elements naturally blend into your interior style.
Maintenance and Upkeep
Keeping your room with two colors looking fresh isn’t hard with regular cleaning and touch-ups. Knowing how to care for the paint can make it last longer and look vibrant.
Routine Cleaning for Wall Longevity
Regular cleaning is key to maintaining your painted walls. Every few months, dust your walls using a microfiber cloth.
For stains or marks, a simple mix of warm water and mild dish soap can work wonders. Just dampen a soft sponge with the solution and gently wipe the stained area. It’s best to start at the top and work your way down to avoid streaks.
Remember, too much water can harm the paint, so keep the sponge lightly damp.
Avoid using abrasive cleaners or scrub brushes. They can scratch or damage the paint, especially the darker sections, which might be more noticeable.
Touch-up Tips for a Fresh Look
Sometimes, the paint might chip or get scratched. For small touch-ups, keep some leftover paint. If you don’t have any, try to get the same paint code from the store to match colors.
When applying touch-up paint, stir well and use a small brush for precise application. Dabbing gently can blend the new paint with the old.
For larger areas needing touch-ups, sand the edges gently before painting to avoid noticeable buildup. If the wall looks a bit faded, consider a light repaint to refresh the entire look. This keeps the two-color design lively and attractive.
Conclusion
Ready to add a splash of creativity to your room? Painting with two colors can be exciting and rewarding! Start by considering light and bold colors. Light colors can make spaces feel open, while bold ones bring in personality.
Get the Fail-Safe Paint Color Playbook (Free PDF)
36 proven colors • 8 ready palettes • trim & sheen guide • printable testing cards.
Think about where you’ll apply your colors. Contrast colors can make certain features stand out. Use them to highlight a wall or architectural feature.
Analogous colors work well for a harmonious feel. They’re next to each other on the color wheel, like blue and green. This choice is perfect if you want a peaceful vibe.
Would you like a few tips and tricks? Use a chair rail or a strategic line to separate colors. This can add a stylish touch to your room. Remember to paint the lighter color on top if you’re aiming for a taller look.
Lastly, when using painter’s tape, remove it before the paint dries completely. This helps avoid peeling. Are you ready to transform your room with two colors? Just keep these ideas in mind and enjoy the process!
