
How to Paint Peg Dolls: Step-by-Step Guide for Creative Results
Painting peg dolls is such a fun, approachable craft. With just a handful of supplies, you can turn plain wooden figures into colorful, quirky characters. Maybe you want to make a family set, storybook heroes, or just something totally one-of-a-kind—these little wooden dolls open up endless creative options for crafters of any age.
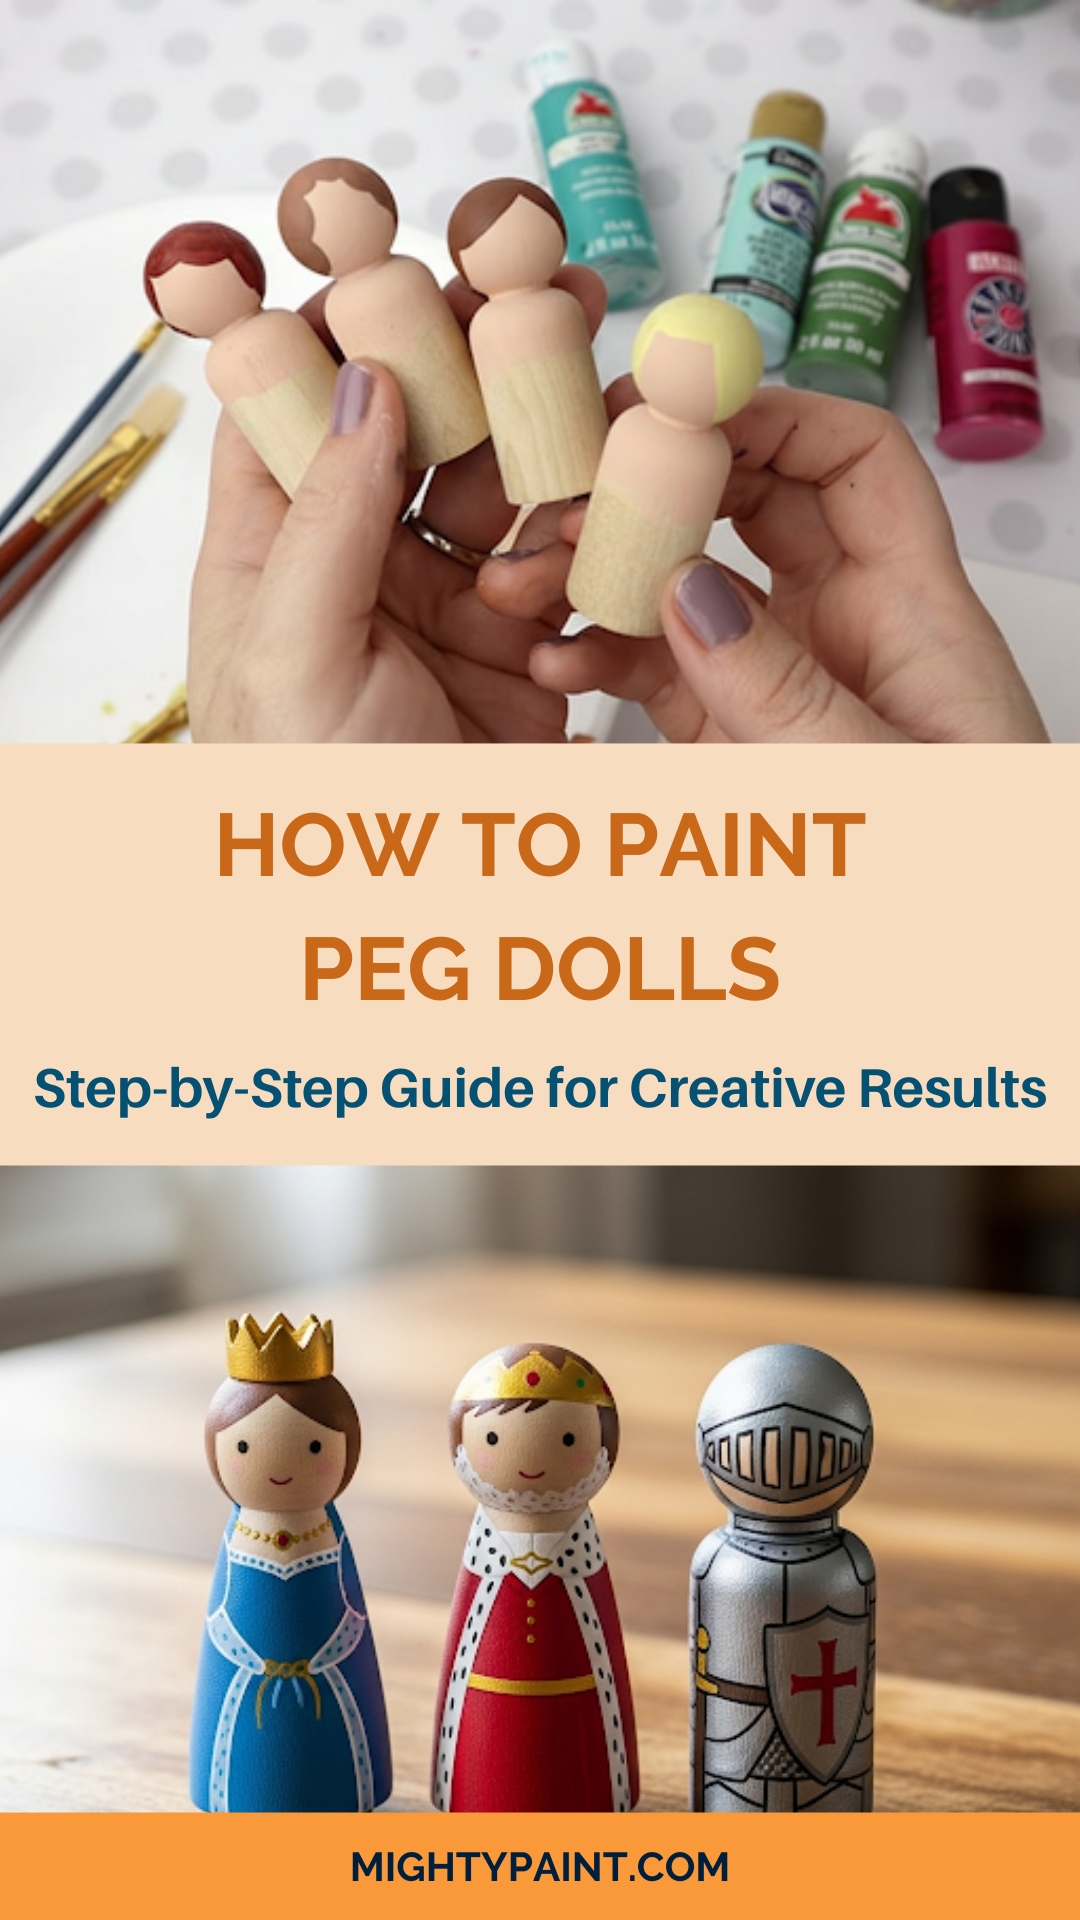
You can turn basic wooden peg dolls into personalized masterpieces with acrylic paints, a few brushes, and a clear sealer to keep your artwork safe. The process is simple enough for beginners, but you can get as fancy as you like as you get more comfortable.
Get the Fail-Safe Paint Color Playbook (Free PDF)
36 proven colors • 8 ready palettes • trim & sheen guide • printable testing cards.
This guide covers everything you need: picking out supplies, prepping your dolls, painting techniques, and keeping your creations looking sharp. There are tips for details, ideas to spark your imagination, and advice for making your painted peg dolls last.
Essential Materials for Painting Peg Dolls
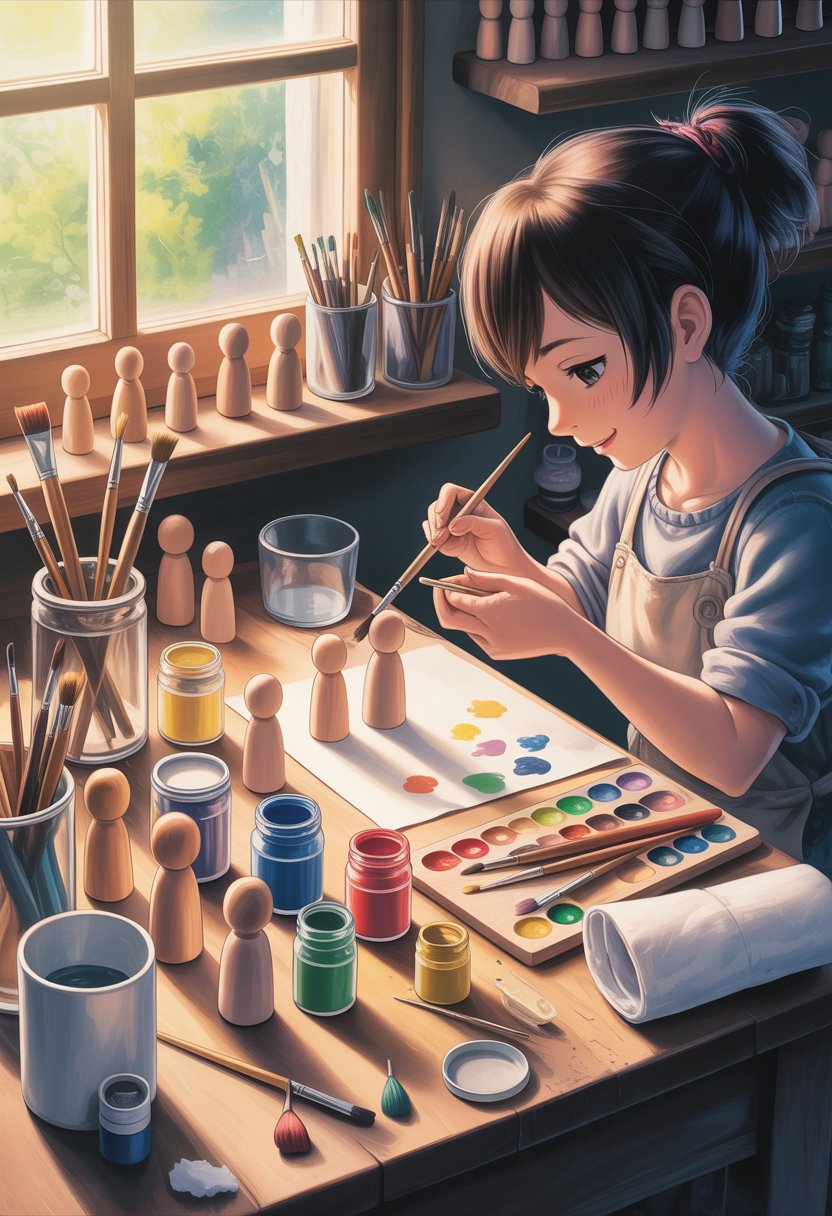
The right supplies make painting peg dolls way more enjoyable. Grab some wooden peg dolls, acrylic paints, a few brushes in different sizes, and a couple of basic tools to get started.
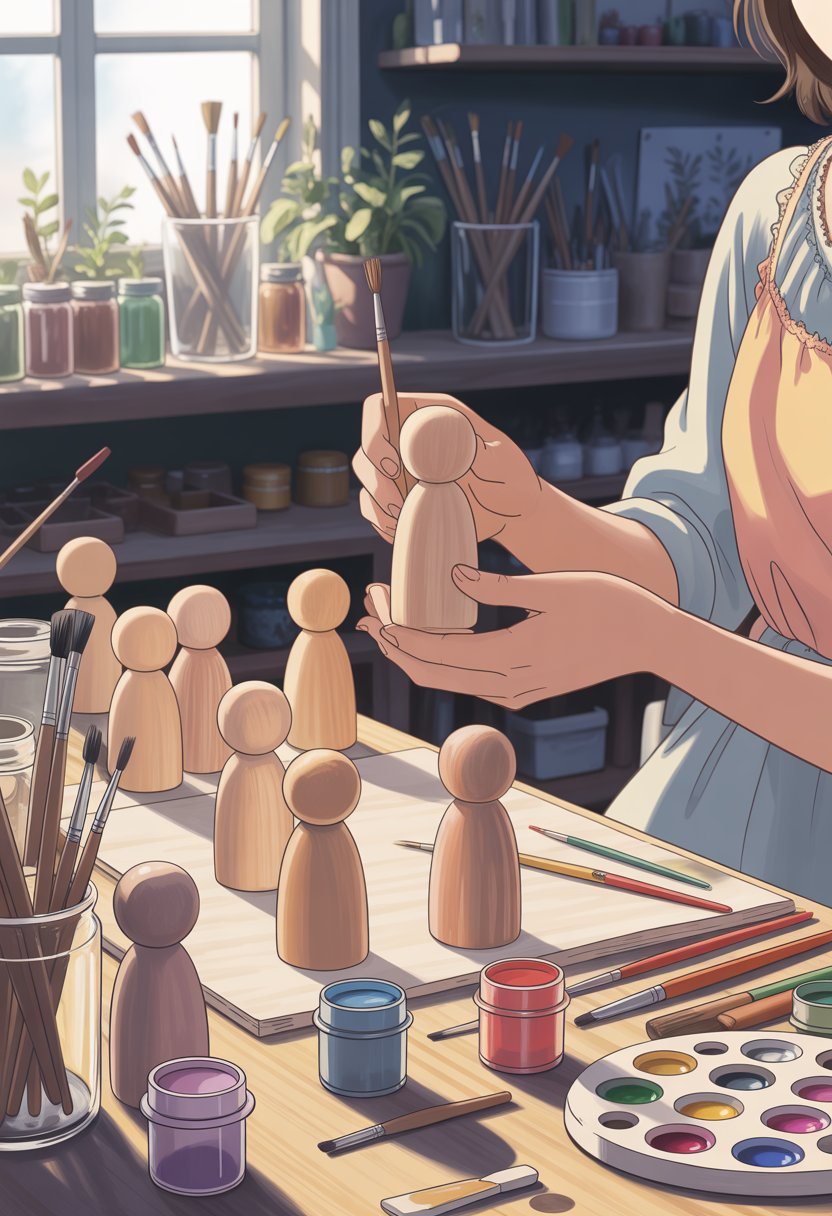
Choosing Wooden Peg Dolls
Wooden peg dolls come in all sorts of shapes and sizes. Some are tiny enough to fit in your palm, while others give you more space to paint details.
Pick out smooth peg dolls—no rough spots if you can help it. They take paint better and just look nicer when you’re done. If you spot any rough edges, a bit of fine sandpaper does the trick.
Here’s a quick size guide:
- Small dolls (1-2 inches): Simple designs work best
- Medium dolls (2-3 inches): Perfect for most projects
- Large dolls (3+ inches): Room for lots of detail
You’ll find peg dolls at craft stores or online. Go for ones that feel sturdy and solid. Skip any with cracks or splits—they’re not worth the trouble.
Selecting the Best Acrylic Paints
Acrylic paints are ideal for peg dolls. They dry quickly, mix easily, and come in a wild range of colors. If kids are going to play with the dolls, stick to non-toxic paints.
No need to splurge on pricey paints at first. The basic acrylics from the craft store work just fine. Start with these colors:
- White and black
- Red, blue, yellow
- Brown and pink for skin tones
Quality matters if you want your paint to really pop and last. Good acrylics cover better, mix smoother, and stay bright. Water-based acrylics are easy to clean up—just soap and water. Keep those lids on tight so they don’t dry out.
Picking Paintbrushes and Fine-Tipped Brushes
You’ll need a few different brush sizes. Each one’s good for something different.
Brushes to have on hand:
- Large flat brush (size 6-8): Lays down base coats
- Medium round brush (size 4-6): Great for clothes and hair
- Small round brush (size 2-3): For details
- Fine-tipped brush (size 0-1): Faces and tiny bits
Fine-tipped brushes are a lifesaver for tiny stuff like eyes and mouths. They’re just easier to control. Look for brushes with soft bristles that keep their shape. Cheap ones shed bristles everywhere and honestly just make things harder. Clean your brushes right after painting if you want them to last.
If you can, keep one brush just for dark colors and another for lights. It helps keep your colors crisp instead of muddy.
Get the Fail-Safe Paint Color Playbook (Free PDF)
36 proven colors • 8 ready palettes • trim & sheen guide • printable testing cards.
Gathering Additional Supplies
A few more things help the process go smoothly and keep your workspace tidy.
Must-haves:
- Water cup for rinsing brushes
- Paper towels or rags
- Paper plate or palette for mixing
- Pencil for sketching
Pick a spot with good light so you can see what you’re doing. Cover your table with newspaper or a craft mat to protect it.
Nice extras:
- Toothpicks for tiny dots
- Sponges for texture
- Sealer or varnish to finish your dolls
Keep your supplies close by so you’re not constantly hunting for stuff. A little prep makes the whole thing a lot more fun and a lot less messy.
Preparing Your Peg Dolls for Painting
Prepping your peg dolls sets you up for great results. A bit of sanding, a base coat, and some quick planning make a big difference in how your finished dolls look.
Sanding and Cleaning Wooden Surfaces
Check your peg dolls for any rough spots or splinters. Most come unfinished, so you’ll probably find a few imperfections.
Grab some fine-grit sandpaper (220 works well) and gently smooth out rough areas. Always sand with the grain. Focus on the head and body, since you’ll add faces and details there.
Areas to check:
- Head for facial features
- Body curves and edges
- Base of the doll
Once you’re done sanding, wipe the dolls with a clean cloth to remove dust. Leftover dust can mess up your paint and leave bumps. A tack cloth or slightly damp paper towel works for final cleanup—just make sure the wood’s dry before you paint.
Applying a Base Coat
A base coat helps paint stick and makes your colors pop. Some people skip it, but honestly, it’s worth the extra step.
Get the Fail-Safe Paint Color Playbook (Free PDF)
36 proven colors • 8 ready palettes • trim & sheen guide • printable testing cards.
Pick a wood primer—white if you want bright colors, gray for darker looks. Use a small brush and paint on thin, even coats.
Base coat tips:
- Light, smooth strokes are best
- Don’t go too thick or it’ll drip
- Let each coat dry before the next
- 1-2 thin coats usually do the job
Give your base coat at least 30 minutes to dry (sometimes longer if it’s humid). The surface should feel dry when you touch it. If you’re not sure, wait a bit longer—better safe than sorry. Here’s more on primer drying times if you’re curious.
Sketching Peg Doll Designs
Planning your design first saves time and headaches. Lightly sketch your ideas onto the doll with a pencil.
Start with simple shapes and outlines—mark where the face, hair, and clothes will go. Keep your pencil lines light so they don’t show through the paint.
What to sketch:
- Eyes, nose, mouth
- Hairline and style
- Clothing lines
- Any fun details or patterns
If you’re not sure about your design, practice on paper first. Try out different ideas before committing to the wood. For tiny dolls, simple designs work best. If you’ve got bigger ones, go wild with details.
Step-by-Step Process: How to Paint Peg Dolls
The painting process breaks down into three main parts. First, sketch your outlines (see basic outlines). Next, add layers for clothes and body details. Finally, paint the facial features that bring your peg doll to life.
Outlining Features and Details
Lightly sketch your design on the peg doll with a pencil. This gives you a plan for where each color and detail will go. Keep pencil lines faint so they won’t peek through the paint.
Get the Fail-Safe Paint Color Playbook (Free PDF)
36 proven colors • 8 ready palettes • trim & sheen guide • printable testing cards.
Start with the biggest shapes—clothes, hair, accessories. Mark out where the face goes on the head.
Simple shapes work best: a circle for a face, rectangles for clothing, lines for arms. It might feel basic, but this step really helps when you’re painting.
Handy outlining tools:
- Light pencil (2H or 3H)
- Fine-tip marker for tiny details
- Eraser for tweaks
Don’t rush this part. A solid outline makes the rest of painting way easier—and you’ll feel more confident as you go.
Painting Layers and Clothing
Start with a base coat using a medium brush. Lighter colors work better as a foundation since darks are tough to paint over. Let each layer dry before adding another.
Paint the biggest clothing sections first. Use smooth strokes and don’t overload your brush—thick paint can drip or leave lumps. Thin coats give you more control and a smoother finish.
Suggested painting order:
- Skin tone or body base
- Main clothing areas
- Hair color
- Sleeves and extra clothing details
- Accessories and patterns
Once the base colors are dry, add patterns or textures. Use smaller brushes for stripes, dots, or other details. Rinse your brush between colors so things stay clean and vibrant.
Work from light to dark colors as you layer. It’s easier to fix mistakes this way, and you’ll get more depth in your design.
Creating Facial Features
Eyes come first—they set the whole vibe. Use a fine brush for tiny dots or ovals. Keep them simple and try to get them even.
For the nose, a small dot or curved line below the eyes works. The mouth can be a tiny curve or dot, depending on your doll’s personality. Honestly, less is more when it comes to faces.
Face painting tips:
- Try a toothpick for super tiny dots
- Let each feature dry before moving on
- Practice on paper if you’re nervous
- Keep features small and simple
Add cheeks last with a dab of pink or peach. Use a small brush or even a cotton swab for a soft look. This little detail adds so much warmth and character.
Good lighting and a steady hand help with this part. If you mess up, let it dry, cover with your base color, and try again—no big deal.
Tips and Techniques for Peg Doll Painting
Getting better at peg doll painting is all about practice and picking up a few handy tricks. Brush control, color mixing, and knowing how to fix little mistakes will take your dolls to the next level.
Using Fine-Tipped Brushes for Small Details
Fine-tipped brushes are your best friend for tiny details on peg dolls. With these, you can paint faces, patterns, and little decorations without feeling like you’re losing control.
Try sizes 0, 00, or 000 when you’re working on the smallest details. Synthetic brushes pair well with acrylics and tend to hold their shape longer—always a plus.
Essential detail techniques:
- Hold the brush close to the tip for more control
- Use a light touch so you don’t end up with paint blobs
- Steady your hand by resting your wrist on the table
- For eyes, just touch the tip to the surface once to make a perfect dot
Clean your fine brush often as you paint. If paint dries in the tip, that point is basically done for. Dip it in water and wipe it on a paper towel between colors—yeah, it’s a little extra effort, but it pays off.
For faces, go with the eyes first. Two small dots, then a mouth with a curved line. Let each part dry before tackling the next, or you’ll risk smudges and have to fix things.
Mixing Colors Effectively
Mixing colors well makes peg dolls way more interesting and personal. Start with the basics and experiment a little to find new shades you love.
A palette or even a paper plate works for mixing. Use small dollops of paint—you can always add more, but you can’t really take it back out once it’s in the mix.
Basic color mixing rules:
- Red + Yellow = Orange
- Blue + Yellow = Green
- Red + Blue = Purple
- White + Any Color = Lighter shade
- Black + Any Color = Darker shade
Add tiny amounts at a time and mix slowly. Stir with a brush or palette knife until the color looks even—don’t rush it.
For skin tones, start with white or a light tan. Add little drops of brown, pink, or yellow until it’s right. Mix enough to cover your whole project—running out mid-way is the worst.
Test your mixes on scrap paper first. Colors can dry differently, especially with acrylics, and you don’t want surprises on your finished doll.
Fixing Common Mistakes
Mistakes happen to everyone painting peg dolls. Most of them are easy to fix, thankfully.
Wet paint mistakes: If you slip up while the paint’s still wet, just wipe it off fast with a damp cloth or cotton swab. Clean it up, let it dry, and then try again.
Dried paint fixes: For mistakes on dry paint, let it dry completely. Then paint over with your base color and redo that area.
Smudged details usually mean you touched wet paint. Keep a small brush and your base color handy so you can fix these right away. Always wait for layers to dry before adding more details, even if you’re impatient.
Paint bleeding solutions:
- Use less water on your brush
- Apply thinner coats
- Let each layer dry all the way
- Try a hair dryer on cool to speed things up
Shaky lines are totally normal when you’re starting out. Practice on paper, and if your hand gets tired, take a break. It’s better to pause than to push through and get wobbly lines everywhere.
Creative Peg Doll Design Ideas
Peg dolls are kind of a blank canvas for themed designs. You can turn plain wood into seasonal decorations, personalized characters, or even fantasy creatures that show off your own style.
Exploring Seasonal Themes
Spring themes are all about fresh colors and new life. Pastel greens, pinks, and yellows make your dolls look like they belong in a blooming garden.
Try painting little flowers or leaves for a garden feel. Easter bunnies? White paint and a touch of pink for the ears—simple but cute.
Summer designs lean into bright, bold colors—think ocean blue, bright yellow, maybe some tropical patterns. Swimsuits, sun hats, or beachy details fit right in.
Fall peg dolls feel cozy with oranges, deep reds, and golds. You can make pumpkin characters or add autumn leaves to their outfits.
Winter themes include snowmen, holiday characters, and snug winter clothes. Use white, silver, and deep blue for snowy effects. Scarves, mittens, sweaters—why not?
Get the Fail-Safe Paint Color Playbook (Free PDF)
36 proven colors • 8 ready palettes • trim & sheen guide • printable testing cards.
Holiday-specific designs are a fun way to celebrate all year. Valentine’s hearts, Fourth of July stars and stripes, or little Halloween costumes work great.
Personalized Character Designs
Family member dolls are a sweet way to capture people you care about. Match their hair color, paint their favorite clothes, and add little details that make them unique.
Use a fine brush for facial features—eye color, smile shape, maybe even glasses or freckles. Don’t stress about perfection; it’s the personal touches that count.
Professional characters are fun for kids or just to show off different careers. Doctor coats, firefighter helmets, or teacher outfits with mini books are all great ideas.
Hobby-based designs let you show off interests—artist dolls with paint palettes, musician dolls holding instruments, or sports figures in team colors.
Pet-inspired dolls are adorable. Paint fur patterns, add ears or tails, or even just dress your dolls in colors that match your pets.
Unicorns and Fantasy Creations
Unicorn peg dolls are pure magic—flowing manes, spiral horns, and pastel or white bodies. Lavender, mint, soft pink—pick what feels magical to you.
Paint rainbow manes with thin brush strokes in different colors. A little gold or silver for the horn makes it pop.
Fairy designs need delicate wings and flowy dresses. Use light colors and add a bit of glitter if you want that extra sparkle.
Dragon dolls look awesome in bold colors like emerald green, deep purple, or fire-red. Paint on some scales and tiny wings for effect.
Magical creatures? Mermaids with long tails, wizards in pointy hats, forest sprites with leafy outfits—there’s no limit here.
Metallic paints add cool effects—fairy dust, dragon scales, or magical runes on wizard robes. Don’t be afraid to experiment. Sometimes the best ideas come from happy accidents.
Finishing and Preserving Your Painted Peg Dolls
A clear protective coat keeps your painted designs bright and safe from scratches. Gentle cleaning helps your peg dolls last for years, whether they’re for play or display.
Applying Clear Varnish
Pick a non-toxic, water-based varnish for safety. Matte keeps things natural, gloss brings out shine—it’s really up to you.
Brush on thin, even coats. Start at the top and work down to avoid drips. Let each coat dry all the way before adding another.
Good lighting helps you spot any missed spots. Make sure you’ve got some fresh air in your workspace when using varnish.
Popular sealant options:
- Mod Podge (matte, gloss, or satin)
- Clear acrylic varnish
- Polyurethane for extra durability
Wait about 24 hours between coats if you can. Two thin coats are better than one thick one. The varnish keeps your paint from rubbing off, so your dolls stay looking their best.
Caring for Painted Peg Dolls
Keep your finished peg dolls in a dry spot, out of direct sunlight. Heat and moisture really do a number on the paint and varnish after a while.
Get the Fail-Safe Paint Color Playbook (Free PDF)
36 proven colors • 8 ready palettes • trim & sheen guide • printable testing cards.
Wipe them with a slightly damp cloth when they get dusty. Don’t ever soak them or use harsh cleaners—just a quick wipe and pat them dry right away.
Try to handle your peg dolls gently to avoid chips and scratches. The clear varnish does its job, but honestly, nothing beats just being careful.
Care tips:
- Dust with a soft brush now and then
- Keep them away from extreme temperatures
- Don’t drop them on hard floors
- Touch up chips with matching paint if you spot them
Every few months, give your peg dolls a quick check for damage. It’s way easier to fix little things early than to deal with bigger problems later on.