How To Apply Paint Thinner: Quick Tips for Best Results
If you’re working with oil-based paints, knowing how to use paint thinner properly is key to achieving a smooth finish and easy cleanup. Paint thinner helps you adjust the paint’s consistency and is also a secret weapon for cleaning brushes and rollers after a messy job. Mixing paint and thinner in the right ratio—often 3:1 or 4:1—ensures the paint flows well and covers surfaces evenly.

Applying paint thinner is not just about mixing; it’s also about safety. You’re dealing with chemicals, so be sure to wear gloves and goggles to protect yourself. Adequate ventilation is crucial, whether you’re working indoors or out. Have you ever thought about how a simple mask can save you from inhaling harmful fumes? It’s something worth considering before you dive into your next DIY project.
Get the Fail-Safe Paint Color Playbook (Free PDF)
36 proven colors • 8 ready palettes • trim & sheen guide • printable testing cards.
With the right steps and precautions, you’ll not only make the paint job easier but also extend the life of your painting tools. Paint thinner isn’t just a product; it’s a game-changer when used wisely. So, are you ready to take control and tackle that next paint project like a pro?
Understanding Paint Thinners
Paint thinners are essential for painters to adjust paint consistency and clean tools. Knowing the types, uses, and how to choose the right thinner can make your project a breeze.
Types and Uses
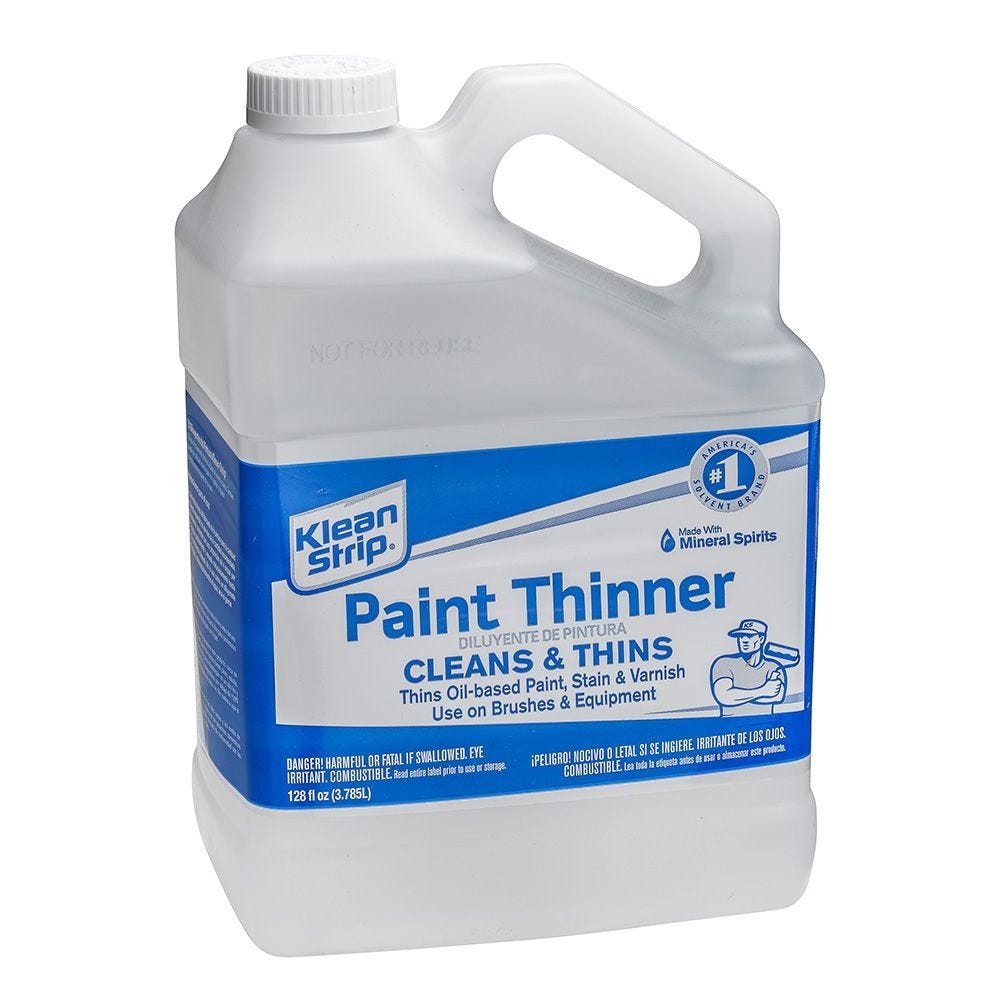
Different thinners serve various purposes. Mineral spirits and turpentine are common for oil-based paints, thinning, and cleaning brushes. Acetone is another powerful solvent, effective for removing nail polish and used with certain lacquers. Lacquer thinner is more aggressive, perfect for lacquer paints and cleaning up after them.
Ever tried denatured alcohol? It’s excellent for shellac but less effective for oils. Naphtha speeds up drying in oil paint, ideal for quicker results. The lesser-known toluene finds its place in adhesives and coatings. Each type has its unique role, important to get the mix right for your project.
Choosing the Right Thinner for Your Project
Selecting the right thinner depends on the paint and surface. For water-based paints, use water or special water-based thinners. Oil-based paints mesh well with mineral spirits or turpentine. Need quicker drying? Try naphtha.
Check the paint’s viscosity needs. Thinner paint provides a smoother surface, while thicker paint can add texture. For eco-friendliness, opt for low-odor, biodegradable options. Consider safety as well; some thinners are flammable or emit strong fumes, requiring good ventilation. Always read labels to match your project needs.
Preparation and Safety
Getting ready to use paint thinner means taking certain steps to ensure safety and effectiveness. You’ll need the right gear and a proper space to work in.

Safety Equipment
First things first: protect yourself from hazards. Start with a pair of protective gloves to keep your hands safe from chemical burns. You don’t want your skin to come into contact with this stuff!
Next up, think about your eyes. You should wear safety goggles. Nobody likes splashes, especially when they hurt! Make sure they fit well so nothing gets in.
Breathing in fumes is unpleasant. A breathing mask can help you stay clear of unwanted air. Some paint thinners are quite volatile and can be flammable. Avoid sparks or open flames nearby.
Also, choose your clothes wisely. A long-sleeve shirt offers another layer of protection. It’s better than wearing short sleeves, trust me! Cover those arms and any skin that might be exposed.
Well-Ventilated Space
A fresh breeze does wonders when dealing with chemicals. Always work in a well-ventilated area. If you can, choose outdoors over indoors. Are you thinking of working inside? Make sure those windows are wide open and, if possible, turn on a fan.
The idea is to let the fumes escape. Accumulated vapors can cause headaches or more serious health issues. Not to mention the risk of fire when vapors meet flames.
Get the Fail-Safe Paint Color Playbook (Free PDF)
36 proven colors • 8 ready palettes • trim & sheen guide • printable testing cards.
Setting up your workspace is a big deal. Make sure your setup is far from flammable materials. Double-check to prevent accidents. Working safely is all about thinking ahead.
The Application Process
When using paint thinner, the method depends on your painting tools. Learn how to thin paint for brushes, rollers, and paint sprayers. Mastering these techniques will ensure a smooth, even coat.

Thinning Paint for Brushes and Rollers
To thin oil-based or latex paint for brushes or rollers, follow a simple process. Start with a container. Pour a small amount of paint thinner into it — just enough to get your brush or roller wet. Dip your paintbrush or roller into the thinner, letting it soak for a couple of minutes. When it’s nicely saturated, shake off the excess.
Is it all set for paint? Test the mixture on a small section. This ensures the paint flows well. Pro tip: use a 3:1 or 4:1 ratio of paint to thinner if mixing them. Adjust as needed to get the desired texture.
Using Thinner with a Paint Sprayer
Paint sprayers can be your best friend if you do it right. Using paint thinner with a sprayer requires precision. You’ll need to mix thinner with your paint before starting. Here’s the trick: mix in small batches, checking the ratio regularly.
A handy tip is to test a few sprays on some cardboard. If it’s too thick, add more thinner. If it’s too runny, a little more paint. Keep tweaking until you’ve got it just right. For larger projects, be patient. Play around with your ratios until the spray is flawless.
Get the Fail-Safe Paint Color Playbook (Free PDF)
36 proven colors • 8 ready palettes • trim & sheen guide • printable testing cards.
Cleaning Up
After using paint thinner, it’s important to dispose of it properly and clean your tools effectively. Let’s dive into the safe disposal methods and how you can get your tools sparkling clean.
Proper Disposal of Paint Thinner
Paint thinner is considered hazardous waste, so it needs special attention. Never pour it down the drain; this can harm the environment. Instead, let it sit in a closed container. The solids will settle to the bottom, so you can pour the clear liquid into another container for future use.
Contact your local Hazardous Waste Collection site for pickup. Some cities have designated days for collection, providing a safe way to dispose of unused solvents. Always label your containers to ensure proper handling. This step keeps everyone safe, including our planet.
Cleaning Painting Tools
Your brushes and rollers will love you for a good clean-up! After thin paint removal, let your brushes sit in a container of clean water for a few minutes. Use a metal comb to remove paint clumps. Wipe them dry with a clean rag.
Rollers can be spun by hand over a basin to get rid of excess water. You can repeat this process until the tools are clean. Finally, let them dry completely before storage. This will keep your tools in top shape for your next paint job.
Get the Fail-Safe Paint Color Playbook (Free PDF)
36 proven colors • 8 ready palettes • trim & sheen guide • printable testing cards.
Storage and Maintenance

Storing paint thinner properly ensures safety and longevity, while maintaining consistency helps keep it effective for future use. Learn how to handle these tasks efficiently.
Storing Unused Paint Thinner
Keep it in its Original Container: Always store paint thinner in its original metal container. This helps preserve its integrity. If you must transfer it, choose a metal or HDPE plastic container with a tight-fitting lid.
Location Matters: Store the container in a cool, dry place, away from direct sunlight and heat sources. The garage or a dedicated storage shed can work well if kept safe from temperature extremes.
Safety First: Keep it on a high shelf, out of kids’ reach. Clearly label it with the contents and date of storage. This precaution prevents accidental spills and ensures safe usage.
Maintaining Consistency for Future Use
Check Regularly: It’s important to open and check the consistency of your stored paint thinner periodically. If it seems thicker or has sediments, you may need to filter it before use.
Smart Reuse: When disposing of used paint thinner, consider reusing it. Just let the paint settle and pour off the clear liquid. This helps cut waste and save costs.
Temperature Awareness: Maintaining a stable temperature is crucial for keeping paint thinner effective. Avoid extreme cold or heat that might alter its chemical properties.
Advanced Tips
Mastering paint thinner requires some precise techniques, especially when dealing with tough stains or planning for repainting. Here’s how you can tackle these challenges like a pro.
Dealing with Tough Stains and Surfaces
When you’re up against stubborn stains, paint thinner can be your secret weapon. Different surfaces react uniquely, so you need to adjust your approach accordingly.
Get the Fail-Safe Paint Color Playbook (Free PDF)
36 proven colors • 8 ready palettes • trim & sheen guide • printable testing cards.
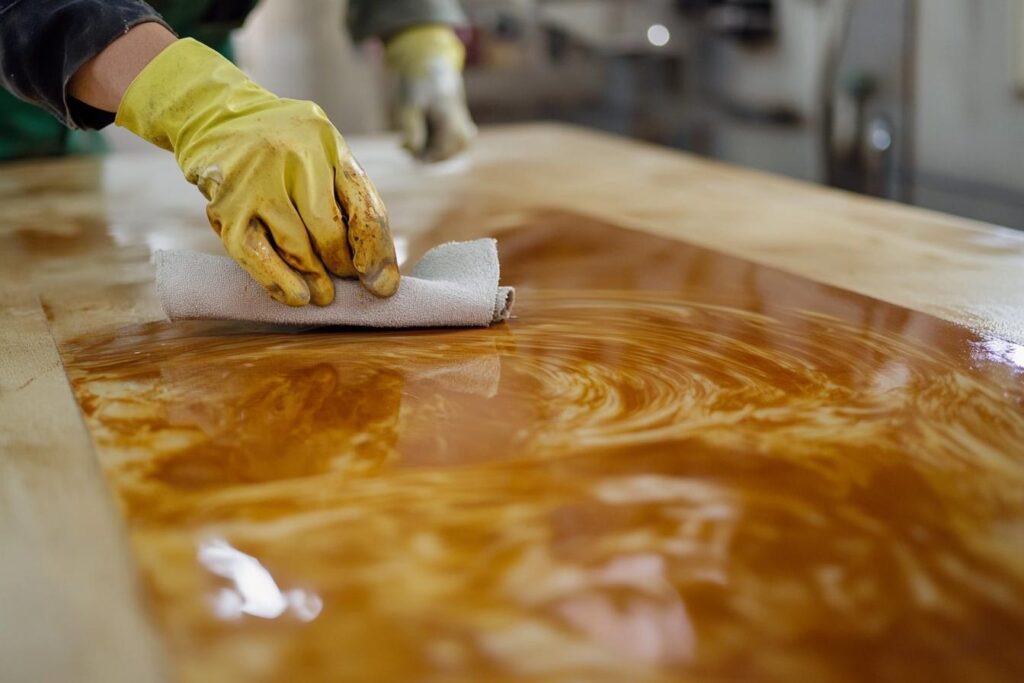
For hardwood, gently apply paint thinner with a soft cloth. This helps remove paint without harming the surface. On the other hand, metals like aluminum and steel require a more vigorous approach. Use a nylon scrubber to work the thinner into the stain.
Make sure to wear gloves and work in a well-ventilated space. Thinner fumes aren’t your friend!
Repainting and Priming Considerations
Before starting your repainting project, it’s vital to prime your surface for success. Using paint thinner before applying primer can ensure the surface is perfectly smooth. On drywall, thin layers of primer help cover previously thinned areas seamlessly.
For steel and aluminum surfaces, ensuring all thinner residue is removed is key. Avoid uneven paint application by wiping surfaces with a clean cloth. This preps your surface for a fresh coat.
Environmental Concerns and Best Practices
Using paint thinner? You might want to think about the impact on the environment. Paint thinners often have Volatile Organic Compounds (VOCs), which can easily evaporate into the air. This means they add to air pollution and smog.
Get the Fail-Safe Paint Color Playbook (Free PDF)
36 proven colors • 8 ready palettes • trim & sheen guide • printable testing cards.
When dealing with paint thinner, make sure it’s treated as hazardous waste. Never pour it down the drain or throw it in the trash. This could harm the environment, especially water sources. Instead, take it to a local hazardous waste facility. They know how to dispose of it properly.
Safety gear is your friend. Wearing gloves and goggles protects you from harmful chemicals. Paint thinners can evaporate quickly and the fumes are not good for your lungs. So, ensure you work in a well-ventilated area.
Looking for eco-friendly alternatives? Citrus solvents are a great pick! Made from orange peels, they’re much less harmful. A win for your health and the planet.
Always read the labels! They provide specific instructions for safe use and disposal. Following these can help you avoid mistakes that could be troublesome for both you and the environment.

