How To Make A Rust Color With Paint: Tips for Perfect Hues
Creating the perfect rust color with paint is easier than you might think. By blending iron oxide pigments, like red, yellow, and brown, you can achieve just the right shade of rust. This earthy tone is not only popular in home decor but also adds an appealing vintage look to various DIY projects. With a few simple steps, you can transform any piece into an eye-catching masterpiece.

Have you ever wondered why rust color is so prevalent in design? It’s versatile and brings warmth to any space. Whether you’re painting furniture, a canvas, or an accent wall, using acrylic paint to achieve this look can add a unique touch to your projects. By mixing colors like green and blue with water, you can create a subtle patina effect that enhances the rustic appeal.
Get the Fail-Safe Paint Color Playbook (Free PDF)
36 proven colors • 8 ready palettes • trim & sheen guide • printable testing cards.
Imagine sprucing up an old chair or giving your planter a fresh, antiqued look. It’s all about experimenting and having fun with color. Don’t forget to seal and protect your work to ensure it lasts. Grab those brushes, and let’s get started on adding some character to your home!
Understanding Rust Color
Rust color is a warm, earthy tone inspired by the natural process of metal oxidation. Understanding this color involves exploring both its scientific sources and the artistic inspiration found in rusted metal.
The Science of Rust Coloration
The rust color comes from the process of metal oxidation, mainly involving iron oxide pigment. When iron reacts with oxygen and moisture, a reddish-brown layer forms, which we see as rust.
This chemical reaction is what gives rust its distinct color, often seen as a mix of rich browns, oranges, and earthy reds. The blend of colors results in an appealing shade commonly referred to as rust orange.
For those interested in creating this color, knowing about the key elements like iron oxide pigment is essential. By mixing the right pigments, artists and designers can replicate the warm, rustic appearance of rust without needing the actual corrosion process.
Inspiration From Rusted Metal
Have you ever looked at a piece of rusted metal and found yourself captivated by the blend of colors? Many artists are inspired by the way rust brings out natural earth tones and textures, offering a raw and genuine look.
Incorporating these tones in your artwork can add a layer of authenticity and depth. Rusted metal inspires creativity because of its unique color palette and the story it tells about time and nature.
By using this inspiration, you can bring warmth and character into your projects, whether it’s a painting or a piece of crafted furniture. The natural wear and tear seen in rusted objects provide a rich source of inspiration, pushing boundaries in design and art.
Getting Started With Materials
Creating the perfect rust color with paint requires the right materials and a bit of patience. You’ll need specific acrylic paints and a few extra supplies to bring out that realistic rust shade.
Selecting the Right Acrylic Paints
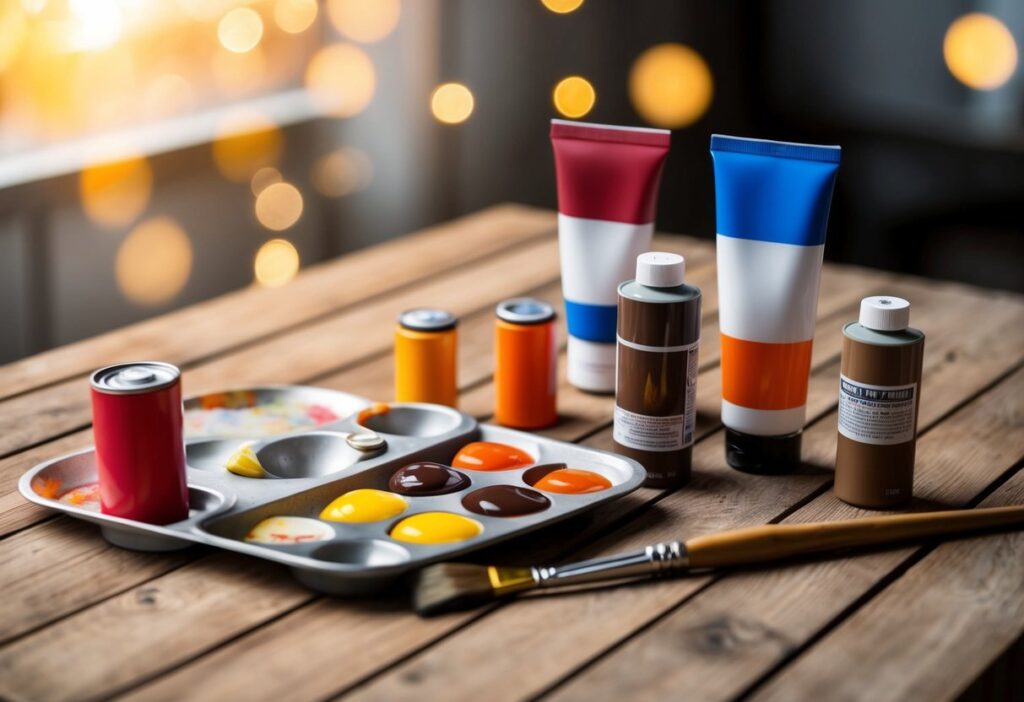
Choosing the right paints is your first step. Look for acrylic paints in brown, orange, and red. These colors are essential for achieving the rust tone.
Brown serves as the base color, providing depth and richness. Orange adds the warmth rust is known for. A hint of red gives it a slightly aged look, mimicking actual rust patterns.
Consider getting these paints in small tubes if you’re just experimenting. Larger sizes might be more economical if you’re planning several projects.
Additional Supplies You’ll Need
Beyond paints, gather mixing containers for blending colors. Small plastic cups work well to hold and mix your shades.
Get the Fail-Safe Paint Color Playbook (Free PDF)
36 proven colors • 8 ready palettes • trim & sheen guide • printable testing cards.
A base coat and primer are also crucial. They prepare the surface and help your paint adhere better, resulting in long-lasting color. Use a base coat that matches your canvas or object to ensure a seamless look.
Lastly, you’ll want brushes of different sizes for precision and texture variety. Don’t forget some old rags or paper towels for quick clean-ups and adjustments during your work process.
Color Mixing Fundamentals

Creating the perfect rust color requires a grasp of color mixing and an eye for balanced hues. You will find insights into selecting primary colors and creating a rust palette that captures a reddish-brown essence.
Understanding Color Theory
To make rust color, you start with the three primary colors: red, yellow, and blue. These colors combine to produce a spectrum of shades. Think of them as your basic tools in the painting toolbox.
Mixing red and yellow creates orange. Then, if you add a bit of blue, the color turns darker and muted. By adjusting the ratio of these colors, you can make various shades, much like adjusting the spice levels in your favorite dish!
A color wheel can help visualize this. Primary colors are at the base, while secondary ones like orange emerge from their combination. Experiment with this mixer to find your ideal rust hue.
Creating Your Rust Palette
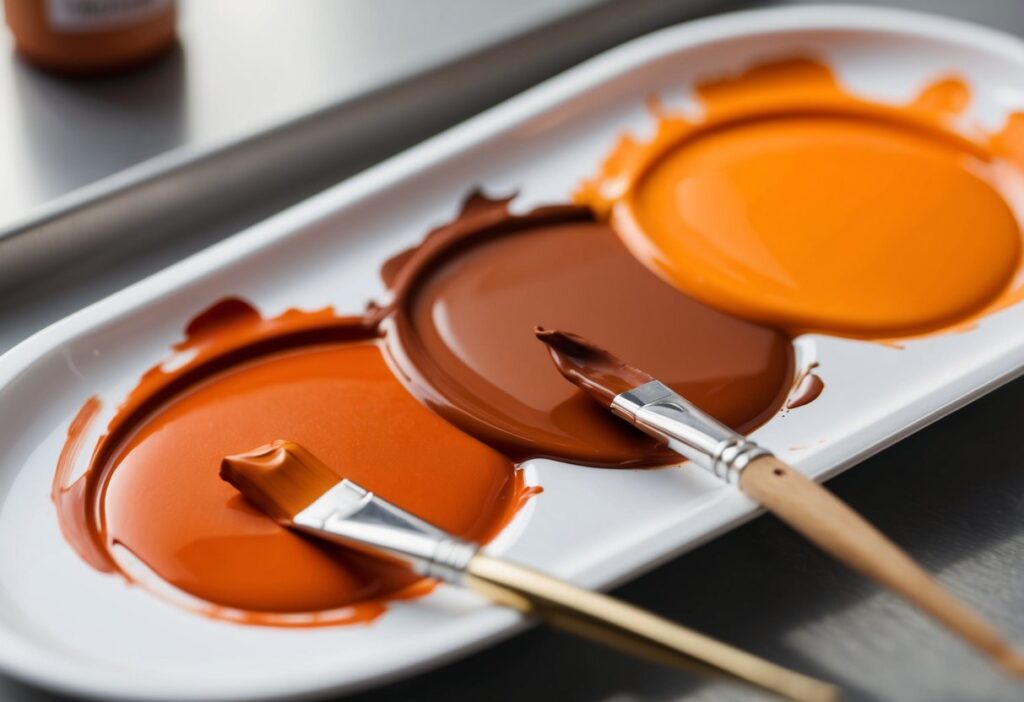
To craft a rust palette, start with earthy tones. For this, you’ll likely use burnt sienna and raw umber. These tones bring a warm, natural look to the rust effect.
You could consider adding yellow iron oxide for that bright rust touch. A drop of red sometimes shifts the color toward a reddish-brown, creating depth and richness. Think of it as adding the right seasoning to a stew for perfect flavor.
Creating a color chart with these elements can guide your selection. Simply note the colors and ratios you use, and tweak them to achieve the rusty shade you envision.
The Base Coat: Laying the Foundation
Creating a rust color with paint starts with a solid foundation. The base coat sets the stage for adding depth and dimension through layering paint. Whether you’re using acrylic paint or another type, setting up a strong base will make your rust effect stand out with rich earth tones.

Applying the Primer
You might wonder, why a primer? A primer helps the paint stick better to the surface and makes your final color pop. Primers can be tinted to closely match your desired rust color or left neutral.
Get the Fail-Safe Paint Color Playbook (Free PDF)
36 proven colors • 8 ready palettes • trim & sheen guide • printable testing cards.
Choose the right primer based on your surface. For example, metal might need a special primer, while wood could use something more standard. Apply the primer using a brush or roller in even strokes.
Let it dry completely before moving on to the next step. This also protects your project from peeling and chipping later on. If you’ve got a rough surface, consider lightly sanding before applying the primer for an extra smooth finish.
Mixing and Applying the Base Coat
Now, let’s mix that base coat. Start with earth tones—like reds, browns, and oranges—to mimic the rusty look. You can experiment by mixing acrylic paints to get the shade you desire. A simple rule of thumb is to use more brown for warmth or more red for vibrancy.
Use a brush or roller to apply the mixed paint to the primed surface. Multiple layers might be needed. Let the paint dry between layers to ensure it builds up the right color. Layering paint is key, so don’t rush this part. Just like magic, you’ll see the depth and texture develop. Keep adjusting until it feels right and vibrant to you.
Building Texture and Depth
When creating the perfect rust color, focusing on texture and depth is essential. This can make your painting look more lifelike and add character to your art.
Layering Techniques
Layering different colors can give your rust a more realistic look. To start, apply a base coat that sets the foundation. A mix of brown and orange works well here.
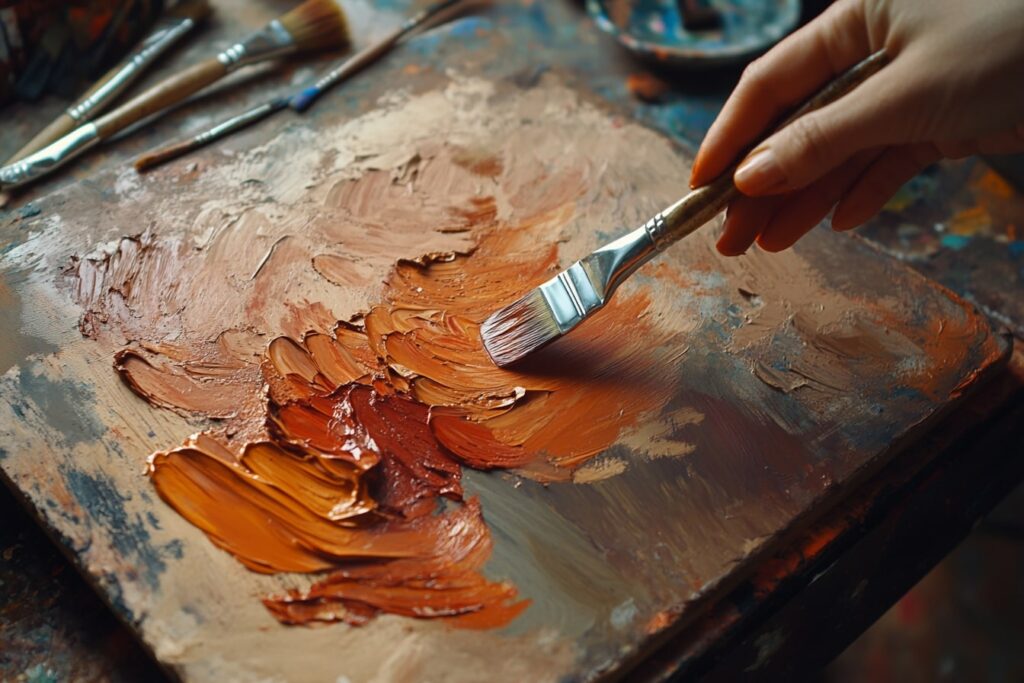
After letting it dry, you can now apply layers of details. Dry brushing is a technique where you use a brush with very little paint on it. This can add details without overpowering the base color.
Stippling is another technique to consider. Lightly dab your brush to create small textures. This method is excellent for mimicking the unevenness of actual rust. A sponge can also help with this. Want to experiment? Try combinations of red, yellow, and brown to enhance the effect.

Achieving a Realistic Rust Effect
To get that authentic rust look, try mixing colors such as red, yellow, and even a little black. The key is variety and randomness in how you apply the paint.
Get the Fail-Safe Paint Color Playbook (Free PDF)
36 proven colors • 8 ready palettes • trim & sheen guide • printable testing cards.
Textures like stippling and dry brushing add dimension. They simulate how rust develops in real life. Adjust your paint with a sponge. The sponge’s texture works magic on creating rough spots, and a toothpick can help shape distinct edges.
Use light strokes with your brush. This helps in building layers without blending in a way that’s too uniform. Your paint isn’t just a tool; it’s a way to tell a story with your art.
Creating Shadows and Highlights
Shadows and highlights are key to making rust look realistic. To begin, use a darker rust color, such as burnt sienna or dark brown. Apply shadows where rust would naturally appear deeper, like on the edges or under overlays.
Tip: Use a small, dry brush to gently add shadows. This technique is called dry brushing and helps control the amount of paint for a more subtle effect.
Highlights make certain rust areas pop. Use a lighter rust shade, like a hint of orange or yellow. Apply with a light touch on raised surfaces where light would naturally hit.
Example: Imagine a garden tool. The tips of the prongs could use some highlight to show wear and rust exposure over time.
Refining the Rust Effect
After creating shadows and highlights, take a step back and examine your work. Is anything too dark or too bright? Adjust as needed.
Blend the edges of shadows and highlights to achieve a seamless look. A small, damp brush can help merge colors softly without harsh lines.
Get the Fail-Safe Paint Color Playbook (Free PDF)
36 proven colors • 8 ready palettes • trim & sheen guide • printable testing cards.
For added texture, consider using a sponge or cloth. Dip into a rust color and dab gently for a speckled effect. This imitates the uneven nature of rust surfaces, looking more like real life.
Pro Tip: Less is more. Keep refining until you achieve a look that feels right. Too much detail can overpower the effect.
Application Techniques for Different Surfaces
The way you apply your technique can make or break your project. Whether working on canvas or metal, specific methods help achieve the desired rusty look. Below, you’ll find tips for mastering rust effects on both canvas and metal surfaces.

Working With Canvas and Furniture
Painting on canvas or furniture requires a gentle approach. Start by choosing rusty colors like orange, brown, and a bit of red. You can mix these colors with a small amount of water to create a thin, wash-like consistency.
Use a sponge or brush to apply the paint to the surface. Blotting some areas lightly with a paper towel can add depth and texture. Layering your paint and letting the base tone peek through enhances the authentic rust look. For added effect, consider sprinkling a pinch of cinnamon while the paint is wet for extra grittiness.
Achieving Rust Effects on Various Metals
Creating a rust appearance on metal, such as copper or bronze, involves slightly different techniques. Begin by applying a layer of glue lightly mixed with some paint to the metal surface. This helps the color adhere properly.
For an added texture, combine your paint with a texture gel at a ratio of 50/50. Apply this mixture evenly on the surface because it creates an even, rough texture that mimics real rust. Let your paint dry in layers, inspecting between coats to ensure you get the right level of rustiness.
If you’re working with metals like gold, you might want to experiment by using different shades of brown and red to offset the shiny appearance.
Sealing and Protecting Your Rust Art
Once you’ve nailed that perfect rust color with acrylic paint, you want your art to last, right? That’s where sealing and protecting come in.
Why Seal Your Art?
Sealing protects your artwork from elements like sunlight and moisture. It stops the paint from fading or peeling. Basically, it helps your creation stand the test of time.
Choosing the Right Sealant
- Matte Sealant: Want a natural look? Go for a matte finish. It keeps the rusty, aged feel.
- Glossy Sealant: If you want to bring out the colors, pick a glossy sealant for a vivid finish.
How to Apply Sealant
- Prep: Make sure your faux rust art is clean and dry.
- Spray or Brush: Spray sealants are great for even coverage. Brush sealants offer more control.
Tips for a Perfect Finish
- Apply in thin layers to avoid drips.
- Let each coat dry completely before adding the next.
Remember, patience is key for that perfect, long-lasting finish.
Keep experimenting with different techniques and finishes. Who knows? You might discover a new favorite way to seal your rust effect art!
Frequently Asked Questions
Wanting to nail that rusty look in your art? Whether you’re using acrylics, painting on wood, or even sketching with pencils, these techniques can help you get that perfect rust vibe. Dive into the answers below to guide your creative journey.
What are the color combinations to create a rust effect in acrylic paint?
Mix red and brown for a rich rusty base. Then, add hints of yellow or orange to give depth. Don’t forget green; it can add a natural weathered highlight when used lightly.
How can I achieve a realistic rust color on wooden surfaces?
Start with a warm brown base coat. Layer it with red and orange to mimic the rusty hue. Use a sponge or brush for a textured effect. Seal your masterpiece with a protective finish to keep it lasting.
Get the Fail-Safe Paint Color Playbook (Free PDF)
36 proven colors • 8 ready palettes • trim & sheen guide • printable testing cards.
What is the process for mixing paint to replicate rust on metal objects?
Use iron oxide pigments if possible for authenticity. Start with a brown base mixed with red and yellow. Applying in layers helps to create depth. Allow each layer to dry to capture the genuine rusty appearance.
Can you provide tips for using colored pencils to draw objects with a rust-like appearance?
Blend burnt sienna and reddish-browns for rusty shadows. Highlights can be created with orange or ochre. Cross-hatching and layering can add texture. Try a light touch; heavy pressure can be overwhelming.
Which primary colors are mixed to form a rust brown hue for my art project?
Primarily mix red, yellow, and blue. Begin with more red and yellow for a warm brown, then adjust with blue for depth. Small tweaks lead to the perfect rusty tone.
What’s the best way to make a rust red color using standard art supplies?
Combine red with a small amount of brown and a hint of orange. Test on a scrap material first; the lighting can change your perception. Adjust to get the warm, earthy rust red you’re going for.
