
How to Paint Clay Sculptures
Painting clay sculptures is a deeply rewarding artistic journey that breathes vibrant life and narrative depth into inert material. It is a process that combines the foundational skills of sculpting with the technical precision and creative freedom of fine art painting. By carefully selecting your materials, mastering advanced techniques, and understanding how light interacts with color, you can transform simple, earthy clay forms into museum-quality masterpieces.
This comprehensive guide is designed to be your expert companion, taking you step-by-step through every phase of the process. We will cover everything from the crucial pre-painting assessment—ensuring your sculpture is structurally sound and clean—to the advanced finishing techniques, like glazing and varnishing. Whether you are aiming for hyper-realism or a stylized, whimsical effect, we will provide the knowledge needed to execute your vision with confidence and professional polish.
Get the Fail-Safe Paint Color Playbook (Free PDF)
36 proven colors • 8 ready palettes • trim & sheen guide • printable testing cards.
Quick answer: To Paint Clay Sculptures, start with the safest first step for the material involved, test a small area when needed, and follow the process in thin, controlled stages. Use proper ventilation and protective gear when chemicals, sanding, spraying, or solvents are involved.
Planning and Preparation: Getting the Canvas Ready
Before the first drop of paint touches the surface, meticulous planning is essential. This stage is not merely about cleaning; it is about understanding the material science of your sculpture, the environment it will live in, and the desired final look. Skipping these steps is the most common cause of paint failure, leading to flaking, uneven color, and poor adhesion.
Assessing the Sculpture and Material Compatibility
The first critical step is a comprehensive physical inspection. Examine the entire piece for any structural weaknesses. Look for:
- Cracks and Fissures: These may have formed during the drying or firing process. If the crack is superficial, it can often be filled with an appropriate acrylic filler or epoxy resin before proceeding.
- Blemishes and Texture: Identify areas that are unusually rough, uneven, or damaged. While some texture is desirable, major imperfections must be addressed, perhaps by sanding or applying a stabilizing filler.
- Clay Type Consideration: Different clay bodies (e.g., porous terracotta, dense porcelain, or fired earthenware) absorb paint differently. Highly porous clays require specialized sealants or multiple coats of primer to prevent the paint from soaking in and becoming dull or patchy.
Cleaning and Stabilization
A clean surface is paramount for adhesion. Use a soft, dry brush to remove all loose dust. If residue is present, dampen a cloth with mild, pH-neutral soap and water. Gently wipe the surface, taking care not to saturate the clay, which could damage the structure or wash away surface color. Rinse with clean water and allow the sculpture to air dry for at least 24 hours.
The Priming Process: Sealing the Surface
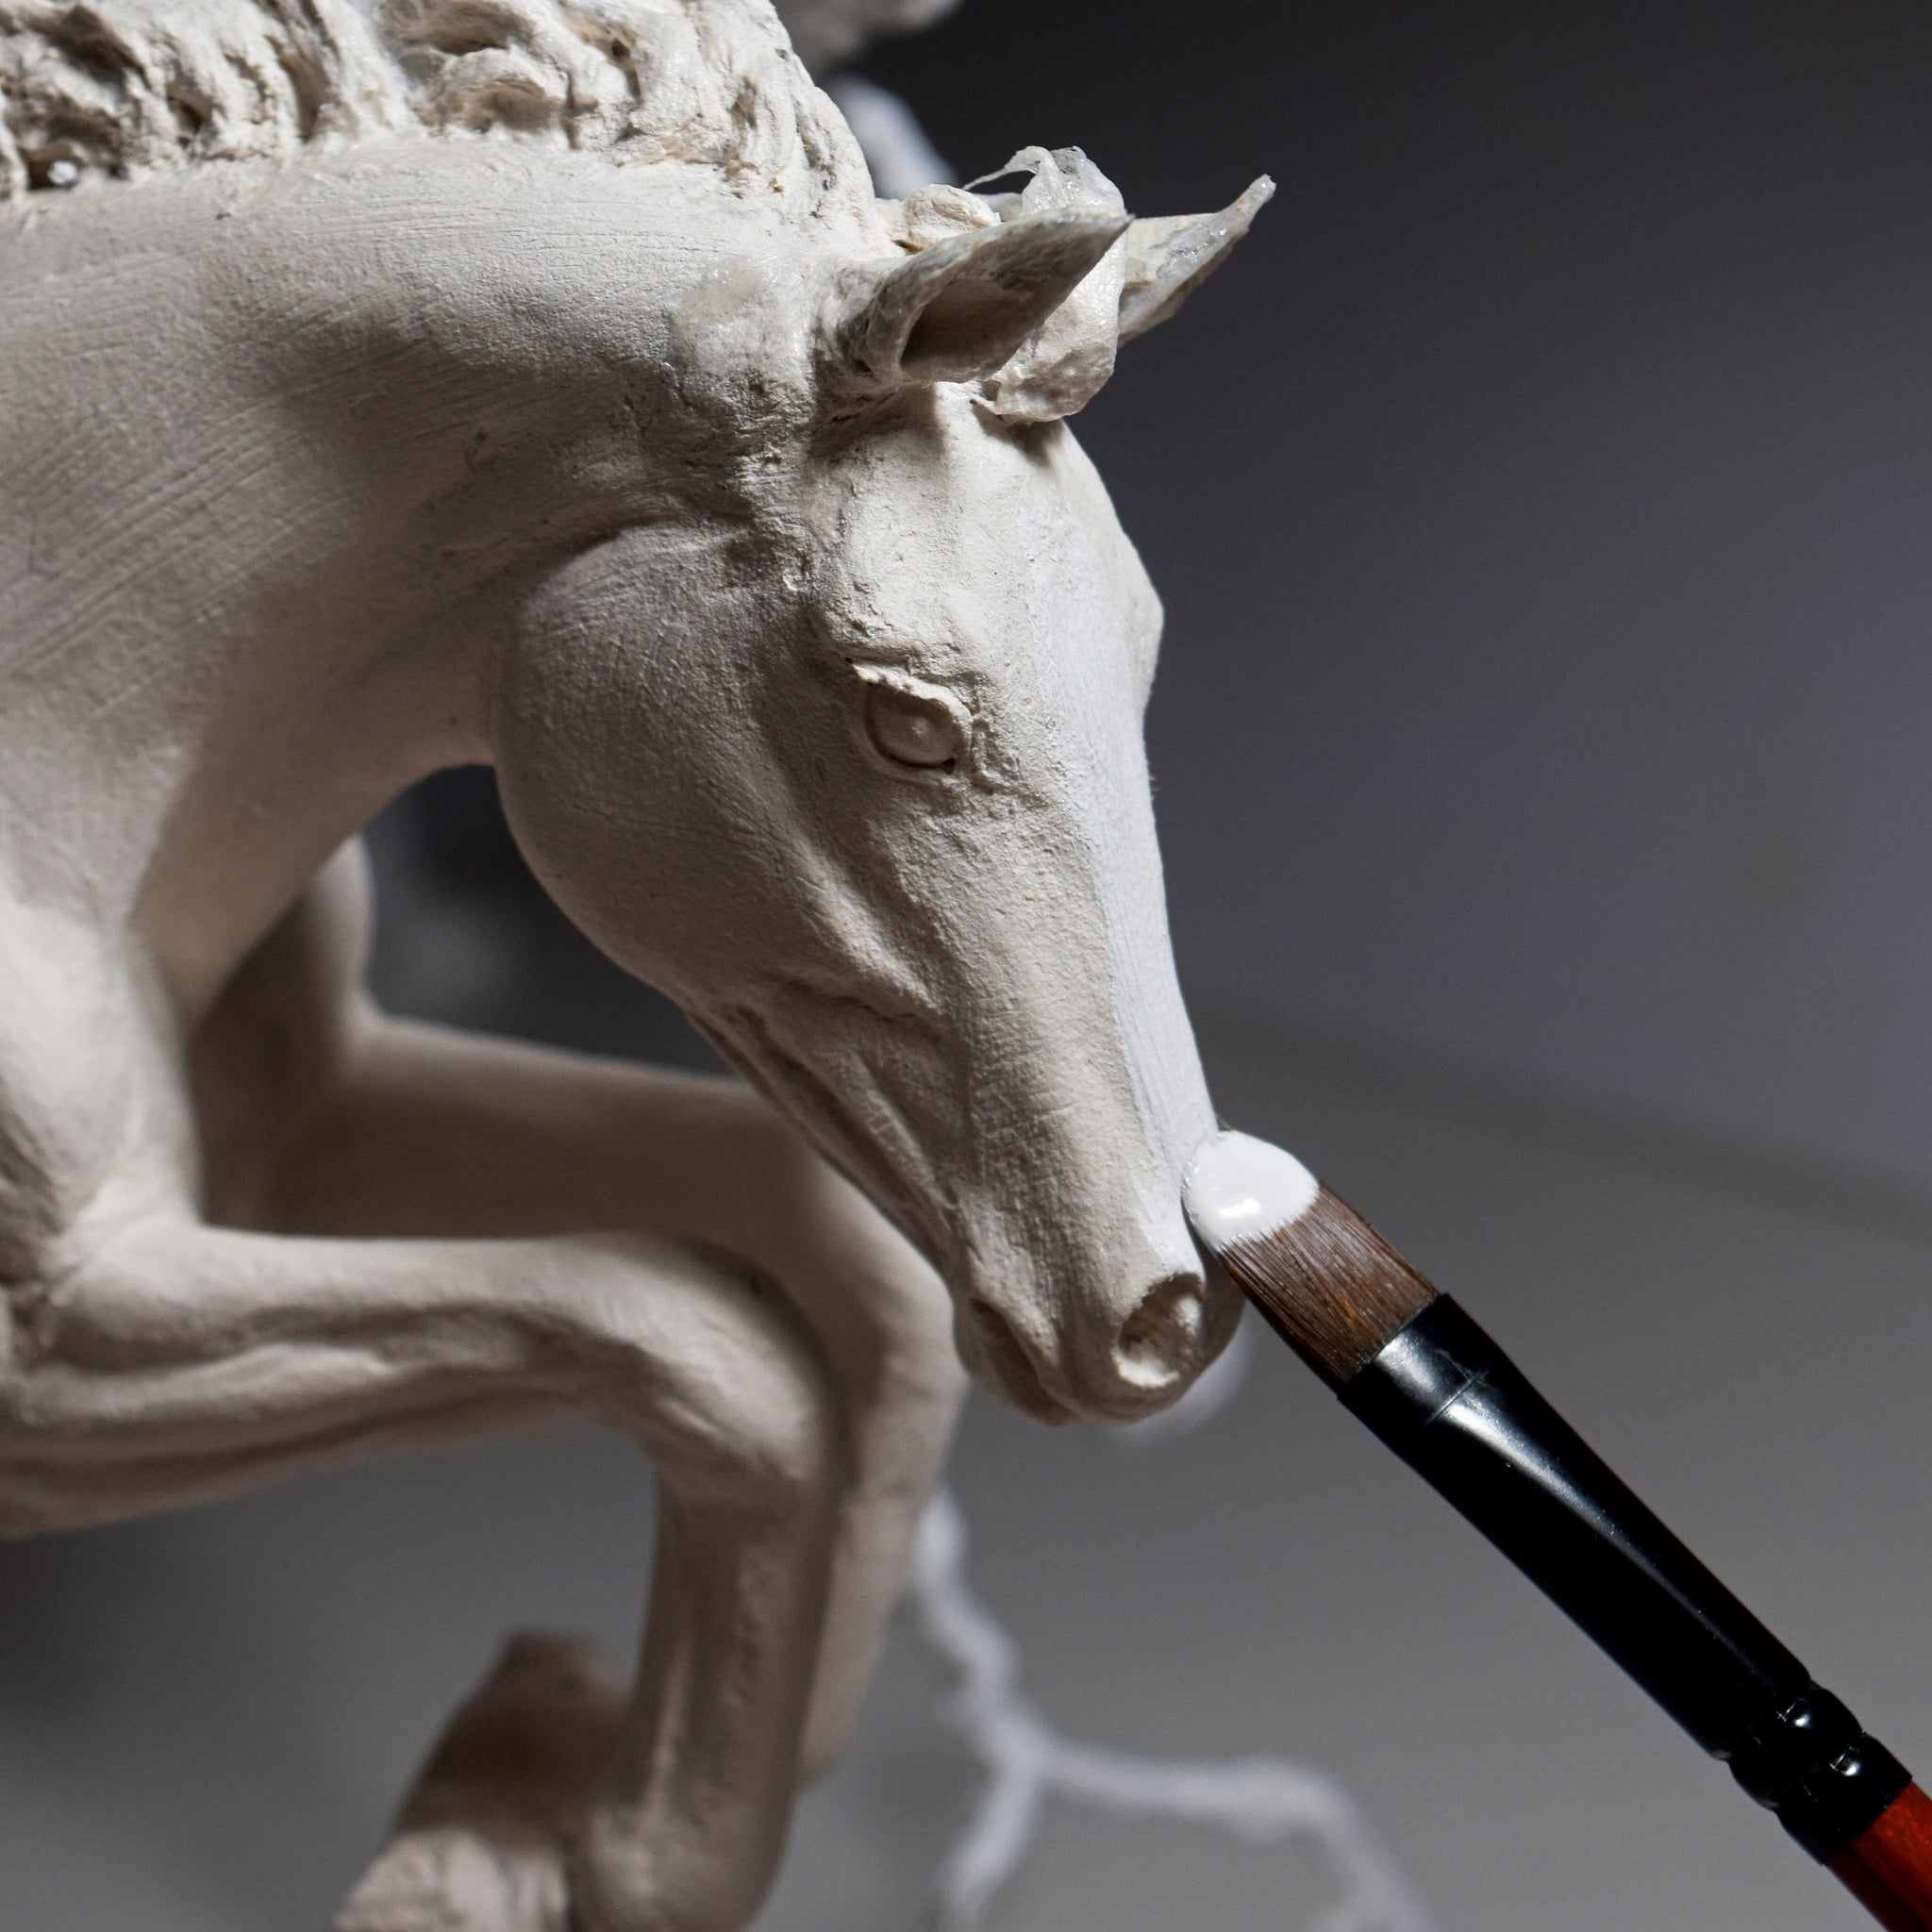
Priming is the most critical preparatory step. It acts as a barrier between the porous clay and the paint, ensuring the paint adheres evenly and doesn’t soak into the material, which would dilute the color and weaken the bond. Use a primer (like acrylic gesso or a commercial clay sealant) appropriate for your chosen paint type. Apply a thin, even coat, allowing it to dry completely. Repeat this process two or three times until the surface feels sealed and uniform. This foundational layer allows your subsequent colors to appear vibrant and true.
Materials and Tools for Sculptural Painting
Selecting the right tools and media is half the battle. The choice of paint dictates the entire workflow, from drying time to necessary solvents.
The best choice depends entirely on the desired permanence, texture, and drying time. Here is a comparison:
Paint Comparison: Acrylics are ideal for beginners and general use due to fast drying times and water solubility. Oils are best for highly detailed, blended, and historical looks, offering superior blending but requiring solvents and longer drying times. Enamels are durable and often used for high-wear or industrial applications, offering excellent resistance but requiring careful application.
- Acrylic Paints: Versatile, affordable, and quick-drying. They work well on most fired clay bodies and are excellent for layering and blending. Use acrylic mediums to adjust consistency.
- Oil Paints: Excellent for achieving deep saturation and smooth transitions (blending). They require a dedicated solvent (like mineral spirits) for cleanup and take significantly longer to cure.
- Acrylic/Enamel Paints: If the sculpture is destined for harsh conditions (outdoor display, high moisture areas), specialized exterior-grade acrylics or durable enamels are recommended for their resilience and UV resistance.
A professional setup requires more than just paint. Consider these items:
- Brushes: Maintain a variety. Use round brushes for fine detail and controlled lines. Use flat or filbert brushes for covering larger areas and blending edges. Always select brushes appropriate to the task—a detail brush for fine lines, a wash brush for thin glazes.
- Palettes and Mixing Mediums: Use non-porous palettes (glass or ceramic) to mix colors. Keep mediums (like acrylic retarder or flow medium) handy to adjust paint viscosity as needed.
- Texturing Tools: Sponges (for stippling/texture), palette knives (for scraping/impasto), and chamois cloths (for dampening/blending).
- Sealers and Varnishes: Must match the paint type (acrylic varnish for acrylic paint). Select a finish (matte, satin, gloss) based on the desired look.
With a prepared surface and the right tools, the painting process moves through distinct, cumulative stages. Rushing any step can compromise the final integrity of the artwork.
Establishing Value with Underpainting
Underpainting is not just a base color; it is a tonal map. Before you decide on the final hue, you must establish the values—the relative lightness and darkness—of the sculpture. Using a thin wash of diluted paint, lightly block in the deepest shadows and the brightest highlights. This establishes the fundamental three-dimensional form (the value map) and guides your subsequent color choices.
Advanced Painting Techniques for Depth and Texture
Professional painting relies on building up color and texture using specialized techniques:
- Glazing: This involves applying extremely thin, semi-transparent layers of highly diluted paint over a completely dry base layer. Glazing is excellent for deepening color, creating rich depth, and subtly modifying an underlying hue (e.g., adding a smoky patina).
- Dry Brushing: This technique is used to emphasize texture and edges. Dip a stiff brush into paint, wipe almost all the paint off onto a paper towel until the brush feels “dry,” and then lightly drag it over raised areas. This technique catches only the highest points, simulating dust, worn edges, or strong light reflection.
- Scumbling: Scumbling involves using a semi-opaque paint layer applied in a broken, irregular, or scribbled manner. It is ideal for creating a mottled, weathered, or aged look, mimicking the effect of patina or mineral deposits.
Mastering Light and Shadow (The Illusion of Volume)
The most skilled painters understand that color is defined by light. To make a sculpture feel three-dimensional, you must simulate a light source.
- Identify the Light Source: Decide where the light is coming from (e.g., upper left). All shadows must fall consistently opposite this source.
- Apply Shadows: Use cooler, darker, or more saturated colors to build up shadow areas. The shadows should follow the natural contours of the form, never appearing flat or uniform.
- Build Highlights: Use the lightest tints, often mixed with a touch of white or the complementary color, on the areas that catch the most direct light. Highlights should be crisp but blended, never stark, unless the material is meant to be highly reflective (like polished metal).
Always blend transitions gradually, moving from deep shadow to mid-tone to highlight. This smooth gradient is what gives the sculpture its illusion of volume.
Finishing and Protecting the Artwork
The final coat is crucial for preservation and presentation. Never skip the sealing process.
Varnishing: Selection and Application
Varnish serves two purposes: protecting the paint from environmental damage and enhancing the color saturation. The selection must be precise:
- Indoor Use (General): A satin or matte varnish is often preferred, as high gloss can exaggerate dust and imperfections.
- Outdoor/High Humidity Use: You must use UV-resistant, exterior-grade acrylic varnishes. These are formulated to resist fading, mildew, and the destructive effects of sunlight, which can rapidly degrade standard acrylics.
- Finish Sheen: Matte finishes absorb light, giving a soft, historical look. Glossy finishes reflect light intensely, making the colors pop and appear highly saturated, but they also show dust more easily.
Apply the varnish in thin, even coats, following the manufacturer’s drying time strictly. Multiple thin coats are always better than one thick coat, which can lead to yellowing, cracking, or uneven drying.
Final Inspection and Touch-Ups
Once the varnish is fully cured, inspect the sculpture under various lighting conditions (natural daylight, focused spotlights) to check for inconsistencies. Use a fine, dedicated brush and the appropriate paint color to gently touch up any chips or areas where the paint may have lifted. A final, careful inspection ensures your work meets its full potential.
Common Mistakes to Avoid
Even experienced artists make mistakes. Being aware of these pitfalls can save hours of frustrating rework.
- Ignoring the Primer: Failing to properly seal the porous clay surface is the number one cause of paint flaking and uneven absorption.
- Rushing the Drying Time: Applying the next layer before the previous one is completely dry guarantees mixing, poor adhesion, and potential paint bleeding.
- Over-Saturating the Surface: Using too much paint or too many heavy layers can weigh down the sculpture and make the paint look muddy or dull.
- Ignoring the Light Source: Painting without a consistent conceptual light source makes the sculpture look flat and lacks the necessary sense of volume.
Safety and Practical Notes
Safety is paramount in any art process involving chemicals and solvents. Always treat your materials with respect.
- Ventilation: Always work in a well-ventilated area, especially when using solvents, primers, or strong varnishes.
- Protective Gear: Wear appropriate gloves and eye protection when mixing or applying chemicals.
- Cleanup: Clean brushes immediately after use using appropriate solvents (water for acrylics, mineral spirits for oils) and never allow solvents to accumulate.
- Drying Time: Always adhere strictly to the manufacturer’s recommended drying and curing times for all primers, paints, and varnishes.
| Paint Type | Attributes | Benefits |
|---|---|---|
| Acrylic | – Quick drying time <br> – Water-soluble <br> – Versatile for various techniques | – Easy to use for beginners <br> – Can be used on various surfaces <br> – Suitable for layering and blending |
| Oil-based | – Slow drying time <br> – Rich, vibrant colors <br> – Blendable and smooth finish | – Ideal for detailed work <br> – Offers a traditional, classic appearance |
Frequently Asked Questions
Why is priming the clay sculpture so critical?
Priming is perhaps the most vital preparatory step. Clay, especially if it is porous, acts like a sponge and will absorb water-based paint rapidly. If you skip the primer, the paint will soak in unevenly, diluting the color, weakening the bond, and leading to poor adhesion or flaking. The primer creates a uniform, sealed barrier that ensures the paint sits *on* the surface rather than soaking *into* it, allowing your colors to remain vibrant and true.
Get the Fail-Safe Paint Color Playbook (Free PDF)
36 proven colors • 8 ready palettes • trim & sheen guide • printable testing cards.
How can I make my sculpture look three-dimensional when painting?
The key to depth is simulating a consistent light source. Before painting, decide where the light is coming from (e.g., upper left). Use this light source to guide your painting: apply the darkest, coolest colors to the deepest shadows, and use the lightest tints on the areas that catch the most direct light. Always blend the transitions gradually from shadow to mid-tone to highlight; this smooth gradient is what creates the illusion of volume.
What should I consider when choosing a final varnish?
Your varnish choice must match both your environment and your desired finish. For outdoor or high-humidity pieces, you must use UV-resistant, exterior-grade acrylic varnishes to prevent fading and mildew. For indoor pieces, matte or satin varnishes are often preferred, as they give a soft, historical look and minimize the visibility of dust and surface imperfections. Always apply the varnish in multiple thin coats, allowing the full drying time between each application.
What is the most common mistake artists make when painting clay?
The two most common mistakes are ignoring the drying time and skipping proper surface sealing. Never apply a new layer of paint or varnish before the previous layer is completely cured. Rushing this process guarantees poor adhesion, mixing of colors, and potential paint bleeding. Furthermore, always dedicate time to thoroughly cleaning and priming the surface first.
Conclusion
The journey of painting clay sculptures is a blend of chemistry, art, and patience. By mastering the foundational steps—from thorough surface preparation and priming to the delicate application of glazing and dry brushing—you gain the confidence to tackle any piece.
Remember that every piece is unique. Embrace experimentation, allow your color theory to guide your choices, and view every layer of paint as an opportunity to enhance the story and form of your sculpture. Happy painting!