
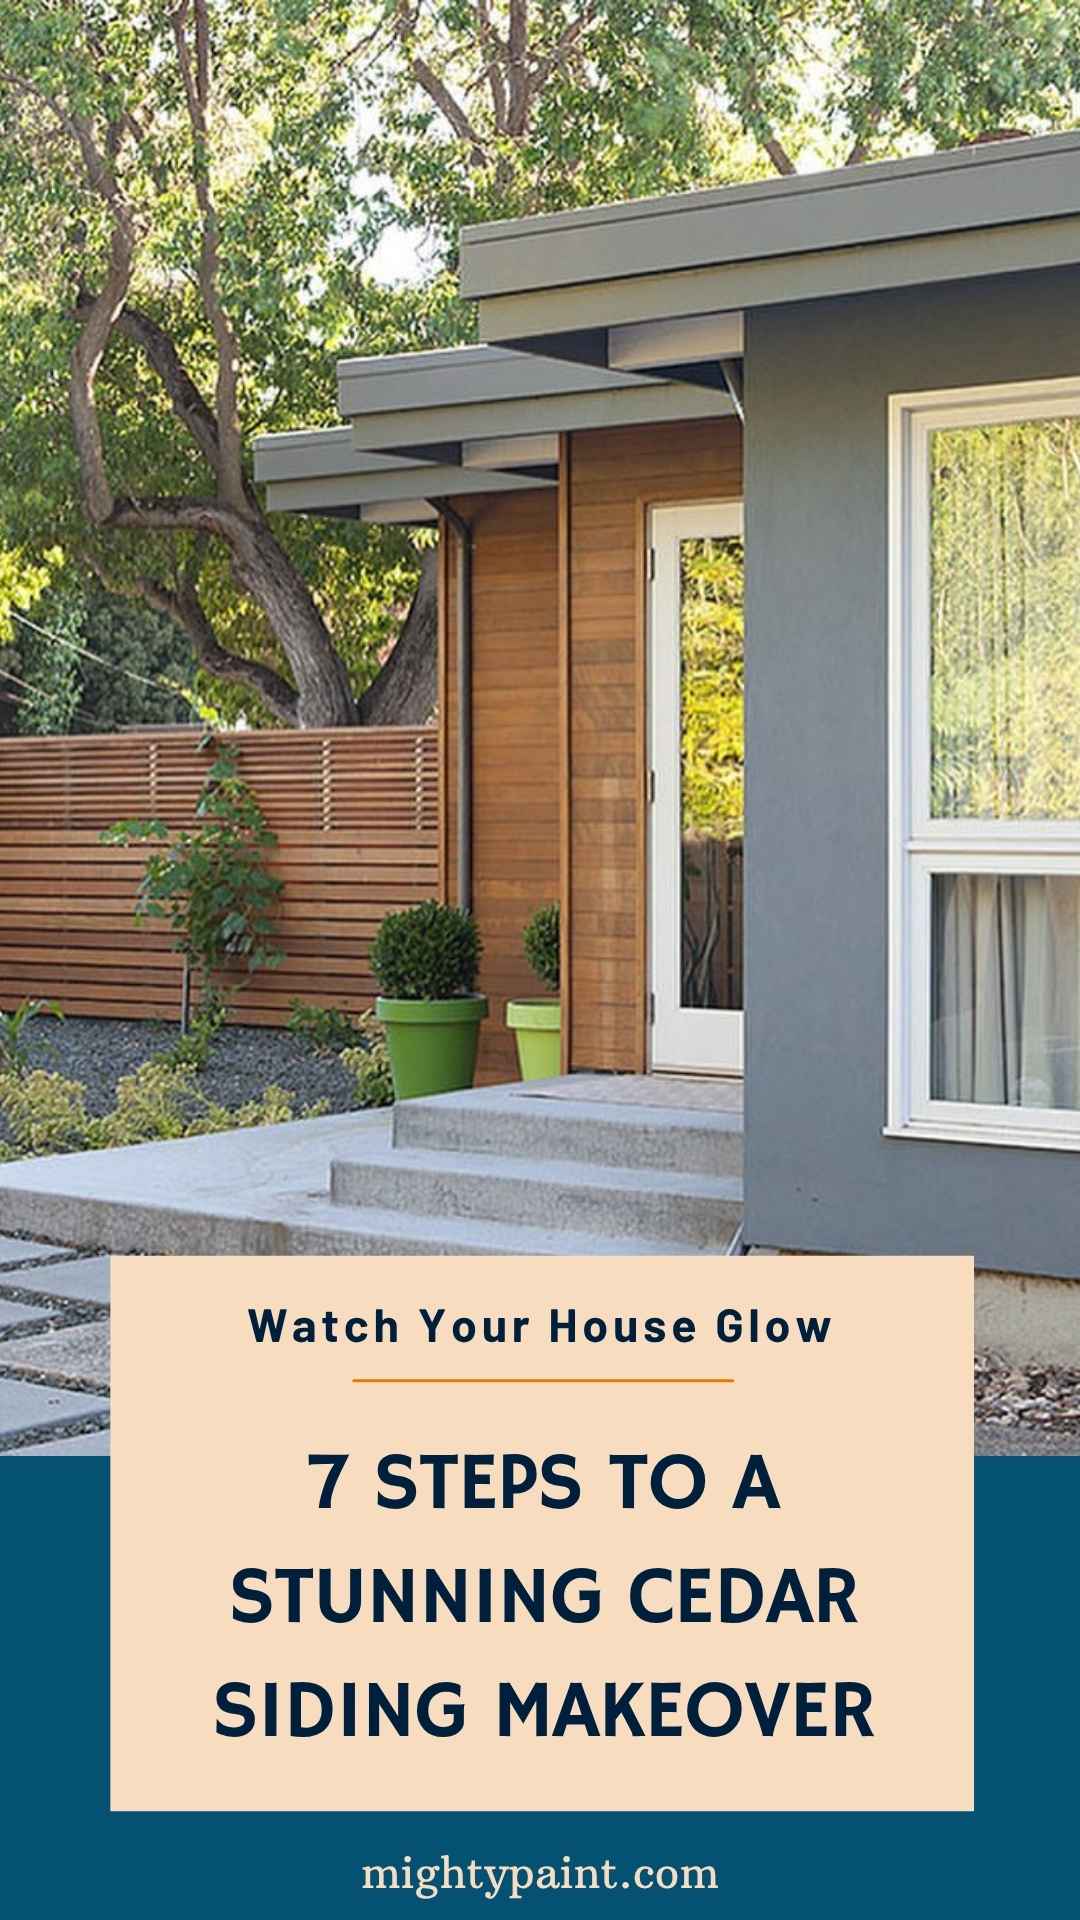
How to Paint Cedar Siding on a House (Prep, Prime & Finish in 7 Steps)
The first time I painted our cedar‑clad cottage, I treated it like any old drywall job—scrape, slap on latex, call it a day. Two seasons later the south wall looked like a weather‑beaten jigsaw puzzle, with curling flakes and rusty cedar knots bleeding straight through the color. I promised myself never again. When repainting time rolled around last summer, I slowed down, learned cedar’s quirks, and committed to a method that respects the wood’s natural oils and constant breathing.

A morning spent on research revealed cedar isn’t a diva—it just hates shortcuts. The right wash, a tannin‑blocking primer, and a breathable acrylic topcoat make all the difference. I marked a three‑day weather window, rented proper staging, and invested in brushes stiff enough to work paint deep into the vertical grain. The payoff? Nine months later, every board still looks fresh from the factory and beads rain like a waxed surfboard.
Get the Fail-Safe Paint Color Playbook (Free PDF)
36 proven colors • 8 ready palettes • trim & sheen guide • printable testing cards.
If your own cedar siding is showing more peel than paint, come along for the ride. I’ll share the exact seven‑step system—mistakes included—that turned my flaking façade into a durable, low‑gloss shield against sun, snow, and seaside salt. Grab a cup of coffee and your favorite work gloves; by the end, you’ll know how to give cedar the long‑lasting finish it deserves.
Step 1 — Check Codes, Lead & Weather Windows
Before a paint can even cracks open, I grab a clipboard and do a lap around the house—because nothing sinks a weekend plan faster than a surprise regulation or a rogue storm cell.
- Local rules: Historic districts often police color palettes, and some towns limit sheen to cut glare. A five‑minute call to zoning saved me a potential fine when I learned our coastal street restricts high‑gloss whites.
- Lead test: Anything painted before 1978 may harbor lead. A $25 EPA‑approved swab kit gave me the green light; a positive result means following RRP protocols or hiring pros.
- Weather window: Cedar likes 10–30 °C, humidity under 60 %, and at least 48 dry hours before and after. Paint on damp wood and you trap moisture; paint in blazing sun and lap marks bake in. I chart the forecast on a calendar to lock my workdays.
Map these three variables first and the rest of the project feels like smooth sailing instead of a sprint between raindrops.
Step 2 — Wash & De‑Gloss the Siding
Cedar’s beauty is in its grain, but every ridge collects dust and pollen. Cleaning thoroughly isn’t glamourous, yet skipping it is like waxing a car without rinsing—paint simply won’t bond.
- Gentle wash: Mix warm water with an oxygenated, TSP‑free cleaner. Using a soft‑bristle siding brush on an extension pole, scrub bottom‑to‑top in 4‑foot sections to avoid dirty streaks.
- Mildew & algae: A 3 : 1 water‑to‑white‑vinegar solution wipes out growth without bleaching wood.
- Rinse & dry: A garden hose set to “shower” is plenty; pressure washers can drive water behind boards. Allow at least 24 hours of dry‑down.
- De‑gloss: Sound but shiny paint gets a 120‑grit scuff; peeling areas are feather‑sanded with 80‑grit on a random‑orbit sander. Vacuum dust, then tack‑cloth until fingertips come away clean.
Tedious? Yes. Essential for primer grip? Absolutely.
Step 3 — Repair & Caulk
Painting cedar without fixing its battle scars is like icing a cracked cupcake—problems ooze back through.
- Re‑nail loose boards: 2½‑inch stainless siding nails driven flush stop rattles and warping.
- Replace rot: If a screwdriver sinks like butter, cut the board out and slide in a pre‑primed cedar replacement.
- Fill dings & knots: Cedar‑tone exterior filler levels shallow dents; two‑part epoxy plugs sap‑bleeding knots.
- Smart caulking: Paintable elastomeric caulk seals gaps where siding meets trim, but resist filling every groove—cedar needs to breathe.
With boards tight, cracks sealed, and filler sanded baby‑smooth, the siding is finally ready for primer.
Step 4 — Prime for Tannin Block & Grip
Here’s where shortcuts come back to haunt cedar owners. On my first paint job I used a bargain “all‑in‑one” primer–paint combo; six months later brown splotches bled right through. Lesson learned: cedar needs a dedicated stain‑blocking primer—ideally an alkyd or shellac formulation—to lock down its natural tannins.
I shake the can like a maraca for a full two minutes, then pour into a lined bucket. Using a 3‑inch stiff‑bristle brush, I work horizontally and back‑brush the primer into each groove, ensuring complete coverage along board edges and under lap joints. Thin, even coats are king; a heavy slop traps solvents and can peel like sunburn. Once the first coat flashes to a dull sheen (about an hour at 20 °C), I apply a second. Yes, two coats feel extravagant, but they’re cheaper than stripping tannin‑stained paint later.
Give primer an overnight cure. The surface should feel chalky‑smooth; if it’s still tacky, humidity’s too high—wait it out. A light 220‑grit kiss knocks down any raised grain before paint.
Step 5 — Choose the Right Topcoat
Now for the fun part: color and chemistry. I’ve settled on 100 % acrylic latex for most cedar jobs—it breathes with the wood and resists UV fade. If your climate swings from sauna to freezer, consider a hybrid elastomeric; its built‑in stretch bridges hairline cracks without tearing.
Stick with flat or low‑lustre on large wall sections to mask minor grain variations; reserve satin or gloss for trim so dirt doesn’t telegraph every brush stroke. Keep darker colors on north or shaded walls—sun‑baked charcoal can hit 60 °C, stressing the paint film.
Rule of thumb: buy the best line your budget allows. Premium paints carry higher resin counts, meaning stronger film and better self‑leveling. I splurged on a top‑shelf exterior acrylic the second time around, and the difference in flow and hide was night‑and‑day.
Step 6 — Apply Paint Like a Pro
I’ve run both brush‑and‑roll and spray‑then‑back‑brush methods; each has perks. Brush & roll offers Zen‑like control and minimal masking. Working one board at a time, I lay paint in a 3‑foot span, then back‑roll to even out texture, maintaining a wet edge. Two thin coats, four hours apart, beat one thick coat every single time.
For speed on big expanses, spray‑then‑back‑brush shines. A partner follows the sprayer with a dry brush, pushing paint into grain and eliminating lap lines. Overspray cloths on shrubs and windows are non‑negotiable—learned that after speckling a rose bush.
Ideal conditions: overcast, 18–24 °C, light breeze. I quit painting two hours before sundown so dew can’t dull the sheen.
Step 7 — Cure, Inspect & Maintain
Paint may feel dry in an afternoon, but full cure takes up to 30 days. Until then, I keep lawn sprinklers aimed away and avoid hanging décor. Two weeks in, I circle the house with binoculars (really) scanning for bubbles or hairline cracks—early fixes save full‑panel repaints.
My maintenance ritual is short and sweet:
Get the Fail-Safe Paint Color Playbook (Free PDF)
36 proven colors • 8 ready palettes • trim & sheen guide • printable testing cards.
- Quarterly rinse with a garden hose to wash off pollen.
- Yearly walk‑around: spot‑prime any nicks, especially at butt joints.
- Mildew watch on shaded walls; a vinegar spritz keeps spores from gaining ground.
Done right, acrylic paint should last 7–10 years; solid‑color stain, about five. A pocket‑notebook reminder at year seven beats waiting for peeling to shout at you.
Troubleshooting Cheat‑Sheet
- Tannin bleed‑back: Seal with shellac primer and recoat.
- Lap marks: Work in shade, keep wet edge, feather brush strokes.
- Peeling at butt joints: Moisture wicking from end‑grain—re‑caulk and spot‑prime.
- Mildew comeback: Increase ventilation and treat with oxygen bleach solution.
Pin this list inside your paint cabinet for quick rescues.
Budget & Time Planner
| Item | Cost per 100 sq ft | Notes |
|---|---|---|
| Cleaner & brushes | ~$15 | Reusable brushes last multiple projects |
| Alkyd primer (2 coats) | ~$25 | Two‑coat system on bare wood |
| Premium acrylic paint (2 coats) | ~$35 | Darker colors cost slightly more |
| Caulk & filler | ~$10 | Elastomeric, paintable |
| Tool rental (sprayer or staging) | $50–$150/day | Factor safety rails on two‑story walls |
A typical 1,500‑sq‑ft cottage costs about $1,200 in materials and three solid weekends of DIY labor. Hiring pros? Expect $3–$4 per square foot, worth it if heights spook you.
Conclusion
Cedar isn’t high‑maintenance; it just demands respect. Give it a meticulous wash, a tannin‑blocking primer, and a breathable high‑grade topcoat, and it will reward you with decades of head‑turning warmth—and zero peeling paint jokes from the neighbors.