
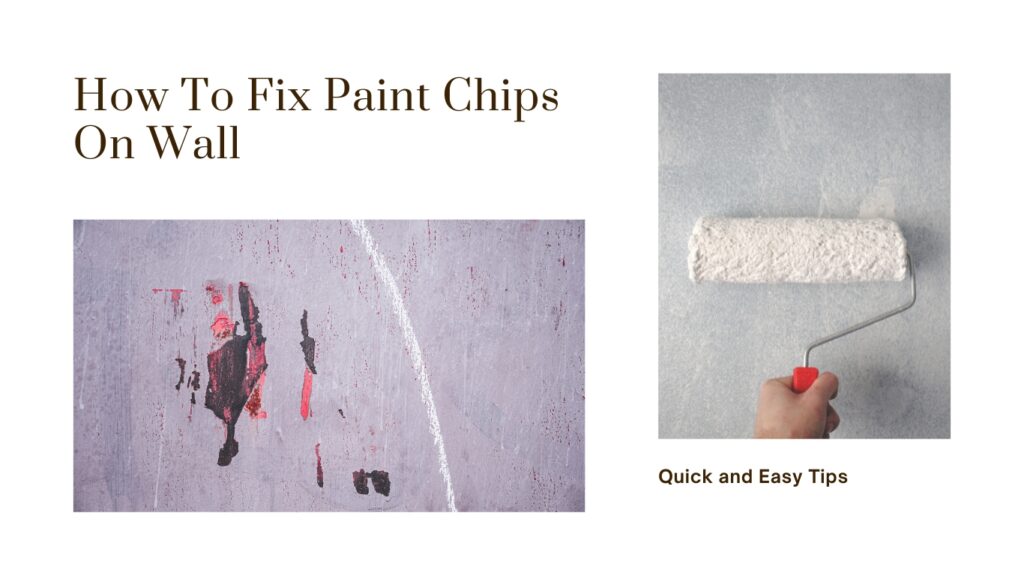
How To Fix Paint Chips On Wall: Quick and Easy Tips
Do you have paint chips on your walls that are driving you crazy? It happens to the best of us! Whether it’s from moving furniture, pets playing, or simply wear and tear, paint chips can be pretty annoying. The good news is that you can easily fix paint chips on your walls with some basic supplies and a little bit of patience.
You’ll need a small brush, some touch-up paint, and maybe a bit of sandpaper. Cleaning the wall first is essential for the paint to stick properly.
Get the Fail-Safe Paint Color Playbook (Free PDF)
36 proven colors • 8 ready palettes • trim & sheen guide • printable testing cards.
Ever noticed how paint adheres best to clean, dry walls free of dust and moisture? That’s the secret!
Paint chips might seem like a small problem, but fixing them can make a big difference in the appearance of your room. Once you repair those imperfections, your walls will look as good as new, and you’ll feel much better about your space.
Identifying the Cause of Paint Chips
Paint chips on walls can happen for various reasons, including physical impact, moisture issues, or the use of poor-quality paint. Understanding the cause is key to fixing and preventing them in the future.
Physical Impact and Wall Damage
One common cause of paint chips is physical impact. Furniture can bump into walls, or a door might swing too hard. These small but strong hits cause the paint to break and chip off.
Children playing indoors often lead to these accidents. Pets too, with their claws, contribute to this problem. These impacts hurt the wall surface, causing the paint to peel.
Take a look around areas that receive high traffic. Walls in hallways and kids’ rooms often face the most damage. Checking these spots can help you find physical impact issues.
Moisture and Water Damage
Water is another big enemy of paint. When walls are exposed to moisture, the paint may start to peel off. Bathrooms and kitchens are prime locations for this issue due to steam and water usage.
Leaky roofs or pipes can lead to water damage. If water seeps into the walls, it causes the paint to bubble and flake away. You will often see this in basements or around windows where condensation gathers.
It’s important to fix any water leaks quickly. Using a quality primer that’s resistant to moisture can also help protect your painted walls from water damage.
Poor Quality Paint or Wrong Type
Using the wrong type of paint or poor-quality paint can lead to peeling. Cheap paint often lacks the necessary binders to stick well to the wall surface. Over time, the weak bond causes the paint to chip and fall off.
Selecting the right type of paint for the surface is crucial. Latex paint is good for most indoor walls, while specific areas might need specialized paint.
For example, kitchen and bathroom walls benefit from moisture-resistant or semi-gloss paints.
Always read the label and follow manufacturer suggestions for the best results. A quality primer helps by creating a stable base for the paint, enhancing adhesion, and longevity.
Choosing quality materials might cost more initially but saves you money and effort in the long run.
Preparing the Wall for Repair
Getting your wall ready for repair involves cleaning the area and then scraping and sanding the paint chips. These steps ensure a smooth and clean surface for the new paint to adhere to.
Cleaning the Area
First, gather your supplies: a damp cloth, a mild detergent, and water. Remove any dust or debris from the wall by wiping it down with the damp cloth.
Pay close attention to the chipped areas, as any leftover dirt can affect the paint job.
Next, mix a small amount of mild detergent with water and gently scrub the area. This removes any grease or stains.
Make sure to rinse the wall well with clean water to remove any soap residue.
Finally, let the wall dry completely before moving on to the next step. It’s essential to work on a dry surface to ensure the repair materials stick well.
Scraping and Sanding
Once your wall is dry, use a paint scraper or putty knife to gently remove any loose paint around the chipped area.
Hold the scraper at an angle and slide it along the wall to lift off any peeling paint.
After scraping, take some fine-grit sandpaper (such as 120-grit) to smooth the edges of the chipped area. This helps create an even surface for painting.
Be sure to sand lightly and avoid applying too much pressure.
You’ll also want to sand any rough spots or bumps around the chipped area.
After sanding, wipe the area with a damp cloth again to remove any dust created by sanding.
Fixing the Paint Chips

Fixing paint chips on walls involves a few simple steps to ensure a smooth and polished finish. You’ll need some basic tools and materials like spackle, joint compound, and a putty knife.
Applying Spackle or Joint Compound
Start by cleaning the chipped area. Remove loose paint and debris using a putty knife. This makes it easier for the spackle to adhere.
Next, get your spackling compound or joint compound.
Use the putty knife to apply it directly over the chipped area. Spread it evenly, making sure to cover the entire chip. Level it off so it blends with the wall.
For deeper chips, you might need a second coat. Wait for the first coat to dry completely before applying the next one. This ensures the repair is strong and durable.
Sanding for a Smooth Finish
Once the spackle is dry, it’s time to sand it. Use fine-grit sandpaper for this task.
Sand the area lightly to smooth out rough edges and create an even surface.
Periodically feel the area with your hand to check if it’s even with the surrounding wall. Be gentle to avoid scratching or damaging the wall further.
After sanding, wipe away any dust with a damp cloth. This makes sure that no dust particles interfere with the next steps.
Priming the Patched Area
Before you paint, applying a primer is crucial. Primer helps the paint stick better and ensures a uniform finish.
Use a small paintbrush to apply the primer to the patched area. Make sure to cover the entire spackled spot thoroughly.
Wait for the primer to dry completely. After it’s dry, inspect the area. If needed, you can lightly sand again for ultra-smooth results.
Finally, choose a paint that matches your wall color.
Use a small paintbrush to carefully paint over the primed area, blending it in with the surrounding wall.
Repainting and Touch-Up Tips

When repainting or touching up paint chips on a wall, choosing the right type and color of paint, applying it correctly, and blending it seamlessly are crucial steps.
Choosing the Right Paint and Tools
First, choose paint that matches your wall’s color. If you don’t have leftover paint, take a sample to your local paint store for a match.
There are different paint types, like matte, satin, and gloss. Matching the finish is as important as matching the color.
Next, gather tools like a paintbrush, paint roller, and drop cloth.
Small brushes or foam rollers work well for touch-ups. Make sure you have spackling compound and a putty knife if you’re also fixing chips.
Applying the Paint
Before you start painting, clean the area with a damp cloth.
If you’re filling a chip, use a putty knife to spread the spackling compound. Let it dry and sand it smooth.
Then, load your paintbrush or roller with a small amount of paint.
Apply it in light coats, starting from the middle of the area and working outward. This prevents a thick spot in the center.
Wait until the first coat is dry before adding a second if needed.
Blending Techniques for a Seamless Look
To blend the new paint with the old, use a technique called “feathering.”
Start with light strokes that extend past the touched-up area. This makes it less noticeable.
Avoid overloading your brush or roller with paint. Too much paint can lead to drips and uneven texture.
If possible, try to use similar tools that were used originally, like a small roller for a smooth finish. Blending ensures the touch-up looks natural and not patchy.
Professional Tips and Finishing Touches
When fixing paint chips, attention to detail can make all the difference. Read on for pro tips to achieve a flawless finish by using painter’s tape effectively and addressing wall imperfections.
Using Painter’s Tape for Clean Edges
Creating clean edges is essential for a polished look. Painter’s tape is your go-to tool for this.
- Preparation: Start by thoroughly cleaning the area where you’ll apply the tape. This ensures the tape sticks well and prevents paint from seeping through.
- Application: Apply the tape in short sections rather than one long strip. Then, press down firmly along the edges to make sure it’s secure.
- Painting: While painting, use smooth and short strokes. This helps paint adhere better and minimizes drips.
- Removal: Remove the tape before the paint completely dries. This prevents chipping and maintains the line’s cleanliness.
Dealing with Texture and Wall Imperfections
Fixing chipped paint isn’t just about repainting; it’s also about blending with the surrounding wall.
- Identify Textures: Determine if your wall has a specific texture. Then, use similar tools (like sponges or texture rollers) to mimic this when applying spackle.
- Smoothing Edges: Sand down any rough patches until they blend seamlessly with the wall. This ensures the paint adheres well and looks uniform.
- Prime If Necessary: For areas with significant imperfections, priming can create an even base. Use a primer that matches your paint type.
- Blend and Paint: Apply a thin layer of paint, blending edges with the surrounding area. Multiple thin layers can help blend better than a single thick one.
Keeping Your Walls Chip-Free
Keeping your walls looking fresh involves both preventing chips and regularly maintaining the painted surface. Here’s how you can do it.
Preventive Measures
Start by choosing high-quality paint. High-quality paints tend to last longer and resist chipping better.
Make sure you apply primer before painting, as it helps the paint adhere better to the wall.
Furniture padding is a simple trick to avoid chipping. Place pads on the bottoms of chairs, tables, and any item that may scratch the wall.
Make sure to move furniture gently to prevent impact damage.
Humidity control is also crucial. High humidity can weaken the paint bond, making it more prone to chips.
Use dehumidifiers or air conditioners to keep indoor humidity at ideal levels.
Keeping your walls clean is important. Dust and grime can wear down your paint.
Get the Fail-Safe Paint Color Playbook (Free PDF)
36 proven colors • 8 ready palettes • trim & sheen guide • printable testing cards.
Use a soft cloth and mild detergent for cleaning. Regular cleaning prevents the buildup that can weaken the paint surface.
Regular Maintenance
Inspect your walls regularly. Look for early signs of chipping or peeling. Catching problems early means easier fixes and less damage to the underlying wall.
Keep some touch-up paint handy. Small chips can be easily patched up if you have the exact paint color ready. Use a small brush for touch-ups to blend the new paint seamlessly with the old.
Consider applying a fresh coat of paint every few years. Repainting not only refreshes the look but also adds an extra layer of protection to your walls.
Don’t forget about baseboards and corners. These areas are more prone to damage, so give them extra attention during your regular inspections and touch-ups.