
How To Paint Over Chipped Paint On Wood: Easy Fixes That Last
When you’re faced with chipped paint on wood surfaces, it can seem like a daunting task to fix. Maybe you’re wondering if you really need to strip everything back or if you can just paint over it. Good news! You can paint over chipped paint, but the key is proper preparation. With a few simple tools like sandpaper, a paint scraper, and a good primer, you can transform worn-out surfaces into something stunning again.
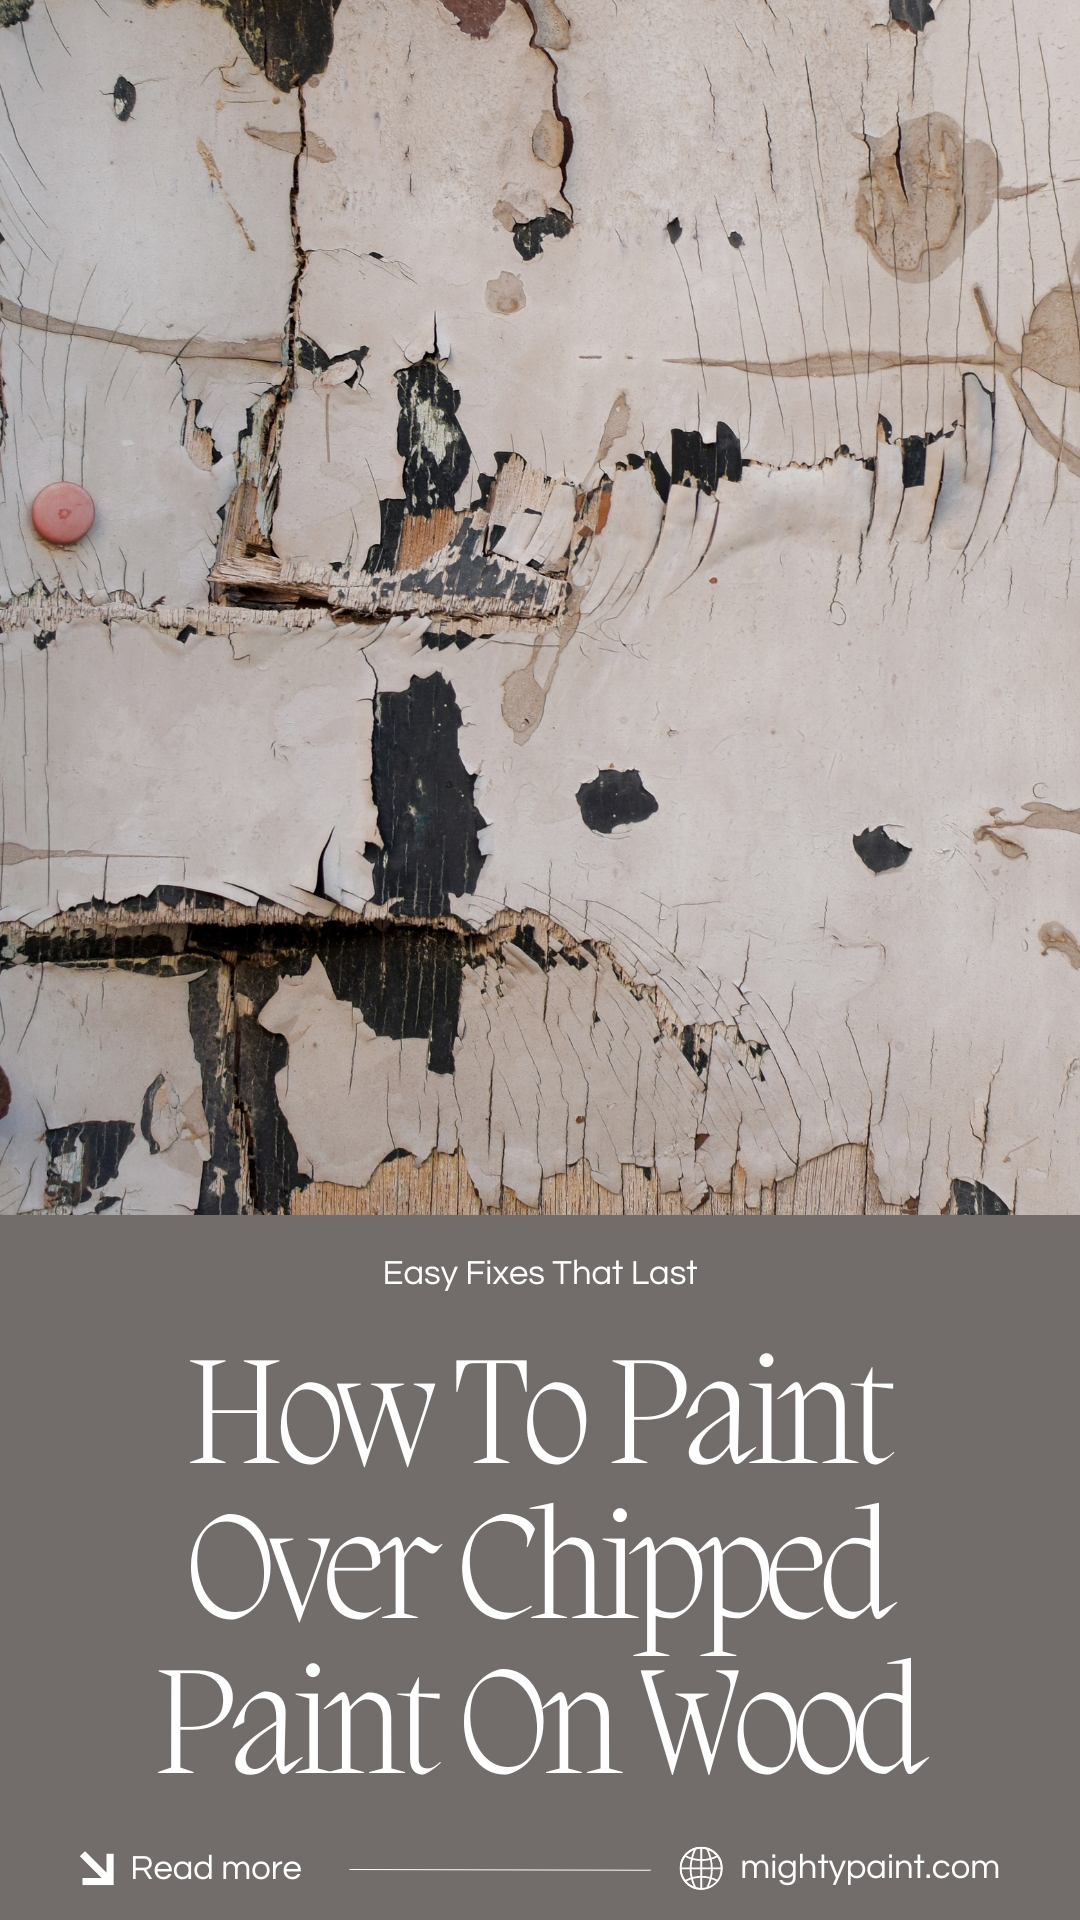
Imagine sipping your morning coffee, admiring your freshly painted porch swing without those pesky chips. Doesn’t that sound lovely? It all starts by ensuring the wood surface is clean and smooth. Sanding down the rough areas and cleaning off any dust makes a world of difference.
Get the Fail-Safe Paint Color Playbook (Free PDF)
36 proven colors • 8 ready palettes • trim & sheen guide • printable testing cards.
And oh, the satisfaction of seeing your handiwork come to life! Once the primer is applied evenly, your paint will adhere like a charm. Sure, it takes a bit of effort, but isn’t it worth it for a smooth, beautiful finish? Save yourself the hassle of uneven layers and get ready to tackle that woodwork challenge with confidence.
Assessment of the Damage
Before you jump into painting over chipped paint on wood, it’s crucial to check the damage first. Start with a close look at the wood surface, and then figure out what kind of paint you’re dealing with. These steps will help guide your repair approach.
Visual Inspection
When you inspect the damaged area, use your eyes to see what’s gone wrong with the paint. Look for cracks, bubbles, or peeling parts on the wood’s surface. These clues can tell you why the paint chipped and help you decide what you need to fix.
If moisture is a possible cause, check for signs like water stains or mold. You can touch the area—just a quick feel to see if it’s soft or damp. Take note of any frayed wood or areas where the paint has almost disappeared. By catching these signs early, you can fix them before painting again.
Determining Paint Type
Understanding the paint type is essential. It helps you choose the right tools and products for fixing and repainting the surface. Generally, paint types fall into two main categories: oil-based and latex (water-based).
To figure out the type, try a simple test: dab some rubbing alcohol on the chipped paint with a cloth. If the paint rubs off, it’s likely latex. If not, it’s probably oil-based. Knowing this lets you pick compatible primers and paints, ensuring a smooth and lasting finish.
After determining the paint type, make sure to mark it down so you won’t forget when buying new paint.
Preparation for Repainting
Repainting chipped wood requires careful preparation. Cleaning, sanding, and choosing the correct materials will give you the best results and help ensure the paint lasts.
Cleaning the Surface
First things first—you need to clean the surface for optimal results. Grab some warm, soapy water and a rag. You need to remove all that dirt and grime that’s hiding the beauty of your wood. Pay close attention to areas where paint chips have occurred, as these spots tend to collect dust and other debris. After scrubbing, rinse with clean water to wash away remaining soap. A dry surface is key to good adhesion, so let it air dry thoroughly or pat it down with a dry towel.
Even the sneakiest little bits of dirt can ruin your paint job. It’s amazing how much a clean surface changes the game!
Surface Smoothing
Now it’s time to let things get smooth. Uneven surfaces lead to blotchy paint jobs, so you need to work on those rough spots. Use a putty knife to remove loose paint chips. Once you’re through, sanding is next on your list. Grab a piece of fine-grit sandpaper and gently work off the rough patches. We’re aiming for a surface that’s smoother than a fresh jar of peanut butter!
Think of sanding as a friendly invitation for the paint to stick around. Nobody wants peeling paint a few days later, right? For a seamless look, ensure the surface feels even everywhere!
Choosing the Appropriate Sandpaper
Your secret weapon for a flawless finish lies in choosing the right sandpaper. Start rough—an 80-grit sandpaper will make short work of getting rid of stubborn paint. Then, move to a medium 150-grit sandpaper to ensure evenness. Some wood may require finer finishing; you could use a 220-grit option for that silky-smooth touch.
Remember, the grit number tells you how coarse or smooth the sandpaper is. It’s like choosing how crunchy you want your snack bars—not too much, not too little, just right. This attention to detail will make for an absolutely flawless canvass for your new coat of paint!
Repairing the Chipped Areas
A smooth finish on your wood surfaces can begin with these easy steps. The key to a seamless paint job involves patching up chipped areas with the right materials and tools.
Applying Wood Putty
When dealing with chipped paint, wood putty becomes your best friend. First, clean the chipped area to remove dust and loose paint flakes. This is crucial for proper adhesion.
Apply wood putty directly to the chipped area using a putty knife. Press it firmly to fill the gaps. Expect to let it dry for about 30 minutes to an hour, depending on the product instructions. Once dry, gently sand the area for an even surface. The goal is to match the patched spot to the surrounding surface seamlessly.
Utilizing Spackle
If the damaged area is more of a small dent or hole, you might opt for spackle, especially on interior wooden surfaces. Start by ensuring the damaged area is clean and free of any loose material.
Use a putty knife to fill the chip with spackling compound, making sure you spread it evenly. An advantage of using spackle is its quick drying time, often just 15 to 30 minutes. After it dries, sand it smooth with fine-grit sandpaper to prepare it for primer and paint. You want everything leveled and smooth.
Using Putty Knife
The putty knife is a versatile tool in repairing chipped paint. It’s not only about applying fillers but also scraping off loose paint. Begin by holding the knife at a 45-degree angle to remove any loose or flaking paint around the chip.
This helps prevent further chipping when you patch the area. When applying either wood putty or spackle, use the putty knife for an even spread. A metal or flexible plastic putty knife often works best for precision. Be gentle, yet firm, to achieve a flawless finish.
Priming for Paint

When painting over chipped paint on wood, picking the right primer is crucial. You want a smooth finish, right? The application method is just as important, so let’s dive into that process.
Choosing the Right Primer
Ever wondered about the secret behind a flawless paint job? It’s all about the primer. Think of it like the secret ingredient in your grandma’s cookies. For wood surfaces, you can choose from a variety of options like acrylic latex primer, chalk paint primer, or oil-based primer. Each type has its strengths. Acrylic latex is flexible and great for surfaces that expand and contract. Chalk paint primer can give a unique finish, and oil-based primer is heavy-duty for those tricky spots.
Before choosing, consider the type of paint you’ll use over it. Match the primer to the paint for the best results. If your top coat is latex, go with an acrylic latex primer. Planning to use a chalk paint? There’s a primer for that too! Your future self will thank you.
Applying Primer Effectively
Now that you’ve picked a primer, how do you apply it? First, prep your surface. You don’t want dust or grime sticking around. Use a brush or roller to apply a thin, even coat. Here’s a quick tip: start from a corner and work your way out to avoid messy overlaps.
Let the first coat dry thoroughly before deciding if a second is needed. Usually, one coat does the trick, especially with high-quality primers. Keep an eye on the drying time mentioned on the primer can. And, don’t rush this step—patience is your silent partner in painting. Once the primer is dry, you’re ready for the paint. Happy painting!
Selecting the Paint
Choosing the right paint for touching up chipped wood involves matching the original paint and selecting the appropriate type of paint for wood surfaces. This ensures the best result and longevity.
Matching the Original Paint
You might think, “How do I match the original paint?” Start by examining the existing paint on your wood to figure out if you’re dealing with oil-based or latex paint. Each type has distinct characteristics. Oil-based paints are durable and perfect for high-traffic areas, adding a glossy finish. Latex paints, on the other hand, dry quicker and have low odors, making them easier for indoor use.
To find a perfect match, painting stores offer color-matching services. Just take a sample of your old paint with you. If you can’t get a sample, take a picture to see if they can help. With the perfect match, your touch-up job will look seamless.
Types of Paint for Wood
Selecting paint for wood can feel overwhelming with so many choices. Let’s simplify! You mainly have three options: oil-based, latex, and acrylic paints. Oil-based paints provide a tough finish, making them ideal for areas exposed to wear.
Latex and acrylic paints are easier to clean and offer flexibility. They are good for exterior wood because they expand and contract with temperature changes—minimizing cracks. If you’re looking for high-quality options, check labels for terms like “premium,” which often indicate better pigmentation and coverage.
Since wood surfaces can vary greatly, always choose paint specifically labeled for wood. It’s not just about the color but also the protection and enhancement of the wood’s natural beauty.
The Painting Process
Knowing the right steps to take can make painting over chipped wood a smooth task. From the way you apply paint to ensuring clean lines, each step helps achieve a flawless finish. Let’s dive into the details.
Paint Application Techniques
When applying paint, you have several techniques to choose from. Brushing is traditional and gives you precise control over small areas. For larger areas, you might want to try rolling — just remember to use a smooth roller to avoid texture. Spraying is another method that offers an even finish and is great for covering intricate surfaces.
Choose paints labeled as self-leveling to reduce brush marks. Apply thin coats, letting each one dry completely before adding another. This ensures an even color without runs or drips. Consider practicing your preferred technique on a scrap piece of wood first. Are you feeling more comfortable with the methods now?
Ensuring a Professional Finish
Achieving a professional finish requires a bit of patience and attention to detail. Start by making sure your primer is dry and sand it lightly to remove any imperfections. Use a high-quality brush or roller to follow up with your paint, applying it in light, even layers.
After the final coat, inspect the surface for uneven spots and smooth them carefully with fine-grit sandpaper. This sanding helps achieve a flawless shine. Use a soft cloth to wipe away any dust before continuing. Your patience in these steps promises that smooth result you’re aiming for!
Using Painter’s Tape for Precision
Painter’s tape can be a lifesaver when you want crisp lines and neat edges. Apply it carefully to areas you want to protect, pressing down the edges to prevent any paint seepage. It’s a great tool for maintaining clean borders between different sections.
When adding new paint and you start near the tape, be gentle. This careful touch avoids creating thick edges of paint that can peel when you remove the tape. Peel it off slowly at an angle while the paint is still slightly damp. You’re on your way to a neat, professional-looking project with these tips!
Finishing Touches
Now that you’ve smoothed out the chipped paint and applied a fresh coat, it’s time to make sure everything looks just right and clean up your workspace.
Checking for Missed Spots
Take a close look at your project under good lighting. It helps to view the painted surface from different angles. Missed spots can be sneaky and hide in shadows! Use a small brush to fill in any gaps you find. Patience at this stage will ensure a professional finish.
You can even use a flashlight to spot any inconsistencies. Spending a little extra time checking your work saves a lot of hassle later on. Patch up any areas where the paint looks thin or uneven.
Pro tip: Keep a small amount of paint mixed and ready to fix these problem areas quickly. This way, you can match colors perfectly.
Cleanup and Disposal
Once you’re satisfied with the paint job, it’s time to tidy up. Start by cleaning your brushes and rollers with soap and water if you used water-based paint. For oil-based paint, use a quality solvent.
Dispose of any old paint cans responsibly. Some local waste management services hold special collection days for hazardous materials. Check in with them to know when and how to dispose of your used materials properly.
Keep your workspace clear of debris. Give tools a thorough clean to keep them in good shape for next time. Put away all your gear safely, and pat yourself on the back—it’s been a job well done!
Frequently Asked Questions
Painting over chipped paint on wood can be a great way to refresh and renew your furniture and surfaces. Preparing properly is key to getting a smooth finish, and there are different approaches depending on the object you’re working with.
What’s the best method to repaint a wooden table with existing chipped paint?
To repaint a wooden table, start by cleaning the surface with soap and water. Use sandpaper to remove loose paint and rough edges. Next, apply a coat of primer to help the new paint adhere better. Once the primer dries, paint the table evenly for the best results.
How can I refresh chipped paint on my wood furniture without sanding it first?
You can skip sanding by using a liquid deglosser. Clean the furniture first, then apply the deglosser following the label’s instructions. This prepares the surface for painting by removing the shine and allowing the new paint to stick better.
Get the Fail-Safe Paint Color Playbook (Free PDF)
36 proven colors • 8 ready palettes • trim & sheen guide • printable testing cards.
Are there any tips for painting over chipped paint to make wood cabinets look new again?
For wood cabinets, preparation is key. Clean the surfaces, sand any rough areas, and use a primer before painting. Consider using a paint with a durable finish, such as semi-gloss, for long-lasting results. Take your time to apply even coats and let them dry in between applications.
Is it possible to just paint over chipped paint, and how can I do it effectively?
Yes, you can paint over chipped paint, but you need to prep the surface first. Clean it thoroughly and sand away loose chips for a smooth base. Use a primer to cover imperfections before applying new paint. This will ensure the new paint adheres well and lasts longer.
What should I do to prepare a wooden door with chipped paint before repainting?
Begin by cleaning the door with soap and water to remove dirt and grease. Sand the chipped areas to make them smooth, and use wood filler for deeper chips if needed. Afterward, apply a primer to create an even base. Finally, paint the door with your chosen color.
Can I repaint over chipped paint on a wooden floor, and if yes, how?
Repainting a wooden floor is possible, but it requires careful preparation. First, clean and sand the floor, paying special attention to chipped areas. Then, use a high-quality primer designed for floors to ensure good adhesion. Once you’ve primed, paint with durable floor paint, allowing each coat to dry thoroughly.