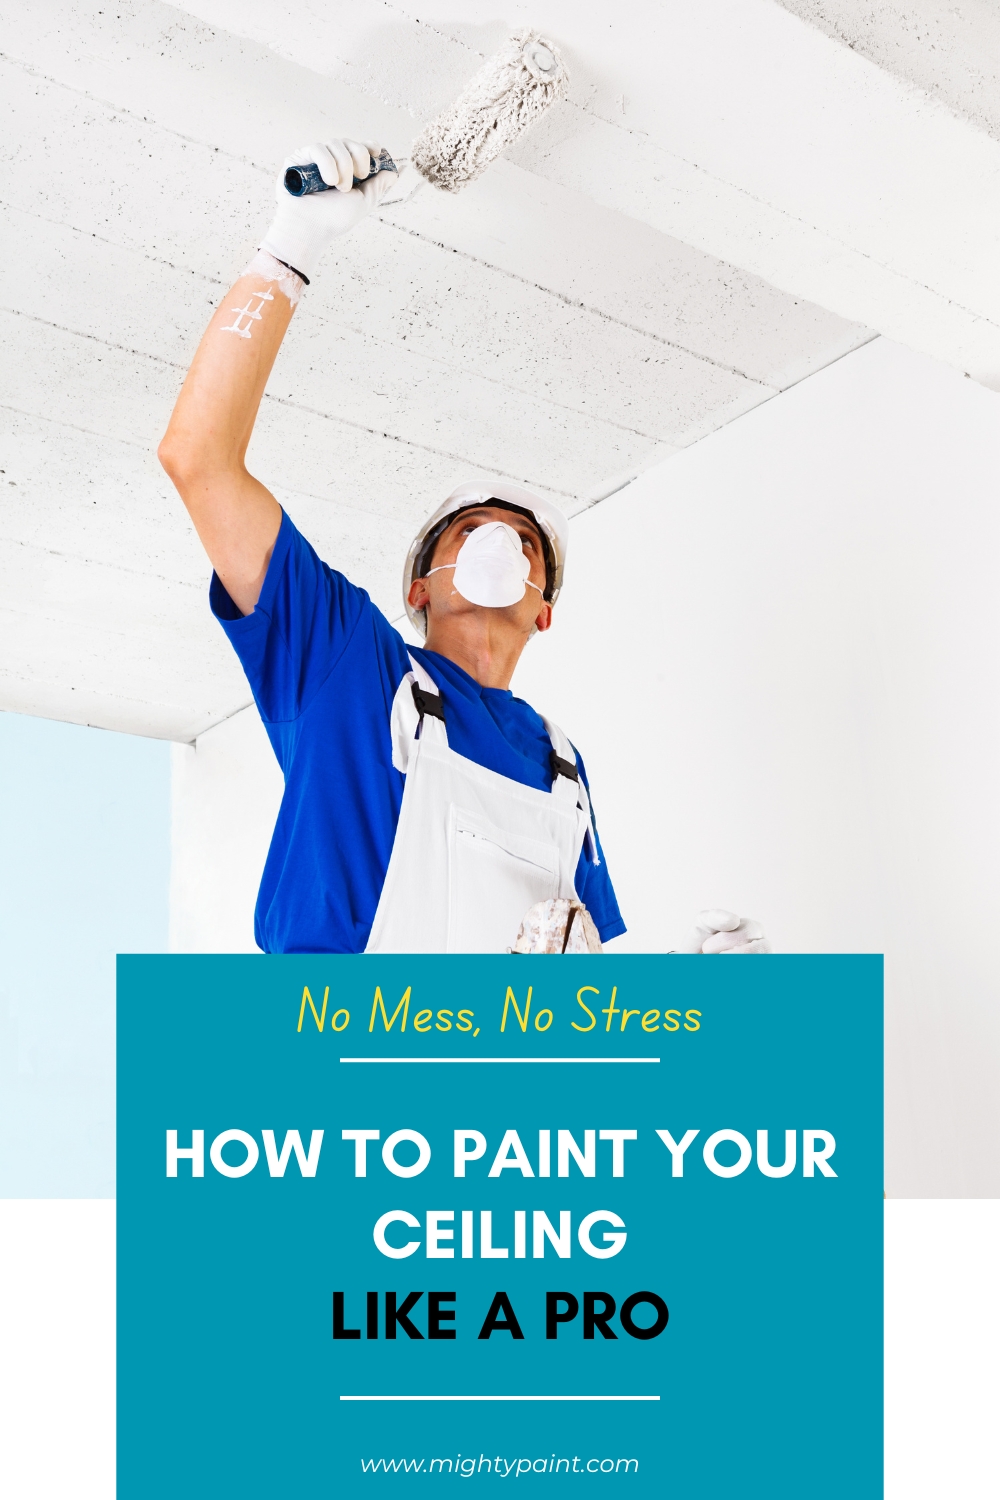
How To Paint Ceiling Without Making A Mess: Quick & Easy Tips
Painting a ceiling can seem like a daunting task, especially when your goal is to avoid making a mess. Whether you’re tackling this as a DIY project or have some painting experience, it’s important to use techniques that keep your space clean. To paint a ceiling without making a mess, start by using a paint stick to suck paint directly from the can, eliminating the need for messy trays.
Using painter’s tape to create clear borders can make painting edges a breeze. You’ll also want to apply light, slow strokes with a roller to prevent drips and splashes. Start by ‘cutting in’ with a brush around the edges, and then switch to a roller for larger areas. With careful preparation and the right tools, you can achieve a professional-looking ceiling without the hassle of extensive cleanup.
Get the Fail-Safe Paint Color Playbook (Free PDF)
36 proven colors • 8 ready palettes • trim & sheen guide • printable testing cards.
Preparing Your Space
Getting your space ready before painting the ceiling can make a huge difference. These steps will help you to clear the room, protect your furniture and floors, and tape and cover edges for a smooth painting process.
Clearing the Room
First things first, you need to move as much furniture as possible out of the room. This gives you more space to work and reduces the chance of a paint spill on your furniture.
If moving large items is not an option, you can push them to the center and cover them with a drop cloth. A clear space helps you reach all corners of the ceiling without obstacles.
Finally, make sure you have good lighting. Adequate lighting can help you see where you’re painting and avoid missed spots or uneven coverage.
Protecting Furniture and Floors
Once the room is clear or the furniture is moved to the center, it’s important to cover everything you don’t want to get paint on. Drop cloths are great to use for covering furniture and floors. They are usually heavy enough to stay in place without taping down.
Use drop cloths or plastic sheeting to cover the floor and secure them with masking tape if necessary. This helps to prevent any paint drips or spills from seeping through.
Don’t forget the floor! Good protection on the floor can save you a lot of cleaning time later. If you don’t have a drop cloth, old sheets or newspaper can also work but might be less effective against heavy spills.
Taping and Covering Edges
The final step in preparing your space is to use painter’s tape to cover any edges and areas you don’t want to paint. This includes molding, light fixtures, and the top edges of your walls.
Apply the painter’s tape carefully to ensure straight lines and avoid paint seeping through. This is especially important if you are using a roller for painting. Properly taping the edges gives you a neat finish and makes the painting job look professional.
Cover light fixtures with plastic bags or remove them if possible. This will ensure they don’t get paint on them and make cleaning easier later on.
Choosing Your Materials
Selecting the right materials is vital to ensure a smooth and efficient painting process. You’ll need specific tools and high-quality materials for a neat finish.
Selecting the Right Paint
Choosing the right paint is key. Ceiling paint differs from wall paint because it’s thicker and designed to resist dripping. Use a flat or matte finish to hide imperfections.
Make sure to check the label for low-VOC (Volatile Organic Compounds), which are better for health and the environment. Look for paint that offers good coverage to minimize the number of coats needed.
If you’re covering a dark color, consider a paint with a built-in primer. This can save a lot of time. Here’s a quick list for reference:
- Flat or Matte Finish
- Low-VOC Label
- Good Coverage
- Built-in Primer (Optional)
Picking Quality Tools
High-quality tools make a difference in how smooth and clean your paint job looks. A good paintbrush is essential for cutting in around the edges. Choose a brush with angled bristles for better control.
A roller with a medium nap (⅜ to ½ inch) works best for most ceilings. This nap is thick enough to handle texture but not too thick to leave roller marks. Don’t forget an extension pole for easy reach.
Having a paint tray and liners can make cleanup easier. Gather drop cloths, painters tape, and a ladder:
- Angled Bristle Paintbrush
- Medium Nap (⅜ to ½ inch) Roller
- Extension Pole
- Paint Tray and Liners
- Drop Cloths
- Painters Tape
- Ladder
Setting Up for Painting

Before you start painting, you need to get your ceiling ready. This includes priming it and preparing your paint tray. Doing this ensures a smooth, clean job without any mess.
Priming Your Ceiling
First, make sure you have a ladder that’s tall enough to reach your ceiling comfortably. Safety first! Use painter’s tape to cover the edges where the walls meet the ceiling. This keeps paint from getting on your walls. Now, grab a primer. Primer helps the paint stick better and covers any old stains or colors.
Apply a thin, even coat of primer using a roller. Start in one corner and work your way across the ceiling. This doesn’t have to be perfect, but make sure you cover the whole area. Let it dry completely before moving on to painting. Usually, this takes a few hours.
You might need a second coat if the previous ceiling color is dark. Always read the primer can’s instructions. They will give you the best guidance on drying times and how many coats you need.
Filling the Paint Tray
Now it’s time to fill your paint tray. Choose a good-quality paint that’s made for ceilings. These paints are usually thicker to avoid drips. Pour a moderate amount into the deep end of the tray, but don’t overfill it. This keeps the paint from spilling over.
Dip your roller into the paint and roll it back and forth on the ridged part of the tray. This helps to evenly load the paint onto the roller. Avoid loading too much paint at once. A thin, even layer works best and reduces the risk of drips.
Make sure your ladder is placed securely and is easy to move around the room. You don’t want to struggle with a wobbly ladder or have to reach too far. Keep your paint tray close by on the floor, but don’t put it in your walking path. Trip hazards are the last thing you need.
Techniques for a Clean Job

Painting a ceiling can be tricky, but you can achieve a clean, mess-free finish with the right techniques. Focus on proper edge work, rolling methods, and drip management.
Cutting In Edges
Cutting in edges means painting a clean line where the ceiling meets the walls. Use a high-quality brush with angled bristles for this task. Dip the brush into the paint, but don’t overload it. Start in a corner and work your way around the room, applying paint in a smooth, controlled motion.
To ensure neat edges, hold the brush at a 45-degree angle. Steady your hand by leaning your wrist against the wall. For best results, apply painter’s tape to the wall edge to keep lines straight. Remove the tape before the paint dries to avoid peeling.
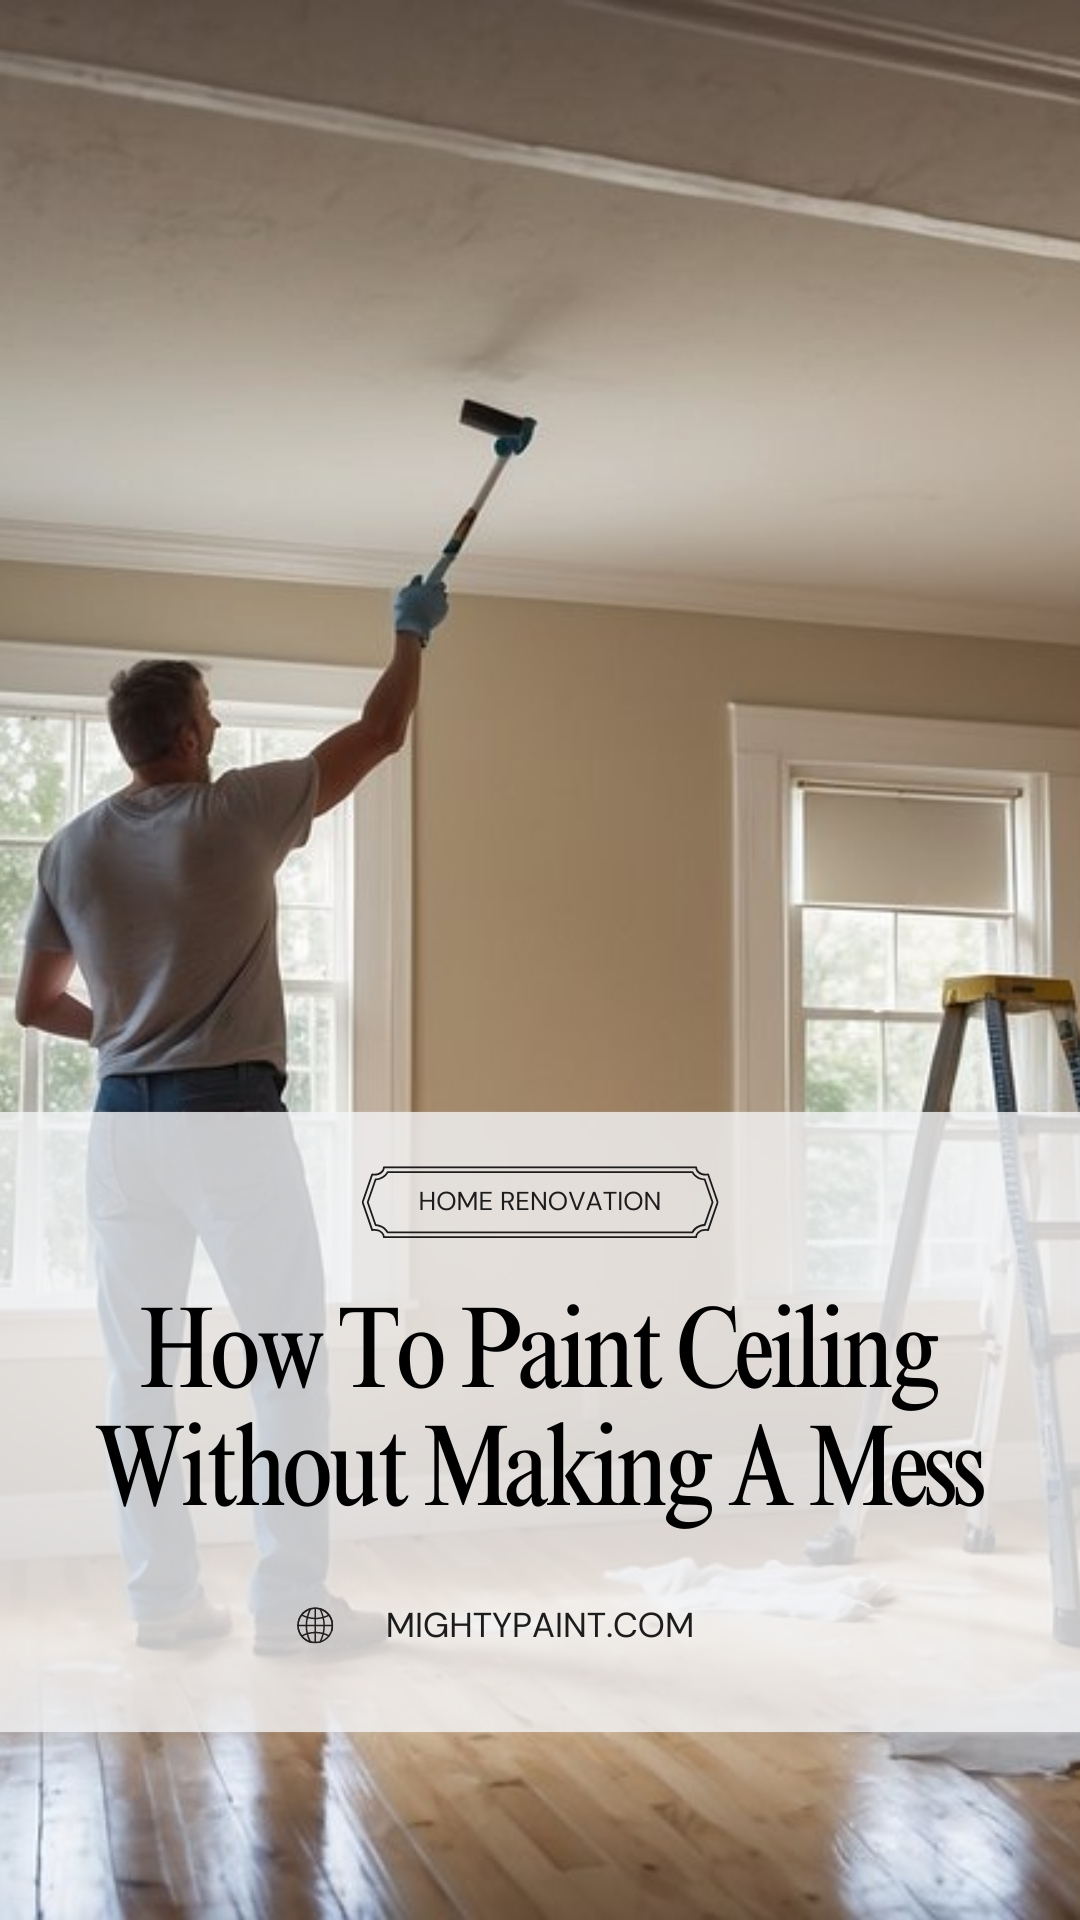
Rolling the Main Surface
Use a roller for the main surface of your ceiling. Start by selecting the proper roller cover; a 3/8-inch nap is suitable for smooth ceilings, while a thicker nap works better for textured surfaces. Pour paint into a roller tray and evenly coat the roller.
Begin by making a “W” or “M” shape with the roller. This spreads the paint evenly. Fill in the gaps by rolling in straight lines, maintaining a consistent pressure. Work in small sections, blending the edges to avoid visible lines.
For best results, use an extension pole to reach high areas without straining your neck. This also helps you maintain a consistent rolling pattern.
Avoiding and Fixing Drips
One common issue when painting a ceiling is drips. To avoid this, avoid overloading your brush or roller. Shake off excess paint before applying it to the ceiling. If a drip occurs, use a damp cloth to gently dab it away while the paint is still wet.
For dried drips, sand the spot lightly with fine-grit sandpaper. Repaint the area with a small brush for a seamless blend. Keeping a vigilant eye on your work ensures a clean, professional finish.
Pay special attention to corners and edges where drips are more likely to occur. Always keep a rag and a small brush handy to tackle any unexpected drips immediately.
Applying Multiple Coats
Adding multiple coats ensures your ceiling has an even, professional look. This includes letting each layer dry properly and ensuring even coverage.
Timing the Second Coat
The first coat is crucial for laying a good foundation. After applying this fresh coat of paint, let it dry completely before thinking about the next layer. This usually takes 4-6 hours, but it can vary based on paint type and room conditions.
To test, gently touch a small area. If it feels dry and doesn’t smudge, you’re good to go. Rushing this can lead to streaks and uneven surfaces. So, patience is key.
Remember, humidity and temperature can affect drying time. A cool, dry room speeds up the process, while a hot, humid one slows it down.
Ensuring Even Coverage
Even coverage is essential for a polished look. Start with small sections, using long, overlapping strokes with your roller. This helps blend the paint seamlessly.
After the first coat, inspect for any uneven spots or thin patches. These areas will need extra attention during the second coat. Use a bright light to help spot these imperfections.
When applying the second coat, maintain consistent pressure on your roller. Avoid pressing too hard, as it can create patches. A smooth, gentle roll is your best friend here.
Lastly, don’t overload your roller with paint. Too much paint can cause drips and a bumpy texture. Aim for a balanced amount, ensuring a nice, thin layer for that perfect finish.
Finishing Touches and Cleanup

After painting your ceiling, it’s crucial to wrap up properly. This involves checking for touch-ups, removing any tape and coverings, and cleaning your tools.
Inspecting for Touch-Ups
Once the paint dries, take a close look at your work. Walk around the room and check from different angles. Look for any missed spots, drips, or streaks.
Use a small brush for minor touch-ups. If there are bigger areas needing more paint, use the roller again. Be patient and make sure you cover these spots evenly.
Pay attention to corners and edges. These areas often need extra care. Don’t rush this step. Good lighting will help you see any imperfections better.
Removing Tape and Coverings
Carefully remove any painter’s tape and protective coverings. Don’t pull too quickly; it can cause the paint to peel.
Start by gently lifting the edge of the tape. Pull it back at a 45-degree angle. If the paint starts to come off, use a utility knife to cut it free.
For coverings on furniture and the floor, roll them up slowly to avoid scattering dried paint chips. Gather any loose tape or plastic and dispose of them properly.
Cleaning Your Tools
Clean your brushes and rollers right after you finish painting. Use warm, soapy water for latex paint, and mineral spirits for oil-based paints.
Rinse brushes under running water until the paint is gone. For rollers, remove excess paint by rolling them on scrap paper. Then wash and rinse until the water runs clear.
Dry your tools completely before storing them. Proper cleaning helps your tools last longer and ensures they’re ready for your next project. Don’t forget to wipe down the paint tray and any other tools you used.
Aftercare and Maintenance
Taking care of your painted ceiling helps it look fresh and increases its lifespan. Here’s what you need to know about handling future stains and drips, and keeping your ceiling clean.
Dealing with Future Stains and Drips
To handle stains or drips quickly, it’s best to have a cloth and some mild cleaner on hand. When a stain appears, use a damp cloth with a bit of the cleaner and gently dab the area.
Get the Fail-Safe Paint Color Playbook (Free PDF)
36 proven colors • 8 ready palettes • trim & sheen guide • printable testing cards.
For tougher stains, a mixture of warm water and mild dish soap works well. Avoid harsh chemicals as they might damage the paint. Cooking fumes can also stain ceilings, so check for these stains regularly and clean them up quickly.
If you find paint drips, use a small brush to touch up the spots. These quick fixes prevent long-term damage and keep your ceiling looking great.
Regular Ceiling Inspection and Cleaning
Regular inspections are key to maintaining your ceiling. Look for any cracks or peeling paint, as these can grow if ignored. Check your ceiling every few months to catch issues early.
For cleaning, use a vacuum with a brush attachment to remove dust and spider webs. This is easier and safer than using a cloth, especially if your ceiling is high. Good lighting helps you spot dirt and stains you might miss otherwise.
Cleaning your ceiling regularly can help you avoid the buildup that requires heavy cleaning. Make cleaning and inspections a part of your routine to keep your ceiling spotless.