How to Thin Enamel Paint for Sprayer: Easy Tips for Perfect Coverage
When you’re prepping for a paint project, knowing how to thin enamel paint for a sprayer can make all the difference. Whether you’re working with water-based or oil-based enamel, thinning the paint correctly ensures smooth application and prevents clogging your spray gun.

Spraying enamel paint can be a bit tricky, but it doesn’t have to be. The right mixture helps the paint flow evenly, offering a professional finish. Picture this: a smooth coat without brush marks, gliding on effortlessly.
Get the Fail-Safe Paint Color Playbook (Free PDF)
36 proven colors • 8 ready palettes • trim & sheen guide • printable testing cards.
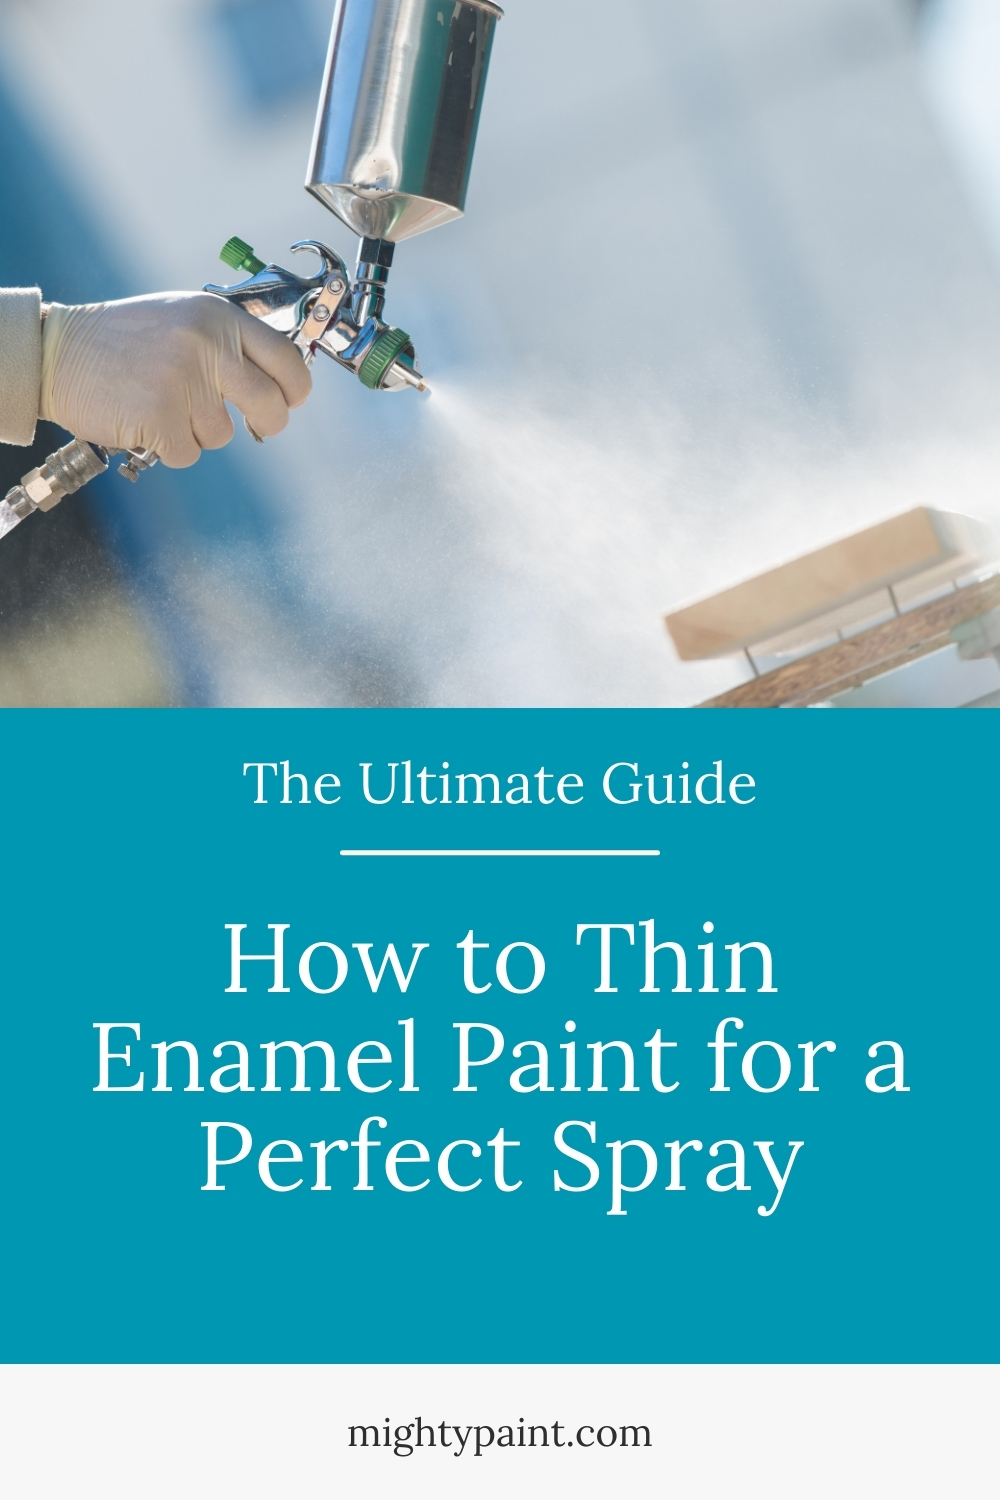
Stir your paint thoroughly and avoid shaking to prevent bubbles that can clog your sprayer.
Understanding the Basics of Enamel Paint
When you’re getting ready to thin enamel paint, it’s crucial to understand its different types and properties. This knowledge helps you achieve the ideal consistency and avoid common pitfalls.
Types of Enamel Paint
There are mainly two types of enamel paints: oil-based and water-based. Each one has its distinct advantages and drawbacks.
Oil-based enamel paints are known for their durability and long-lasting finishes. They create a hard, glossy surface that’s resistant to moisture and wear. Many people use them for outdoor projects or surfaces that face a lot of use, like doors and cabinets.
Water-based enamel paints, on the other hand, are easier to work with and clean up. They dry faster than oil-based paints and are less likely to yellow over time. These are ideal for indoor projects and for painters who want to avoid strong fumes.
Properties of Enamel Paint
Enamel paints have several key properties that make them unique. They have a high viscosity, meaning they are thick and need thinning to spray evenly. This helps in achieving a smooth, even coat without brush marks.
Another feature is their glossy finish, which gives surfaces a shiny, polished look. This is why they’re popular for trim, furniture, and items that need a clean, finished appearance.
Durability is another standout property. Enamel paints form a hard, protective layer once they dry. This makes them excellent for high-traffic areas and surfaces that require frequent cleaning.
Preparing Your Workspace
Creating a safe and efficient environment is crucial before you start thinning enamel paint for a sprayer. This involves ensuring personal safety and gathering the right tools to make your job easier.
Safety First
First off, safety is a big deal. Safety goggles are a must to protect your eyes from splashes. A protective mask will keep harmful fumes out of your lungs. This is especially important because the chemicals in enamel paint can be pretty harsh.
Next, make sure you’re working in a well-ventilated area. Open up windows and doors or use fans to keep fresh air circulating. This helps disperse fumes and keeps you from getting dizzy or sick.
Don’t forget to wear gloves and old clothes. Enamel paint is not easy to get off your skin or fabrics. Making sure you’re well-protected can prevent a lot of headaches.
Equipping the Right Tools
You’ll need certain tools to get your paint just right.
Paint strainers help remove any lumps or debris, ensuring a smooth finish. They are simple to use, just pour the paint through and you’re good to go.
A stirring stick is essential for mixing the paint thoroughly. This helps maintain a consistent texture. You don’t want blobs of pigment ruining your spray job.
Use a bucket to mix the paint and thinner. This gives you more room to combine them properly. Make sure the bucket is clean and free of any old paint to avoid contamination.
Lastly, always have some rags or paper towels handy to clean up any spills right away. Keeping your workspace tidy helps you work more efficiently and safely.
Getting the Right Consistency

When thinning enamel paint for spraying, getting the right consistency is essential. It ensures smooth application and prevents clogs in your sprayer. Here’s how to achieve this with ease.
Importance of Paint Viscosity
Paint viscosity affects how well the paint sprays and sticks to surfaces. If the paint is too thick, it won’t spray evenly. Instead, it can sputter and lead to an uneven finish. You need to thin it just right for a smooth coat.
Using a viscosity cup is a helpful method. You can measure how long it takes for the paint to flow through the cup. The right thickness usually flows in 25-50 seconds. Check the manufacturer’s guidelines for the exact timing.
Finding the Thinning Ratio
Different types of enamel paint require different thinning ratios.
Water-based enamel uses water, while oil-based enamel requires specific paint thinners. Also, it’s crucial to follow the manufacturer’s recommended thinning ratio for the best results.
Use measuring tools such as measuring spoons or graduated mixing cups to ensure accuracy.
Gradually add the thinner to your paint while stirring continuously. Aim for a smooth, lump-free consistency.
Start by adding a small amount, about half a cup of water or thinner per gallon of paint, and adjust as needed. Always test spray on a scrap piece to confirm the desired consistency. If the paint flows and sprays easily, you’re good to go.
Choosing Your Thinning Agent
Selecting the right thinning agent is crucial when working with enamel paint, whether it’s oil-based or water-based. The right choice ensures a smooth application and a professional finish.
For Oil-Based Enamel Paint
When thinning oil-based enamel paint, you have several options.
Mineral spirits and paint thinner are common choices. These agents help break down the paint’s consistency, making it easier to spray without affecting its quality.
Mineral spirits are less toxic and have a milder smell compared to other thinners. They are great for creating a smooth, even coat.
Paint thinner, on the other hand, is stronger and can also clean your equipment after use.
Turpentine is another option, though it has a stronger odor. It’s effective but may not be the best choice if you’re sensitive to smells.
Always check the manufacturer’s instructions for the recommended ratio of paint to thinner. Usually, you’ll mix one part thinner to three parts paint.
For Water-Based Enamel Paint
Water-based enamel paints are easier to thin since you can use water. This makes them a convenient option.
Simply add water gradually while stirring until you reach the desired consistency.
Acrylic paint can also be thinned with water. It’s similar to water-based enamel in that it doesn’t require harsh chemicals. Just make sure to stir slowly to avoid air bubbles.
In some cases, you may need a bit more than just water.
Lacquer thinner can be used but should be approached with caution, as it’s quite strong.
Acetone is another choice for thinning, but it’s recommended to test it in small quantities first to see how it affects the paint.
The Thinning Process Step by Step
Thinning enamel paint for a sprayer involves specific steps to ensure a smooth and even application. Knowing how to mix the right ratio of paint to thinner and testing for the correct viscosity is crucial.
Mixing the Paint and Thinner
Start by setting up your workspace. Make sure it’s well-ventilated and that you have protective sheets down to catch any spills.
Next, pour the enamel paint into a clean container. A mixing ratio of 3 parts paint to 1 part thinner (3:1) is a good rule of thumb for most projects.
Use a stirring stick to mix the paint and thinner thoroughly. Ensure there are no lumps, as these can cause clogging in your sprayer. If you’re working with oil-based enamel, you may need to adjust the ratio slightly depending on the thickness of the paint.
Always pour the thinner gradually. This will help you avoid over-thinning the paint. Consistently stir the mixture to achieve a uniform consistency.
Testing for Proper Viscosity
Now that you’ve mixed the paint, it’s time to test its viscosity. This step ensures the paint flows smoothly through your sprayer.
Dip a test surface (like a piece of scrap wood or cardboard) into the paint. Then, hold it at an angle to observe how the paint drips.
If the paint flows evenly and slowly forms a continuous stream, it’s just right. If it’s too thick, add a small amount of thinner and stir again. If it’s too thin, add more paint.
Another way to test is to use a viscosity cup. Simply fill it with the mixed paint and time how long it takes for the paint to drain completely. This time should match the manufacturer’s guidelines for your sprayer type.
Your goal is a smooth, consistent flow that isn’t too runny. This ensures a flawless spray application. Keep adjusting until you reach the perfect consistency and viscosity for your project.
Applying Thinned Paint with a Sprayer
To get a smooth professional finish, it’s crucial to set up the spray gun correctly and use the right spraying techniques.
Setting Up the Spray Gun
First, choose the right nozzle for your spray gun. A smaller nozzle works better for thinned enamel paint. Make sure to attach and secure the paint cup tightly. Fill the cup with the thinned enamel paint.
Next, set the pressure control. Different spray guns have different settings, so check the manual. A typical range is 25-30 psi for a fine finish. Before spraying on your project, always test spray on a scrap surface. This helps you adjust the flow and fan width until you get the desired spray pattern.
Spraying Technique and Tips
Hold the spray gun about 6-12 inches away from the surface. This distance helps prevent drips and ensures even coverage.
Use smooth, even strokes, moving the gun side-to-side or up-and-down in a steady motion. Overlap each pass by about 50% to avoid streaks.
Maintain a consistent speed to avoid pooling. If you hold the gun still in one spot, you’ll get a thick coat that takes forever to dry.
Tilt the gun slightly on edges and corners to get full coverage there.
Between coats, it’s always good to let the paint dry thoroughly. This usually takes about 15-30 minutes, depending on the paint and environmental conditions. After each session, clean your spray gun and tips properly for the best maintenance and performance.
Aftercare and Troubleshooting
Once you finish using enamel paint in your spray gun, you’ll need to clean up and handle any common problems that come up. Keeping your equipment in good shape ensures better results next time.
Cleaning Up
First, disconnect the spray gun from the compressor. Then, flush out any remaining paint. If you’re using oil-based enamel paint, use acetone or paint thinner. For water-based enamel, warm soapy water works best.
Next, remove the paint cup and clean it thoroughly with a brush. Don’t forget the nozzle; a thin brush or even a toothpick can help remove any clogs. Be sure to wash the funnel and any other tools you used as well. Doing this right after painting saves time and trouble later.
Finally, dry all parts completely before reassembling the spray gun. Wet parts can rust or introduce water into your next paint job, causing issues.
Dealing with Common Issues
Clogging is a frequent issue. If you notice uneven spraying, a clog might have formed. Disassemble the nozzle and clean it gently with a brush.
Air bubbles in the paint can also cause problems. Stir the paint slowly to minimize bubbles. Avoid shaking the container too much.
Keeping safety equipment in good condition is important, too. Always check your mask, gloves, and goggles for any damage before beginning work. Safe equipment means a safer, more enjoyable painting experience.
If your results are streaky or uneven, it could be due to improper thinning. Double-check the thinning ratio and make adjustments. Testing on a scrap piece of material is always a good idea.
Real-World Applications
Whether you’re freshening up old furniture, restoring metal gates, or giving your kitchen a makeover, thinning enamel paint is an important step for a smooth finish. Let’s dive into how this technique is applied in different areas of your home.
Furniture and Woodwork
Thinning enamel paint can help you breathe new life into old furniture pieces. When painting wooden chairs, tables, or cabinets, thinning the paint allows it to spread evenly. This prevents brush marks and achieves a smooth, professional look.
Using a sprayer on wood surfaces ensures that the paint reaches all those tiny nooks and crannies. Additionally, thinner paint reduces the paint’s tendency to build up on edges, leaving a uniform appearance.
Metals and Outdoor Materials
For metal surfaces like gates, railings, or garden furniture, thinning enamel paint is crucial. It ensures the paint adheres well and covers evenly, preventing rust and weather damage.
Thinned enamel paint is especially useful for items exposed to the elements, like metal doors and outdoor fixtures. The paint’s smooth application creates a durable coating, reducing the risk of peeling or chipping over time.
Sprucing Up Home Spaces
Enamel paint isn’t limited to furniture and metals. It’s also great for home spaces.
Imagine repainting your kitchen cabinets or bathroom tiles for a fresh, updated look. Thinning the paint helps you achieve an even, streak-free finish.
Moreover, using a sprayer can make quick work of large areas like stair railings or appliance surfaces. A well-thinned coat of enamel paint can give your home’s interior and exterior a polished and new appearance that stands up to daily wear and tear.
Frequently Asked Questions
Thinning enamel paint for spraying can be tricky, but doing it right ensures a smoother finish. Here are some common questions to make the process easier and your paint job more professional.
What’s the best thinner to use when trying to reduce the viscosity of enamel paint for a smoother spray application?
For oil-based enamel paint, use mineral spirits or paint thinner. These work well to reduce the paint’s viscosity without compromising the finish. Lacquer thinner is another option, but it’s usually stronger and more suitable for specific applications.
Get the Fail-Safe Paint Color Playbook (Free PDF)
36 proven colors • 8 ready palettes • trim & sheen guide • printable testing cards.
When preparing enamel paint for woodwork spraying, what ratios should I keep in mind to ensure optimal flow and finish?
A typical ratio for thinning oil-based enamel paint is using one part thinner to three parts paint. However, always check the manufacturer’s recommendations. For latex enamel paint, use water in a ratio of about half a cup per gallon.
In the art of automotive painting, can anyone enlighten me on the proper way to dilute enamel paint when using a sprayer?
For automotive purposes, you’ll need to be precise. Use a ratio of 1:1 or 1:2 (paint to thinner). Make sure to test spray a small area first to ensure the mixture flows well through your specific sprayer.
Can you give me a rundown of the steps to thin oil-based enamel paint for use in a standard paint sprayer?
Absolutely! Start by pouring your enamel paint into a clean container. Add paint thinner gradually, usually starting with a 1:3 ratio. Stir thoroughly. Test the paint’s consistency by spraying on a piece of cardboard. Adjust by adding more thinner if necessary until you achieve a smooth flow.
I’m all geared up to airbrush some models, but I’m scratching my head here, wondering how to get enamel paint to the right consistency. Any tips?
Airbrushing can be detailed work. For enamel paint, aim for the consistency of milk. Use a ratio of about 1:1 (paint to thinner). Test spray to ensure fine, even lines. Patience is key, so adjust gradually.
For those of you who’ve tackled projects with enamel paint, is there a safe way to thin it using water, or should I stick to professional thinners?
Water is only suitable for thinning water-based or latex enamel paints. Oil-based enamels require specific thinners like mineral spirits or paint thinner. Never use water to thin oil-based enamel as it won’t mix properly and could ruin your paint job.