How To Paint A Fiberglass Bathtub: Easy Steps To Transform Your Bathroom
Thinking about giving your bathroom a fresh look without breaking the bank? Painting your fiberglass bathtub is an affordable and effective solution. You don’t need to be a professional to achieve a smooth, like-new finish. With the right tools and some careful preparation, you can transform your old, tired bathtub into a beautiful centerpiece for your bathroom.
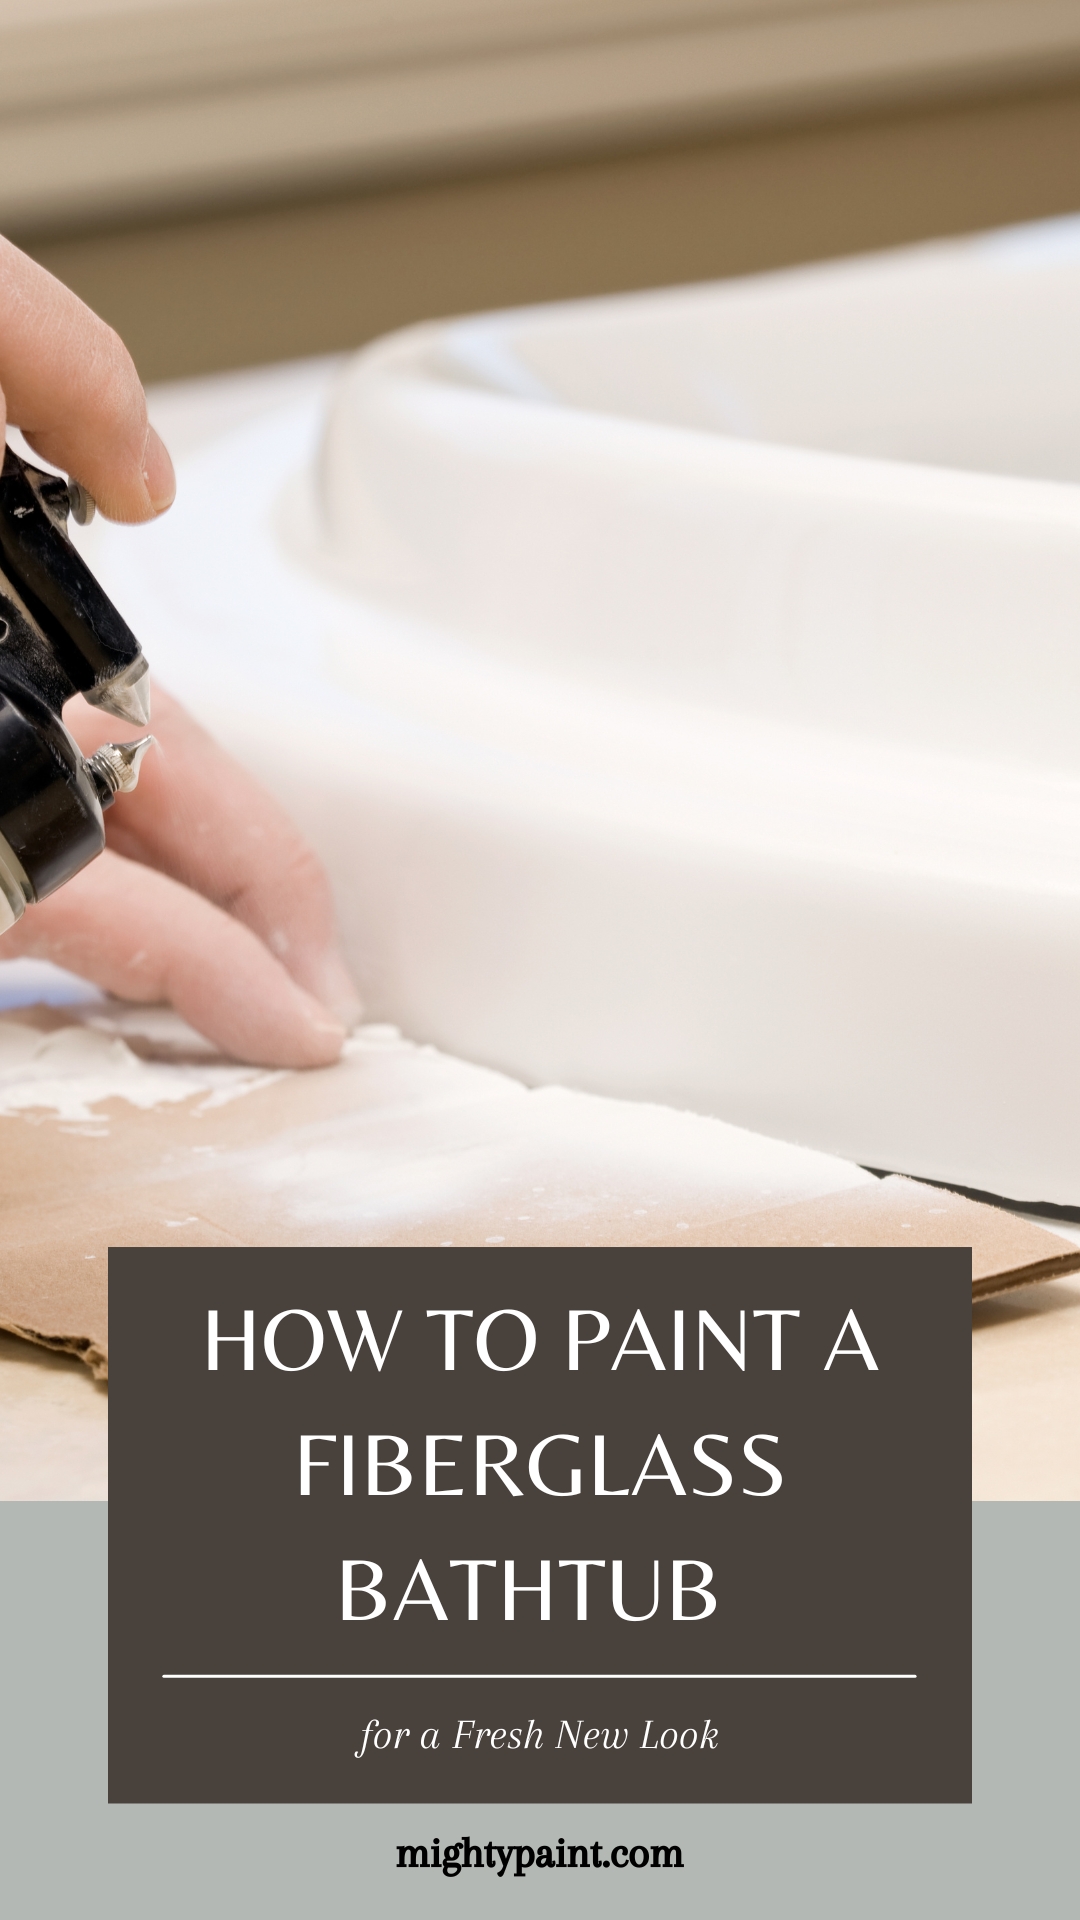
Start by gathering your materials: epoxy paint or acrylic epoxy paint, painter’s tape, plastic sheets, and a sandpaper pack. You’ll need a well-ventilated space, especially if your tub is fixed. Once ready, you’ll be guided step-by-step through the process to ensure everything goes smoothly and you get the best results.
Get the Fail-Safe Paint Color Playbook (Free PDF)
36 proven colors • 8 ready palettes • trim & sheen guide • printable testing cards.
Imagine stepping into a gleaming, clean bathtub every day. Doesn’t that sound great? By following our step-by-step guide and taking your time with each step, you can achieve a professional-looking finish. Painting a fiberglass bathtub is not only cost-effective but also a rewarding DIY project that can make your bathroom feel brand new.
Why Choose Fiberglass
Fiberglass is a popular choice for bathtubs due to its durability, affordability, and ease of maintenance. Besides being cost-effective, it offers impressive resistance to cracks and stains making it a practical option for many.
Advantages of Fiberglass
Fiberglass tubs are lightweight, making them easier to install compared to other materials like cast iron. This material’s durability ensures a long lifespan, and it can withstand regular use without significant wear and tear. Affordability is another key point; fiberglass bathtubs are generally less expensive than porcelain or cast iron tubs. This makes them an excellent choice if you’re on a budget but still want a high-quality bathtub. Maintenance is straightforward; a simple solution of mild soap and water usually suffices to keep it clean.
Comparison With Other Materials
When compared to acrylic bathtubs, fiberglass is generally more budget-friendly, although both are durable options. Acrylic might have a slight edge in retaining heat, but fiberglass still performs well. Compared to cast iron, fiberglass is far lighter, making it easier to install. Porcelain tubs are more resistant to scratching but are much heavier and expensive. Fiberglass tubs strike a good balance by offering adequate durability and an attractive price point. They are less prone to chipping compared to porcelain as well.
Tools and Materials
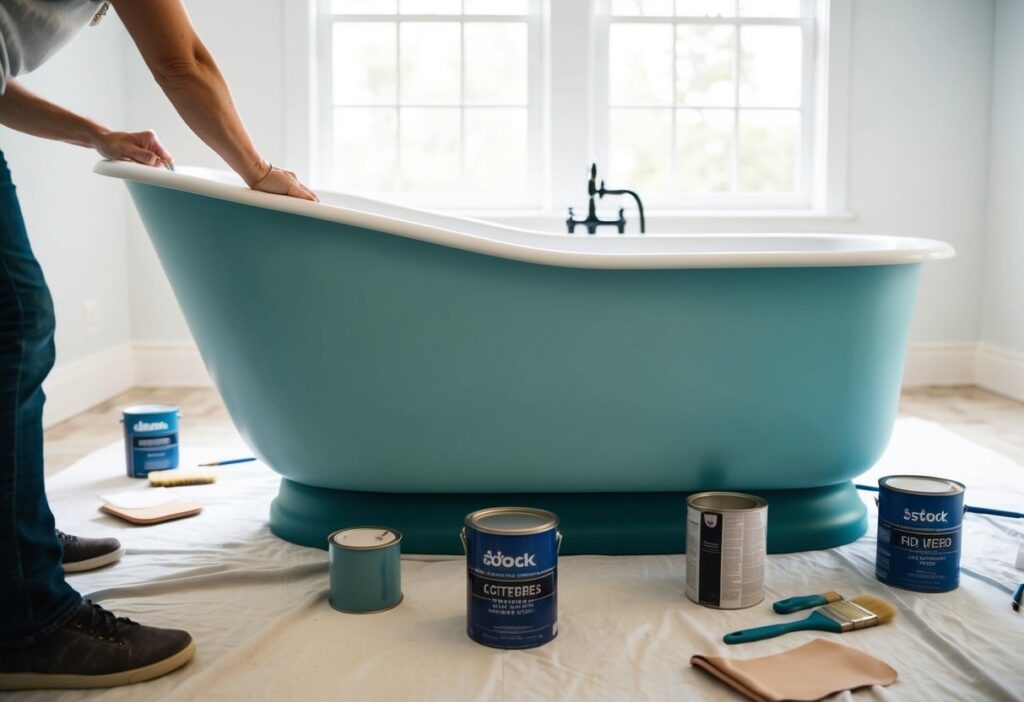
Painting a fiberglass bathtub requires a few specific tools and materials. Getting these ready will make the job easier and help you get a smooth finish.
Materials Needed:
- Epoxy Paint or Acrylic Paint
- Primer
- Epoxy Putty (for any repairs)
- Drop Cloths (to protect your floors)
- Masking Tape (to cover edges and fixtures)
Tools Required:
- Sandpaper (medium and fine grit)
- Paint Roller with foam covers
- Paintbrush (a high-quality brush can make a difference)
- Foam Brush (great for smaller or tight areas)
- Varnish Brush (for a glossy finish)
Don’t forget your personal protective equipment. This includes:
- Gloves
- Safety Goggles
- Face Mask
You can find most of these items at your local hardware store. Prices will vary, but expect to spend around $50 to $100 on the paint and primer. Other tools and materials could total another $50 to $100.
Preparing Your Space:
Cover your workspace with drop cloths and use masking tape to protect fixtures. Make sure your bathroom is well-ventilated.
Quick Tip:
Using both a roller and a brush can help you achieve a smooth, even coat.
Get the Fail-Safe Paint Color Playbook (Free PDF)
36 proven colors • 8 ready palettes • trim & sheen guide • printable testing cards.
Preparation is Key
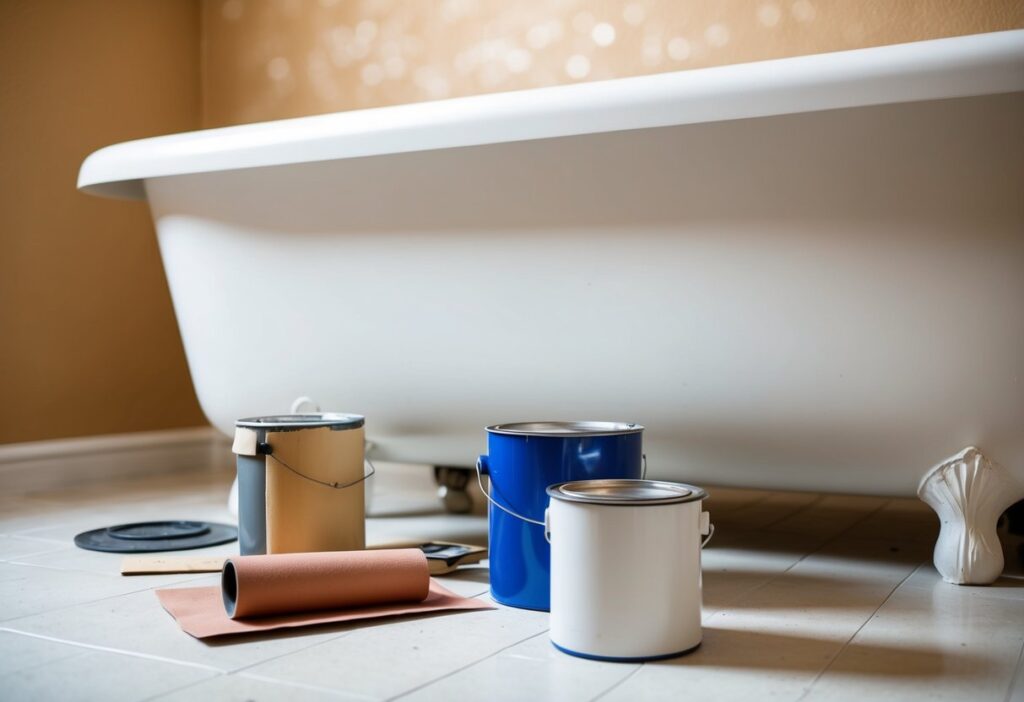
To achieve a striking finish on your fiberglass bathtub, preparation steps like cleaning, sanding, and repairing are crucial. Proper prep ensures paint adheres well and lasts longer.
Cleaning the Tub
First, clean the fiberglass surface thoroughly. Use a mild detergent mixed with water to remove dirt and soap scum. A degreaser can help dissolve stubborn grime. Scrub every corner with a non-abrasive sponge to avoid scratches.
Rinse the tub well and let it dry completely. A dry surface ensures that the primer and paint stick properly. Work in a well-ventilated area to prevent inhaling any cleaning chemicals.
Sanding the Tub
Next, sand the entire tub surface using fine-grit sandpaper or a sanding sponge. Sanding helps the paint bond better to the tub. Wear personal protective equipment like masks and goggles to stay safe.
Wipe away the sanding dust with a clean, damp cloth. Make sure no dust remains, as this can affect the smoothness of the paint job.
Repairing Chips and Scratches
Inspect the tub for any chips or scratches. Fill these imperfections with a fiberglass repair kit. Follow the kit instructions to mix and apply the filler.
Smooth the filler with a putty knife and let it dry. Once dry, sand the repaired areas until smooth. This step is critical to achieving an even coat of paint.
Priming for Perfection
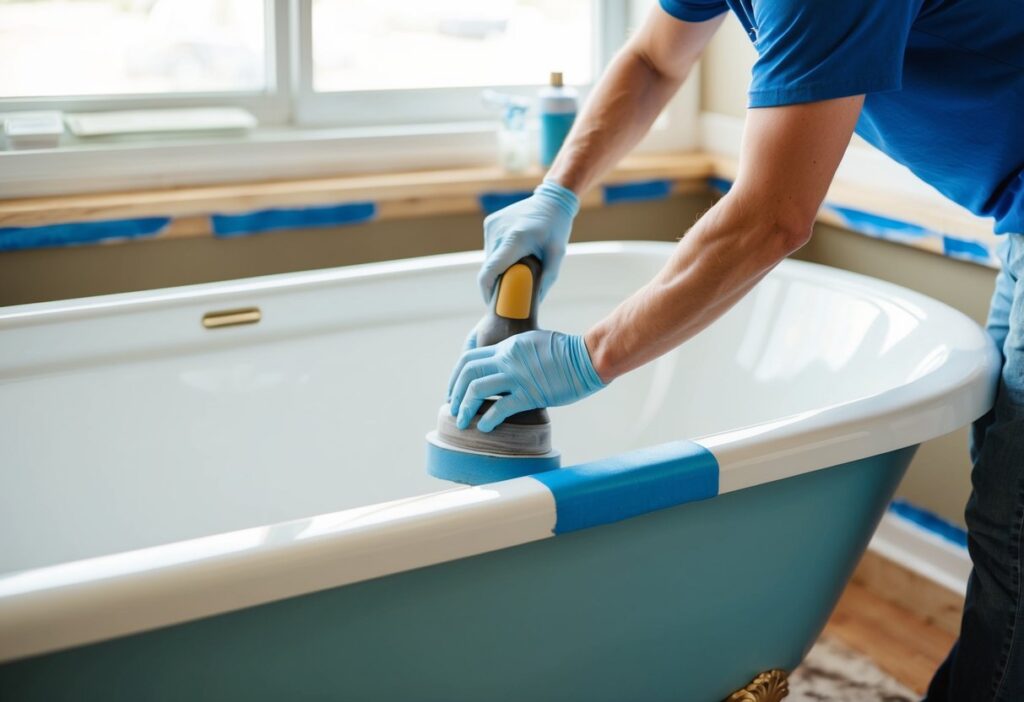
Before painting your fiberglass bathtub, it’s essential to apply a primer for a smooth and durable finish. The primer ensures that the paint will adhere well and last longer without peeling.
Applying Primer
First, select a high-quality primer designed for fiberglass surfaces. This will help fill in small cracks and scratches, making the surface even. Look for primers that mention adhesion and durability on the label.
Next, clean the bathtub thoroughly to remove any debris or residue. You can use a household cleaner and a sponge for this step.
Dry the surface completely before applying the primer.
Get the Fail-Safe Paint Color Playbook (Free PDF)
36 proven colors • 8 ready palettes • trim & sheen guide • printable testing cards.
For best results, use a spray gun for even coverage, although a paintbrush or roller works too. Apply a light, even coat and let it dry according to the product instructions. This step might take several hours but it’s crucial for good adhesion.
Make sure you cover all areas, paying special attention to imperfections. If you find any cracks or deep scratches, this is the time to fill them with epoxy putty before priming.
Preparing for Paint
Once your primer is dry, inspect the bathtub for any missed spots or areas needing extra attention. Lightly sand the primed surface with fine-grit sandpaper to ensure a smooth finish.
Wipe off any dust with a clean, damp cloth and allow the surface to dry. Now, you’re ready for the painting phase.
Painting the Tub
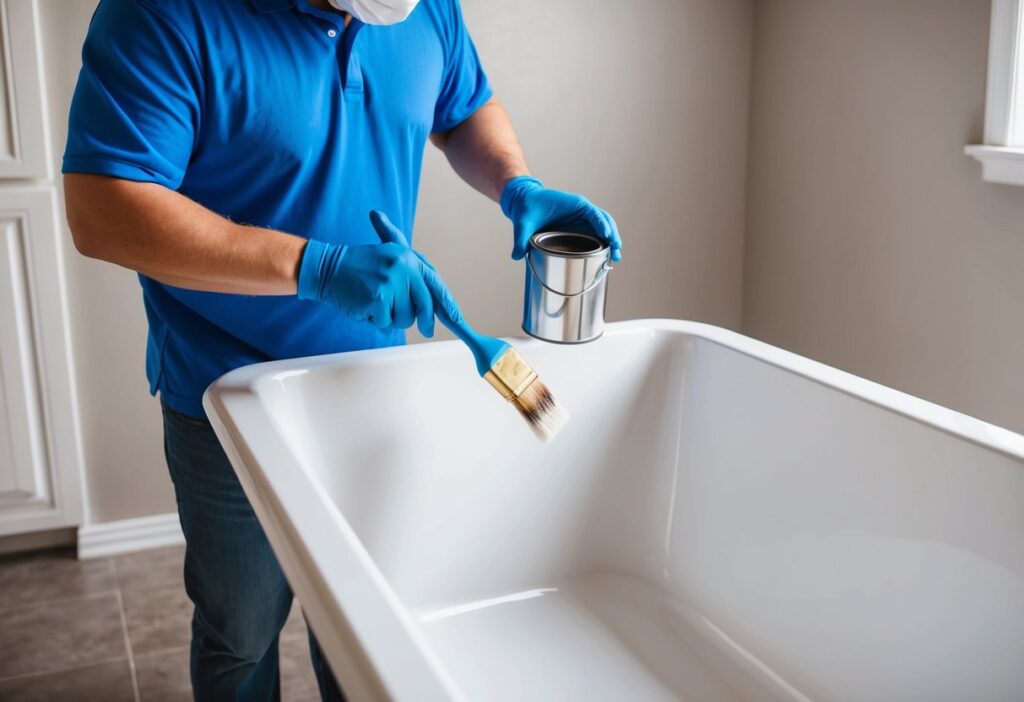
Before you start painting, make sure your tub is properly prepped and you’ve chosen the right materials. Choosing the right paint and tools will make a huge difference in how the final job looks.
First Coat of Paint
Start with a clean, dry tub. Use a high-quality epoxy paint for best results. Epoxy sticks well and is durable, making it perfect for bathrooms. You can use a foam roller or a spray gun for even coverage.
Get the Fail-Safe Paint Color Playbook (Free PDF)
36 proven colors • 8 ready palettes • trim & sheen guide • printable testing cards.
Apply the first coat evenly. Don’t rush. It should take a consistent effort to get a smooth layer. Make sure to let the paint dry completely before proceeding to the next step. This can take several hours or even a day.
Applying Additional Coats
After the first coat is dry, inspect your work. If you find any bubbles or uneven spots, lightly sand these areas with fine-grit sandpaper. Then, apply the second coat.
A second coat of paint will ensure better coverage and more durability. Use the same method as you did for the first coat. Allow the second coat to dry thoroughly. For a fiberglass tub, applying 2-3 coats is ideal.
Get the Fail-Safe Paint Color Playbook (Free PDF)
36 proven colors • 8 ready palettes • trim & sheen guide • printable testing cards.
Pro tip: Use an acrylic-urethane enamel paint if you want extra shine and durability. This type of paint is especially good for high-moisture areas like bathrooms.

Finishing Touches
Paying attention to the final steps is crucial to achieving a professional-looking finish. You should focus on drying, sealing, and reattaching fixtures to ensure durability and a neat appearance.
Caulking and Sealing
After the paint has dried, usually over 24 to 48 hours, it’s time to seal the edges. Caulking is essential for keeping water out and extending the life of your paint job. Choose a high-quality, mildew-resistant caulk.
Cut the tip of the caulk tube at a 45-degree angle. This helps control the flow of caulk. Then, apply the caulk along the seams between the tub and the walls, and make sure to smooth it out with a wet finger or caulking tool.
Check for any gaps or missed areas. If you find any, apply a second coat. A well-sealed tub not only looks better but also offers better protection against moisture.
Reinstalling Fixtures
Once your sealing is complete and fully dried, you can focus on reinstalling fixtures. Carefully reattach handles, faucets, and showerheads. Make sure each piece is secure to avoid any leaks or damage.
Before reinstalling, it’s a good idea to clean each fixture. This prevents any dirt or grime from sticking to your newly painted tub. Tighten any screws and check to see if any fixtures need new washers or gaskets.
Care and Maintenance
Caring for your newly painted fiberglass bathtub isn’t complicated, but it’s essential for making sure it looks great for years. Let’s dive into some tips!
Regular Cleaning
- Use a soft cloth or a non-abrasive sponge to wipe down the tub after each use. This helps prevent soap scum and grime buildup.
- Avoid using harsh chemicals or abrasive cleaners as they can cause the paint to fade.
Avoid Scratches
- Don’t use abrasive pads or steel wool. They can scratch the surface.
- If you need to scrub, a soft brush is the safest option.
Watch for Damage
- Keep an eye on any chips or scratches. Repair them quickly to prevent further damage.
- You can use epoxy putty or a tub repair kit to fix small damages.
Gentle Products
- Opt for gentle, non-abrasive cleaners that are safe for painted surfaces.
- A mix of warm water and a few drops of mild dish soap works wonders.
Regular Inspections
- Inspect your bathtub regularly for signs of wear and tear.
- Address small issues before they become big problems.
Maintenance Tips
- Try to rinse the tub after each use. This helps remove soap residue before it turns into grime.
- Dry the tub with a soft cloth to prevent water spots and mineral deposits.
Additional Tips and Tricks
Pro Tips:
- Before you start, gather all your materials: masking tape, plastic sheeting, utility knife, and your choice of marine paint or a tub refinishing kit.
- Use a repair kit to fix any cracks or chips in the fiberglass before painting.
Ventilation and Safety:
Get the Fail-Safe Paint Color Playbook (Free PDF)
36 proven colors • 8 ready palettes • trim & sheen guide • printable testing cards.
- Make sure your bathroom is well-ventilated. Open windows or use a fan to circulate air.
- Wear a respirator to protect yourself from fumes. Safety first!
Preparing the Tub:
- Use fine-grit sandpaper to lightly sand the entire tub. This helps the paint stick better.
- Cover nearby tiles, faucets, and surfaces with plastic sheeting and masking tape to avoid any paint splashes.
- Apply the paint in light, even coats. This avoids drips and gives a smooth finish.
- Use a paintbrush or roller for precision, especially around edges.
- When applying masking tape, press down firmly to avoid paint seeping through.
- After painting, carefully peel off the tape using a utility knife to get clean edges.
Choose the Right Paint:
- Marine paint is a great option for high-moisture areas like bathtubs. It’s robust and long-lasting.
- If you’re new to this, consider a tub refinishing kit. It usually includes everything you need.
Updating Your Bathroom:
- Painting your tub is a fantastic way to update the look of your bathroom without breaking the bank.
- Complement your new tub color with matching accessories for a cohesive look.
