
How to Paint Granite: A Step-by-Step Guide for Durable Results
Transforming a natural, durable surface like granite can be an incredibly rewarding home improvement project. While granite is often admired for its natural beauty and inherent permanence, sometimes a space needs a dramatic aesthetic shift—perhaps to complement a new color palette, modernize a tired look, or camouflage minor wear. Painting granite, when done correctly, offers a versatile, customizable, and surprisingly cost-effective way to achieve a dramatic transformation.
However, painting stone is not a simple DIY endeavor. It requires meticulous preparation, specialized materials, and a careful understanding of surface chemistry. The goal is not just to apply paint, but to create a durable, breathable, and aesthetically pleasing coating that bonds correctly with the porous minerals of the stone. This comprehensive guide will walk you through the entire process, ensuring you can confidently take on this ambitious project and achieve professional-grade results.
Get the Fail-Safe Paint Color Playbook (Free PDF)
36 proven colors • 8 ready palettes • trim & sheen guide • printable testing cards.
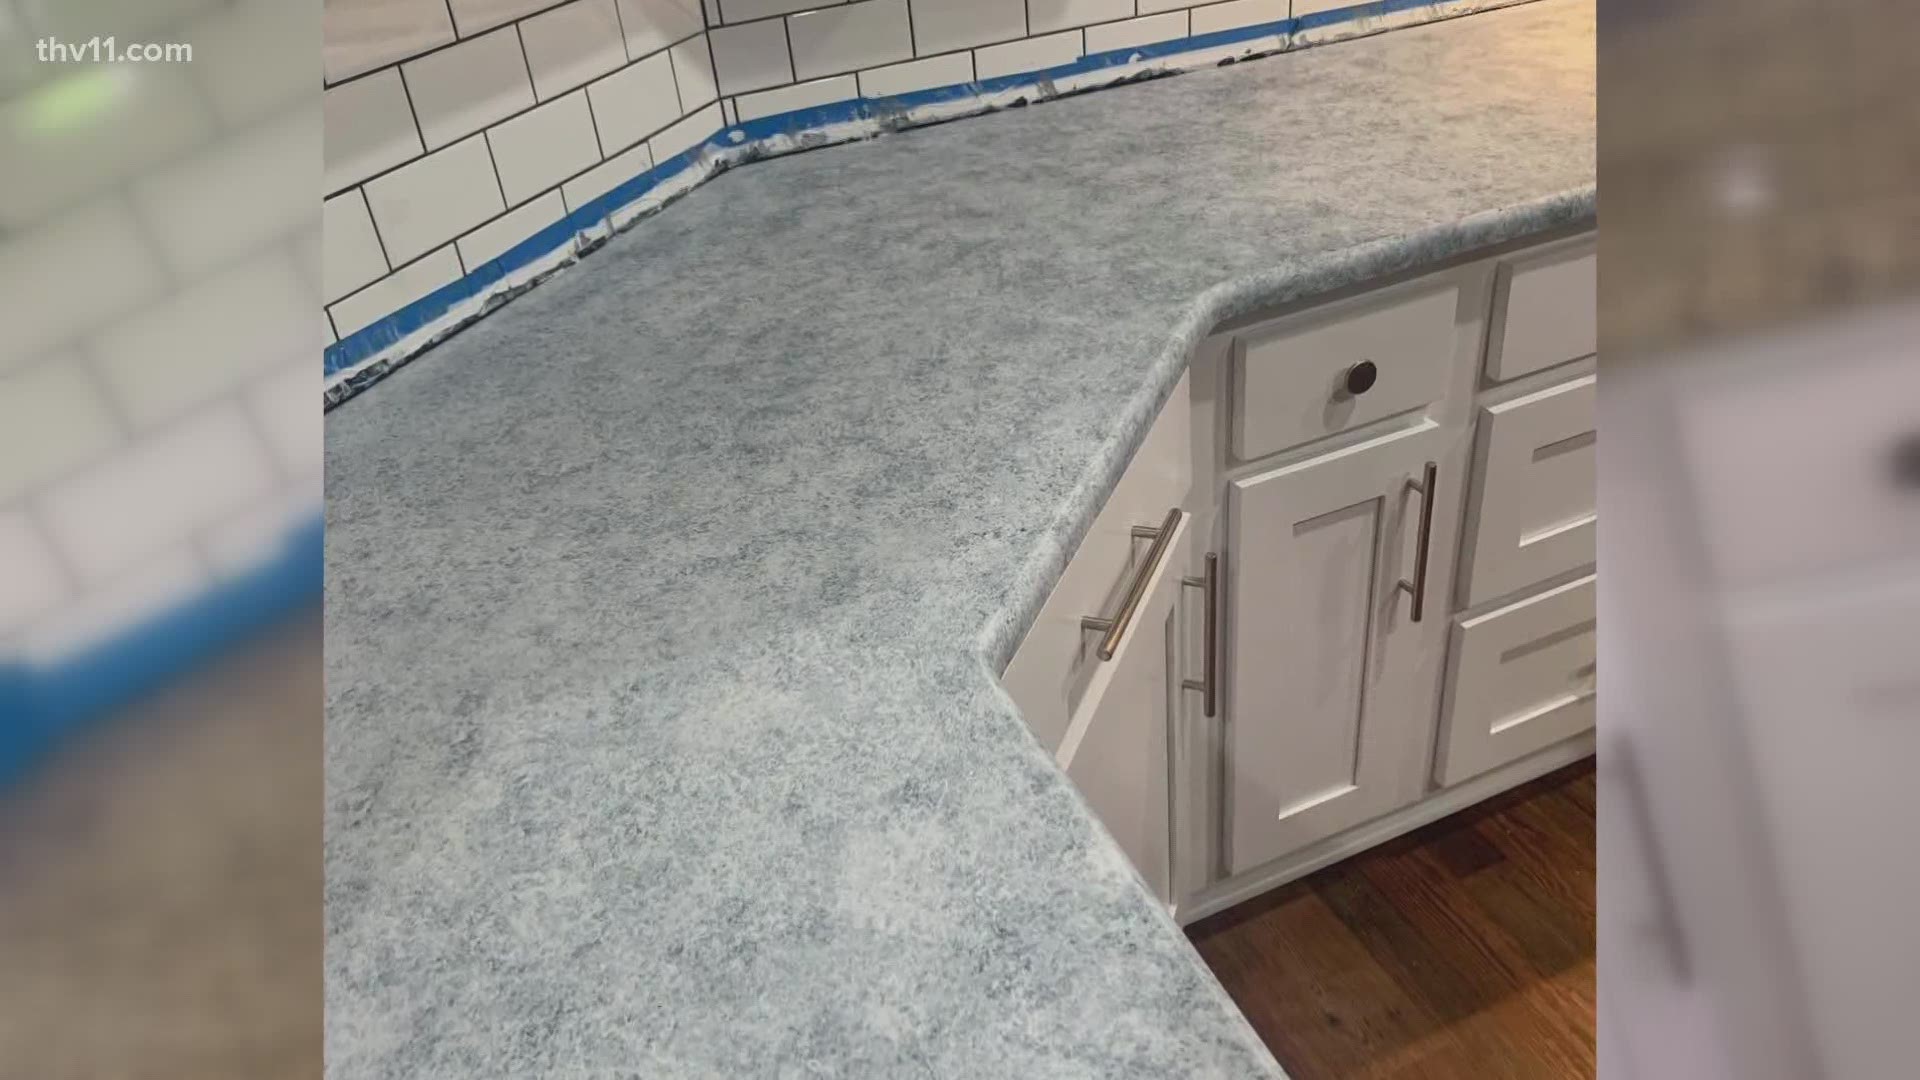
Quick answer: To Paint Granite, start with the safest first step for the material involved, test a small area when needed, and follow the process in thin, controlled stages. Use proper ventilation and protective gear when chemicals, sanding, spraying, or solvents are involved.
Assessing Your Granite: Is Painting the Right Choice?
Before gathering a single brush or can of paint, you must assess your granite. Granite is a natural metamorphic rock, and its porosity, finish (polished or honed), and existing sealant all affect how paint will adhere and how durable the final result will be. A thorough pre-project assessment prevents costly mistakes and helps you decide if an alternative, like staining or enameled resurfacing, might be more appropriate.
Understanding Granite’s Surface Chemistry
The suitability of the surface depends on its current state. Is it highly polished, which means it is sealed and non-porous, or is it honed, which retains a more matte, porous finish? Highly polished surfaces will require significantly more aggressive preparation to ensure the paint can bite into the mineral structure. If the granite is severely damaged, or if the underlying substrate is suspect, painting may be impossible, and professional resurfacing should be considered.
Key factors to check:
- Porosity: How much does the stone absorb? Highly porous stone needs aggressive sealing and priming.
- Damage: Are there large chips or deep gouges? These must be repaired and sealed before painting.
- Existing Sealants: If the granite is currently sealed, the sealant must be thoroughly removed, as it will prevent the new primer from bonding properly.
Planning Before You Start
Measure the space and estimate how much paint or material you will need. Check the surface condition for cracks, peeling, or moisture issues that could affect adhesion.
| Attribute | Relevance | Popularity | Prominence |
|---|---|---|---|
| Durability | High | High | High |
| Texture | Medium | Medium | Medium |
| Compatibility | High | Medium | High |
Decide whether you need primer, specialty coatings, or extra prep steps. Review the weather forecast if working outside, and schedule the project when conditions support proper drying and curing.
The Step-by-Step Guide to Painting Granite
This process requires patience and attention to detail. We are building a durable, multi-layered system, not just applying a single coat of paint.
Phase 1: Deep Cleaning and Surface Preparation
This is arguably the most critical phase. The paint is only as good as the surface it adheres to. Skipping this step guarantees failure.
- Initial Cleaning: Use a pH-neutral cleaner designed for natural stone. Never use acidic cleaners (like vinegar or harsh bathroom cleaners), as these can etch the mineral composition of the granite. Scrub thoroughly to remove all surface grime, oils, and residues.
- Repairing Imperfections: Inspect the surface for chips, cracks, or deep scratches. Use an appropriate, color-matched epoxy or specialized granite repair compound to fill these gaps. Allow the compound to cure fully, then lightly sand the patches until flush with the surrounding stone.
- Sanding and Abrading: Use medium-grit sandpaper (around 120–180 grit) to lightly abrade the entire surface. This process, known as “keying,” creates a microscopic texture or “tooth” that the primer and paint can mechanically grip onto. This is essential for adhesion.
- Final Rinse: Rinse the entire area with clean water and allow it to dry completely. Use a vacuum or a damp cloth to remove all sanding dust and debris.
Phase 2: Priming for Adhesion and Stain Blocking
The primer acts as the chemical bridge between the stone and the paint. It seals the porous minerals and creates a uniform, receptive base.
- Select the Primer: You must use a specialized primer formulated for masonry, stone, or porous surfaces. Standard paint primers will not provide the necessary adhesion or stain-blocking capabilities required for granite.
- Application: Apply the primer evenly using a roller or brush, working in manageable sections. Ensure deep coverage, paying close attention to edges, seams, and repaired areas.
- Drying Time: Strictly adhere to the manufacturer’s recommended drying time. The primer must be dry to the touch before proceeding.
Phase 3: Applying the Paint Coats
The paint application must be steady, controlled, and systematic.
- Paint Selection: Choose a paint formulated for high-moisture or durable surfaces, ideally a water-based, stain-resistant acrylic or specialty stone paint.
- The First Coat: Stir the paint thoroughly. Apply the first coat using a combination of rollers for large, flat areas and brushes for edges and crevices. Apply thin, even coats, following the natural grain of the stone.
- Drying and Second Coat: Allow the first coat to dry completely. Apply the second coat, repeating the process. Multiple thin coats are always better than one thick coat, as thick coats are prone to dripping, pooling, and cracking.
Phase 4: Texturing and Patterning (Advanced Finishing)
Once the base paint is cured, you can add visual interest. Always practice the desired technique on a small, inconspicuous test area first.
- Sponging: Use a damp, natural sponge to gently dab the paint surface. This technique pulls up the background color or creates a mottled, rustic effect.
- Dry Brushing: Dip a stiff, clean brush into a small amount of paint and wipe it almost dry on a rag. Lightly drag the brush across the surface to create highlights and depth, mimicking aged stone.
- Masking and Stenciling: Use high-quality painter’s tape and stencils to create geometric patterns or stripes. Paint the designated areas, and allow the tape/stencil to dry completely before removing it for crisp lines.
Phase 5: Sealing and Protection
The final step is to protect your hard work. A high-quality sealer acts as a sacrificial layer, preventing moisture, household chemicals, and minor abrasion from damaging the paint underneath.
- Select the Sealer: Use a penetrating, breathable, and stain-resistant sealer compatible with your paint type.
- Application: Apply the sealer evenly using a brush or roller, following the manufacturer’s instructions.
- Curing: Allow the sealer to cure completely. The surface may need to be treated with specialized cleaners or conditioners after the sealer cures to restore the natural look of the stone beneath the protective layer.
Tools and Materials Checklist
Having the right equipment is non-negotiable for success. Do not attempt this project without these specialized items.
- Cleaning Supplies: pH-neutral stone cleaner, soft sponges, lint-free cloths.
- Abrasives: Sandpaper of various grits (120, 180, 220).
- Repair Materials: Epoxy or specialized granite repair compound, filler knives.
- Priming/Painting: Specialized stone or masonry primer (must be stain-blocking), high-quality, durable paint (water-based, acrylic/epoxy recommended).
- Application Tools: Short nap or foam rollers, natural bristle brushes (for detail work), paint trays.
- Safety Gear: Respirator mask (NIOSH approved for solvents/dust), safety goggles, nitrile gloves, dust masks.
- Protection: Painter’s tape, drop cloths, plastic sheeting.
Design and Color Considerations for Stone
Choosing the right color and finish can dramatically change the perceived value and style of the room. The stone’s natural undertones and the room’s lighting are crucial considerations.
Understanding Undertones: Granite often contains natural mineral variations that manifest as undertones (e.g., blue-greys, warm browns, cool greens). When selecting paint, always consider these undertones. A cool-toned paint might pop beautifully against a naturally warm granite, creating contrast, while a complementary neutral tone might be best for a seamless, subtle look.
Sheen and Finish: The finish of the paint (sheen) affects how light interacts with the surface.
- Matte/Flat: Absorbs light, creating a sophisticated, muted, and rustic look. Best for disguising minor imperfections.
- Satin/Eggshell: Offers a slight sheen, providing durability and a subtle depth without being overly reflective. Ideal for high-traffic areas.
- Gloss: Highly reflective and dramatic, but also prone to showing smudges and scratches, making it generally unsuitable for countertops.
Lighting Effects: Natural light changes throughout the day, and artificial light (especially warm vs. cool LEDs) alters color perception. Always test your paint colors on the actual granite surface at different times of day before committing to the entire project.
Common Mistakes to Avoid (Troubleshooting)
Even with detailed instructions, mistakes can happen. Being aware of these common pitfalls is key to troubleshooting and success.
- Skipping the Primer: This is the single biggest mistake. Without a specialized primer, the paint will struggle to adhere to the highly porous mineral structure, leading to flaking, peeling, and uneven color absorption.
- Using Household Cleaners: Using harsh, acidic, or alkaline cleaners will damage the natural patina and minerals of the granite, making the surface rougher and less receptive to paint. Stick only to pH-neutral stone cleaners.
- Insufficient Sanding: If the surface isn’t properly abraded (keyed), the paint will simply sit on top of the surface without chemical or mechanical bond, leading to failure.
- Ignoring Drying Times: Rushing the process by applying the next coat or sealer before the previous one is fully cured will result in paint mixing, streaking, or premature failure.
Safety and Professional Considerations
Because this project involves abrasives, chemical solvents, and various coatings, safety is paramount. Never compromise on protective gear.
- Personal Protective Equipment (PPE): Always wear appropriate PPE, including safety goggles, nitrile gloves, and, critically, a NIOSH-approved respirator mask when sanding or working with solvents and primers.
- Ventilation: Work in an extremely well-ventilated area. Keep windows open and use fans to ensure continuous airflow to prevent the buildup of toxic fumes from solvents and primers.
- Handling Chemicals: Read and follow all manufacturer Safety Data Sheets (SDS) for every product used. Dispose of chemical waste according to local environmental codes.
- When to Call a Pro: If the granite is large (e.g., an entire kitchen island), if the underlying structural integrity is questionable, or if the project involves complex electrical or plumbing connections, do not attempt it. Consult a professional stone resurfacing or painting specialist.
Frequently Asked Questions
Do I need to sand the granite before painting it?
Yes, sanding (or abrading) is mandatory. This process, called “keying,” creates a microscopic texture or “tooth” on the surface. This mechanical grip is essential because it allows the primer and subsequent paint coats to bond correctly, preventing the paint from simply sitting on top of the surface and peeling off prematurely.
Can I use regular household cleaners or paints?
Absolutely not. You must use specialized, pH-neutral stone cleaners for preparation, and specialized masonry or stone primers and paints. Standard household cleaners (like vinegar or abrasive bathroom cleaners) are acidic and will etch the granite, damaging its natural minerals. Similarly, standard paints lack the necessary adhesion and durability required for porous, mineral-based stone.
Get the Fail-Safe Paint Color Playbook (Free PDF)
36 proven colors • 8 ready palettes • trim & sheen guide • printable testing cards.
How do I know if I should hire a professional?
You should call a professional resurfacing specialist if the granite is an extremely large surface (like an entire kitchen island), if there is structural damage, or if the project involves complex plumbing or electrical work. If the underlying integrity is questionable, professional assessment is required to prevent costly failure.
The most critical step is Phase 1: Deep Cleaning and Surface Preparation. The paint’s longevity and adhesion depend entirely on the surface condition. This includes using pH-neutral cleaners, repairing all chips and cracks, and properly sanding the surface to key it. Skipping any of these preparation steps guarantees poor results.
How do I ensure the paint is durable and long-lasting?
Durability comes from a multi-layered system, not a single coat. You must follow the process: 1) Deep Clean & Keying, 2) Specialized Priming, 3) Multiple thin coats of paint, and 4) A final breathable protective sealer. Always allow the manufacturer-recommended drying time between every single step.
Conclusion
Painting granite is a profound act of design and DIY craftsmanship. It demands rigor in preparation, careful selection of specialized materials, and patience throughout the layering process. By treating the process as a multi-stage system—from cleaning and sanding to priming, painting, and sealing—you are not just applying paint; you are creating a durable, beautiful, and personalized finish that honors the underlying beauty of the stone.
Embrace the process, take your time, and remember that the meticulous preparation is the secret to a stunning, lasting transformation. With confidence and the right materials, your granite surface is ready to be transformed into a breathtaking focal point.