How To Paint Texture On Walls: Tips for a Beautiful Finish
Adding texture to your walls can transform a dull room into a more dynamic and inviting space. Whether you want a subtle design or something more dramatic, techniques for painting textured walls are easy to learn. Textured paint not only hides flaws but also adds depth and character to your home.

Getting started is simpler than you might think. You can use various methods, including rolling, sponging, or even mixing in materials like sand for a unique finish. With the right supplies and a bit of patience, you can master the art of textured painting and create a stunning wall that showcases your style.
Get the Fail-Safe Paint Color Playbook (Free PDF)
36 proven colors • 8 ready palettes • trim & sheen guide • printable testing cards.
As you dive into this creative process, you’ll discover that each technique offers something different. So, grab your supplies and let’s explore how you can paint texture on your walls to elevate your home’s aesthetic.
Understanding Wall Textures
When you think about wall textures, there are many styles to consider. Each type creates a different look and feel in your space.
Common Types of Textures:
- Popcorn Texture: This style has a bumpy, uneven look. It can help hide imperfections but might feel outdated.
- Orange Peel Texture: This texture is smoother than popcorn. It has a subtle, dimpled appearance.
- Knockdown Texture: This is created by applying a heavier layer of material. After drying, you knock it down for a more smoothed-out look.
- Stucco: Often used on the exterior, this texture gives a rugged, natural look. It can also be used inside for a unique style.
Intricate Textures: These can be made using various tools like sponges and combs. They create patterns that can add visual interest to your walls.
Choosing the right texture depends on your personal style and the room’s function. Some textures can make a room feel cozy, while others can offer a modern touch.
Remember, preparing your walls properly is essential for the best results. Clean surfaces and good priming can make the texture stand out beautifully.
Preparing Your Walls for Texture Painting
Before you start painting textured walls, it’s important to prepare your surfaces properly. This will create a strong foundation for your texture coating to adhere well and look great. The next steps include cleaning and repairing your walls, applying primer, and setting up your work area.
Cleaning and Repairing Your Walls
Begin by cleaning your walls. Dust and dirt can cling to textured surfaces, so give them a good wipe-down. Use a damp cloth to remove any debris. For stubborn stains, consider a mild cleaning solution.
Next, check for any damages. Look for holes, cracks, or uneven areas. Fill small holes with spackle or a spackling compound. For larger issues, use a joint compound or drywall compound. Smooth the filled areas with a putty knife and let them dry fully.
Applying Primer
Applying primer is a key step. Choose a high-build primer designed for textured surfaces. This type of primer helps fill in any gaps and provides a strong base for your texture.
If you want to match your texture paint color, you can use a tinted primer. Apply a coat with a roller, ensuring even coverage. Let the primer dry completely before moving on. This step will help your texture coat adhere better and improve the final look.
Setting Up Your Work Area
Having a clean and organized work area makes a big difference. Move furniture away from the walls and cover it with drop cloths. This will protect it from paint splatters.
Use painter’s tape to mask off edges and trim. Tape around windows, doors, and baseboards for clean lines. Make sure the tape sticks well, especially on the textured areas. Gather all your materials, including your texture paint and tools, so everything is within reach. This will help the process go smoothly and efficiently.
Get the Fail-Safe Paint Color Playbook (Free PDF)
36 proven colors • 8 ready palettes • trim & sheen guide • printable testing cards.
Choosing Your Paint and Tools

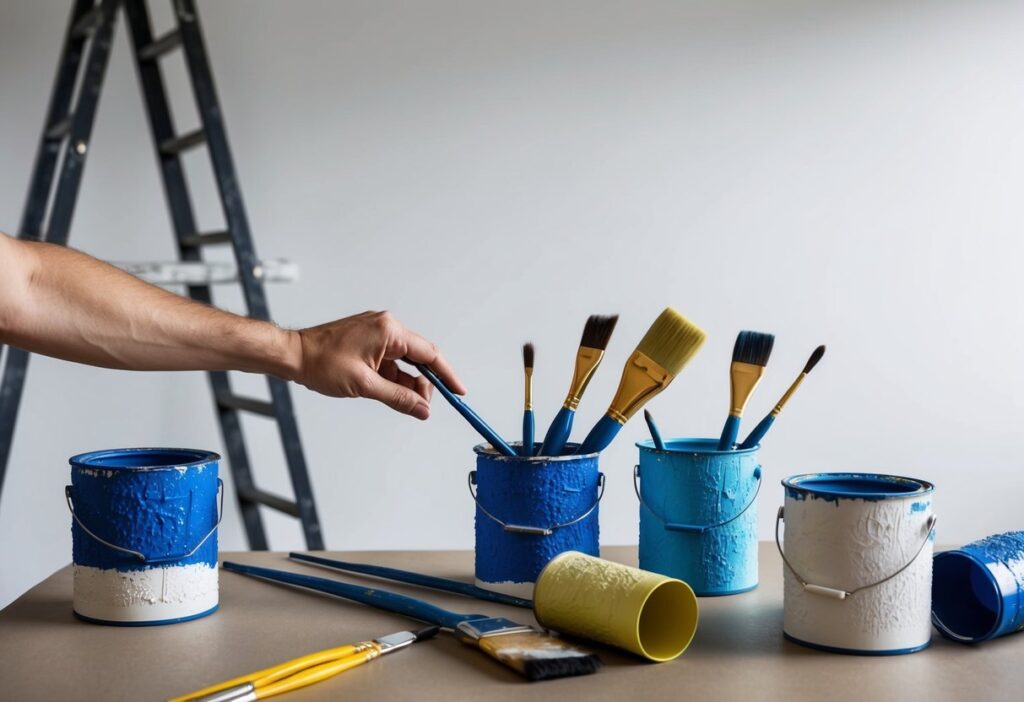
Choosing the right paint and tools is essential for achieving the best results when painting textured walls. You’ll need to consider the type of paint that suits your style and the tools that will help you apply it effectively.
Selecting the Right Paint
When it comes to paint, you have options. For textured walls, interior paint works best. You might consider both oil-based paint and latex paint, but latex is usually easier to work with and clean up.
A matte finish can hide imperfections, while a semi-gloss sheen offers durability and washability. If you want to enhance your wall’s texture, choose a paint specifically designed for textured surfaces. This type of paint helps ensure even coverage without losing the unique look of your walls.
Picking Appropriate Tools
Using the right tools can make a significant difference in your painting project. A good paintbrush is essential for cutting in around edges. Look for one with stiff bristles that can reach into the nooks of textured walls.
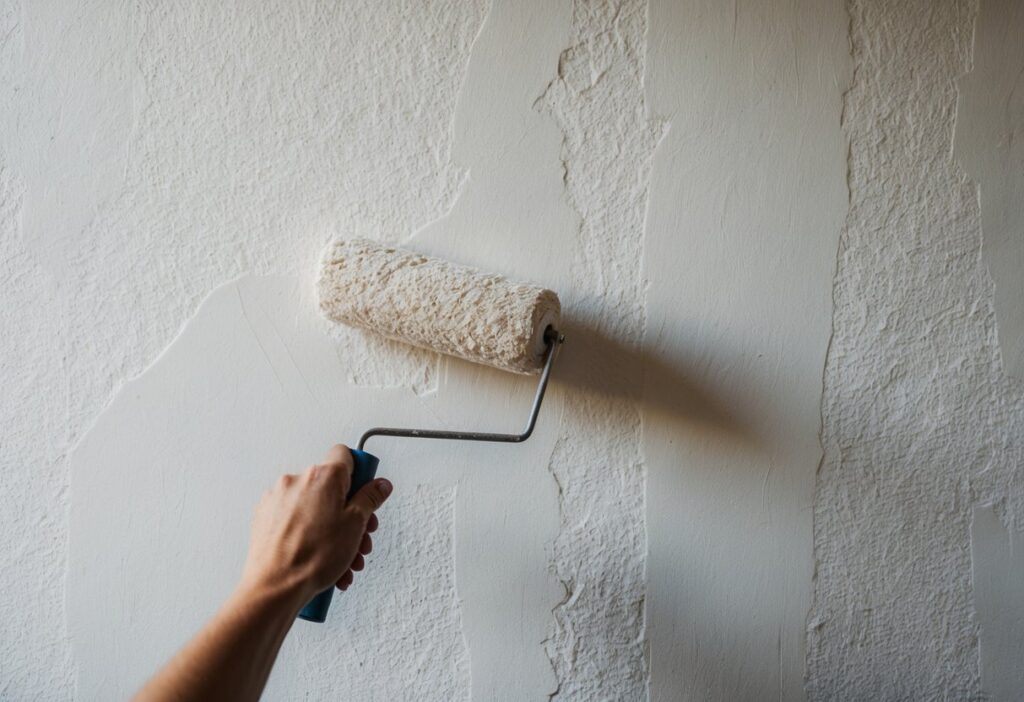
You’ll also need a paint roller. A thicker roller cover is ideal for textured surfaces, as it can hold more paint and apply it evenly. Don’t forget a paint tray to hold the paint and a texture sprayer for larger jobs. This equipment helps you achieve a smooth finish while highlighting the patterns on your walls.
Understanding Roller Covers
Roller covers come in a variety of nap lengths. For textured walls, a cover with a nap of ¾ inch to 1 inch is usually best. This thickness allows the roller to fill in the textures while applying paint.
There are different materials for roller covers, such as synthetic and natural fibers. Synthetic covers are great for water-based paints and can provide a smooth finish. If you are using oil-based paints, opt for natural fiber covers. Knowing which type to use will help you avoid any issues during your project.
Applying Texture to Your Walls

Texturing your walls adds depth and character to your space. It’s not only about aesthetics but also about creating a unique atmosphere. Below are important techniques to help you effectively apply texture.
Creating a Textured Base
Before you start adding texture, prepare your wall surface. Patch any holes or chips with drywall compound or lightweight spackle. Use a drywall knife to ensure the patch is flush with the surrounding area.
After patching, it’s crucial to prime the wall. Use a flat white latex primer or drywall primer. This tackiness will help the texture adhere better. Allow the primer to cure for about two hours.
When ready, mix your texture material with water. If you’re using a drywall compound, aim for a smooth cake batter consistency. This will make application easier and create a better finish.
Get the Fail-Safe Paint Color Playbook (Free PDF)
36 proven colors • 8 ready palettes • trim & sheen guide • printable testing cards.
Texturing Techniques
There are various techniques for adding texture to your walls. Two popular methods are sponging and using a trowel.
Sponging: Dampen a natural sea sponge, dip it in your texture paint, and dab it onto the wall. This creates a soft, uneven look.
Troweling: Using a trowel, apply a thicker layer of wall compound. Hold the trowel at an angle for better control. You can create patterns or simply fill in areas to add dimension.
Whether you choose Venetian plaster for a luxurious look or a simple textured paint, the choice depends on the style you want. Experiment lightly before committing to large areas.
Using a Texture Sprayer
For a smooth and even finish, consider using a texture sprayer. This tool makes it easy to apply texture quickly. Begin by mixing your texture material according to the manufacturer’s instructions.
Make sure to practice on a scrap piece of drywall to get a feel for the sprayer. Start at the top of the wall and work your way down in even strokes. Adjust the nozzle to change the texture’s size and appearance.
After application, let the texture dry completely. This usually takes about 24 hours. Finally, you can paint over your textured surface. Use a roller to fill in any indents without applying too much pressure.
Painting Over Textured Walls
Painting over textured walls requires special techniques to ensure a smooth finish. You will need the right tools and methods for the best results. Here are key points to help guide you through this process.
The Painting Process
Start by preparing your walls. Clean the surface to remove dust and dirt. This helps the paint stick better. For deep scratches or holes, patch them up before you start.
Get the Fail-Safe Paint Color Playbook (Free PDF)
36 proven colors • 8 ready palettes • trim & sheen guide • printable testing cards.
Choose a primer made for textured surfaces. A “high build” or “problem surface” primer works well. This helps the paint adhere properly and cover the texture.
When applying paint, use a thick nap roller. This lets the roller fill in the texture without pressing too hard. Roll from top to bottom and keep a wet edge to avoid lines. If needed, use a brush for corners or edges where the roller can’t reach.
Techniques for Textured Surfaces
For the best outcome, use a painter’s tape specifically designed for textured walls. To prevent paint from seeping under the tape, you can add a thin line of caulk along the edge. This seals any gaps and keeps lines sharp.
Try painting in small sections. This allows you to control the texture while the paint is still wet. Avoid pressing down too hard, as this can flatten the texture.
If you notice uneven spots, do not worry. A second coat often evens things out. Make sure to let the first coat dry completely before applying the next. Following these tips will help you achieve a great finish on your textured walls.
Inspecting and Touching Up
Start by looking closely at your walls. Check for any missed spots or areas that need a touch-up. Lightly run your hand over the surface to feel for uneven texture or drips. If you find any flaws, use a small brush or roller to carefully correct them.
Keep the texture consistent by using the same technique you applied before. For subtle repairs, consider applying a thin layer of paint that matches your wall’s color. This may help blend the area seamlessly.
Cleaning and Storage
Once you’ve finished inspecting, it’s time to clean. Start by removing painter’s tape while the paint is still slightly wet to avoid peeling. Use a damp cloth to wipe away any spills or splatters.
For your brushes and rollers, rinse them with warm soapy water or follow the cleaning instructions specific to the paint type you used. Make sure to store your tools in a dry place. If you used energy-efficient space heaters during the drying process, turn them off and let them cool before putting them away. Keeping your tools clean and stored properly will prepare you for your next DIY adventure!

Decor and Design Considerations
When painting textured walls, it’s important to think about color choices, lighting, and how the texture fits into your overall interior design. These factors can greatly enhance the beauty of your space.
Choosing Complementary Colors
Selecting the right colors is crucial for textured walls. Opt for complementary colors that enhance the texture without overwhelming the eye.
- Neutral tones can create a calming backdrop, allowing the texture to stand out.
- Bold colors can add excitement and visual interest. Choose one or two accent colors to balance the overall look.
Consider using a light-colored primer before applying paint. This enhances the true color of your topcoat. When in doubt, test samples on the wall to see how they look in different lighting throughout the day.
Accentuating Textured Walls with Lighting
Lighting plays a significant role in showcasing your textured walls. It can highlight the depth and patterns, making them more inviting.
- Use soft, diffused light for a gentle look, or spotlights to draw attention to specific areas.
- Consider wall sconces for added dimension. They illuminate the wall and create interesting shadows that enhance the texture.
Avoid overhead lighting that can wash out the details. Instead, aim for a combination of ambient, task, and accent lighting for a balanced effect that really brings your textures to life.
Incorporating Wall Texture into Interior Design
Integrating textured walls into your overall interior design can transform a room. Think about how the texture interacts with the rest of your decor.
- Match textures with furniture styles. For example, rustic textures pair well with farmhouse or vintage decor.
- Use textiles, such as cushions or curtains, that echo the wall texture to create cohesion.
Always keep balance in mind. If your walls are highly textured, choose simpler furniture and decor to prevent a cluttered look. This approach ensures that your textured walls shine without creating visual chaos.
Frequently Asked Questions
If you’re looking to add texture to your walls, you may have some questions. The techniques can vary, and knowing which tools to use will help you achieve the look you want. Here are some common questions about texturing walls.
What are some easy texture techniques for painting walls?
Some easy techniques include using a sponge, comb, or brush. You can also try knockdown or stippling for different looks. Each method creates a unique effect on your wall.
What is the best method to texture walls using a roller?
To texture walls with a roller, choose a thick-nap roller to better fill in the wall’s texture. Apply a thick coat of textured paint, letting the roller do the work without pressing too hard. This helps avoid visible roller marks.
Get the Fail-Safe Paint Color Playbook (Free PDF)
36 proven colors • 8 ready palettes • trim & sheen guide • printable testing cards.
How can you apply texture to your walls using a sponge?
To use a sponge, dip it in a textured paint or joint compound. Lightly press the sponge onto the wall, twisting as you go to create patterns. This method is great for adding depth and design.
What types of wall textures are there to choose from?
You can choose from several types of textures, including knockdown, slap brush, and popcorn. Each offers a different look and feel for your space. Consider how each texture fits with your room’s style.
What tools do I need to texture a wall by hand?
For hand texturing, gather tools like a trowel, sponge, and brush. You may also want a roller for base coats. These tools will help you create various textured patterns effectively.
Can you use a sprayer to add texture to a wall, and if so, how?
Yes, a sprayer can add texture. Use a hopper gun or airless sprayer with a heavy mixture. Practice on a scrap piece first, then spray evenly on the wall for a consistent texture.
