How To Fix Paint Scratches On Wall: Simple Steps for a Flawless Finish
Scratches on your walls can be an eyesore, especially for homeowners who take pride in a neat home. Fixing paint scratches is not just about aesthetics; it can protect the wall from further damage and maintain your home’s value.
Whether it’s from moving furniture or kids playing around, dealing with paint scratches quickly can save you from bigger repairs later.
Get the Fail-Safe Paint Color Playbook (Free PDF)
36 proven colors • 8 ready palettes • trim & sheen guide • printable testing cards.

You don’t need to be a professional to touch up those scratches. With some simple steps and a few tools, you can restore your walls to their former glory.
Start by cleaning the area to ensure proper paint adhesion. Then, gather your supplies. You’ll usually need a putty knife, spackling compound, primer, and matching paint. The right technique can make a huge difference in the final look.
Before you know it, you’ll be able to enjoy a flawless wall again!
Taking the time to repair these scratches will not only enhance the appearance of your living space but also give you a sense of accomplishment.
Read on to learn exactly how to tackle those pesky paint scratches with ease.
Understanding Wall Scratches
Wall scratches can be a common issue in homes, often caused by furniture, pets, or general wear and tear. Knowing how to identify these scratches and assess their depth is important for effective repair.
Identifying Different Types of Scratches
There are various types of scratches you may find on your walls. Understanding these can help you choose the right repair method.
- Shallow Scratches
- These are minor abrasions that affect only the paint layer.
- They can often be cleaned and touched up easily with paint.
- Deep Gouges
- A deeper scratch cuts through the paint and may damage the drywall.
- You might need spackling paste or joint compound to fill these properly.
- Cracks
- These can form due to settling or humidity changes.
- Cracks require a different method for repair, often involving caulk or patching material.
Assess the Depth of the Scratch
Determining the depth of a scratch is crucial for deciding how to fix it.
- Visual Inspection:
Start by looking closely at the scratch. If it’s only a light mark, you might just need a touch-up. - Fingernail Test:
Gently run your fingernail over the scratch. If you can feel it catch, it may be deep. - Use of Guidelines:
You could create a simple chart:- Light marks: Need touch-up paint.
- Moderate scratches: Use spackling paste.
- Deep gouges or cracks: Require more extensive repair work.
Preparing to Repair the Scratch

Before you start fixing paint scratches, it’s important to get ready. This means cleaning the damaged area and gathering the right tools and materials. Doing these steps will make the repair easier and more effective.
Cleaning the Damaged Area
Start by cleaning the scratch and the area around it. This is important because dirt or grime can affect how well the repair materials stick.
Use a sponge and mix a little detergent with water in a bowl.
- Wipe Down: Dampen the sponge with the soapy water and gently wipe the scratched area.
- Rinse: After cleaning, rinse the sponge with plain water and wipe the area again. This step helps remove any soap residue.
- Dry: Use a clean cloth to dry the area completely.
Make sure to protect the floor by placing a drop cloth under the area you’re working on. This will catch any debris or paint drips during the repair.
Gathering Tools and Materials
Next, you’ll need to gather your tools and materials. Having everything ready will help speed up the process.
Get the Fail-Safe Paint Color Playbook (Free PDF)
36 proven colors • 8 ready palettes • trim & sheen guide • printable testing cards.
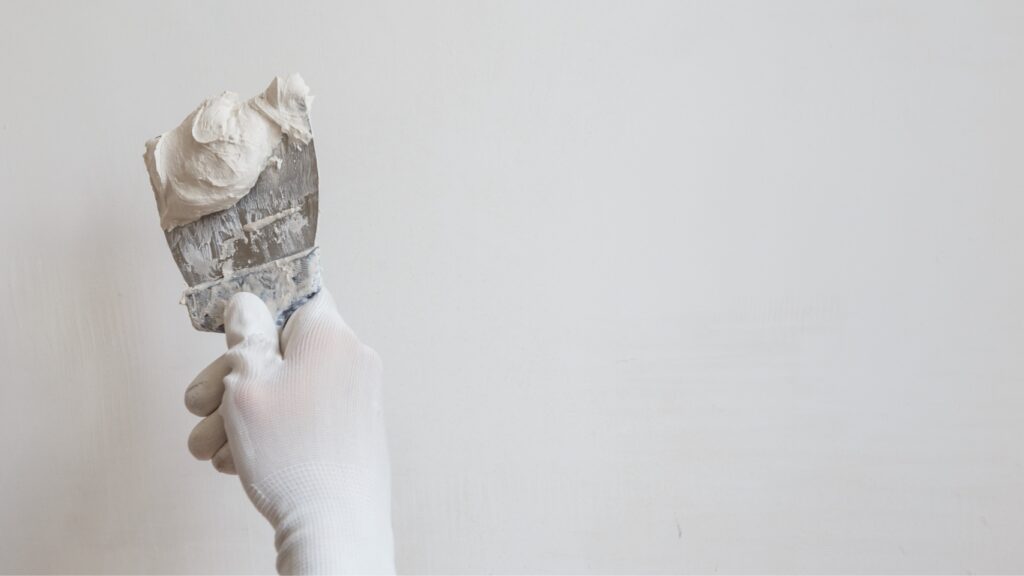
- Putty Knife: Use this tool to apply spackling compound.
- Spackling Compound: This product will fill scratches and small holes.
- Sandpaper: Choose fine-grit sandpaper to smooth out the area after applying the compound.
- Paint and Primer: Match these to your wall color for a seamless look.
Get these items before moving on. A well-prepared workspace will make your repair job easier and yield better results!
Repairing Minor Scratches

Repairing minor scratches on your wall can be simple and rewarding. With a few supplies and some patience, you can restore the look of your walls without much hassle. Here’s how to get started.
Spackling and Sanding
To fix a scratch, the first step is to clean the area around it. Use a damp cloth to remove dust and debris.
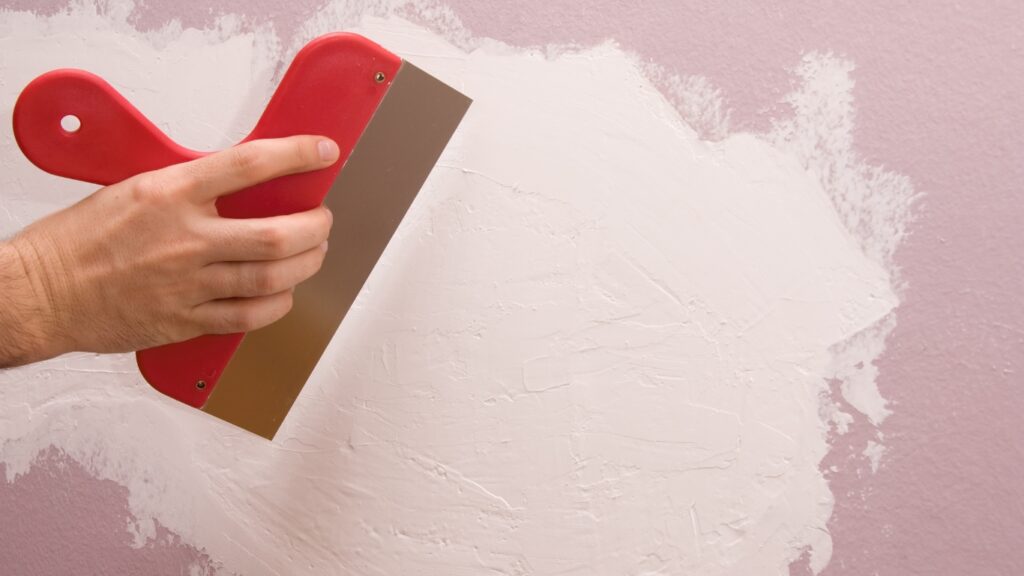
Next, take some spackling compound and apply it over the scratch using a small putty knife. Cover the scratch and a little bit around it to blend it in.
Once the spackling compound has dried, grab some sandpaper. Use fine-grit sandpaper to sand the area lightly. This smooths out the surface, making the patch blend better with the wall.
Make sure not to sand too hard; you don’t want to create more damage. After sanding, wipe the area with a clean cloth to remove any dust.
Applying Primer and Paint
After sanding, it’s time to apply primer. Use a small brush for precise application.
Cover the patched area with a thin layer of primer to help the paint stick and look even.
Once the primer is dry, you can paint over the patch.
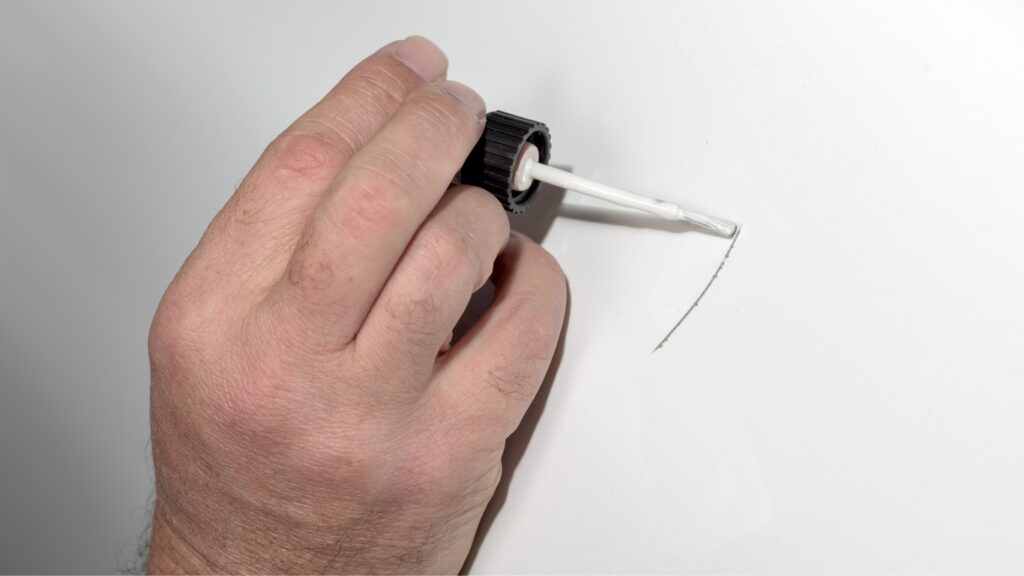
Choose a paint color that matches the rest of your wall. Use a touch-up paint if you have it available.
Apply paint in thin layers and let each layer dry completely before adding more. This helps achieve a smooth finish.
Get the Fail-Safe Paint Color Playbook (Free PDF)
36 proven colors • 8 ready palettes • trim & sheen guide • printable testing cards.
You’ll be amazed at how well you can repair those minor scratches!
Fixing Deep Scratches and Gouges

Deep scratches and gouges can be frustrating, but fixing them is not too hard. You can restore your wall by focusing on using spackle effectively, sanding for a smooth finish, and applying primer carefully.
Using Putty Knife and Spackle
Start by cleaning the damaged area. You want to remove any loose paint or debris.
Then, grab your putty knife and lightweight spackling paste.
Use the knife to scoop out a small amount of spackle and press it into the scratch. Make sure to spread it evenly over the gouge and a little beyond the edges. This extra coverage helps to blend the repair into the wall.
If the scratch is deep, you may need to apply a second layer after the first dries. Allow it to dry completely, as this ensures a strong repair.
Sanding for Smoothness
Once the spackle is dry, it’s time to sand the area.
Grab some fine-grit sandpaper—a 220-grit works well.
Gently sand the repaired area until it feels smooth and flush with the surrounding wall.
Get the Fail-Safe Paint Color Playbook (Free PDF)
36 proven colors • 8 ready palettes • trim & sheen guide • printable testing cards.
Be careful not to sand too hard, as this might damage the spackle or surrounding paint. After sanding, wipe away any dust with a damp cloth. A clean surface is key for the next step.
Primer Application Tips
After sanding, the next important step is to apply primer.
Use a small brush or roller to add a coat of primer to the repaired area.
Start at the center of the patch and then move out towards the edges. This technique, called feathering, helps fade the new paint into the old.
Once the primer dries, you can assess if a second coat is needed. A good primer sets the stage for a smooth finish when you finally paint over it.
Painting Over Repaired Areas

Once you have fixed the scratches on your wall, it’s time to paint over the repaired areas. This step is crucial to blend the repairs seamlessly with the rest of the wall.
Choosing the Right Paintbrush
When it comes to touching up paint, choosing the right paintbrush is essential.
For small repairs, a 1 to 2-inch sash brush works well. This allows you to reach tight spots and control the amount of paint you apply.
If your wall has a smooth finish, you might also consider a small microfiber roller. This can help cover slightly larger areas more evenly.
Before you start painting, ensure your brush is clean. A dirty brush can leave unwanted particles in your paint.
Tip: Dip only the tip of the brush into the paint to avoid overloading it, which can lead to drips.
Achieving Consistent Paint Texture
To achieve a consistent texture when painting over repaired areas, use the same technique you used for the original application.
If the wall was rolled before, use a roller for your touch-up. If it was brushed, stick with a brush.
Feathering the edges—blending the new paint into the old—is important.
When applying the paint, start in the middle of the repaired area and gently work your way out. This helps to avoid harsh lines that can draw attention to the touch-up. If you’re unsure if it’s blending well, step back a few feet and check.
Get the Fail-Safe Paint Color Playbook (Free PDF)
36 proven colors • 8 ready palettes • trim & sheen guide • printable testing cards.
Applying the Final Touch-ups
After the first coat dries, inspect it for any uneven spots. If necessary, apply a second coat of the same paint. Use the original color for a perfect match. Make sure each layer is dry before you apply another coat to prevent peeling or bubbling.
Use a light hand to touch up edges or spots that need extra coverage. If you’re unsure, trying a small section first can help. Once satisfied, clean your brushes and rollers immediately to ensure they last for your next project. Happy painting!

Finishing Touches
After you’ve repaired the scratches, it’s important to make sure your workspace is clean and the repaired area meets your expectations. You want everything to look neat and polished. Let’s dive into how to tidy up after your repairs and check your work.
Cleaning Up Your Work Space
Once you’ve finished touching up the paint, don’t forget to clean up. Start by gathering all your supplies, like brushes and spackle. Be sure to check for spackle dust left behind after repairs.
- Remove any paint drips you might have missed. A damp cloth helps here.
- Dispose of excess compound properly. Don’t just throw it in the trash if it’s not allowed in your area.
- Wipe down surfaces that you used, ensuring no nicks or marks remain.
Taking a few minutes to tidy up not only looks nicer but makes your next project easier. Plus, a clean space can help avoid uneven surfaces next time you paint!
Inspecting the Repaired Surface
Now it’s time to check your work. Inspecting the area you just repaired will help ensure everything looks seamless.
- Look for uneven surfaces where you applied spackle. If you see bumps, gently sand them down.
- Examine the color match. You want the new paint to blend in perfectly. If it doesn’t, you may need a second coat.
- Make sure there are no visible nicks or flaws. If you spot any, you can touch up those spots easily.
A close inspection helps avoid any surprises later and ensures a smooth, polished finish. Your walls deserve that little extra care!
Preventive Tips and Tricks
Keeping your walls looking perfect doesn’t have to be a tough job. With a few simple strategies, you can protect your walls from scratches and other damage while maintaining their beauty.
Protecting Walls from Future Damage
Start by adding some protective features to your home. Chair rail can help shield your walls from furniture bumps. Install it at a comfortable height, and it will guard against marks.
Consider using doorstops as well. These can prevent door handles from hitting walls and causing scratches.
To further protect your walls, choose washable paint that can withstand scrubbing. Many paints today are more durable and can be wiped clean without harming the surface. Remember to use furniture pads under heavy items to avoid scratches when they are moved.
Regular Maintenance
Regular maintenance is key to keeping your walls scratch-free. Start by inspecting your walls frequently for any signs of wear or damage. A simple look can prevent a bigger problem later on.
When you notice a small scratch, touch it up right away to stop it from spreading. Keep a small can of paint handy for quick fixes.
Also, regularly clean your walls. This removes dirt and grime that can cause marks. Use a damp sponge or cloth, and avoid harsh chemicals that can damage paint.
Try to create a cleaning schedule. Make it easy by using a checklist to stay on track. Small, regular actions can keep your walls looking new longer.
Frequently Asked Questions
If you’ve got scratches on your walls, you probably have some questions about fixing them. Let’s dive into specific concerns that many people have when it comes to wall repairs.
What’s the best way to repair deep scratches on my wall without repainting the entire surface?
For deep scratches, start by sanding the area lightly to smooth it out. Use spackling paste to fill in the scratch. Apply it with a putty knife, and once dried, sand it again for a seamless finish. Then mimic the surrounding paint with touch-up paint.
Can I easily remove marks on walls without ruining the paint job?
Yes, you can typically remove marks with a damp cloth or a gentle cleaner. Be careful with abrasive materials, as they might scratch the paint. Test any cleaner on a small area first to ensure it won’t damage the paint.
What are the most effective methods to fix paint that has been scratched off by pets, like dogs or cats?
If pets have damaged your wall, use a fine-grit sandpaper on the scratched area. After that, apply spackling compound to fill the scratches. Once everything’s dry, touch up with matching paint.
Get the Fail-Safe Paint Color Playbook (Free PDF)
36 proven colors • 8 ready palettes • trim & sheen guide • printable testing cards.
Is there a special kit I need for repairing scratches on my wall paint, or can I use common household items?
You don’t need a special kit. Common household items like a putty knife, sandpaper, and spackling paste work great. You may also need a matching paint for the final touch-up.
How can I touch up paint on my wall after repairing scratches to make it blend in seamlessly?
To blend touch-up paint, apply it in thin layers. Use a small brush for precision and feather the edges to avoid harsh lines. This helps the new paint match the existing wall color better.
What steps do I need to follow to fix and conceal paint patches on a wall after scratch damage?
Begin by cleaning the scratched area to remove any dust or debris. Then, sand it lightly and apply spackling compound.
Once the spackling compound dries, sand the area again for a smooth surface. Finally, finish up with a matching paint to hide the patch completely.
