How to Paint Glazed Ceramic Pots: Easy Steps for a Stunning Finish
Painting glazed ceramic pots can transform them into charming pieces for your home decor. To get started, you’ll need to properly prepare the ceramic surface to help the paint stick. This includes cleaning the pot thoroughly and lightly sanding it with fine-grit sandpaper to create a suitable surface for the paint. It’s a simple process that makes a big difference.
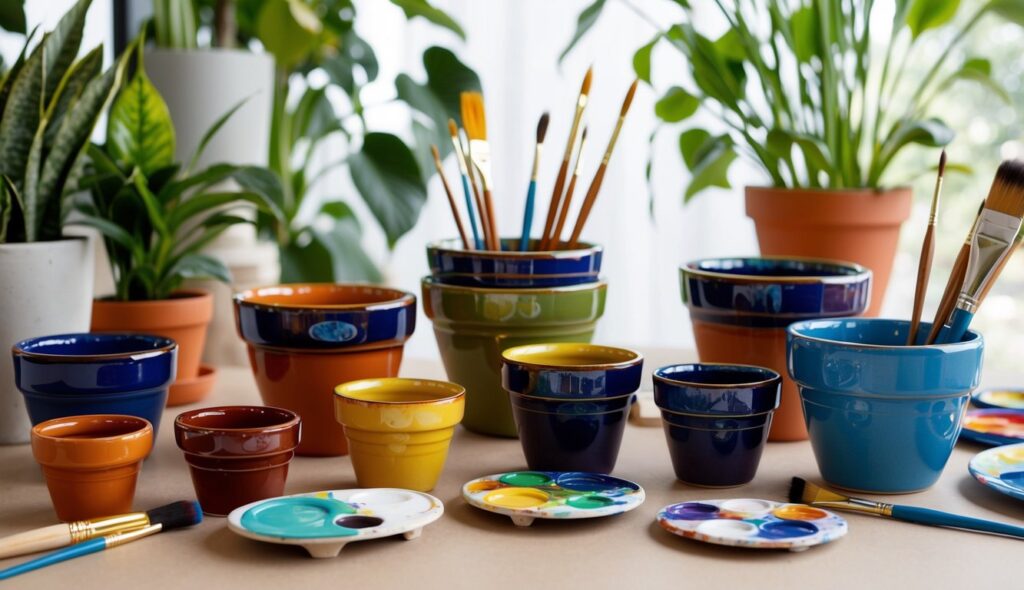
Are you feeling a little nervous about painting? Don’t worry! Even if you’re not a born artist, adding designs like a simple panda face can add personality to your pots. Choose colors that match your room, or go bold with contrasting colors to make the pots standout. This way, you can refresh your space without spending a fortune.
Get the Fail-Safe Paint Color Playbook (Free PDF)
36 proven colors • 8 ready palettes • trim & sheen guide • printable testing cards.
Painting glazed ceramics is not only fun but can also be therapeutic. Imagine sipping your morning coffee while gazing at your hand-painted pots catching the morning sun. By investing a little time, you can enjoy a delightful change in your living space and maybe even spark a new hobby.
Preparing Your Workspace
Getting ready to paint your glazed ceramic pots involves assembling the right tools and creating a safe and efficient workspace. You’ll need to gather materials like sandpaper, primer, and various types of paint.
Gathering Materials
First, make a shopping list. Essential items include fine-grit sandpaper to roughen the ceramic surface, a primer to help the paint stick, and acrylic paint for color. Also, don’t forget paint brushes of various sizes for different detailing needs.
It’s wise to wear an apron or old clothes since paint tends to find its way onto everything! Oh, and have a soft cloth ready to wipe off any sanding dust. A mixing palette for colors can also be very handy.
Workspace Setup
Find a well-ventilated area. Trust me, you don’t want paint fumes setting off your smoke detector! Lay down old newspapers or a drop cloth to protect your floor from spills. I mean, unless you think splatter patterns are the new chic decor?
Make sure your workstation is stable and uncluttered. Keep your materials within arm’s reach to avoid any interruptions. Good lighting is essential; try using a desk lamp if natural light is insufficient.
Place all your gathered materials neatly on a table, so you aren’t scrambling at the last minute. Keeping everything organized can make the painting process much smoother and more fun.
Choosing Your Paints
When it comes to painting glazed ceramic pots, selecting the right paint is key to achieving great results. You’ll want to think about the types of paints available and your choice of colors to ensure your pots look fabulous.
Types of Paints
Choosing the right type of paint for your glazed ceramic pots is crucial. Acrylic paint is a popular option because it’s versatile and dries quickly. It offers a range of colors and can be easily cleaned up with water. Acrylics make a great choice for vibrant designs.
If you prefer spray paints, they provide even coverage but require careful masking to avoid overspray. Spray options can be convenient for large pots or when you need to apply multiple thin coats quickly.
Oil-based paints are more durable and offer a glossy finish but take longer to dry. They work well for outdoor pots exposed to elements. However, they often need solvents for cleanup. Lastly, there are specialized ceramic paints that bond well with shiny surfaces like glazed ceramic. These paints require heat setting for durability.
Color Selection
Color selection lets you add personality to your pots. Bold and vibrant colors can make your pots pop. Consider complementary colors for a balanced look or contrasting shades for eye-catching designs.
Create your palette by thinking about where you’ll place the pots. Do the surrounding plants feature lots of green? If so, bright hues like yellows or pinks can stand out. If you’re painting for a dining area, coordinating with the decor can create a cohesive atmosphere.
Get the Fail-Safe Paint Color Playbook (Free PDF)
36 proven colors • 8 ready palettes • trim & sheen guide • printable testing cards.
Don’t forget to have fun! Experiment with different tones and combinations. That way, you can find the perfect colors that reflect your unique style.
Prepping the Ceramic Pot
Getting ready to paint a glazed ceramic pot involves a few crucial steps. You need to clean the pot thoroughly, ensure the surface is rough for the paint to stick, and apply a primer to create a solid base.
Cleaning the Pot
Start by cleaning your ceramic pot with mild detergent and water. Use a scrub brush or even an old toothbrush to get into those hard-to-reach areas. It’s vital to remove any dirt, grease, or oils, as these can prevent the paint from sticking.
Get the Fail-Safe Paint Color Playbook (Free PDF)
36 proven colors • 8 ready palettes • trim & sheen guide • printable testing cards.
Rinse the pot inside and out with a hose or your kitchen faucet. Make sure it’s completely dry before moving on to the next step. Any dust or residue will affect how well the paint stays on.
Sanding for Adhesion
Roughing up the surface helps the paint adhere better to the glazed ceramic. Use 220-grit sandpaper for this job. Lightly sand the entire pot to create a slightly rough texture.
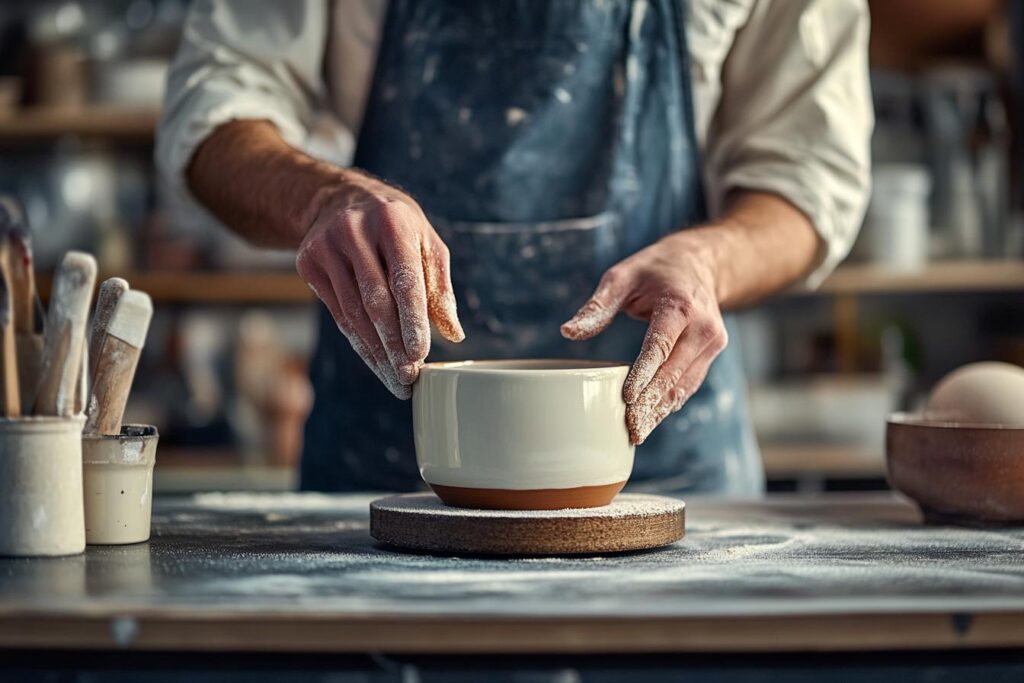
This “tooth” not only helps the paint but also makes the color look more vibrant. Carefully remove any paint flakes and wipe off the dust with a soft cloth. Remember, the goal is not to remove the glaze entirely but to make the surface suitable for painting.
Applying Primer
Applying primer is the final preparation step. Use a brush or spray primer designed for ceramics. This crucial layer ensures your paint clings better to the pot and lasts longer.
Let the primer dry thoroughly, as rushing this step can lead to peeling paint. Check the primer’s instructions for specific drying times, as some products may vary. Once dry, you’re ready to unleash your creativity and start painting!
Painting Techniques
Creating art on glazed ceramic pots can be fun and rewarding. Whether you’re laying down a base coat, adding intricate details, or blending colors, choosing the right techniques is vital for a smooth and lasting finish.
Base Coating
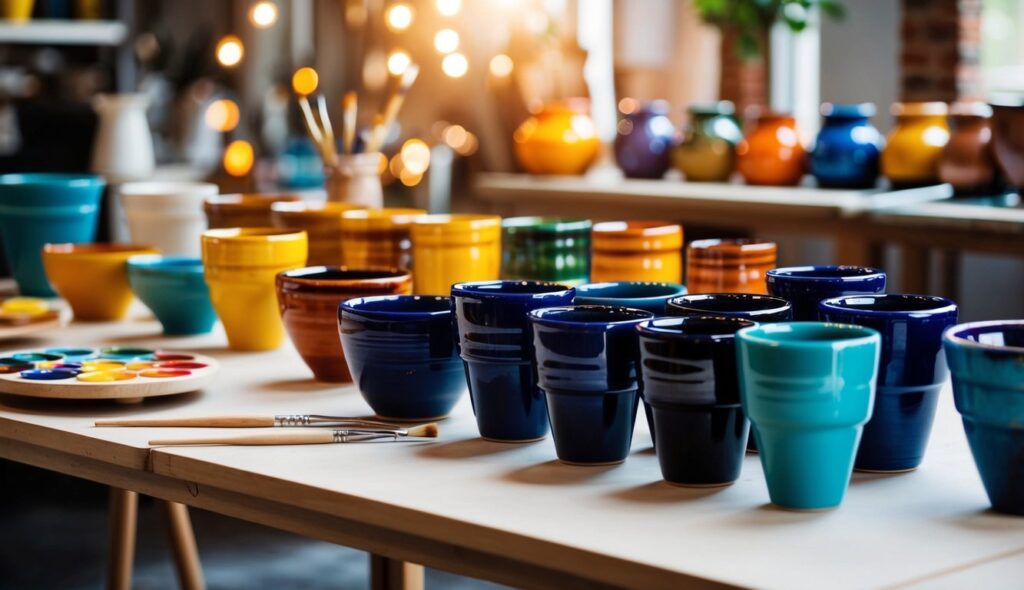
Before you start getting creative, it’s essential to lay down a good base. Acrylic paint is popular for this since it sticks well to the glazed surface. Start by cleaning your pot with an alcohol wipe to remove any dirt or oils. Apply a primer if you desire, ensuring the paint adheres well. Use a quality brush to give your pot an even coat. This first layer serves as the foundation for everything else. Test your chosen color on a small area to see how it looks once dry.
Detailing and Patterns
Adding details is where you can let your personality shine. Using smaller-tipped brushes, you can draw patterns, shapes, or even intricate designs like a panda face. Consider stencils for uniform patterns or freehand for a personal touch. Don’t rush this part—taking your time ensures well-defined shapes. Practice on paper before your pot if you’re unsure. Once you’re confident, apply the designs lightly, then build up the intensity. Mix and match colors to bring your design to life.
Get the Fail-Safe Paint Color Playbook (Free PDF)
36 proven colors • 8 ready palettes • trim & sheen guide • printable testing cards.
Layering and Blending
Blending and layering add depth and richness to your piece. You might start with a base color and gently layer contrasting colors on top. Work while the paint is still damp to allow for smooth blending. A banding wheel can be helpful for steady rotations as you layer. For a subtler transition, blend two colors with a slightly damp brush. Experiment with gradients or ombre effects to catch the eye. Above all, layering gives your pot a professional feel. Aim for multiple thin coats instead of one thick layer to prevent cracking.
Finishing Touches
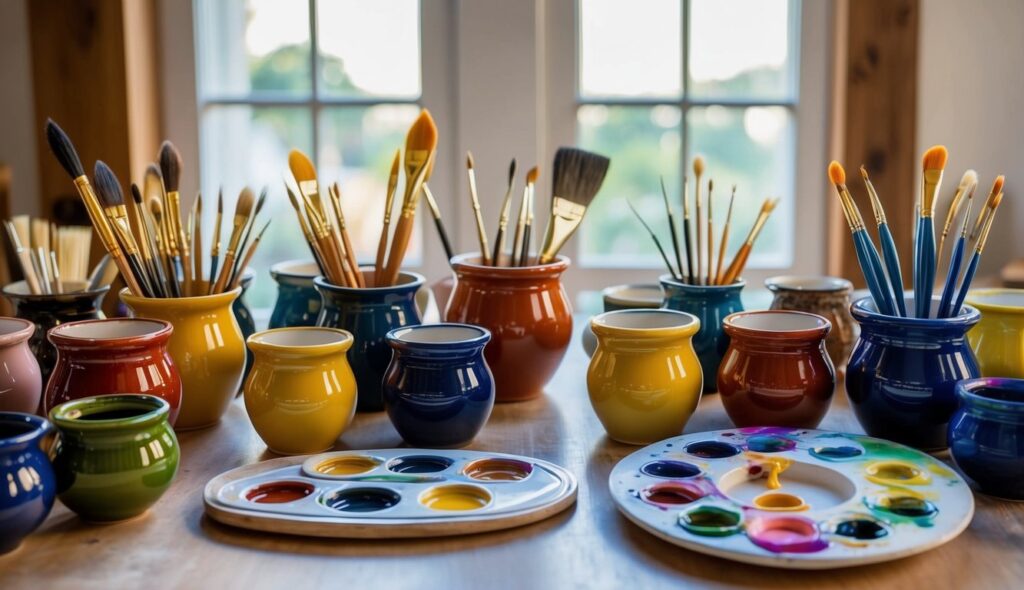
Now that you’ve painted your glazed ceramic pot, it’s time to protect your work and ensure it lasts. This involves applying a sealant to maintain the glossy finish and allowing proper curing and drying.
Applying Sealant
To keep your ceramic pot looking fresh and vibrant, applying a sealant is key. Why seal? The sealant not only gives a protective layer but also enhances the glossy finish. Choose a clear spray sealant suitable for ceramics. Ensure it’s weather-resistant if your pot will be outside.
Steps:
- Ensure the paint is completely dry.
- Shake the sealant can well.
- Hold it 12 inches away and spray evenly.
- Apply 2-3 coats, allowing each to dry.
This step helps in safeguarding your pot from chipping and fading. Remember, a simple seal can make a huge difference!
Curing and Drying
Patience is vital in curing the painted ceramic pot. The paint and sealant need time to set properly. Place the pot in a well-ventilated area free from dust. It’s a waiting game, but your artistic creation will thank you for it.
Timeframe:
- Ideally, let it cure for 24-48 hours.
- Make sure it’s not exposed to moisture during this period.
Quick tip: If you can avoid it, try not to use the pot during the curing phase. Letting it cure untouched ensures a smooth, long-lasting finish. This might take a while, but the payoff is worth it!
Maintenance and Care
Taking care of your painted glazed ceramic pots ensures they stay beautiful and vibrant. Good maintenance involves regular cleaning to prevent dirt buildup and keeping an eye out for any damage to the paintwork. Touching up spots is also essential to maintain their appeal.
Get the Fail-Safe Paint Color Playbook (Free PDF)
36 proven colors • 8 ready palettes • trim & sheen guide • printable testing cards.

Cleaning Painted Pots
Keeping your pots clean is key. Dirt and dust can dull the vibrancy of your painted designs. Use a soft cloth or a sponge with mild dish soap to gently clean the pot’s surface.
Avoid harsh scrubbers which can scratch or chip the paint. If your pot is outdoors, it’s exposed to the elements, like rain or sun, so check it for any signs of dirt more often. Always dry your pots thoroughly to avoid moisture damage.
Get the Fail-Safe Paint Color Playbook (Free PDF)
36 proven colors • 8 ready palettes • trim & sheen guide • printable testing cards.
If your pot has a sealant, then cleaning becomes even easier. Just beware of scrubbing overly hard as you might scratch the sealant surface. Simply wiping the pot with a wet cloth works wonders.
Touch-up Tips
Do you have some spots or chips? They need a touch-up! Always have your original paint colors handy for seamless fixes. Lightly sand any chipped areas with fine-grit sandpaper to smooth them out before you repaint.
When applying new paint, use small brushes for precision. After repainting, apply a new layer of sealant. The sealant adds extra protection, helping to prevent further damage.
Quick touch-ups can keep your ceramic pots looking like new. Remember that regular upkeep goes a long way in preserving the vibrant colors of your artistic creations. You might even find touch-ups a great way to update your pot designs!
