
How to Paint Gundam: A Beginner’s Guide to Creating Stunning Models
Painting Gundam models, or Gunpla, is a fun and creative way to bring your model kits to life. You can create stunning designs by following some simple techniques and tips. Whether you’re a beginner or have some experience, painting allows you to express your style and make your Gundam unique.
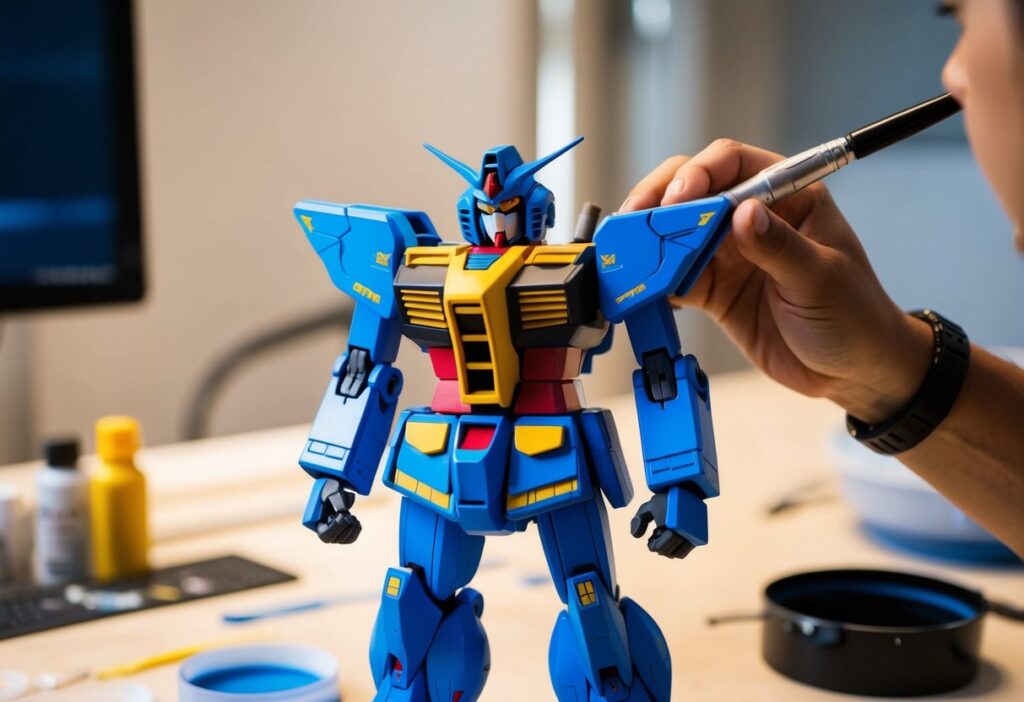
Starting with a Master Grade kit can make your first painting project easier and more enjoyable. These kits offer more details and larger parts, which gives you more space to apply paint. Using acrylics is a great choice because they are beginner-friendly and easy to work with.
Get the Fail-Safe Paint Color Playbook (Free PDF)
36 proven colors • 8 ready palettes • trim & sheen guide • printable testing cards.
As you get ready to paint, remember to practice on scrap pieces. Experimenting with your painting methods will help you find what works best. Keeping your workspace clean and organized will also improve your results, making the entire experience more satisfying.
Getting Started with Gunpla Painting
Before you begin painting your Gundam model, it’s important to choose the right kit and gather the necessary tools. Setting up a clean workspace will help prevent mistakes and make the process smoother.
Choosing Your Gundam Model
When picking a Gundam model, you might want to start with a Master Grade (MG) kit. These kits are larger and have more details than High Grades (HG), making them better for beginners.
The Zeta Gundam 2.0 is a great choice because it features a variety of surfaces for painting and is beginner-friendly. If you’re ready for a challenge, consider an Advanced Grade (AG) model with more parts. Think about the look you want to achieve and your comfort level with handling small pieces.
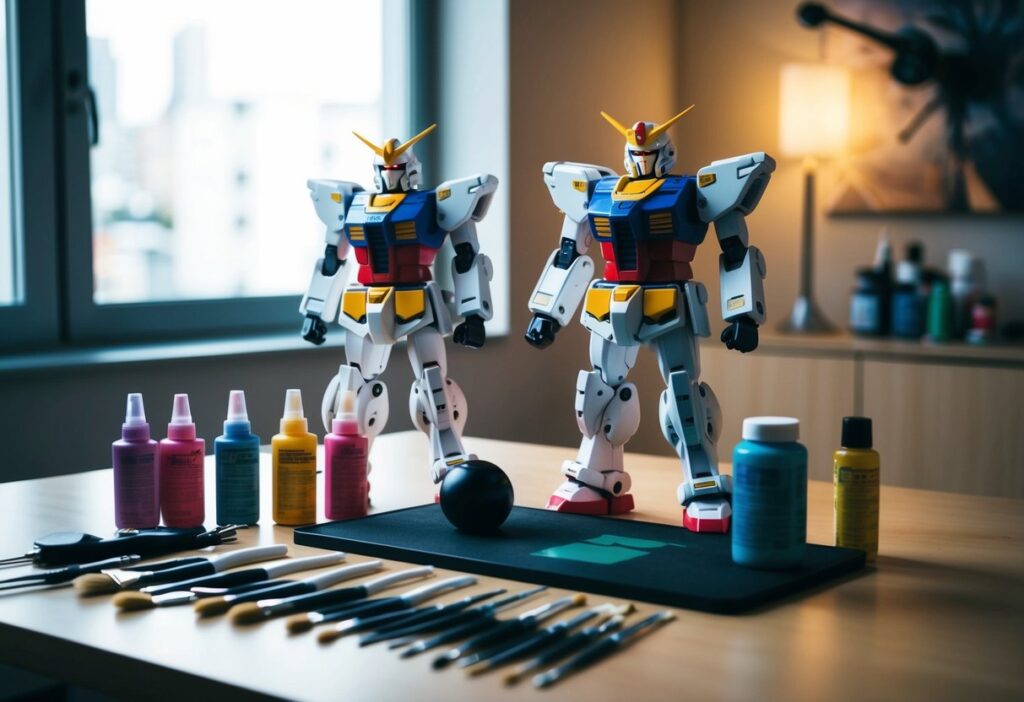
Essential Tools and Materials
Gathering the right tools will make your painting experience easier. Here’s a list of what you’ll need:
- Airbrush and Compressor: For smooth, even coats of paint.
- Paintbrushes: Use sizes 6, 8, and 10 for better paint coverage.
- Isopropyl Alcohol: To clean your brushes and tools after use.
- Spray Booth: This keeps your area clean and helps with ventilation.
- Acrylic Paints: These are easy to use and perfect for beginners.
Having these tools ready will help you achieve better results and enjoy the painting process.
Setting Up Your Workspace
Setting up a clean and organized workspace is vital for successful painting. Choose a well-lit area where you can easily see the details of your model. Use a table or desk to ensure stability.
Lay down a drop cloth or newspaper to protect your surface from paint spills. Keep your tools within reach and well-organized. It’s good practice to keep paints, brushes, and your Gundam model close by for convenience.
Make sure to have good ventilation, especially when using sprays or aerosols. A spray booth can help with this, allowing you to paint safely. Having your space prepared reduces distractions, letting you focus on creating your masterpiece.
Preparation for Painting
Getting your Gundam model ready for painting is a crucial step. This involves cleaning and assembling your model properly and applying a good primer. These steps will help the paint stick better and make your work look great.
Cleaning and Assembling
Start by cleaning your Gundam model. Dust and oils from your hands can prevent paint from sticking. Use a mild detergent and a soft brush to gently scrub the surfaces. Make sure to rinse it thoroughly and let it dry completely.
After cleaning, check if the model parts fit well together. You may need to assemble the parts to see if they need any adjustments. If you find any rough edges or seams, consider sanding them down for a smoother finish. This ensures that the paint will apply evenly and look nice.
Applying Primer
Applying primer is essential for good paint adhesion. Choose a quality primer that fits your model, like an acrylic primer. Hold the primer can about 6 to 12 inches away from the model. Spray in light, even coats to avoid drips.
Let the primer dry completely before moving on. This usually takes about 30 minutes to an hour. Make sure to check for any uneven areas, and if necessary, apply a second coat. Once you’re happy with the primed surface, you’re ready for painting!
Painting Techniques
When painting Gundam models, there are several effective techniques to use. Each method offers unique benefits and is suited for different aspects of your project. Let’s explore these techniques in detail.
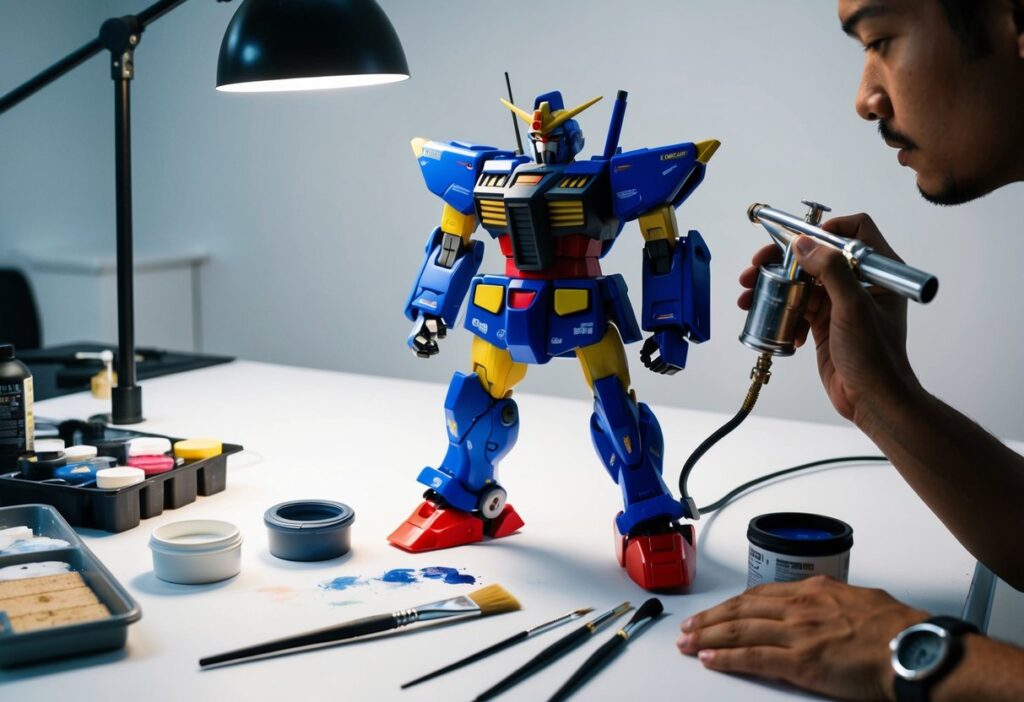
Airbrushing Basics
Airbrushing is one of the most popular methods for painting Gundam models. It allows for a smooth and even application of paint, making it ideal for large areas.
Getting Started:
- Choose a suitable airbrush and compressor.
- Use acrylic, enamel, or lacquer paints. Acrylics are beginner-friendly and easy to clean.
- Thin the paint with a compatible thinner for better flow.
Tips:
- Start with a test spray on scrap material.
- Maintain a distance of about 6-8 inches from the model.
- Use light coats to prevent drips and runs.
Airbrushing can be messy, so ensure you work in a well-ventilated area and wear a mask.
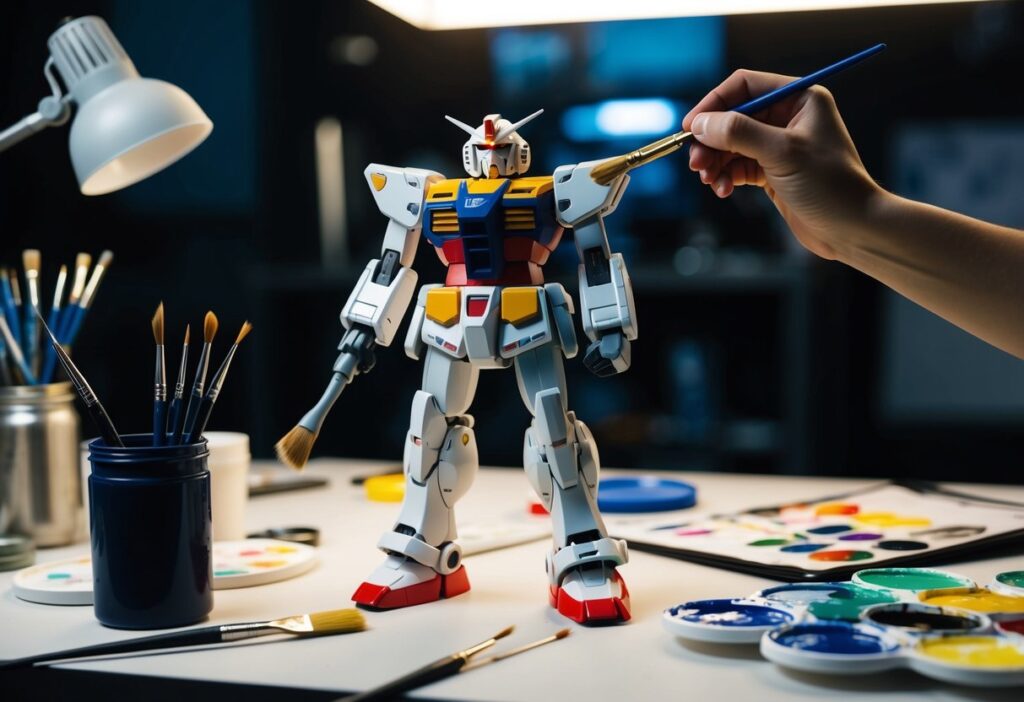
Hand-Painting Details
Hand-painting is perfect for adding fine details or working on small parts. It gives you control over where the paint goes.
Materials Needed:
- Brushes: Use fine-tipped brushes for small details and broader brushes for larger areas.
- Paint: Acrylic paints work best for beginners.
Technique:
- Begin with a clean surface.
- Apply paint in thin layers to avoid buildup.
- Use a steady hand to paint small details, like vents or tips.
Helpful Tips:
- Keep a small cup of water nearby to rinse your brushes.
- If needed, use a toothpick or a fine tool for precise touches.
Patience is key with hand-painting, so take your time for the best results.
Using Gundam Markers
Gundam markers are a convenient option for quick touch-ups and lining. They are easy to use, especially for beginners and busy modelers.
Types of Markers:
- Panel line markers: Ideal for adding depth to panel lines.
- Base color markers: Great for larger surface areas.
- Detailing markers: Perfect for small areas like eyes.
Application:
- Simply apply the marker directly onto the model.
- Use a paper towel to wipe away excess if needed.
Tips for Success:
- Shake the marker well before use.
- Try practicing on scrap pieces before working on your models.
Using Gundam markers can quickly enhance your model’s appearance without complex techniques.
Finishing Touches
After you finish painting your Gundam model, it’s time for the finishing touches. This step adds depth, detail, and realism to your build, ensuring your model looks polished and impressive. Let’s explore some key techniques.
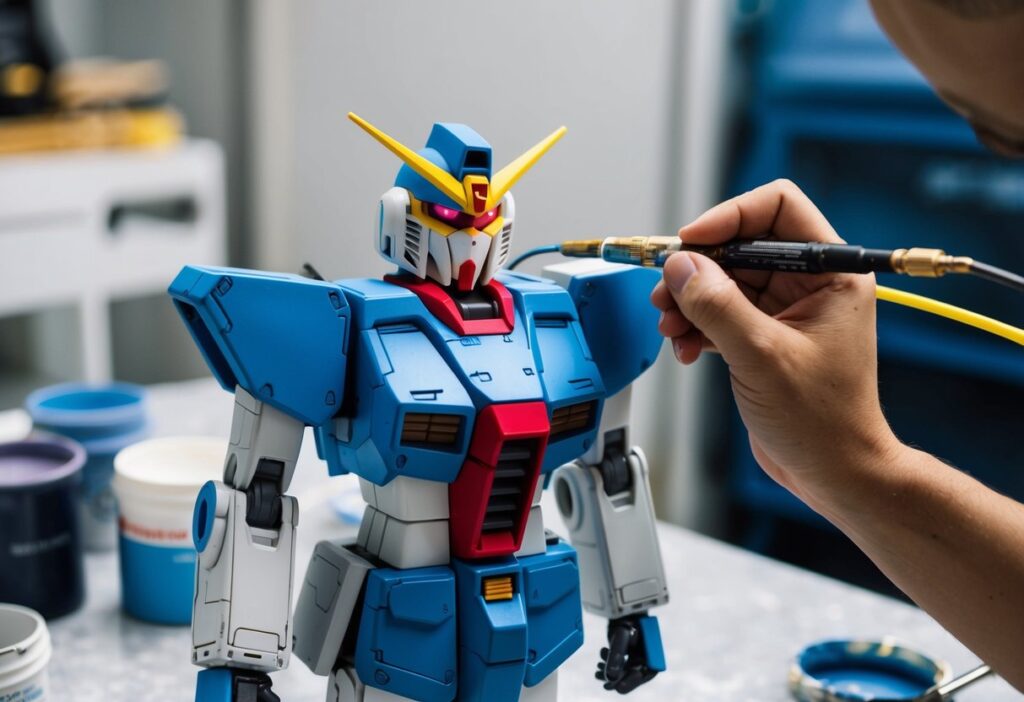
Panel Lining for Definition
Panel lining helps to define the edges and details of your Gundam. It creates contrast and makes features stand out. To get started, you’ll need a fine tip pen or paint.
- Choose a Color: Black or dark gray works best for most models.
- Apply Carefully: Use the pen to trace along the panel lines. If you’re using paint, apply a small amount and let it settle into the grooves.
- Clean Up: Use a fine brush to remove any excess that spills onto other areas.
This technique enhances the look of your Gundam model, giving it a more professional appearance.
Applying Decals and Stickers
Decals add character and realism to your model. They are often used to replicate markings or logos found on the actual Gundam. Here’s how to apply them effectively:
- Preparation: Cut out the decal, leaving a small border if possible. Soaking it in water for a few seconds helps it slide off easily.
- Positioning: Use tweezers to place the decal on your model. Take your time to ensure it’s straight and in the right spot.
- Seal It: After the decal is dry, apply a top coat to seal it. This step protects the decal and keeps it in place.
Make sure to follow any specific instructions that come with the decals for the best results.
Weathering for Realism
Weathering gives your Gundam a lived-in look, making it more realistic. Techniques may include dry brushing, washes, and the use of pigments.
- Dry Brushing: Use a light color on a dry brush to highlight raised areas. This adds texture and depth.
- Washes: A wash darkens recessed areas. Mix paint with a thinner and gently apply it, allowing it to settle in the details.
- Pigments: Use pigments to simulate dirt or wear. Lightly apply them to areas where dirt might accumulate.
Each of these methods can dramatically enhance the overall look and feel of your Gundam model.
Protecting Your Masterpiece
Taking care of your Gundam model after painting is crucial. Using a topcoat can keep your paint safe from damage. Knowing how to handle and store your model properly will ensure it stays looking great for years.
Applying Topcoat
After you finish painting, applying a topcoat is key. A clear coat protects the paint from scratches and wear. You can choose between different types, like varnish or acrylic resin.
Before applying, make sure the paint is completely dry. Use an airbrush or spray can for an even application. Hold the spray at least 6-12 inches away to avoid drips.
Let the topcoat cure as per the manufacturer’s instructions. This helps it bond with the paint, giving your Gundam a polished finish. If you want a matte look, opt for a matte topcoat. For a glossy appearance, use a gloss finish.
Handling and Storage Tips
Once your Gundam is painted and protected, handling it with care is important. Always clean your hands before touching the model to avoid fingerprints.
When storing your Gundam, choose a cool, dry place. Avoid areas with high humidity or direct sunlight, which can damage the paint.
Consider using a display case to prevent dust buildup and accidental damage. If you handle your model frequently, store it in a padded box to protect it when not on display.
Advanced Painting Techniques
In this section, you will learn how to create unique paint colors and achieve a high-quality finish on your Gundam models. These advanced techniques will elevate your painting skills and make your models stand out.
Mixing Custom Paint Colors
To mix custom paint colors, start by choosing a base paint like Tamiya Acrylic Paint or Vallejo Model Color. Use a clean palette to prevent unintended color mixing. Begin with small amounts of paint, adding one color at a time.
- Use ratios: A good starting point is a 2:1 ratio, but adjust based on your desired shade.
- Test your colors: Always test on a scrap piece before applying to your model.
Mix carefully until you achieve the right hue. Additionally, consider using Vallejo Mecha for vibrant, customizable colors. Remember to keep notes on your ratios to replicate colors in the future!
Achieving a Professional Finish
For a professional finish, surface preparation is crucial. Start by cleaning your model to remove dust and oils. Use a light sanding technique with fine grit sandpaper if needed.
Once prepared, apply a base coat using a spray can or airbrush for an even layer. When the base coat is dry, apply a topcoat for protection and shine.
- Types of Topcoats: You can choose between matte, glossy, or satin finishes.
- For more durability, experiment with lacquer paints or enamel paints.
Finally, finish detailing with paintbrush techniques for finer features. This layered approach will contribute to a clean, polished look.
Maintenance and Repair
Taking care of your Gundam models is essential to keep them looking their best. This involves addressing any paint damage and ensuring regular cleaning. Here’s how to handle common issues.
Get the Fail-Safe Paint Color Playbook (Free PDF)
36 proven colors • 8 ready palettes • trim & sheen guide • printable testing cards.
Fixing Paint Chips and Scratches
When your Gundam model gets paint chips or scratches, don’t worry—you can fix them! Start by assessing the damage. If the chips are small, you can simply touch them up with the same color paint. Use a fine brush for precision.
For larger areas, follow these steps:
- Sand the Area: Carefully sand around the damaged spot to smooth it out.
- Clean with Isopropyl Alcohol: Wipe the area with isopropyl alcohol to remove dust and oils.
- Apply Primer: If needed, apply a thin layer of primer and let it cure.
- Repaint: Finally, repaint the area and allow it to dry completely.
Regular Cleaning Practices
To keep your Gundam models in top shape, regular cleaning is key. Dust and dirt can build up over time, dulling the paint finish. Here’s how to keep your models clean:
- Use a Soft Brush: Gently dust your model with a soft brush or microfiber cloth.
- Mild Soap Solution: For deeper cleaning, mix a bit of mild soap with water. Then, dampen a cloth with this solution and wipe the surfaces.
- Avoid Harsh Chemicals: Steer clear of strong cleaners, as they can damage the paint.
Make it a habit to clean your Gundam models every few weeks. This small effort helps maintain their beauty and detail!