How to Paint With Lacquer: Tips for Stunning Finishes
Painting with lacquer can transform any piece into a stunning work of art. Whether you’re working with wood or metal, lacquer offers a shiny, durable finish that makes your creations stand out. Lacquer provides a fast-drying, protective coating with options for glossy, matte, or satin finishes, allowing you to choose the look that’s perfect for your project. Think vibrant colors that pop or sleek, subtle tones for a more understated elegance.

Always start with good ventilation in your workspace to safely enjoy the quick-drying benefits of lacquer. Imagine spraying smooth, sweeping motions as you apply thin, even coats of this amazing paint. Before you know it, you’ll see the seamless, streak-free finish that makes lacquer a favorite among DIY enthusiasts. With a bit of practice, you’ll master the art of spraying for bold furniture revamps or subtle home decor enhancements.
Get the Fail-Safe Paint Color Playbook (Free PDF)
36 proven colors • 8 ready palettes • trim & sheen guide • printable testing cards.
Eager to dive into the world of lacquer painting? From prepping your item to applying the paint, this guide will hold your hand through the process. Get ready to unleash your creativity and bring new life to your surroundings with the timeless allure of lacquer!
Painting with lacquer: Essential Tools and Safety Gear
Painting with lacquer requires specific tools and safety gear to ensure a smooth application and protect your health. Using quality brushes or sprayers, combined with essential protective clothing like gloves and goggles, will improve your painting experience and results.
Selecting the Right Brushes and Sprayers
Choosing the right brushes or sprayers is super important for applying lacquer paint. Quality matters—whether it’s a brush or a sprayer, go for reputable brands known for smooth finishes. If you’re using brushes, look for those with synthetic bristles, as they work well with lacquer.
For sprayers, an HVLP (High Volume Low Pressure) sprayer is a popular choice. It delivers a fine mist, reducing waste and ensuring that your lacquer paint covers the area evenly. Spraying in a steady, sweeping motion 6-8 inches from the surface gives the best results.
Maintain your tools by cleaning them well after each use to ensure they last longer and deliver consistent results every time.
Protective Gear for Safe Application
Safety gear is a must when working with lacquer paint because it’s flammable and can produce harmful fumes. A proper respirator is essential to protect your lungs from inhaling toxic particles. Look for a respirator that meets safety standards.
Goggles are needed to shield your eyes from splashes or fumes that could cause irritation. Wear gloves to protect your skin from accidental spills. Good gloves are chemical-resistant and should fit snugly for ease of movement.
Finally, make sure your workspace is well ventilated to avoid fume buildup. With the right gear, you can paint confidently and safely.
Preparing Your Painting Area

Before you start painting with lacquer, setting up your area properly is very important. Focus on having good airflow to handle the fumes, and make sure your workspace is neat and protected to avoid any accidents.
Ensuring Adequate Ventilation
When working with lacquer, strong fumes can be a headache or even dangerous! You must paint in a well-ventilated space. Open windows or doors, and, if available, use a fan to keep the air moving.
Consider wearing a respirator mask to keep the fumes from getting to you. It’s not just about comfort—it’s about keeping your lungs happy. Regular cleaning of the space means no dust floating around, ruining your smooth finish.
Don’t paint in small, enclosed areas. You’ll want to plan out where you’ll open things up and where you might need fans before you start painting so you don’t forget in the moment.
Securing the Workspace
Imagine dropping your favorite mug during a painting session—what a mess! Keep your space tidy with a drop cloth underneath your project. Use sturdy tables or sawhorses to support your painting pieces.
Get the Fail-Safe Paint Color Playbook (Free PDF)
36 proven colors • 8 ready palettes • trim & sheen guide • printable testing cards.
Keep your materials within reach but orderly—no tripping over cords or reaching across large spaces. Use a workbench or shelving to store your paints, brushes, and safety gear.
Be mindful of any electrical devices. Move them away from the painting area to prevent accidents. And remember, cleaning spills right away helps keep everything safe and smooth.
Surface Preparation

Preparing the surface for lacquer painting is a crucial step that can make or break your project. Proper preparation ensures the paint adheres well and gives you a smooth, flawless finish.
Cleaning the Surface
Before you dive in with your brush, make sure that the surface is spotlessly clean. Dirt, grease, and grime can mess up your paint job big time. Use a mix of water and mild soap to wipe the surface clean. Don’t skip this step, or you might regret it when your paint starts peeling off.
Tip: For stubborn grease, a little degreaser or household white vinegar can work wonders.
Priming the Surface
Priming is a must if you want your lacquer to stick and last. A good primer will seal the surface and provide a stable base for the paint. Choose a primer that is compatible with lacquer paint. Apply a thin layer using a brush or spray, and let it dry completely.
Again, optional but smart move: sand the primer lightly after it dries for an even smoother finish.
Sanding for a Smooth Base
Sanding isn’t the most exciting part, but it’s worth it for a smooth finish. Use fine-grit sandpaper to gently sand the cleaned and primed surface. This step is all about removing any imperfections that might spoil your hard work.
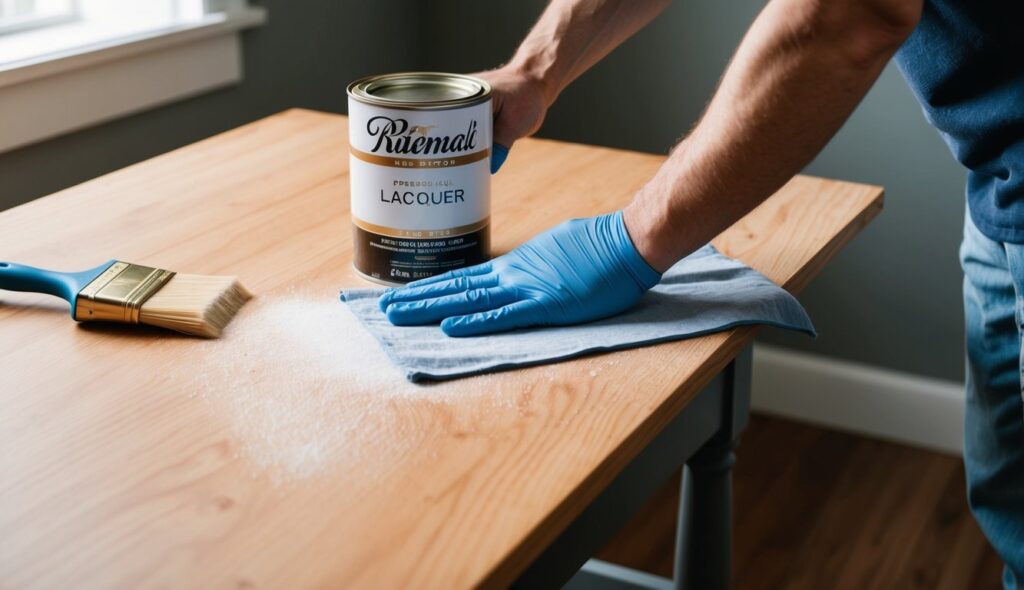
After sanding, wipe away the dust with a damp cloth.
Better surfaces mean better paint jobs. No joke!
Choosing Your Lacquer
Choosing the right lacquer for your project involves understanding the types available and deciding on the finish that best suits your needs. Whether you want a glossy shine or a matte look, knowing your options will help.
Get the Fail-Safe Paint Color Playbook (Free PDF)
36 proven colors • 8 ready palettes • trim & sheen guide • printable testing cards.
Types of Lacquer and Their Properties
Lacquer comes in several forms, each with distinct properties. Nitrocellulose lacquer is common for furniture and guitars because it dries fast and provides a high-gloss finish. It’s easy to apply but can yellow over time.
Water-based lacquers are more eco-friendly. They emit fewer harmful fumes and dry clear, making them great for lighter woods. You might also encounter acrylic lacquers, which are known for their durability and resistance to yellowing.
Oil-based paints and enamel paints aren’t lacquers, but they share some properties like durability and gloss. Knowing these differences helps in selecting the right type for your project.
Selecting the Right Finish for Your Project
When deciding on a finish, consider your project’s purpose and aesthetic goals. Clear coats are essential if you want to add extra protection and shine. They can enhance the color of the wood underneath.
Do you prefer a glossy finish? Glossy lacquers are perfect for items that need to stand out. They reflect light, giving surfaces a bright, mirror-like sheen.
On the flip side, a satin or matte finish may work better for a subtle, less reflective look. Satin hides imperfections well, which is handy for kitchen cabinets or furniture. Think about your style and needs, then choose accordingly.
The Application Process

In painting with lacquer, applying multiple thin coats ensures a smooth and long-lasting finish. You achieve the best results by sanding between coats and using steady application techniques.
Applying the Primer
Before painting, you need to prep the surface by applying a good layer of primer. This step is essential for making sure the lacquer adheres well to the surface. Use a high-quality primer: it should be compatible with lacquer.
Apply the primer using long and even strokes. Keep your hand steady to avoid any drips or uneven spots. Once the primer is on, allow it to dry fully before proceeding. It usually takes about 30 minutes to 1 hour in a well-ventilated area. Drying time can vary based on environmental conditions.
Get the Fail-Safe Paint Color Playbook (Free PDF)
36 proven colors • 8 ready palettes • trim & sheen guide • printable testing cards.
Layering Thin Coats of Lacquer
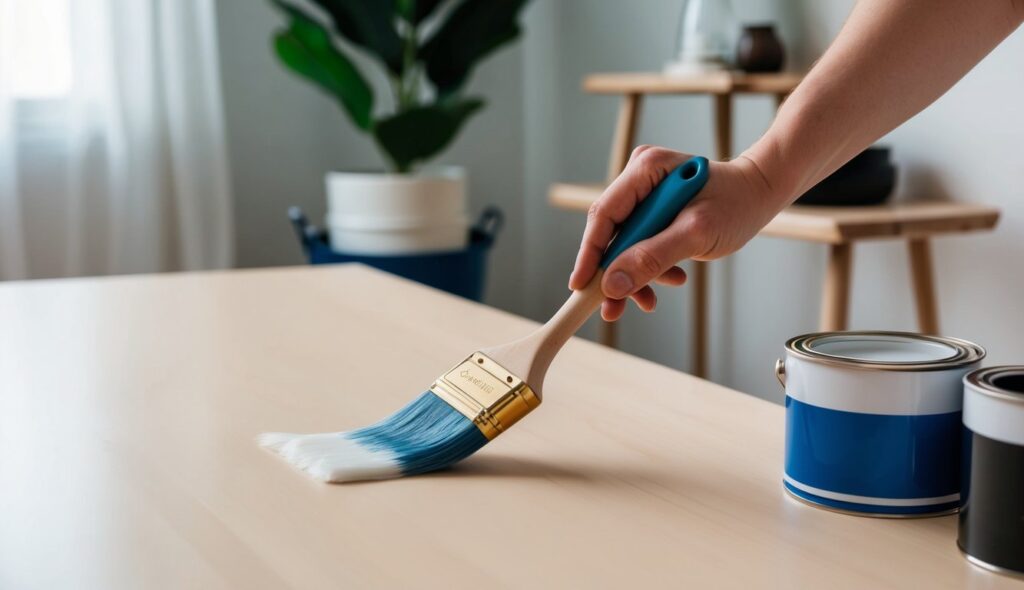
When it’s time to apply lacquer, the keyword to remember is “thin.” Apply thin coats and build up gradually instead of trying to cover everything in one go. This technique prevents drips and gives a nicer finish.
Aim for 3 to 4 coats: the first coat should be light, almost a misting. Allow each layer to dry before adding the next. Drying time matters because it affects how well the next coat sticks. You should wait at least 15 to 30 minutes between coats.
Techniques for a Uniform Finish
To get that flawless look, use a technique that maintains even pressure and consistent speed with your brush or spray gun. Always follow the grain of the material if applicable and overlap your strokes a bit.
Once the lacquer has dried completely, you might find it helpful to sand lightly with fine-grit sandpaper. It smooths out any imperfections and prepares the surface for the next coat.
Also, consider using a polishing compound for a high-gloss shine after the final coat has cured. Use short, firm strokes with a soft cloth to work the compound into the surface, revealing a stunning finish.
Drying and Curing
Applying lacquer paint involves more than just a quick spray. Getting that shiny, smooth finish takes patience. The drying and curing of lacquer paint are crucial steps. The following sections will guide you through the key elements of the drying stages and the curing process to ensure your paint job stands out.
Understanding the Lacquer Drying Stages
After applying lacquer, you may notice it dries fast. Lacquer dries through evaporation, which means the solvents in the paint evaporate quickly. This gives lacquer its renowned quick drying time. Typically, within about 15 to 30 minutes, the paint feels dry to the touch.
Do not be fooled! Just because it seems dry doesn’t mean it’s ready for action. Lacquer needs more time to harden completely. It’s critical to keep the painted surface free from dust and avoid touching it during this phase. Keep the car out of direct sunlight, too. This prevents uneven drying and possible damage. Skipping care at this stage could mess up your hard work and leave bumps or uneven spots in the finish.
Curing Process
Once the paint feels dry, curing is where the magic happens. Curing is the phase where the lacquer fully hardens. This process can take a few days. Depending on the type of lacquer used, it might range from 24 hours to several days for complete curing.
Follow the manufacturer’s instructions for exact curing times. This ensures the finish is tough and long-lasting. During curing, it’s key to protect the painted object from dust, moisture, and physical contact. Proper ventilation helps the process, so keep the area well-aired. Be patient, and you’ll end up with a glossy, flawless finish. The result is worth the wait!
Final Touches and Maintenance
Completing your lacquer paint job involves crucial steps for a smooth finish and ongoing care. You’ll focus on perfecting the surface, applying a protective coat, and maintaining the paint’s shine.
Sanding for a Final Finish
Sanding might sound dull, but it’s your secret weapon to a flawless look. Start with fine-grit sandpaper, usually around 1500 to 2000 grit. It’s like giving your car a gentle facial scrub, smoothing down tiny imperfections. Make sure you’re working on a clean, dry surface. A little water can help the sandpaper glide smoothly.
After sanding, take a soft, damp cloth and wipe away any residue. This step is key to making your paintjob shine. If there are pesky spots left, don’t stress. Just go over them with a bit more sandpaper until they’re history. Patience really pays off here.
Applying a Clear Coat for Protection
Now comes the fun part! Applying a clear coat locks in your hard work and adds a brilliant finish. Your car will look like it just stepped out of a showroom! Use even, side-to-side strokes, keeping the spray nozzle about 6-8 inches from the surface. This helps in avoiding blotches or drips.
Get the Fail-Safe Paint Color Playbook (Free PDF)
36 proven colors • 8 ready palettes • trim & sheen guide • printable testing cards.
Most clear coat applications require at least two layers, with drying time in between. Always check manufacturer guidelines for specifics. It’s like baking cookies; follow the recipe, and you won’t burn the batch!
Regular Cleaning and Care
Once your lacquer job is done, caring for it is simple but essential. Use a gentle car shampoo regularly to wash away dirt without scratching. Rinse thoroughly and dry with a microfiber cloth to minimize swirl marks. These simple steps keep the shine for years.
Save the wax for special occasions, maybe once every three months. Waxing adds an extra layer of protection and makes your car gleam. Imagine showing off your car under the sun, those sparkles will surely catch everyone’s eye.
Different Surfaces and Techniques
Lacquer can transform many surfaces into smooth, shiny masterpieces. From woodwork to metal and even walls, understanding specific techniques is key.
Painting Woodwork
When painting woodwork with lacquer, surface prep is crucial. Sand the wood lightly with fine-grit sandpaper to ensure a smooth base. This helps the lacquer stick better.
The choice of lacquer also matters. Nitrocellulose is popular for its high gloss, while acrylic lacquers are less prone to yellowing over time.
For application, a spray gun often works best. It provides even coverage and a polished look. Keep the nozzle about 6-8 inches from the surface.
Layering is essential. Apply at least 3-4 thin coats, allowing each layer to dry completely. This avoids drips and ensures durability.
Painting Metal
For metal surfaces, begin by cleaning with a degreaser to eliminate oils and dust. A primer is your secret weapon here, preventing rust and enhancing adhesion.
When it’s time to apply the lacquer, a spray method typically provides the best finish. Keep it uniform to avoid pooling. You want to cover evenly without overwhelming the surface.
Consider using cellulose lacquer for metal. It’s praised for its durability and shine. If you’re working outside, dry conditions are ideal. Humidity can affect the curing process.
For the best results, apply multiple coats. Like woodwork, each one should dry fully to build a solid, glossy finish.
Lacquering Walls
Lacquering walls is less common but adds a unique high-gloss effect. Start by cleaning the wall thoroughly and repairing any cracks or holes. You want a smooth, even surface to begin with.
A roller can apply lacquer to walls. Choose one with a velvet nap for the best results. It helps spread the lacquer smoothly and evenly.
Acrylic lacquers work well on walls due to their resistance to yellowing. Remember to work in sections, ensuring each part is dry before moving on.
Extra coats can deepen the shine, but be careful not to add too many, as it can look thick or plastic-like.
Frequently Asked Questions
Painting with lacquer involves understanding various steps and best practices to achieve a durable and attractive finish. Here, you’ll learn about application techniques, preparation tips, and how lacquer paint differs based on use.
What steps should I follow to achieve a smooth finish when painting with lacquer?
For a smooth finish, start by shaking the lacquer paint can well. Hold it 6-8 inches from the surface and spray in thin, even coats. Use smooth, sweeping motions and maintain consistent pressure on the nozzle. Overlapping your strokes slightly can help avoid streaks.
Can I apply lacquer paint over a previously lacquered surface without prior treatment?
Before applying lacquer over an existing surface, it’s crucial to sand it lightly. This helps the new coat adhere properly and prevents peeling. You don’t want your hard work to flake away, do you?
Get the Fail-Safe Paint Color Playbook (Free PDF)
36 proven colors • 8 ready palettes • trim & sheen guide • printable testing cards.
What are the best practices for using lacquer paint on outdoor furniture?
Lacquer can be used on outdoor furniture if it’s properly sealed. Ensure the furniture is clean and dry before application. Consider using a UV-protected lacquer to help withstand sunlight and weather conditions, keeping your furniture looking great through the seasons.
Is a primer necessary before painting with lacquer on metal surfaces?
Priming is essential when working on metal surfaces to prevent rust and ensure proper adhesion. Choose a primer that’s compatible with lacquer paint for the best results. Skipping the primer might lead to issues down the road, and nobody wants that!
How can I ensure a durable and high-quality lacquer paint job on my car?
For car painting, multiple thin coats are more effective than fewer thick ones. Sand lightly between coats and follow recommended drying times. This patience pays off with a durable and stunning paint job that turns heads.
In what ways does lacquer paint differ for use on walls compared to wood furniture?
When used on walls, lacquer offers a high-gloss finish that can be tricky to apply evenly. On wood furniture, it brings out the grain beautifully. For walls, you might want to consider the room’s lighting since lacquer’s shine can reflect light differently.
