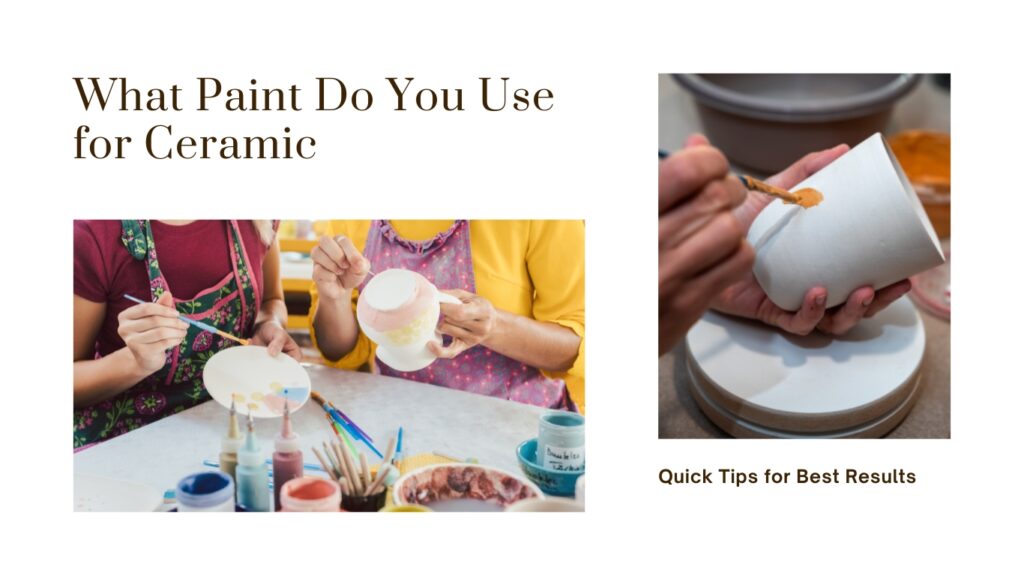
What Paint Do You Use for Ceramic: Quick Tips for Best Results
Looking to give your ceramic items a fresh, artistic touch? You might be wondering what kind of paint works best. Acrylic and enamel paints are the best options for ceramic projects, offering vibrant colors and durability. These paints are ideal for various ceramic pieces and hold up well after baking in an oven or air-drying. Whether you’re sprucing up a vase or designing a dinner plate, knowing your paint options can make all the difference.

Why are these paints so great for ceramics? Acrylic is perfect for beginners because it dries fast and sticks well to ceramic surfaces. Meanwhile, enamel provides a glossy finish and works beautifully for items that might get a lot of handling or washing. For something really special, you can try underglaze paint, which requires a bit more effort but results in amazing finishes once you apply a clear glaze.
Get the Fail-Safe Paint Color Playbook (Free PDF)
36 proven colors • 8 ready palettes • trim & sheen guide • printable testing cards.
Now, choosing the right paint also depends on what you’re aiming to achieve. If you want easy clean-up and dishwasher safety, look for specific types of ceramic-safe enamel paints. By understanding these options, you’re on your way to creating gorgeous, painted ceramic pieces that’ll leave everyone impressed. How exciting is that?
Understanding Ceramics

When painting ceramics, you have to know what type you’re working with and prepare surfaces correctly. You’ll face choices like glazed ceramic or greenware and different methods to paint them effectively.
Types of Ceramic
Ceramics come in various forms. Glazed ceramic has a shiny and smooth coating, making it less easy for paint to stick. Without this shine, bisque ceramics are rougher and easier to paint. Ever heard of greenware? It’s clay that hasn’t been fired, ideal for painting before it goes into the kiln.
Another type you might find is ceramic tile, commonly used in homes. Each variety requires different techniques, so knowing what you’re working with helps to make painting a breeze.
Preparation for Painting
Getting ceramics ready for paint is crucial. First, if you’re working on glazed ceramics, you’ll need sandpaper. A 220 grit should do the trick to rough up the surface so the paint can stick well. Some ceramics may also need a primer to improve paint adhesion. It acts as a base coat, especially on smoother surfaces.
Have you got everything lined up? A little effort in preparation can make your painted ceramics stand out, whether it’s a mug or a decorative vase.
Choosing the Right Paint
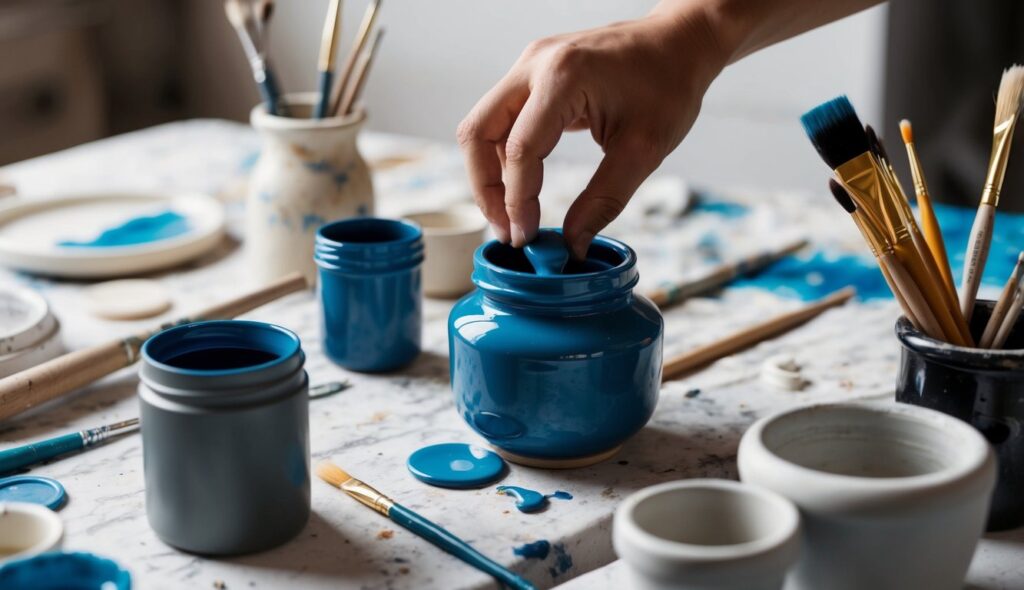
Selecting the right paint for ceramic can be a delightful part of your crafting journey. The options vary from acrylic paints to specialized epoxy formulations, each offering unique features. Let’s zoom into these options to see which fits your project best.
Acrylic Paint
Acrylic paint is a popular choice for ceramic projects due to its versatility and vibrant colors. It’s easy to use on both glazed and unglazed surfaces, especially if you prep the surface well. A quick sand with 220-grit sandpaper can help.
Acrylics dry quickly, allowing you to layer colors without a long wait. They’re often water-based, making clean-up easy with just soap and water. For long-lasting results, consider sealing them with a clear coat.
Oil-Based Paint
Oil-based paints are known for their durability and smooth finish. Gloss enamel paint is a common choice here, offering a shiny, reflective surface that stands out.
These paints take longer to dry, which can be a benefit if you’re working on detailed designs and need extra blending time. They can also withstand frequent handling, making them suitable for decorative items. Just remember, clean-up requires mineral spirits.
Enamel Paint
Enamel paint, like FolkArt Enamel Gloss Paint, is excellent for ceramic. It’s designed to withstand washing and exposure, ideal for items like mugs or plates.
Many enamel options are dishwasher-safe after proper curing, so read the instructions carefully. It offers a high-gloss finish that enhances the appearance of ceramic pieces. They often need heat-setting for full durability.
Get the Fail-Safe Paint Color Playbook (Free PDF)
36 proven colors • 8 ready palettes • trim & sheen guide • printable testing cards.
Epoxy Paint
Epoxy paint is your go-to for the most durable and waterproof finish. It’s not only tough against wear but also offers a glossy sheen.
This type of paint requires mixing of components before application, so it’s best suited for larger projects where precision matters. It’s typically more expensive, reflecting its superior performance and resistance.
Other Paint Options
Other options include ceramic-specific spray paints and chalk paints. Spray paints offer a quick, even application, perfect for larger items. Keep in mind they’re better for less detailed work as they can be tricky to control.
Meanwhile, chalk paint provides a matte finish and is easy to distress for a rustic look. It adheres well to various surfaces with minimal prep, making it beginner-friendly. Just remember to seal it to maintain the finish.
Painting Techniques

Painting on ceramic can be a fun way to express your creativity. You can transform simple ceramic pieces into vibrant works of art using various techniques. Let’s explore different methods that help you achieve detailed designs with ease.
Brushwork
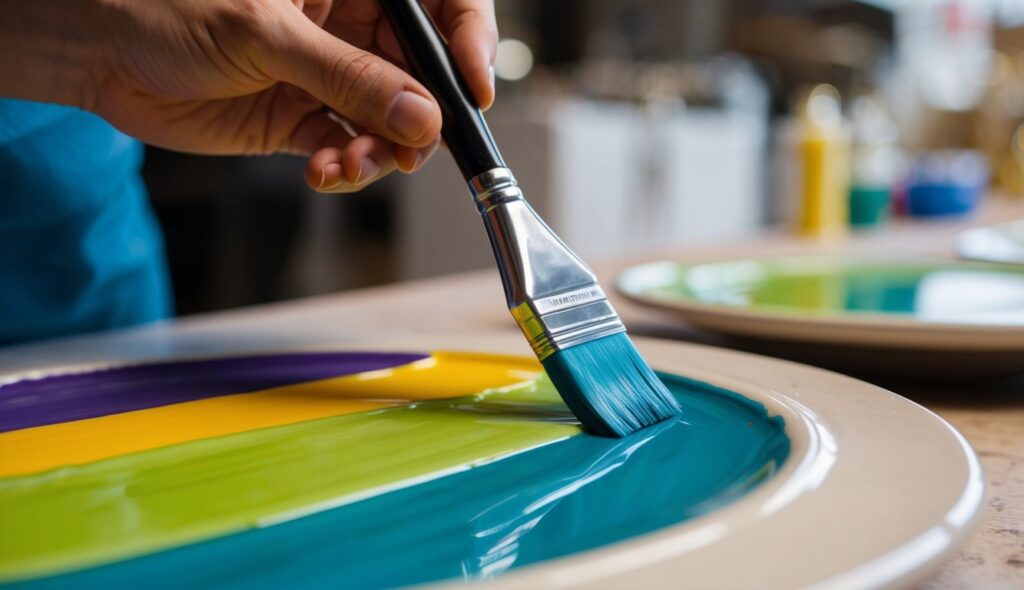
Using paint brushes is one of the most common methods. With the right brush, you can create anything from bold strokes to delicate lines. Choose soft-bristled brushes for smoother finishes on your ceramic.
Try varying brush sizes for different effects. A small brush can create intricate details, while a larger one covers large areas quickly. Long, smooth strokes help in achieving even distribution, giving your ceramic a polished look. Also, think about using multiple thin layers. This way, you get richer colors without unsightly brush marks.
Stenciling
Stenciling allows you to add patterns and shapes with precision. It’s perfect if you’re not confident freehand painting. Cut out shapes or designs with a stencil and secure it over the ceramic.
Get the Fail-Safe Paint Color Playbook (Free PDF)
36 proven colors • 8 ready palettes • trim & sheen guide • printable testing cards.
Get creative with patterns! Paint evenly over the stencil edges to avoid paint bleeding underneath. Use sponge brushes for an even coat. Once you lift the stencil, a beautiful design emerges. This method shines in creating repeated patterns on large surfaces.
Using Paint Markers
Ceramic paint markers are like magical pens for your ceramics. They offer control and precision not found in brushes, perfect for lettering or intricate geometric designs. These markers come in an array of colors, ideal for adding small, vibrant details.
To start, shake your paint marker well and press the tip a few times to get the paint flowing. Keep your hand steady while drawing to prevent smudges. Let the design dry completely before handling. These markers are excellent for customizing mugs or plates with names and doodles.
Get the Fail-Safe Paint Color Playbook (Free PDF)
36 proven colors • 8 ready palettes • trim & sheen guide • printable testing cards.
Finishing Touches

Adding the right finishing touches to your ceramic piece is crucial for durability and safety. Key aspects include sealing to protect against fading and making sure the paint is safe for use with food.
Sealing and Curing
Sealing your ceramic piece adds a durable finish and helps maintain even coverage over time. Use a ceramic-safe sealant for best results. Apply it evenly after your paint has dried completely.
Curing often involves baking the ceramic at a specific temperature. This step sets the paint and helps prevent fading. Follow the instructions on your paint and sealant for exact temperatures and curing time, as these can vary.
Take your time to ensure everything is set properly. A well-cured ceramic piece is less likely to chip or wear off.
Food Safety and Toxins
Do you plan to use your ceramic piece with food? Then it’s important to use food-safe and non-toxic paints. Some paints are labeled specifically as food-safe, and it’s crucial you choose these for dishware or items that will come into contact with food.
Always check labels for assurance that the paint is non-toxic. A food-safe sealant is also a good idea. It creates a protective barrier to prevent toxins from seeping into your food. By taking these precautions, you can safely enjoy your ceramic items in everyday use without worries.
Maintenance and Care
Taking care of painted or glazed ceramics can be a breeze if you know the right steps. When cleaning these beautiful pieces, always use a gentle touch and avoid harsh chemicals or abrasive tools that might damage the surface.
Tip 1: Dust regularly. Use a soft, dry cloth to dust your ceramic art. This helps maintain its shine and vibrancy without causing scratches.
Tip 2: Spot clean. If there’s a stubborn stain, gently dab the area with a damp cloth and mild soap. Rinse promptly to avoid leaving any residue.
Get the Fail-Safe Paint Color Playbook (Free PDF)
36 proven colors • 8 ready palettes • trim & sheen guide • printable testing cards.
When displaying your ceramics, placement is key. Ensure they aren’t exposed to direct sunlight for prolonged periods, as this may cause colors to fade. You also don’t want them too close to heat sources like radiators.
Glazed ceramics need special attention. Never place them in the dishwasher; hand wash them instead to preserve the glaze. Warm, soapy water with a soft sponge is your best friend here.
Another hot tip? If your ceramic piece has any chips or cracks, consider repairing it using a ceramic repair kit to extend its life.
Creative Ideas and Inspiration
Ready to make your ceramic pieces pop with color? Let’s dive into some fun painting ideas. You can transform plain ceramics into eye-catching art with bold designs or charming patterns.
1. Patterned Mug Collection:
Create a set of mugs with different patterns. Think stripes, dots, or geometric shapes. You can even use stencils for precise designs.
2. Nature-Inspired Plates:
Paint leaves, flowers, or trees on ceramic plates. You could go for bright, bold colors or stick with subtle, earthy tones.
3. Personalized Bowls:
Use chalkboard paint to create a writable base. You can change messages or quotes whenever you like!
Get the Fail-Safe Paint Color Playbook (Free PDF)
36 proven colors • 8 ready palettes • trim & sheen guide • printable testing cards.
4. Seasonal Themes:
Why not decorate with the seasons? Use vibrant colors for spring and summer, and rich, warm tones for fall and winter.
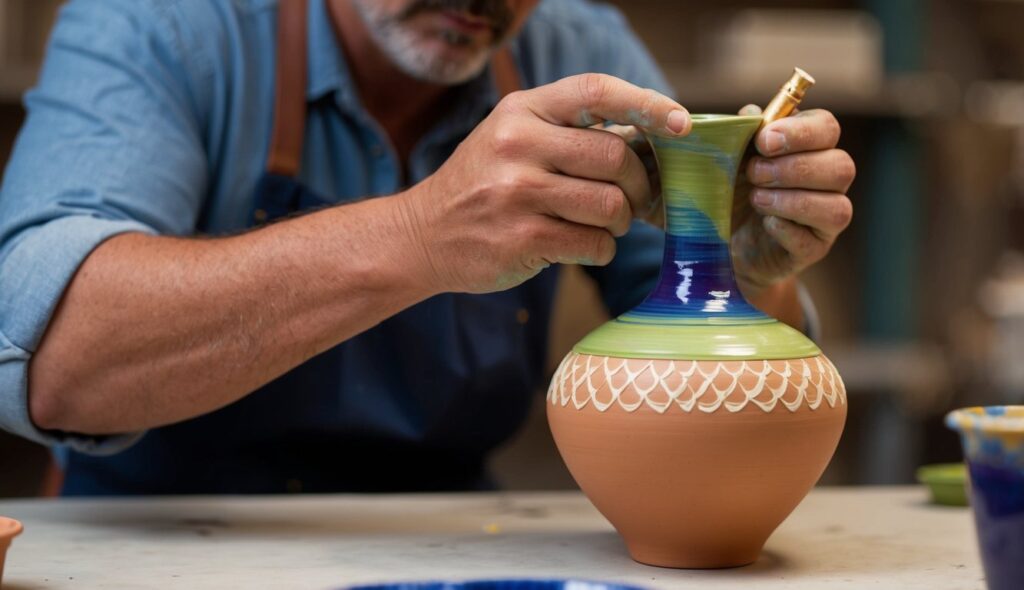
Many people love creating hand-painted vases. Choose some abstract designs, or try painting a scene, like a sunset.
Got kids? Encourage them to paint their plates or cups. This is a great family activity that doubles as a personalized set of crockery. Markers may be used for this too; just seal them to keep the designs intact.
Mix colors fearlessly and layer them for depth. You might even add a glitter finish for a touch of sparkle!
