
Fresh Curb Appeal: How to Paint a Mailbox Post (Step‑by‑Step & Zero Peeling)
I knew it was time for a change when the mailman joked that my peeling mailbox post looked like it had shed more layers than his winter jacket. Between chipped paint, sun‑bleached numbers, and a rust‑streaked flag, the whole setup was dragging the curb appeal of our otherwise tidy front yard straight into “fixer‑upper” territory. One quiet Saturday I decided enough was enough: the box came off, the coffee went on, and a humble post makeover turned into a mini curb‑appeal project that made the neighbors pause on their morning walks.
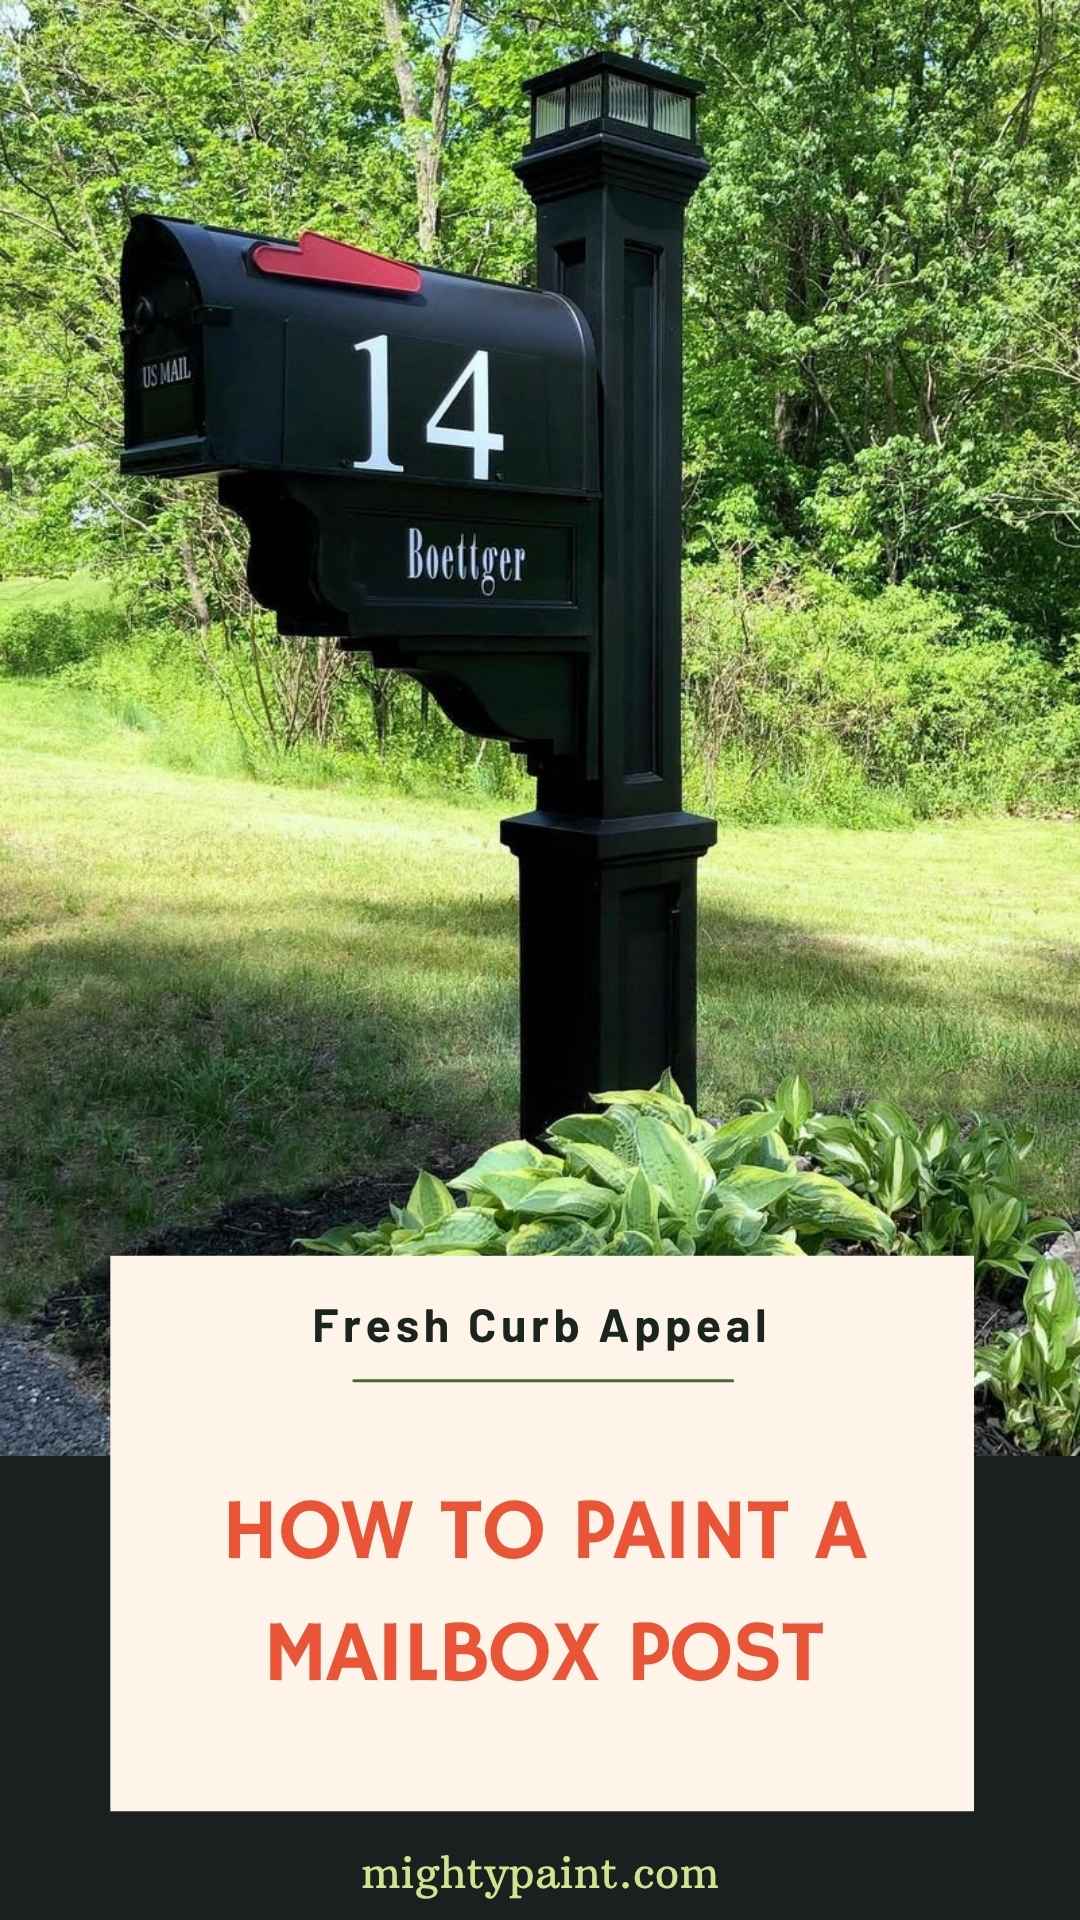
Like any good transformation, the secret wasn’t flashy tools or designer paint—it was patience and prep. A stiff brush, a quick scrub with soapy water, and a thorough 120‑grit scuff gave the new primer something to grip. Two thin coats later, the post already looked healthier than it had in years. I chose a soft charcoal exterior paint to complement our shutters, but kept the flag classic red for a pop of color. Even with drying times, the entire process fit neatly into a single afternoon, leaving me free to day‑dream about adding a splash of personality with stenciled numbers or perhaps a blooming flower bed at the base.
If your own mailbox post is looking more “haunted farmhouse” than “freshly delivered,” stick around. The step‑by‑step guide ahead breaks every phase down—prep, paint, and those bonus touches that turn a functional post into a front‑yard focal point.
Know the Rules & Gather Supplies
Before a single bristle touches wood or metal, double‑check that your makeover won’t run afoul of the rule‑makers. USPS guidelines require the box mouth to sit 41–45 inches above the road surface and 6–8 inches back from the curb. Many HOAs add their own caveats—some dictate a specific palette, others insist on reflective numbers or forbid neon finishes. Five minutes with your regulations now beats repainting next weekend.
With the red tape sorted, lay out everything you’ll need on a drop cloth so you’re not sprinting back to the garage mid‑project:
- Cleaning tools: stiff nylon brush, bucket of warm soapy water, old cloths.
- Surface prep: 120‑ and 220‑grit sandpaper, plastic putty knife, exterior wood filler or metal patch if needed.
- Protection: painter’s tape, contractor’s plastic, nitrile gloves, safety glasses.
- Finish stack: exterior‑grade primer matched to your material (oil for cedar, rust‑inhibiting for steel), weather‑resistant paint, optional UV‑stable clear coat.
- Hardware helpers: adjustable wrench, screwdriver assortment, small containers for screws so nothing wanders off.
Spread the tools out in “use order” left‑to‑right; it keeps the workflow smooth and saves you from digging through a hardware haystack with paint‑slick fingers.
Remove (or Mask) the Mailbox & Hardware
I used to think taping off the mailbox itself would save time. Then I spent an hour scraping accidental overspray off the flag hinge and vowed never again. If your mailbox is screwed or bolted on, take it off entirely. Photograph each step with your phone so reassembly is a breeze. Store the screws in a labeled cup—milk carton lids make surprisingly good bolt corralers.
If years of rust have fused the hardware in place, wrap the box in heavyweight contractor’s plastic instead. Secure seams with painter’s tape, tucking edges into crevices so not a whisper of primer sneaks through. Don’t forget to mask the address numbers unless you’re repainting those too.
With the box removed or wrapped, turn to the flag, latch, and any decorative brackets. Small parts benefit from a Ziploc bag tossed into your tool tote; no one enjoys the scavenger hunt for a lost washer in the grass. A final sweep of the drop cloth around the post ensures fallen screws won’t wedge into your lawnmower tires later.
Clean, Sand & Repair the Post
This is the grunt‑work phase—less glamorous than rolling on that fresh color, but absolutely critical for a finish that stays put through summer thunderstorms and winter road‑salt spray.
- Wash away grime. Dip the stiff brush into warm soapy water and scrub every surface, working from the bottom up so dirty drips don’t streak cleaned areas. For mildew spots, a 4:1 water‑to‑bleach solution banishes stains in minutes; just rinse thoroughly.
- Tackle stubborn rust or flaking paint. On metal, switch to a wire brush or rust‑removal pad, chasing shiny steel so primer can bite. On wood, scrape loose chips with a plastic putty knife, then feather the edges with 120‑grit sandpaper.
- Fill cracks and divots. For cedar posts, press exterior wood filler into gaps, overfilling slightly. On metal, dab a two‑part epoxy putty into pits. Let cures run their full time—rushing here guarantees future blisters.
- Scuff‑sand for adhesion. Run 120‑grit over the entire surface, then finish with 220‑grit for a silky, primer‑ready tooth. Wipe away dust with a damp rag and allow the post to dry completely.
Run your hand over the surface; if it feels like driftwood—smooth but grippy—you’re ready for primer. Skip this prep and even the best paint will peel faster than junk mail.
Prime for Adhesion & Weather Protection
Prepping finished, it’s time for the unsung hero of longevity: primer. Skipping primer on a mailbox post is like frosting a cake without crumb‑coating—you’ll forever battle bleed‑through and flaking. I learned this the hard way years ago when a gorgeous cobalt topcoat blistered by Thanksgiving.
Start by choosing the right formula. For bare cedar or pressure‑treated lumber, a high‑bonding exterior oil primer blocks tannin stains and seals porous grain. Metal posts, on the other hand, crave a rust‑inhibiting acrylic or alkyd primer; the label should shout “corrosion resistant.” Give the can a marathon shake (or stir) so pigments re‑suspend—thin, separated primer won’t grip.
Apply in two whisper‑thin coats instead of one gloopy pass. I use a 2½‑inch angled sash brush to cut around bolt holes, then switch to a mini‑roller for broad faces. The first coat will look patchy; resist the urge to slather on more—primer’s job is to soak and seal, not to hide. Let it flash off until it’s dry‑to‑touch (usually 30–60 minutes) before the follow‑up coat.
After the second coat, run a fingertip test: if it feels smooth but slightly chalky, you’ve struck primer gold. Now walk away. An overnight cure builds a microscopic web of grip that will make tomorrow’s paint cling like a junk‑mail flyer in a rainstorm.
Paint Like a Pro
Fresh primer down, this is the moment you’ve been picturing: color hitting wood (or steel). A little technique now saves you from touch‑ups later.
Brush & Roller Technique
For most DIYers, brush and roller offer control without overspray drama. I pour paint into a small tray and load a high‑density foam mini‑roller, working in N strokes from top to bottom. A quick back‑brush with the angled sash evens out roller stipple, leaving a buttery finish. Two thin coats beat one thick gob every time—thick paint skins over, trapping solvents that later bubble.
Spray‑Paint Shortcut
If the forecast is calm and you crave factory‑smooth results, rattle cans or an HVLP sprayer shine. Stand about ten inches from the surface and sweep past the edges in steady passes—think golf swing, not dart throw. I keep a piece of cardboard behind the post as a mobile overspray shield. Light, overlapping coats avoid drips and keep the sheen uniform. Give each pass ten minutes to flash before circling back.
Color choice can nudge curb appeal from serviceable to standout. I landed on charcoal to echo our window shutters, but muted sages and inky navies are trending hard this year. If you’re flirting with something bolder—a sun‑washed teal or barn‑red accent—peek at these creative mailbox decor ideas for inspiration.
Allow the topcoat to cure per the can’s longest recommendation. Trust me, racing the clock invites fingerprints, bugs, and tragedy.
Seal, Reassemble & Add Curb‑Appeal Extras
Paint cured and gleaming, the last steps transform a nice‑looking post into a front‑yard showpiece.
- Optional Clear Coat. In high‑sun or salt‑spray regions, a non‑yellowing UV urethane gives colors an SPF boost. One satin coat deepens hue without introducing tacky gloss.
- Reattach Hardware. Use those phone pics to rebuild the mailbox, flag, and latch in minutes. A dab of exterior‑grade grease on moving parts keeps squeaks at bay.
- Upgrade the numbers. Modern metal numerals or reflective vinyl decals pop against fresh paint—and they’re a budget facelift you can swap out seasonally.
- Landscape the base. A painted post begs for greenery. I carved a curved bed and filled it with dwarf daylilies after binge‑reading these mailbox flower bed ideas. Low‑mow edging blocks turf invasion and highlights the paint job like a picture frame.
- Get playful with the post itself. Don’t stop at a single color. Two‑tone caps, diagonal stripes, or even a shiplap wrap add personality—there’s a whole gallery of possibilities in these mailbox post ideas.
- Plant for the long game. Road‑spray, heat, and snowplow slush punish tender plants, so choose ironclad bloomers like coneflowers, catmint, and salvia. This cheat‑sheet of the best perennials to plant around your mailbox saved me from the annual replant shuffle.
Stand back, coffee in hand, and watch the mail truck slow down—not from potholes but sheer admiration.
Maintenance Cheat‑Sheet
- Quarterly rinse: Garden‑hose spray knocks off dust, pollen, and bird gifts before they etch the paint.
- Annual scuff‑patch: A quick 220‑grit pass on nicked spots followed by primer and leftover topcoat keeps rot and rust from creeping.
- Hardware once‑over: Tighten screws, lube hinges, and swap faded numbers before they become an archaeological dig.
- Winter armor: In snow‑belt states, staple a burlap guard around the post to deflect salt and plow debris. Remove come spring and marvel at your unmarred paint.
Follow this micro‑routine and a single afternoon’s effort will repay you season after season—no mailman jokes required.