
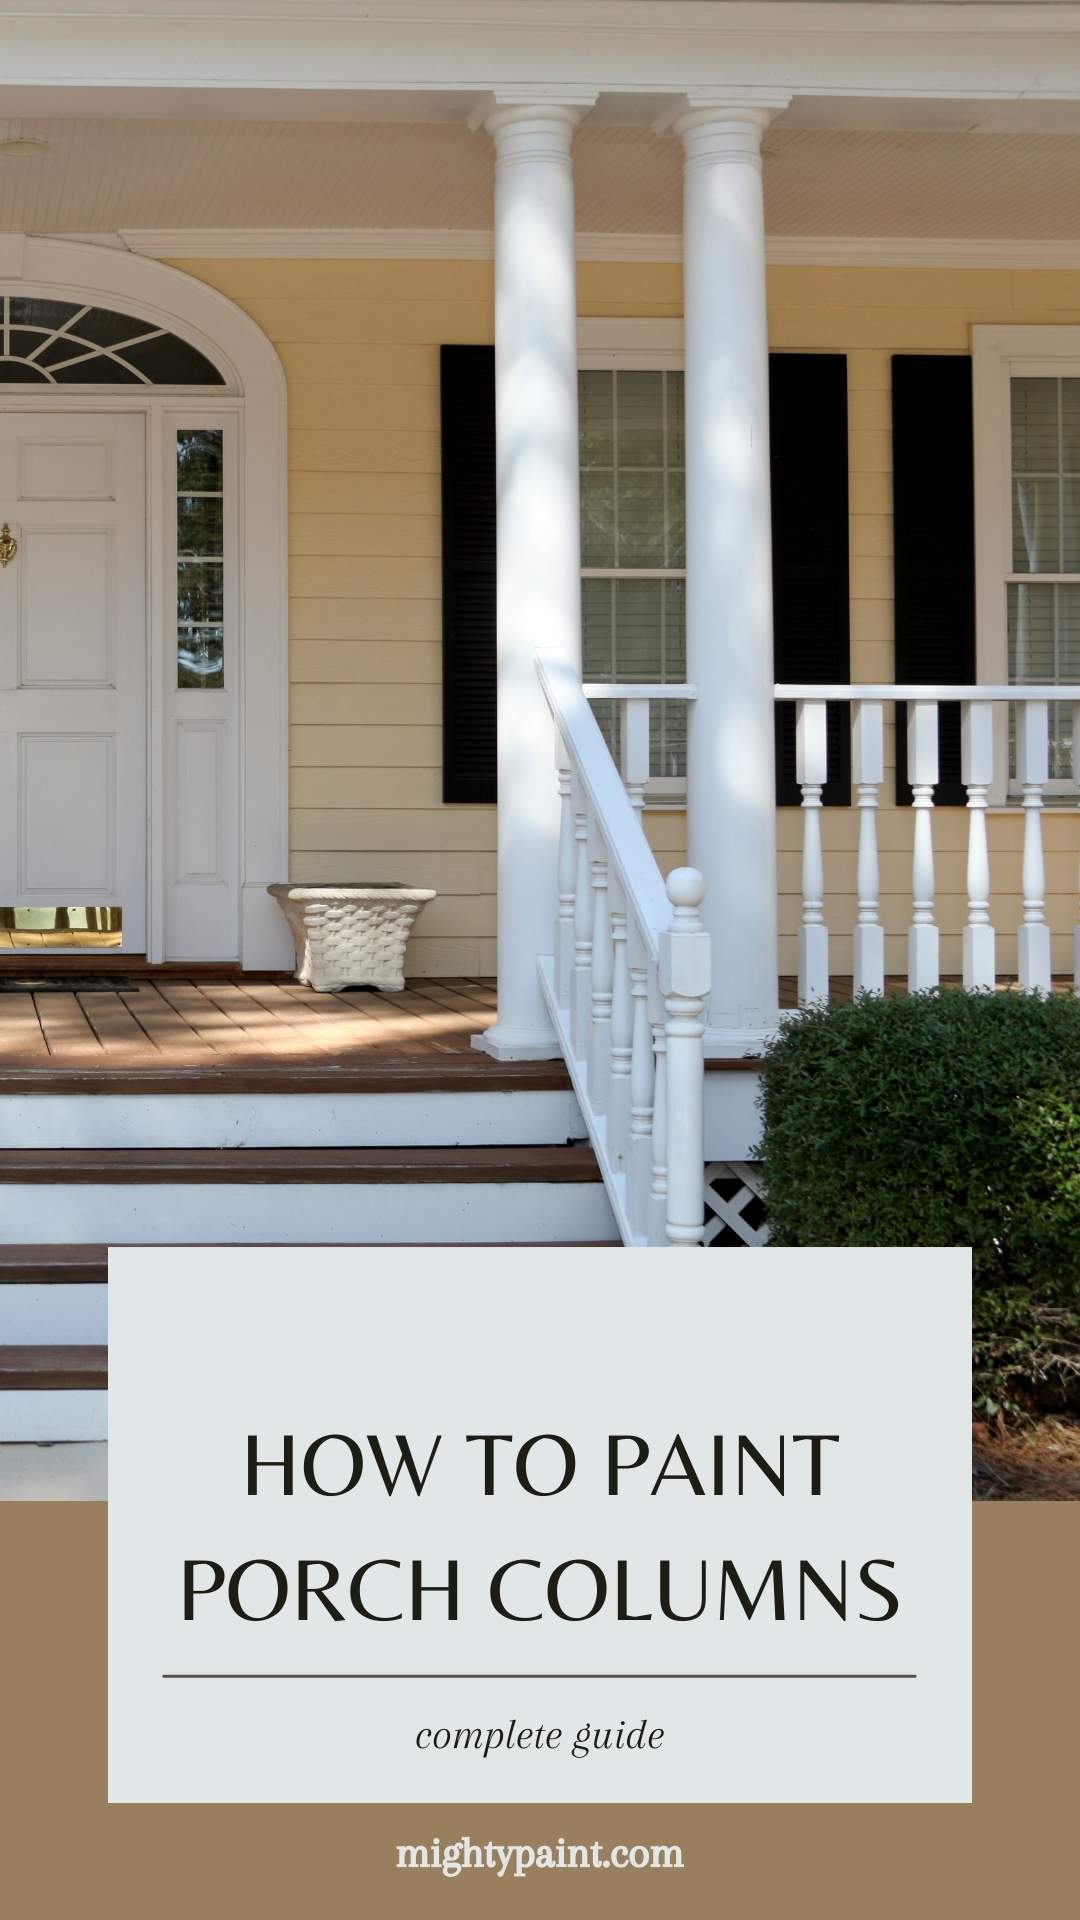
How To Paint Porch Columns Easily and Beautifully at Home
Painting your porch columns is a straightforward way to refresh your home’s look and shield the wood from weather. The key to a great paint job is proper preparation, like cleaning, scraping off loose paint, filling holes, and sealing gaps with caulk before you dive in. Doing this helps the paint stick and keeps it looking good for longer.
You don’t need fancy tools or expert skills for this project. With basic supplies and some practical steps, you can get your porch columns looking fresh again. Whether your columns are wood or something else, painting them really adds charm and curb appeal.
Get the Fail-Safe Paint Color Playbook (Free PDF)
36 proven colors • 8 ready palettes • trim & sheen guide • printable testing cards.
Understanding Porch Columns and Their Role
Porch columns hold up the roof and add style, too. If you know the types of columns and how they differ from posts, you’ll have an easier time choosing and caring for them.
Types of Porch Columns
There are plenty of shapes and materials out there. You’ll see wood, fiberglass, metal, or stone. Wood’s classic, but honestly, it needs more upkeep. Fiberglass is sturdy and low-maintenance, though it can be pricier.
Columns usually have bases and capitals—that’s the bottom and top parts—which add style and help protect the structure. Square, round, and tapered are all common column shapes. Pick one that fits your porch’s vibe and stands up to your local weather.
Porch Columns vs. Porch Posts
Columns and posts both hold up your porch roof, but they look pretty different. Columns are usually more decorative, often with smooth or carved finishes.
Porch posts are chunkier and simpler—built more for strength than looks. You’ll spot posts on rustic or modern porches, especially where a simple style works best.
Knowing the difference helps you figure out what needs painting, fixing, or replacing to keep your porch safe and looking sharp.
Essential Preparation Before Painting Porch Columns
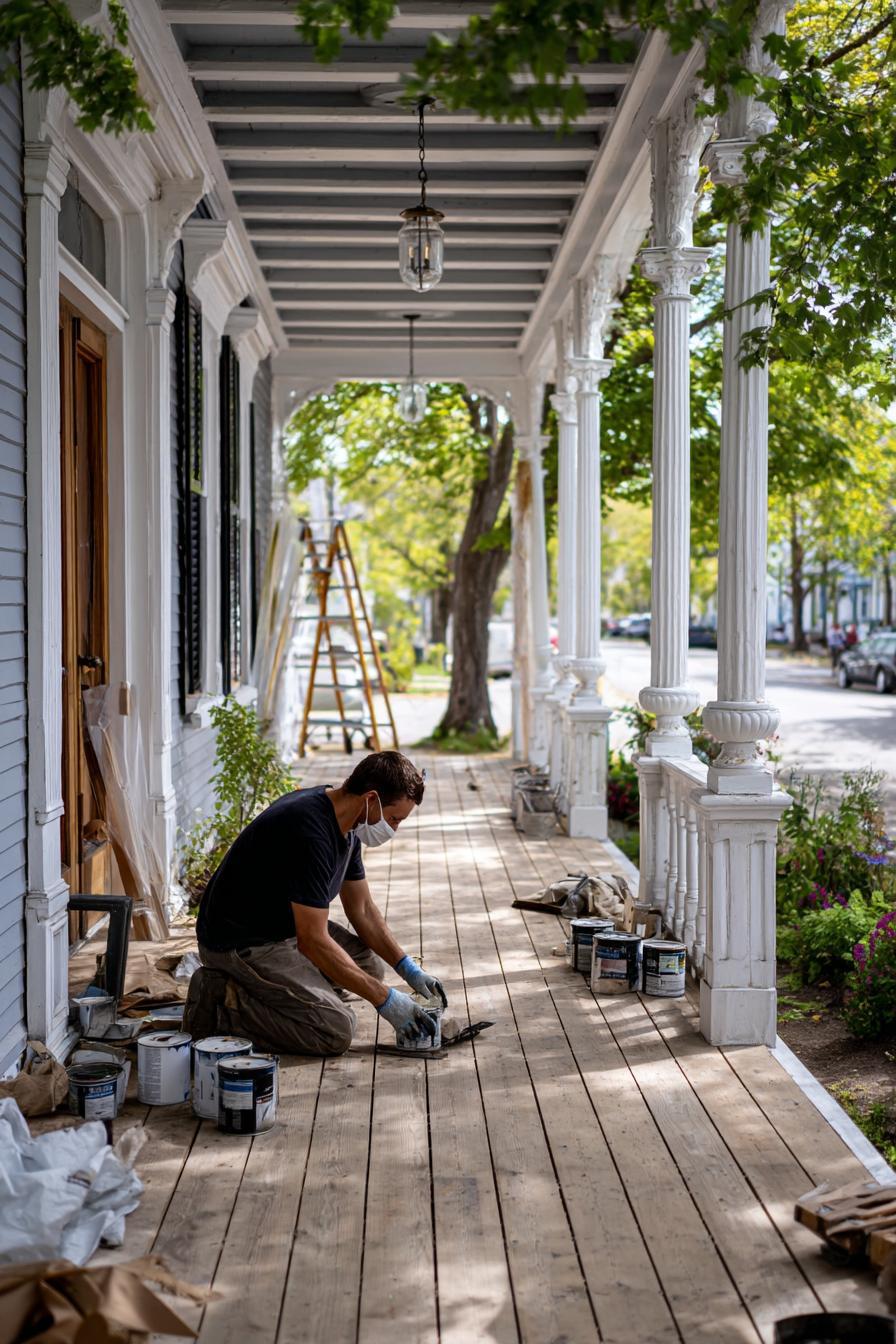
Before you start painting, focus on safety and gather your tools. You’ll also want to check what your columns are made of and see what kind of shape they’re in. These steps make your paint job last and look good.
Safety Precautions and Tools Needed
Wear gloves, goggles, and a dust mask to keep yourself safe from dust, paint chips, or chemicals. If you’re using a ladder, double-check that it’s steady and on level ground.
Here’s what you’ll need:
- Scraper or putty knife for old paint and dirt
- Sandpaper to smooth things out
- Caulking gun and exterior-grade caulk
- Power washer or hose for cleaning
- Paintbrushes and rollers for exterior wood
- Drop cloths to protect your porch and plants
Got an old house, maybe from the 1940s? Test for lead paint before you start. If you find lead, take extra precautions or hire a pro.
Assessing Column Material and Condition
Figure out what your columns are made of—wood, fiberglass, or metal are the usual suspects. Wood needs a bit more care, like filling holes with wood filler or spackle.
Look for cracks, splits, or rot. If you need to replace or trim wood, use a table saw carefully. Fill small cracks with caulk and bigger ones with wood filler. Once repairs dry, sand everything smooth.
Clean and dry the surface before painting. A power washer works great for dirt and old paint, but don’t blast too hard or you’ll do more harm than good.
Steps for Surface Preparation
Getting your porch columns ready means cleaning, smoothing, and sealing them up so paint sticks and lasts.
Cleaning and Sanding the Columns
Wash the columns to get rid of dirt, dust, and any loose paint. Use a power washer or just some soapy water and a stiff brush. Let everything dry completely.
Sand the columns to smooth rough spots and help the paint grip. Start with 80-grit sandpaper for tough spots, then switch to 120-grit for a finer finish. Focus on peeling paint or rough patches, but don’t press too hard—you want to avoid gouges.
Repairing Damage and Filling Gaps
Check for cracks, holes, or damaged spots. Fill them with exterior wood filler or a patching compound meant for trim or PVC. Use a putty knife to smooth it out so it blends in.
If you spot loose trim, glue or nail it down before filling. Let the filler dry and sand the area smooth before painting.
Caulking and Sealing Joints
Seal all the joints and gaps with a good exterior caulk. This keeps water and bugs out and helps prevent the paint from cracking.
Scrape off old caulk first, then apply new caulk with a caulking gun. Pay close attention to corners and seams. For PVC trim, use caulk made for plastic so you get a tight seal.
Wait for the caulk to dry all the way before you move on to painting.
Priming Porch Columns for Best Results
If you want your paint to last, priming comes first. The right primer protects the surface and helps your paint go on smooth.
Choosing the Right Primer
Pick a primer that matches your column material—wood, metal, or aluminum. For wood, oil-based primer is a solid choice; it blocks stains and seals well. For metal or aluminum, go with a self-etching primer, which helps paint stick by roughing up the surface a bit.
Make sure your primer and paint are compatible. Oil-based paint needs oil-based primer, and water-based paint works best with water-based primer. Matching them helps avoid peeling later.
Applying Oil-Based Primer
Start with columns that are clean and dry. Wash off dirt and dust, then let things dry out completely.
Use a good brush or sprayer for even coverage. Apply a thin, smooth coat—don’t overload your brush or you’ll get drips.
Let the primer dry all the way; usually, that takes about 24 hours. If your wood columns are rough or stained, you might need a second coat. Sand lightly between coats for the smoothest finish.
Painting Techniques for Porch Columns
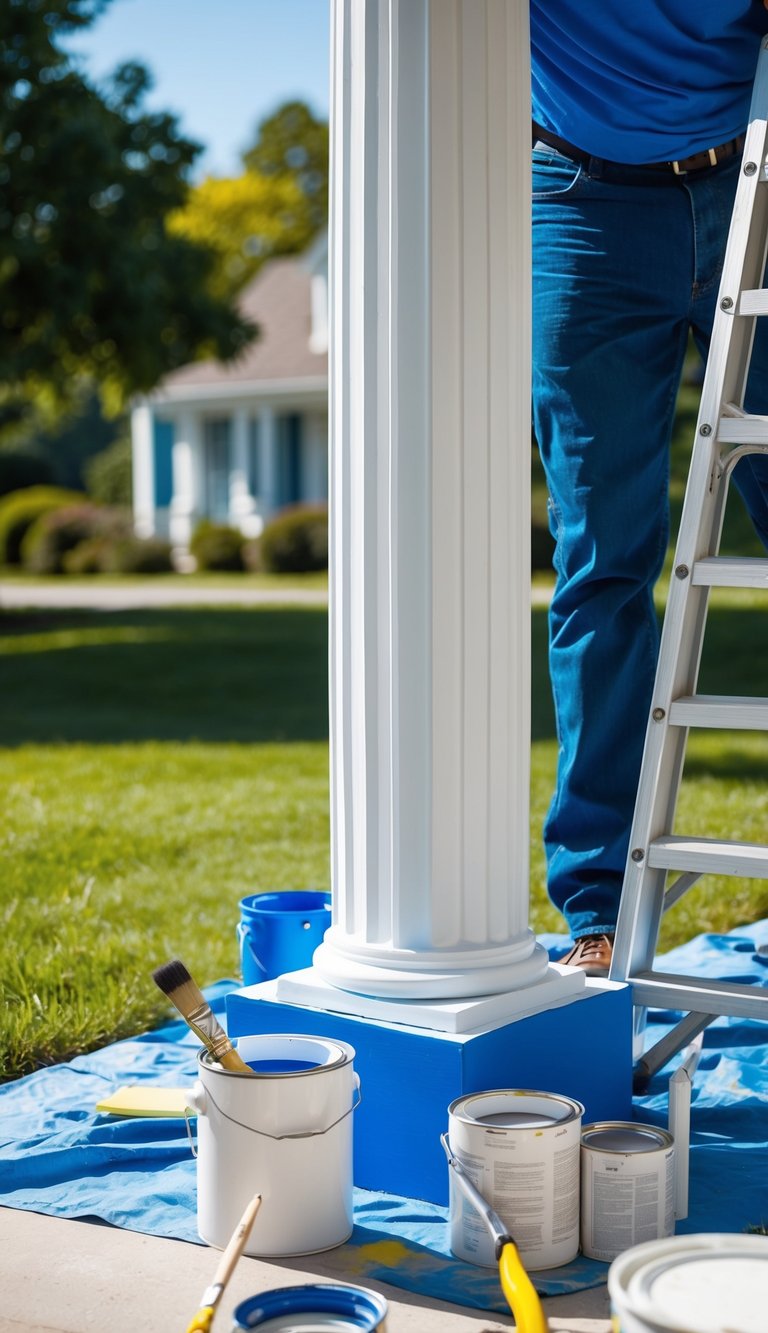
Painting porch columns isn’t rocket science, but you’ll want to pick the right paint and apply it with care. The right paint stands up to weather, and a steady hand keeps the finish looking sharp.
Selecting Paint for Outdoor Columns
Go for paint made for exteriors—it’ll handle rain, sun, and temperature swings. Look for exterior-grade paint that’s durable. Oil-based or waterborne acrylic urethane paints both work. Oil-based paint lasts longer but takes its sweet time to dry.
Don’t skip the primer step. An exterior primer helps paint stick and keeps it from peeling. If you’ve got wood columns, oil-based primer is usually best.
Pick a finish that fits your style and keeps things easy to clean. Semi-gloss or satin are popular because they resist dirt and wipe down easily.
How to Apply Paint Evenly
Clean your columns before painting. Scrape off old paint and sand lightly so the new paint has something to grip.
Use a quality brush or a paint sprayer for good coverage. Brushes are great for details, while sprayers are fast for bigger areas.
Apply paint in thin, even coats. Let each layer dry before adding another. Two coats usually do the trick.
Work in smooth strokes, following the wood grain if you have wooden columns. This helps you avoid drips and brush marks. Clean your tools when you’re done—they’ll last longer that way.
Special Considerations for Decorative Elements
Painting the fancy parts of your porch? You’ll need a bit more patience. Small, detailed pieces or grooves take extra care, but it’s worth it for a crisp, long-lasting finish.
Painting Rails, Spindles, and Balustrades
Rails, spindles, and balustrades are narrow with lots of angles. Use a small brush or a sprayer to avoid drips and get even coverage.
Clean off dust and old paint flakes first. Sand any rough spots so the paint sticks.
Paint in thin layers, letting each one dry before the next to keep things smooth and avoid runs.
If you have spacers between spindles, paint them carefully so you don’t miss any spots. Take your time on edges and corners for a tidy finish.
Panel Molding and Trim Work
Panel molding and trim often have sharp edges and detailed shapes. Painter’s tape helps protect nearby surfaces while you work.
Give the trim a quick sanding to knock down any glossy paint and help the new paint stick. Fill cracks or holes with wood filler so you get a smooth finish.
If the wood’s bare or you’re switching from a dark to light color, start with primer. This helps the final color look right and last longer.
Grab a small angled brush for crisp lines and even coverage. Don’t overload your brush—too much paint just leads to drips and smudges, and nobody wants that.
Caring for and Maintaining Painted Porch Columns
If you want your porch columns to stay fresh and sturdy, clean them regularly and keep an eye out for damage. Little repairs and touch-ups go a long way—they’ll save you bigger headaches later.
Routine Cleaning and Inspection
Give your porch columns a good cleaning at least twice a year. A soft brush or cloth with mild soap and water usually does the trick. Stay away from harsh chemicals; they can mess with the paint.
After you’ve cleaned them, take a close look. Check for cracks, peeling paint, or soft spots in the wood, especially down near the base where moisture likes to hang out.
Jot down any issues you spot. Catching things early means fewer big repairs later. Plus, regular cleaning keeps the paint looking sharp and helps protect the wood underneath.
Touch-Ups and Long-Term Maintenance
Keep some matching paint handy for quick touch-ups. If you notice small cracks or chips, just sand them lightly, slap on some primer if needed, and repaint. That keeps moisture out and stops bigger problems from starting.
Check the caulking at the seams around your columns. If it’s old or cracked, scrape it out and replace it with exterior-grade caulk that suits your climate. Caulk keeps water out and helps prevent rot.
Every few years, plan to repaint the entire column. Scrape off any peeling paint and prime first. It’s a bit of work, but it keeps your columns looking great as your style changes.
Tips for Painting Unique Porch Surfaces
Different porch materials need different prep and paint. Each surface throws its own curveballs, so knowing what you’re up against helps you get a finish that actually lasts.
Working with Concrete Porch Columns
Start by cleaning concrete columns. Use a stiff brush and soapy water or a pressure washer to get rid of dirt and loose stuff. Let everything dry completely.
Check for cracks or holes next. Fill them with a concrete patch or exterior filler, then sand them smooth once dry.
Pick a paint made for masonry or concrete. These paints handle moisture and don’t crack as easily. A brush or roller works for applying paint—usually two coats gives you solid coverage.
Skip regular wood paint on concrete. It just won’t stick and will peel off in no time.
Painting Around PVC and Custom Trim
For PVC or other plastic trim, clean the surfaces well with mild detergent and water. Rinse and dry thoroughly.
PVC needs paint that can flex. Go for a high-quality exterior acrylic latex paint designed for plastic or vinyl.
Before painting, lightly sand the trim with fine-grit sandpaper so the paint has something to grab onto. Wipe away the dust with a damp cloth.
Use a brush for corners and edges to avoid drips. A paint sprayer or roller works for bigger, flat areas.
Don’t use oil-based paints—they tend to crack on PVC. It’s better to do a couple of thin coats than one thick, goopy one.
Finishing Touches for a Beautiful Porch
Once your porch columns are painted, a few simple touches really make them pop. Why not show off your work and make the whole porch feel a bit more welcoming?
Decorating Ideas for Finished Columns
Add planters or hanging baskets near your columns for a splash of color and some life. If you’re into lights, wrap some small LEDs around the columns for a soft nighttime glow. You could also try wrapping them with rope or decorative trim for a little extra texture.
For a classic vibe, try simple wooden or metal details at the base or top of each column. Those little extras make a big difference and work with pretty much any style.
Here’s a quick list of decorating ideas:
Get the Fail-Safe Paint Color Playbook (Free PDF)
36 proven colors • 8 ready palettes • trim & sheen guide • printable testing cards.
- Colorful flower pots or ivy
- String or fairy lights
- Rope or ribbon wrap
- Metal or wooden trim pieces
These touches are easy to pull off and add a lot of charm—no extra repairs needed.
Showcasing Your Porch Makeover
Snap a few photos of your painted columns from different angles. Why not share them online or with friends? It’s a nice way to celebrate the effort you put in. If you’re on a decorating journey, showing your progress can be surprisingly motivating.
Try placing a small bench or chair near the columns for a cozy, welcoming spot. Swapping in a fresh doormat or a quirky porch sign can really pull the look together and let your style shine through.
Of course, you want your porch to feel inviting and reflect your personality. Wipe away any stray paint marks, and do a quick check for spots that need a little extra attention. That way, your columns stay sharp and polished—just like you intended.