How To Paint A Wall With Metallic Paint: Easy Steps for a Shimmering Finish
Transforming a plain wall into a dazzling centerpiece is easier than you might think. Painting with metallic paint can add a unique shimmer and depth to any room, drawing attention and creating a stunning visual effect. To achieve a smooth and uniform metallic finish, use a roller for larger sections and a brush for edges and corners.

Metallic paint isn’t just for professional painters. With the right tools and a little patience, you can achieve professional-looking results. Start by picking your favorite metallic shade and prepare your wall surface properly for the best outcome. This small extra effort makes a big difference in the final look.
Get the Fail-Safe Paint Color Playbook (Free PDF)
36 proven colors • 8 ready palettes • trim & sheen guide • printable testing cards.
Imagine your living room shimmering in gold or a bedroom wall reflecting a cool silver tone, adding elegance and sophistication to your space. With the right technique, metallic paint can bring your walls to life, making your home truly unique.
Understanding Metallic Paint
Metallic paint can transform any room, giving your walls a sleek and shiny finish. It contains tiny metallic particles, usually aluminum, that catch and reflect light. This creates a stunning, shimmery effect. You might find metallic paints in gold, silver, bronze, and other beautiful shades.
Using metallic paint adds a touch of luxury and elegance. It’s perfect when you want to make a statement with a feature wall. Be mindful of your lighting as it can affect how the paint looks at different times of the day.
Types of Metallic Paint
- Water-Based Metallic Paints: These are easy to clean up with soap and water. They’re great for indoor spaces.
- Solvent-Based Metallic Paints: These provide a durable finish but require proper ventilation due to strong fumes.
Application Techniques
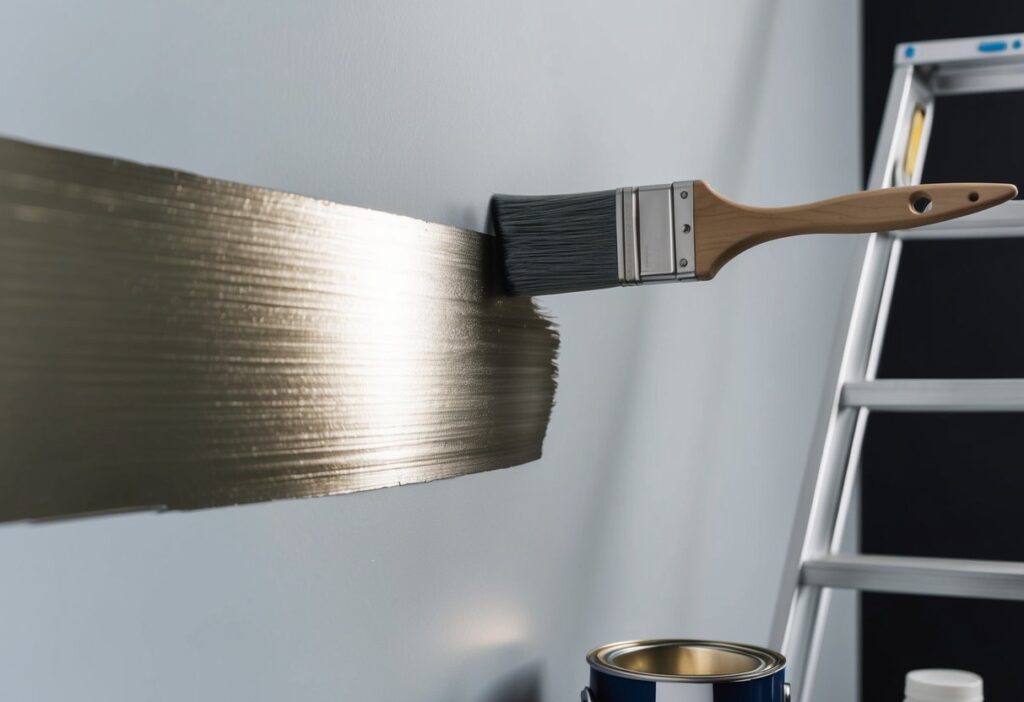
- Brushes work well for detailed areas and small sections.
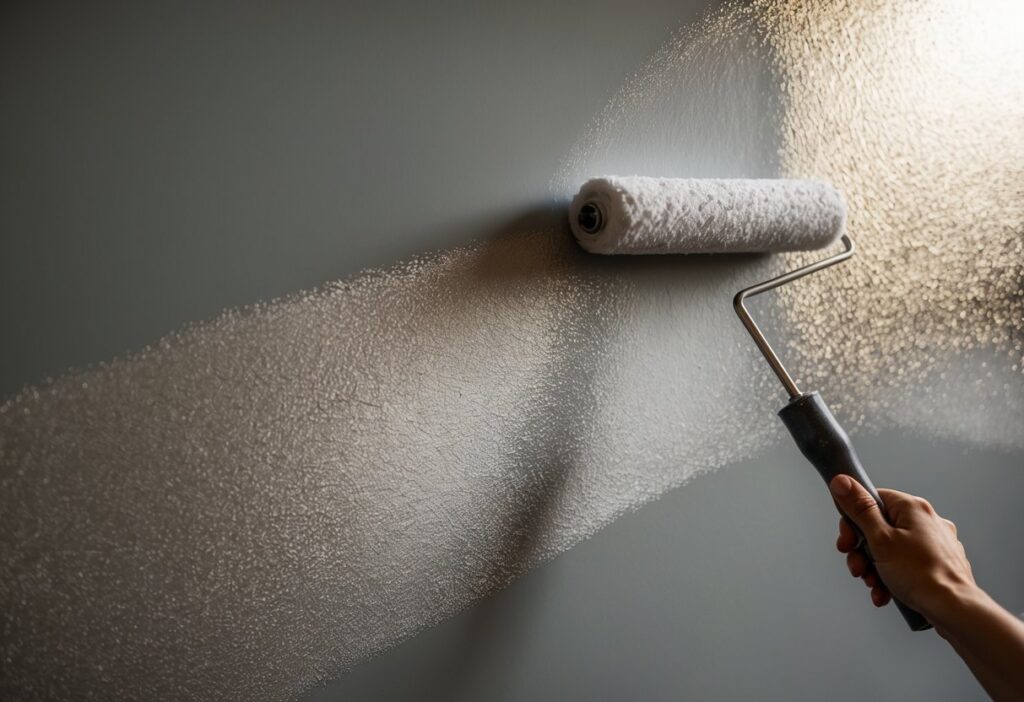
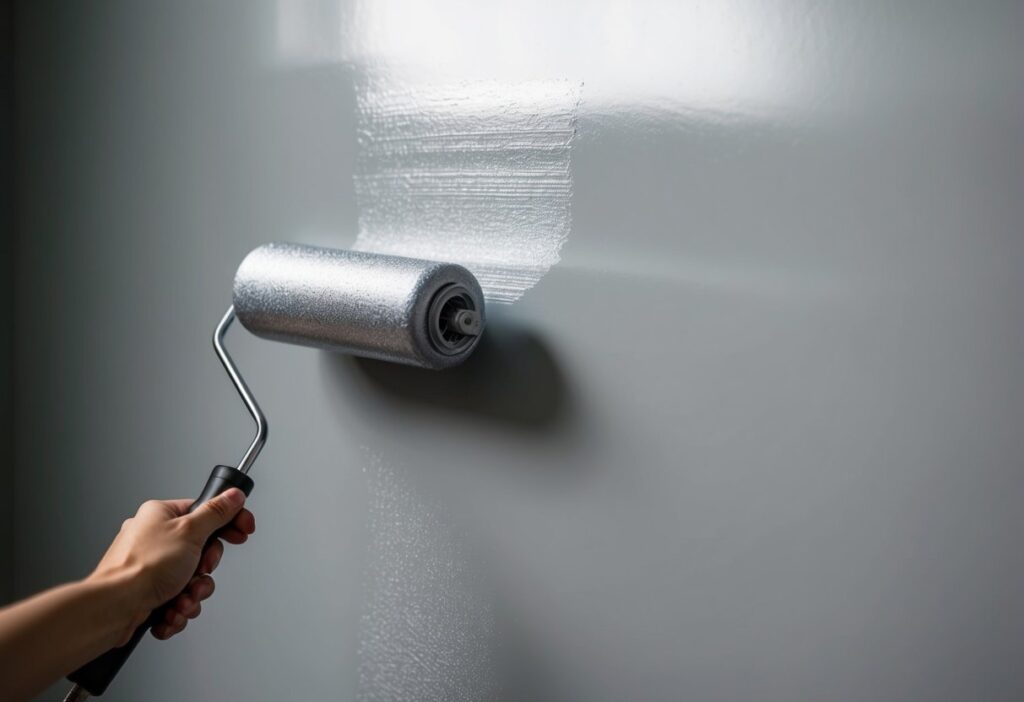
- Rollers are best for larger wall areas.
- Sprayers offer a smooth finish with fewer visible brush marks.
When painting with metallics, proper surface preparation is key. This includes cleaning and priming the wall to ensure the paint adheres well. Adding an extender can also help by making the paint dry slower, reducing visible lap lines.
Experiment with different shades and application methods to find what works best for your space. Remember to test a small area first to see how the paint reacts with your lighting and room decor.
Selecting the Right Metallic Paint
Choosing the right metallic paint can transform your space into something special. Below, we’ll explore the important factors to consider and the types of metallic paints available.
Factors to Consider
When selecting metallic paint, lighting plays a crucial role. Different lighting can dramatically change how the metallic finish looks on your walls. It’s wise to test paint samples on a small section of the wall to see how they appear throughout the day.
Color coordination is another key factor. Think about how the color of the paint will blend with your existing decor. A well-chosen metallic shade can add depth and a touch of glamour, making your room feel more sophisticated and inviting.
Don’t forget about the surface you’re painting. Some surfaces might need a primer to ensure that the metallic paint adheres properly. This is especially true for walls with imperfections, as metallic paints can highlight these flaws.
Types of Metallic Paints
Metallic paints come in various types, each offering different finishes and application methods. One option is acrylic metallic paint, known for its durability and easy application. It works well for both beginners and professionals looking to add a bit of shine to their spaces.
Another choice is oil-based metallic paint. These paints provide a richer finish and are often used when seeking a more luxurious appearance. Keep in mind, though, that oil-based paints can be more challenging to work with and require proper ventilation.
For those who prefer more complexity in texture, metallic spray paints offer an alternative. They provide a smooth and even coating, ideal for quick jobs or adding accents to specific areas of your wall.
Tools and Materials Needed

Gathering the right tools and materials is important to get the best results with metallic paint. You’ll need a variety of paint brushes, tarps for protecting your space, and painter’s tape for clean edges.
Get the Fail-Safe Paint Color Playbook (Free PDF)
36 proven colors • 8 ready palettes • trim & sheen guide • printable testing cards.
Choosing Paint Brushes
When working with metallic paint, picking the right brush is crucial. Use high-quality, synthetic brushes for smooth application. They leave fewer brush marks and help you handle metallics better than natural bristles.
For corners and edges, choose a small, angled brush. It helps you paint tight spaces neatly. For larger areas, a larger brush or roller with a short nap works well. Ensure your brushes are clean before starting to keep the paint finish smooth and free of debris.
Types of Tarps and Protection
Keeping your floors and furniture safe from paint spills requires proper protection. Use heavy-duty canvas tarps, which are durable and reusable. They offer great protection and won’t tear easily. They are also heavy enough to stay in place and prevent sliding.
For extra protection, especially on furniture, consider using plastic drop cloths. They are waterproof and versatile. Use painter’s tape to secure edges of the tarps. This keeps them from slipping and ensures full coverage, reducing the cleanup effort afterward.
Painter’s Tape Usage
Painter’s tape is your best friend for clean, straight lines. Always choose high-quality painter’s tape to avoid paint bleed. Mask off areas you don’t want to paint, such as baseboards, window frames, and ceiling edges.
Apply the tape smoothly without stretching to prevent paint from seeping underneath. Press down the edges with a scraper or your fingernail to seal it properly. Once your painting is done, remove the tape slowly while the paint is still slightly wet for the cleanest edge.
Preparation for Painting

Getting ready to paint your walls with metallic paint involves several important steps to ensure a polished and professional finish. You’ll want to focus on cleaning the surface, protecting areas you don’t want to paint, and applying a suitable primer.
Surface Cleaning
Start by cleaning the wall. This step is key to achieving a smooth finish with metallic paint. Dust, dirt, and grease can prevent paint from adhering properly.
Use a mild soap solution and a soft sponge for washing. Pay extra attention to corners and areas around windows or doors. Rinse thoroughly with clean water and allow the surface to dry completely. If there are any stubborn stains or marks, a gentle scrub with a non-abrasive cleaner might be necessary.
Inspect the wall for any cracks or holes. Patch these with spackle, then sand them smooth once dry. Finally, use a clean cloth to wipe away any remaining dust from sanding, leaving a clean surface ready for painting.
Protection and Taping
Before you start painting, you’ll need to protect areas that shouldn’t be painted. Remove or cover furniture and decorative items. Use drop cloths or old sheets to cover the floor and any nearby furniture.
Get the Fail-Safe Paint Color Playbook (Free PDF)
36 proven colors • 8 ready palettes • trim & sheen guide • printable testing cards.
Apply painter’s tape to edges like baseboards, trims, and window frames. Make sure the tape is applied smoothly to prevent any paint bleed. Remember that metallic paint can be reflective, so neat edges are crucial for a clean look.
Be mindful of outlet covers and light switch plates. It’s best to remove them beforehand. Unscrew them carefully and keep any hardware in a secure spot. This saves you time and hassle later on, and ensures a professional finish.
Primer Application
Applying a primer is an important step, especially for metallic paint. Primer helps to seal the surface and provides a more uniform base for the paint. Choose a primer that is compatible with both the surface and your chosen metallic paint.
Roll or brush the primer onto the wall in even strokes. Ensure full coverage, but avoid thick layers that can lead to drips.
Allow the primer to dry according to the manufacturer’s instructions. This step might take several hours, depending on humidity and temperature. Once the primer is dry, lightly sand the surface with fine-grit sandpaper. This helps to smooth out any imperfections and readies the wall for a flawless metallic finish.

Painting Techniques
Painting a wall with metallic paint can add a chic, reflective look to any room. With the right techniques for mixing, priming, and layering, you can achieve a stunning finish.
Mixing the Metallic Paint
Start by making sure your metallic paint is properly mixed. Use a paint stick or an electric mixer designed for paint to thoroughly blend it. Consistency is essential to prevent streaks, so mix until you have an even mixture without any lumps or separated liquid.
Metallic particles can settle at the bottom, so give it a good stir before each use. Be gentle to avoid creating air bubbles, which can affect the final texture of the wall.
Applying the Primer
Next, prepare the wall with a primer. Choose a high-quality primer that complements the undertones of your metallic paint. This step is crucial for a uniform surface and helps the metallic paint adhere better.
Get the Fail-Safe Paint Color Playbook (Free PDF)
36 proven colors • 8 ready palettes • trim & sheen guide • printable testing cards.
Apply the primer using a roller or brush in smooth, even strokes. Let the primer dry completely before you move on to the next step. This gives you a perfect base for your metallic paint.
Layering the Paint
After the primer is dry, it’s time to apply the metallic paint. Use a 4-inch roller for large areas, as it gives you control and precision. For edges and corners, switch to a brush to ensure clean lines.
Apply the first coat thinly, allowing it to dry completely. Then, add another layer for better coverage and sheen. Depending on the look you desire, a third coat may enhance the finish.
Keep your strokes consistent and work in small sections, blending the edges as you go to prevent unwanted lines.
Applying Metallic Paint
Applying metallic paint to your walls can add a luxurious and shiny effect to your space. It’s essential to follow certain steps to ensure a smooth, polished finish without visible streaks or lines. Here’s how you can make your wall a stunning feature in your home.
Starting Your Project
Begin by gathering the necessary tools. You will need a 4″ foam roller, tray, painter’s tape, and a clean, dry cloth. Choose a suitable metallic paint that fits the aesthetic you’re aiming for.
Before painting, prepare your walls. Use painter’s tape to mask areas that should not be painted, like trim or adjacent walls. Make sure the wall is clean and dry. Smooth any uneven areas with sandpaper to ensure the paint adheres properly.
The next step is to mix the paint well. Stir the paint thoroughly before you begin. This step ensures the metallic elements are evenly distributed throughout the paint.
Creating a Smooth Finish
Creating a smooth finish can be challenging with metallic paint because it highlights imperfections. To achieve a flawless look, consider using an extender with your paint. An extender increases the drying time, giving you more time to smooth out lines and overlaps.
When applying the paint, use a roller for large areas and a brush for corners and edges. Use even strokes in a single direction to avoid overlap marks.
Work in small sections, especially in corners or tight spots, and blend well to prevent any noticeable lines. Keep a wet edge to smoothly transition from one section to the next without leaving visible lines when the paint dries.
Adding Additional Coats
Once the first coat dries, inspect the wall. If the finish seems uneven, you may need to add more coats. Metallic paints can be thin, so adding additional layers might be necessary to achieve the desired depth and shine.
Get the Fail-Safe Paint Color Playbook (Free PDF)
36 proven colors • 8 ready palettes • trim & sheen guide • printable testing cards.
For additional coats, follow the same smooth application technique, focusing on maintaining consistent strokes and coverage.
Some paints require light sanding between coats for optimal adhesion. Repeat the process until you achieve the coverage and finish you desire. Patience is key in achieving that perfect metallic shine.
Finishing Touches
After you apply metallic paint to your walls, it’s important to focus on proper drying and curing, as well as taking steps to clean up efficiently. These points ensure that your painted walls look their best and remain durable.
Drying and Curing Time
Once your paint application is complete, patience is key. Metallic paint might take longer to dry than regular paint, so give it time. Generally, allow at least 24 hours for the paint to dry to the touch.
For the paint to fully cure and achieve maximum hardness, you might need to wait up to two weeks. To protect the finish during this period, prevent contact with the surface. Avoid hanging anything on the walls or touching them too much. Proper curing ensures the metallic sheen stays intact and vibrant.
Cleanup and Care
Cleaning up after a paint job keeps your tools and workspace in good condition. Use mild soap and water to wash your brushes and rollers. If any paint drips are on the floor, clean them quickly to prevent stains.
Keep some leftover paint in a sealed container for future touch-ups. In case of small damages, you can easily cover them. Regularly dust your painted walls gently with a soft cloth to maintain their shine and avoid scratching the surface. Following these steps will keep your metallic walls looking fresh and elegant.
Inspirational Ideas
Metallic paint opens up creative possibilities for transforming your space. This guide helps you explore unique ideas, bringing a touch of elegance and creativity to walls, furniture, and doors.
Accent Walls
Creating an accent wall with metallic paint can transform the look of any room. Choose colors that suit your style, like silver for a modern touch or gold for warmth. Bold accent walls can make small rooms appear larger by reflecting light.
To achieve a seamless look, use a sponge or roller to blend smoothly. Add textured finishes to make the wall truly stand out. Accent walls are perfect for living rooms or bedrooms where you want to draw attention or create a sophisticated feature.
Furniture and Trim
Metallic paint isn’t just for walls; it can revive furniture and trim, giving old pieces new life. Apply pewter or bronze to highlight detailed carvings. Use metallics on picture frames, table legs, or chair arms for a subtle, chic effect.
Mix metallic with different textures, such as matte or wood, for contrast. Transform an old table into a centerpiece by painting the top in metallic shades. This approach lets you reinvent pieces without needing to replace them.
Doors and Features
Doors are another canvas for metallic paint. A metallic finish can make doors welcoming entry points. Choose colors like copper or platinum to match your interior design. Metallic paint enhances architectural features by accentuating details, like paneling or moldings.
Consider adding metallic touches to kitchen cabinets or built-in wardrobes. Use a stenciled design to add elegance to plain doors. This way, each door becomes an art piece, adding flair to ordinary spaces.
Tips and Tricks
When applying metallic paint, consider using a 4-inch roller. This size helps you get even coverage and makes the job easier.
Make sure to add an extender to your paint. This slows down drying time, giving you the chance to smooth out any lap lines.
Before you begin, paint a base coat. Choose a color that complements the metallic paint for a stunning finish.
Using a brush for smaller areas can give you control. It helps you manage details and touch up edges.
Alternatively, a spray application works well for larger surfaces. It covers evenly and blends the metallic finish beautifully.
Get the Fail-Safe Paint Color Playbook (Free PDF)
36 proven colors • 8 ready palettes • trim & sheen guide • printable testing cards.
Remember to stir the paint often. This keeps the metallic particles evenly mixed for a consistent shine.
When working, avoid going over already painted areas that have started to dry. This can cause streaks.
Always test a small section first. This helps you get a feel for the application and see the final look.
Use drop cloths and painter’s tape to protect your floors and trims. This keeps your space tidy.
