How to Paint Silicone: Tips and Tricks for a Perfect Finish
Painting silicone can seem tricky, but with the right tools and steps, you can achieve a smooth and lasting finish. To get started, make sure to clean and dry the silicone surface thoroughly. Any dirt or residue can prevent the paint from adhering properly. You also want to use a primer that’s specially formulated for silicone, such as shellac spray primer. This will help the paint stick better.
Once you’ve prepped the silicone, choose a paint that works well on this material. Oil-based paints or spray paints designed for silicone are your best bet. These types of paints adhere more effectively and provide a durable finish. Ensure you’re applying thin, even coats and allow sufficient drying time between each layer. Aim for a distance of about 6-8 inches from the surface when using spray paint.
Get the Fail-Safe Paint Color Playbook (Free PDF)
36 proven colors • 8 ready palettes • trim & sheen guide • printable testing cards.
Take your time and follow these steps carefully to get the best results. If you follow these methods, you’ll be able to paint silicone surfaces like a pro. No need to worry about peeling or chipping paint; your freshly painted silicone will look great and last long.
Understanding Silicone
Silicone is a popular material because it is flexible, durable, and resistant to extreme temperatures and moisture. Let’s explore the different types and key properties of silicone thoroughly.
Types of Silicone
Silicone comes in various types, each suited for specific uses. Here are a few you should know about:
- Silicone Rubber: This is used in seals, gaskets, and medical devices. It’s known for its high elasticity and strength.
- Silicone Acrylic Latex: This type combines the flexible properties of silicone with the paintability of acrylic. It’s great for outdoor applications because it resists weathering.
- Platinum Silicone: Often used in food and medical industries, platinum silicone is durable and safe. It cures fully through a platinum-based catalyst, making it more stable.
Properties of Silicone
Silicone has unique properties that make it stand out. Here are some key features:
- Temperature Resistance: Silicone can withstand temperatures ranging from -55°C to 300°C, making it useful in extreme environments.
- Flexibility: Despite being strong, silicone remains flexible, which is why it’s used in tubing and seals.
- Chemical Resistance: Silicone resists many chemicals, oils, and solvents, making it ideal for various industrial applications.
- Water Repellent: Because silicone repels water, it’s great for use in moisture-prone areas like kitchens and bathrooms.
These properties make silicone an essential material in many industries, from construction to healthcare. Understanding these aspects will help you make informed decisions when using silicone.
Preparation for Painting

To get paint to stick to silicone, you need the right steps. Clean the surface, rough it up, and use a good primer to ensure a durable finish.
Cleaning and Degreasing
Start by cleaning and degreasing the silicone.
Use denatured alcohol to remove any dirt, grime, and oils. Alcohol works well because it doesn’t leave a residue. Pour some on a cloth and wipe down the silicone thoroughly.
Remove all dust and debris to get a clean surface. You might need to go over it a few times to make sure it’s spotless. Dry the surface with a clean, lint-free cloth to avoid any particles sticking to the silicone.
Sanding and Roughing Up
Once clean, the next step is to sand the surface.
Silicone is smooth, so you need to create some texture for the paint to grip. Use medium-grit sandpaper like 150-200 grit to lightly sand the entire area.
Ensure even sanding; don’t press too hard. You’re just looking for a rough surface, not to remove layers of silicone. After sanding, wipe down the silicone again with alcohol to remove any dust or particles.
Applying Primer
The final step before painting is to apply a primer.
Choose a primer made for silicone. Options like shellac spray primer or translucent primer can work well. Apply the primer in thin, even coats following the manufacturer’s instructions.
Allow each coat to dry thoroughly before applying another. Usually, this takes about 15-30 minutes. Good priming ensures the paint adheres properly and lasts longer.
Choosing the Right Paint
Selecting the best paint for silicone surfaces ensures lasting results. Different paint types offer varying benefits, and knowing your options is crucial.
Oil-Based vs Water-Based Paints
When deciding between oil-based and water-based paints, consider the surface and usage. Oil-based paints adhere well to silicone, providing a durable and long-lasting finish. They are beneficial for areas exposed to water or heavy use. Crazy fact: Oil-based options offer the best durability, especially in wet areas.
Water-based paints, like acrylic paints, are easier to clean and less toxic. They dry faster and have lower fumes, which is great for indoor projects. However, they may need a primer to bond well with silicone. Tip: Always check the label for compatibility with silicone!
Flexible Paint Options
Flexible paints are essential for silicone, which expands and contracts. Silicone-based paints are designed for this purpose, giving you a stretchy and resilient coat. They are perfect for surfaces that move or flex.
Urethane and epoxy paints are other flexible options, providing strong adhesion and resistance to cracking. Fun fact: These paints are often used in industrial settings due to their toughness.
Choose a high-quality acrylic latex paint for a balance of flexibility and ease of use. This type is specially formulated to adhere well while remaining flexible. Look for labels like “acrylic latex” to ensure you’re getting the right product.
Make sure to pick a paint that matches the silicone’s flexibility and your specific project needs for the best results.
Painting Techniques

If you’re planning to paint silicone, you’ll want to use the right tools and methods. Factors like even coats and the type of paintbrush or airbrush can make a big difference in your finished product.
Brush Painting
Using a brush to paint silicone can be a straightforward process. Start by choosing an oil-based paint designed for silicone surfaces. Before you start, make sure you’ve cleaned the silicone with a degreaser or rubbing alcohol to remove any dirt or grease. This helps the paint adhere better.
Apply the paint in thin and even layers. This is important! A thick coat can cause the paint to peel or crack. After you’ve applied the first layer, let it dry for 6 to 8 hours before adding a second layer, if necessary. A paint thinner can help if the paint feels too thick.
Always work in a well-ventilated area and use a good quality paintbrush to avoid brush strokes. Holding the brush at a slight angle can also help achieve a smooth finish.
Using an Airbrush
An airbrush offers a different approach to painting silicone. This method is ideal for covering large areas or achieving a very smooth finish. First, you’ll need an airbrush system and spray paint designed for silicone. Make sure to shake the spray can vigorously before use to mix the paint well.
Hold the airbrush 6-8 inches away from the silicone surface and apply the paint in thin and even layers. Move the airbrush in a consistent sweeping motion to avoid runs and drips. Thin layers dry quicker and adhere better.
Just like with brush painting, ensure the silicone surface is clean and dry. You might need to apply multiple layers, allowing each layer to dry completely before applying the next. This ensures a smooth and durable finish.
Working in a ventilated area and wearing a mask can help protect you from inhaling fumes.
Sealing and Waterproofing
After painting, making sure your silicone is sealed and waterproofed is key. Silicone is often used in wet areas like bathrooms, so you need a topcoat that can handle moisture. Sealant is your best friend here.
For extra protection, consider using a siliconized acrylic latex sealant. It’s flexible and sticks well to silicone, ensuring a durable finish. Apply a thin layer over the painted surface. Make sure it’s evenly distributed. Check the label for the drying time, usually around 24 hours.
Here are the steps broken down:
- Apply a thin coat of sealant.
- Use a brush or roller for an even layer.
- Let it dry as recommended on the product label.
Curing and Drying Time
Once you’ve applied your paint and sealant, give it time to cure and dry. Rushing this step can ruin your hard work. Paint and sealant typically need around 24 to 48 hours to dry completely. During this time, keep the area free from dust and debris.
To help with curing, consider this process:
- Ventilation: Keep windows open or use a fan.
- Temperature: Maintain a warm environment, around 70°F (21°C).
- Humidity: A lower humidity level helps. Use a dehumidifier if needed.
Special Considerations
When painting silicone, you need to pay attention to the type of silicone and the environment it’s in. Different projects require different approaches, whether painting prosthetics or caulk.
Silicone Prosthetics Painting
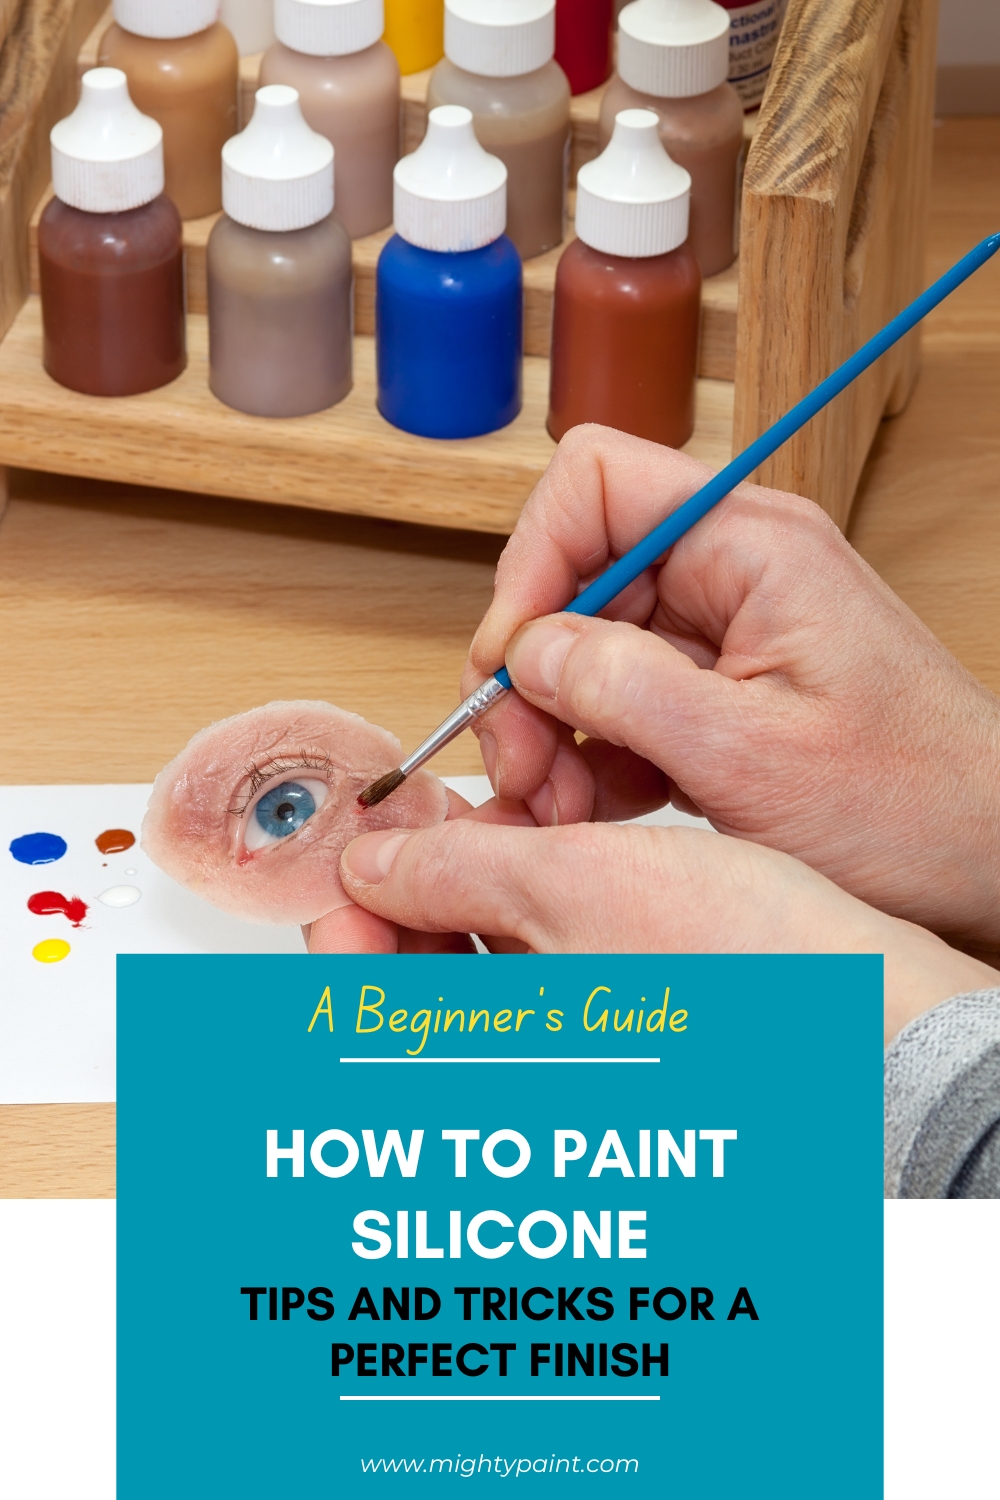
Painting silicone prosthetics requires unique care. Use paints designed for silicone, like silicone-based paints or pigments. Prepare your tools well: use small brushes or airbrushes for fine details.
Thin, even coats work best. Apply several layers instead of one thick layer to avoid cracking. Allow each layer to dry completely before adding another. Drying time can vary; often you need to wait 6-8 hours between coats.
Primers are crucial. Use a shellac-based primer for better adhesion. Prosthetics are flexible, so your paint needs to stretch without peeling. This attention to detail ensures a durable and realistic finish.
Painting Over Silicone Caulk
Painting over silicone caulk can be tricky. First, check if the caulk is paintable. Some silicone caulks are, and some aren’t. For non-paintable caulk, you may need to replace it with paintable silicone caulk.
Clean the surface well with denatured alcohol to remove any grease or dirt. Apply a shellac-based or oil-based primer to improve paint adherence. Hold the spray can 6-8 inches away from the surface to avoid drips.
Apply thin coats of paint, letting each dry completely. This prevents uneven finishes and bubbles. Wait at least 6-8 hours between coats for optimal results.
Care and Maintenance
Taking care of your painted silicone ensures its longevity and keeps it looking fresh. You’ll need to focus on routine cleaning and occasionally do some repair and touch-ups. Here’s how you can do it easily.
Routine Cleaning
Regular cleaning is essential to maintain the appearance of your painted silicone. Use a mild soap mixed with warm water for the best results. Avoid harsh chemicals as they can damage the paint finish.
Instead of scrubbing, gently use a soft cloth or sponge to clean the surface. This prevents any potential scratches. Once clean, rinse with water and dry with a lint-free cloth.
For stubborn dirt, apply a solution of white vinegar and water. Spray it on, let it sit for a few minutes, and then wipe off. Always wear gloves to protect your hands during this process.
Repair and Touch-Ups
Sometimes, painted silicone can get chipped or scratched, needing repairs. Start by cleaning the area with a mild soap solution and letting it dry completely.
Use a matching paint to touch up spots. If a larger area is damaged, you might need to reapply a primer and then paint. Always apply in thin layers to avoid peeling.
If the silicone itself is damaged, you may need a caulking gun to reapply silicone before painting. Make sure the new silicone is compatible with your paint to ensure it adheres well.
Frequently Asked Questions
Painting silicone can be tricky, but with the right approach, you can achieve great results. Let’s dive into some common questions you might have.
Get the Fail-Safe Paint Color Playbook (Free PDF)
36 proven colors • 8 ready palettes • trim & sheen guide • printable testing cards.
What type of paint adheres to silicone surfaces?
For the best results, use oil-based paints or specialized silicone spray paints. These products are specifically formulated to stick to non-porous surfaces like silicone. Regular latex or acrylic paints usually won’t adhere well, so it’s important to choose the right type of paint.
Can acrylic paint be used on silicone items, and if so, how?
Acrylic paint isn’t the best choice for silicone because it won’t stick well. However, if you must use it, apply a high-adhesion primer first. This will help the paint adhere better. Make sure to apply the paint in thin, even coats to avoid peeling.
What steps are involved in painting silicone caulk?
- Clean the Surface: Use mild soap and water to get rid of any dirt or grease.
- Apply Primer: Use a high-adhesion primer in thin coats. Wait for each coat to dry before applying another.
- Paint: Once the primer is completely dry, apply the paint using a brush or spray.
What’s the best way to paint a silicone phone case to ensure durability?
Start by cleaning your phone case thoroughly and letting it dry. Apply a high-adhesion primer to create a good base for the paint. Use spray paint formulated for silicone, and apply it in thin, even coats. Let each coat dry before applying the next to ensure durability.
Is there a specific spray paint that is recommended for silicone rubber?
Yes, there are spray paints specifically designed for silicone rubber. Look for products labeled as silicone spray paints. These are formulated to stick to silicone surfaces much better than standard paints.
How can one successfully paint a silicone watch band without the paint peeling off?
Begin by cleaning the watch band well. Apply a high-adhesion primer and let it dry completely. Use a spray paint made for silicone, applying it in thin coats. Allow each coat to dry before adding another layer. This will help prevent peeling and ensure a long-lasting finish.