
How To Paint A Ceiling Without Roller Marks: Expert Steps & Tips
Painting a ceiling can feel like a hassle, especially when you step back and spot streaky roller marks ruining your hard work. You’re definitely not the only one who’s been there—roller marks are a classic headache for homeowners. But honestly, with the right know-how, you can dodge those streaks entirely.
You can paint a ceiling without roller marks by picking the right tools, using good techniques, and keeping your pressure and coverage steady from start to finish. It all starts with understanding what causes those marks and taking steps to avoid them before you even open the paint can.
Get the Fail-Safe Paint Color Playbook (Free PDF)
36 proven colors • 8 ready palettes • trim & sheen guide • printable testing cards.
This guide covers everything you really need—from choosing gear and prepping your space to the actual painting moves that make a difference. And if some marks sneak in anyway? No worries, you’ll find tips to fix them and get a ceiling that looks sharp and pro.
Understanding Roller Marks and How They Occur
Roller marks are those annoying streaks or lines that show up after the paint dries. Usually, they happen because paint builds up unevenly or the roller leaves thick edges as you go.
Common Causes of Roller Marks
Too much paint on your roller is probably the biggest culprit. When you overload, you get thick lines along the edges of every pass.
The wrong roller can throw you off, too. Cheap rollers just don’t spread paint evenly, leaving patchy spots and streaks behind.
Poor rolling technique—like pressing down too hard or racing through the job—can leave you with uneven coverage. Rolling in just one direction can make marks stand out even more.
Not keeping a wet edge leads to lap marks. If you roll over paint that’s already drying, the overlap shows up as darker streaks.
Wrong paint consistency messes things up, too. Paint that’s too thick doesn’t glide on well, and paint that’s too thin doesn’t cover right.
Importance of a Smooth Finish
A smooth ceiling finish just makes a room feel more put-together. Roller marks catch the light differently, so they’re easy to spot—even if you wish they weren’t.
Lighting makes roller marks worse. Sunlight or ceiling lights can highlight every single streak and bump.
Your ceiling is out in the open—nothing hides flaws up there. On walls, you might get away with a little imperfection behind a couch, but not overhead.
A streaky ceiling can make even high-end paint look cheap. It can totally distract from the rest of your decor.
Property value drops if buyers see sloppy ceiling paint. People notice stuff like that when they’re looking at houses.
How Ceiling Paint Differs from Wall Paint
Ceiling paint is thicker than wall paint, so it sticks better overhead and doesn’t drip as much.
Flat or matte finish is the go-to for ceiling paint. It hides little blemishes and keeps glare to a minimum.
Better coverage means you can sometimes get away with just one coat. Wall paint usually needs two.
Less dripping—again, thanks to that thick formula. It just makes painting above your head less messy.
Specialized formulas help ceiling paint cover up water stains and yellowing way better than wall paint ever could.
Prepping Your Ceiling for a Flawless Paint Job
Good prep makes a world of difference. If you take the time to clear the room, clean the ceiling, and prime properly, you’re setting yourself up for smooth, even coverage.
Clearing and Covering the Room
Start by moving as much furniture out as you can. It just makes things easier and safer—no tripping over stuff while you’re on a ladder.
If you can’t get everything out, shove the big pieces to the center and pile on drop cloths to catch any splatters.
Canvas drop cloths are better than plastic. They soak up paint instead of letting it pool and spread.
If you can, take down light fixtures. If not, wrap them in plastic bags and tape them up tight.
Remove ceiling fans and anything hanging down. It’s just easier to get a clean job that way.
Cleaning and Repairing the Ceiling Surface
Wipe down the ceiling with a damp cloth to clear out dust and cobwebs. Let it dry all the way before you move on.
Check for cracks, holes, or stains. Fill holes with spackle and a putty knife.
Once the filler dries, sand any rough spots so you’ve got a nice, even surface.
Wipe away sanding dust with a clean, dry cloth. Any leftover grit will show through later—trust me.
If you spot peeling paint, scrape it off and smooth the edges with sandpaper.
Priming for Optimal Results
Primer gives your ceiling paint something to grab onto and blocks stains from bleeding through.
For water marks or discoloration, pick a stain-blocking primer. It’ll keep those old spots from showing up again.
Roll on primer with light, even strokes—don’t mash the roller down or you’ll leave texture behind.
Let primer dry fully. Most need at least two hours, but always check the label just in case.
Prime the whole ceiling, not just the problem spots. That way your paint goes on evenly everywhere.
Choosing the Right Paint and Tools
The paint and tools you pick really matter. Go for flat sheen or specialty ceiling paint, and grab a quality 9-inch microfiber roller with the right nap. That combo gives you the best shot at a streak-free finish.
Selecting Flat Sheen Paint or Specialty Ceiling Paint
Flat sheen paint is your best bet for ceilings. It hides bumps and doesn’t bounce light around, which helps cover up marks.
Specialty ceiling paint is even thicker than regular flat paint and made for overhead jobs. Sometimes one coat is all you need.
If you’re painting white on white, try color-changing paint—it goes on tinted and dries white, so you can see your progress and avoid missing spots.
If you’re using wall paint or painting over stains, always use primer first. It helps the paint stick and keeps things from looking blotchy.
Best Rollers for Ceilings
A 9-inch microfiber roller is the sweet spot. Microfiber holds plenty of paint and spreads it out smoothly.
For smooth ceilings, a 3/8-inch nap is just right—not too thick, not too thin.
Skip rollers that are too big or tiny. Big ones get heavy and clumsy; small ones are slow and can actually make more marks.
Swap out your roller cover if it starts shedding or gets matted down. Old covers just don’t spread paint well and will leave streaks.
Using the Right Paint Tray and Accessories
Get a paint tray wide enough for your roller, with a deep well and a textured ramp to roll off extra paint.
Paint tray liners make cleanup a breeze—just toss them when you’re done.
An extension pole lets you reach most of the ceiling without dragging a ladder around. Pick one that feels good in your hands and doesn’t get too heavy with a loaded roller.
Keep a few spare roller covers nearby in case one falls apart or gets gunky mid-job. It’s a pain to have to stop and run to the store with wet paint on the ceiling.
Step-By-Step: How To Paint a Ceiling Without Roller Marks
The trick is to handle the edges first, load your roller right, and always keep a wet edge as you work across the ceiling.
Cutting In Corners and Edges
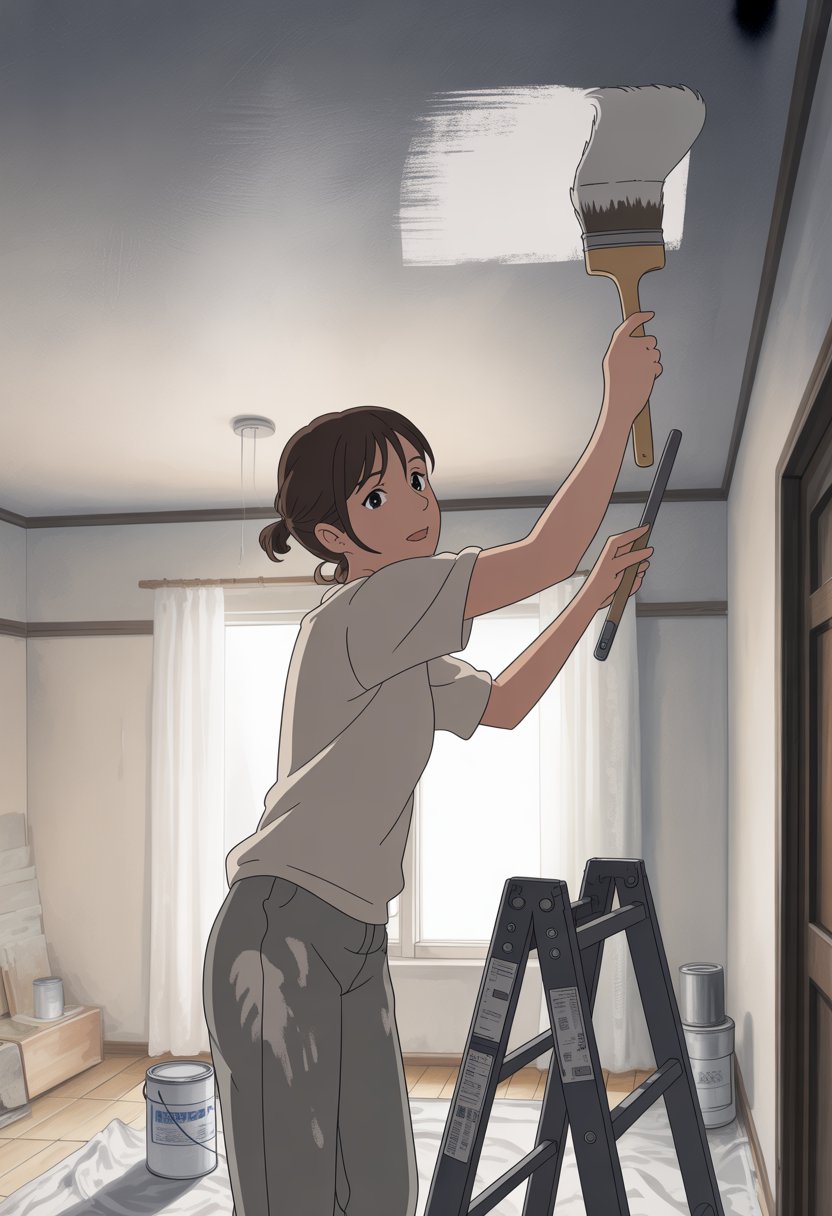
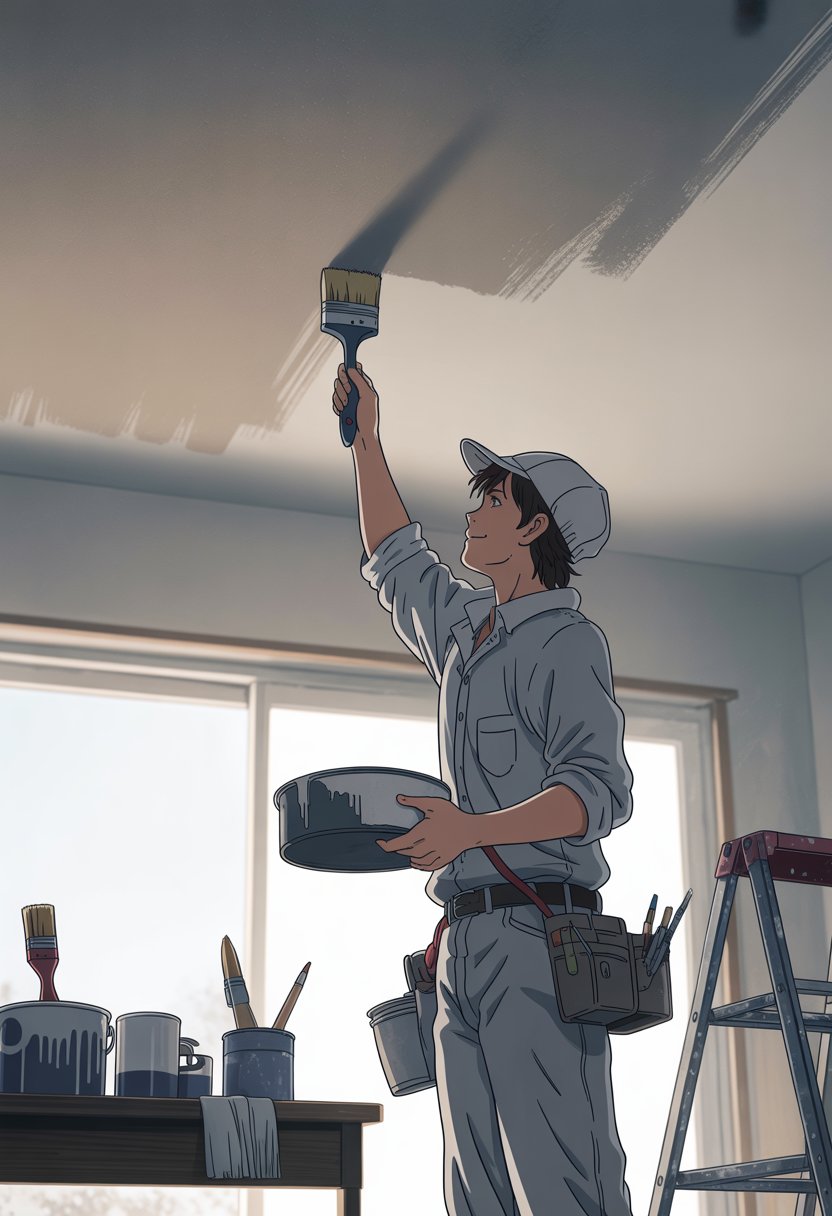
Start by cutting in all the corners and edges with a good angled brush. This gets you crisp lines where the roller can’t reach.
A 2-inch angled brush gives you the most control. Load it with paint, but don’t go overboard or you’ll end up with drips.
Hit these spots first:
- Where the ceiling meets the walls
- Around light fixtures
- By ceiling fans
- Near air vents
Work in small, 3-foot sections when cutting in. That way, the paint stays wet and blends better with your roller work.
Hold the brush at a slight angle and use steady, gentle pressure. Let the brush do its thing—no need to muscle it.
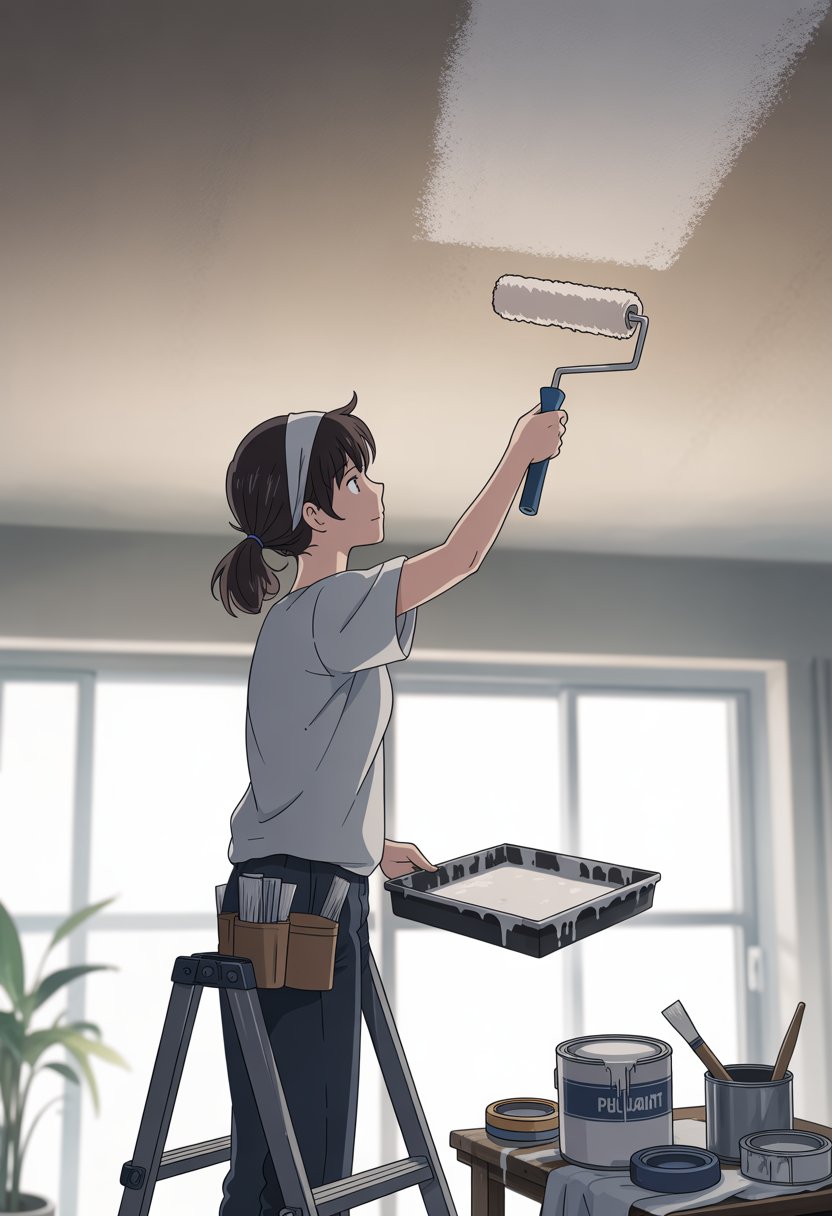
Loading the Roller for Even Application
Your roller needs the right amount of paint to avoid marks. Too little paint leads to streaks, while too much causes drips and patchy coverage.
Pick a roller with a 3/8-inch to 1/2-inch nap for smooth ceilings. That nap grabs enough paint for solid coverage.
Try this loading process:
- Dip the roller into the paint tray
- Roll up and down the textured part 3 or 4 times
- Check if the paint covers the roller evenly
- Remove extra paint, but keep the roller full
The roller should feel heavy but not dripping. Aim to cover about 4 square feet with each load.
Maintaining a Wet Edge
Keeping a wet edge means the paint stays workable as you move along. This helps avoid lines between sections.
Work in 4-by-4-foot sections. Start the next section before the previous one dries, so the paint blends together.
Use a W pattern for smoother results. Roll a big W, then fill it in with parallel strokes. This spreads paint more evenly and cuts down on roller marks.
Some quick reminders:
- Work quickly, but don’t rush yourself
- Overlap each section by about 2 inches
- Use light pressure for your final smoothing strokes
- Avoid going back over drying areas
Move your ladder often. Don’t stretch too far—stretching messes with your control and can leave marks.
Applying Professional Techniques for a Smooth Finish
Getting a smooth ceiling is all about how you roll. Overlapping strokes, switching up your rolling direction, and being mindful of pressure makes a huge difference in avoiding those dreaded roller marks.
Overlapping Strokes the Right Way
Paint tends to build up on the edges of your roller, leaving thick lines on each side of a stroke.
Start your next stroke by overlapping the previous one by 2 or 3 inches. This blends those thick edges for a smoother look.
Overlap tips to remember:
- Work while the paint is still wet
- Don’t press harder when overlapping
- Keep your rolling speed steady
- Reload the roller as needed
Never let the painted edge dry before overlapping it. Dried edges will show through your finished coat.
Stick to sections small enough to keep everything wet. Most ceilings work best divided into 4-by-4-foot squares.
Alternating Roller Directions
Rolling in the same direction for every coat leaves patterns behind. Change your rolling direction between coats to help hide marks.
For the first coat, roll parallel to the longest wall and let it dry.
For the second coat, roll perpendicular to your first direction. This cross-rolling trick covers up any marks from the first pass.
Example:
- First coat: North to south
- Second coat: East to west
Each coat fills in the slight texture left by the last one, and the crossed patterns cancel each other out.
Some folks use a W pattern within each section—roll a big W, then fill it in with parallel strokes.
Controlling Roller Pressure
Pressing too hard squeezes paint out the roller’s sides, leaving thick ridges that dry as marks.
Use just enough pressure to keep the roller touching the ceiling. Let the roller do the work—don’t muscle it.
Signs you’re pressing too hard:
- Paint squeezes from the roller ends
- Roller cover bunches up
- Thick lines show up right away
Roll at a steady, moderate speed. Rolling too fast causes splatter, too slow leaves marks.
Keep the roller loaded. A dry roller makes you press harder, which leads to streaks.
Test your pressure on cardboard first. The right touch leaves an even coat without thick edges.
Troubleshooting and Fixing Roller Marks
Even with good prep, roller marks sometimes show up on your fresh ceiling. The trick is spotting them and knowing how to fix them without making things worse.
Touching Up Dry Roller Streaks
Check for roller marks only after the paint dries. Wet paint can look streaky but often smooths out.
Look for lines or texture differences. These usually show where you overlapped or pressed too hard.
If you see small streaks, touch them up without repainting everything. Load a bit of paint on the roller and gently go over the marks.
Use light pressure when touching up. Pressing too hard just makes new marks. Roll in the same direction as before.
If streaks cover a big area, repaint that section to avoid color differences.
When to Apply a Second Coat
Give it at least 4 hours before deciding on a second coat. Most paints need that time to dry and show their true finish.
Apply another coat if the old ceiling color still peeks through. That’s poor coverage.
Roll the second coat in the opposite direction. Rolled north to south first? Go east to west next. This helps hide leftover marks.
Let the first coat dry all the way before adding the next. Painting over wet paint just creates more issues.
Stick with the same type of paint for both coats. Mixing oil and latex? Not a good idea.
Using Sandpaper and Proper Cleanup
If roller marks won’t budge, light sanding can help. Grab fine-grit sandpaper—220 works well.
Sand gently in circles. You want to smooth the surface, not strip off all the paint.
Wipe away dust with a damp cloth before repainting. Dust under new paint makes bumps and texture problems.
When working near the ceiling edge, protect your walls with painter’s tape. It keeps roller marks off the walls during touch-ups.
If you’re dealing with older paint that might have lead, always use a HEPA vacuum for cleanup.
Cleaning Up and Aftercare
Cleaning up right keeps your tools in shape for next time. Removing drop cloths and tape carefully protects your paint job from accidental damage.
Cleaning Rollers and Brushes
Clean your tools as soon as you finish. Dried paint ruins rollers and brushes fast.
Pour leftover paint back in the can. Scrape extra paint off the roller with the edge of your paint tray—it saves paint and makes cleanup easier.
For water-based ceiling paint, rinse rollers and brushes with warm water. A little dish soap helps break down the paint. Rinse until the water’s clear.
Roll out excess water from the roller cover. Squeeze brushes gently to avoid wrecking the bristles.
Oil-based paints need a solvent for cleanup. Check your paint can for the right one. Mineral spirits work for most oil-based paints.
Store clean, damp rollers in plastic bags to keep them soft. Let brushes dry fully before storing them flat or hanging them up.
Safe Removal of Drop Cloths and Tape
Pull painter’s tape off while the paint’s still just a bit wet—otherwise, you risk cracking or peeling the fresh layer. That little detail makes a difference.
Get the Fail-Safe Paint Color Playbook (Free PDF)
36 proven colors • 8 ready palettes • trim & sheen guide • printable testing cards.
Angle the tape about 45 degrees away from your painted surface, and take your time. Slow, steady pressure works way better than yanking it off. Quick jerks? They’ll just ruin your hard work.
Wait until your drop cloths are totally dry before picking them up. If they’re wet, you’ll end up with paint where you really don’t want it—floors, furniture, you name it.
When you fold up the drop cloths, keep the paint side tucked in. That way, you won’t accidentally smear paint onto clean spots.
Take a look at the edges of your drop cloths for any sneaky paint that might’ve slipped underneath. Wipe up those spots before they dry out and stick for good.